We have grape hyacinths and wild plum trees blooming!
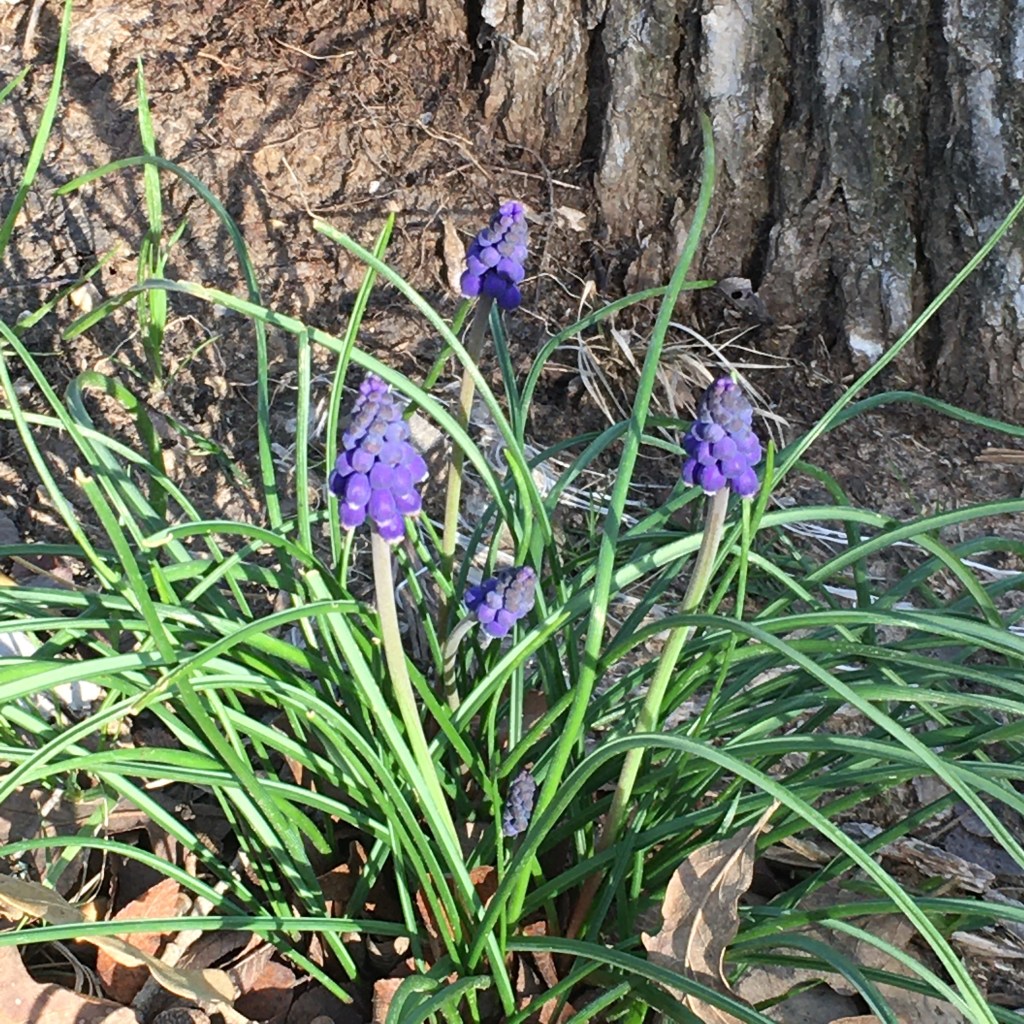


We have grape hyacinths and wild plum trees blooming!
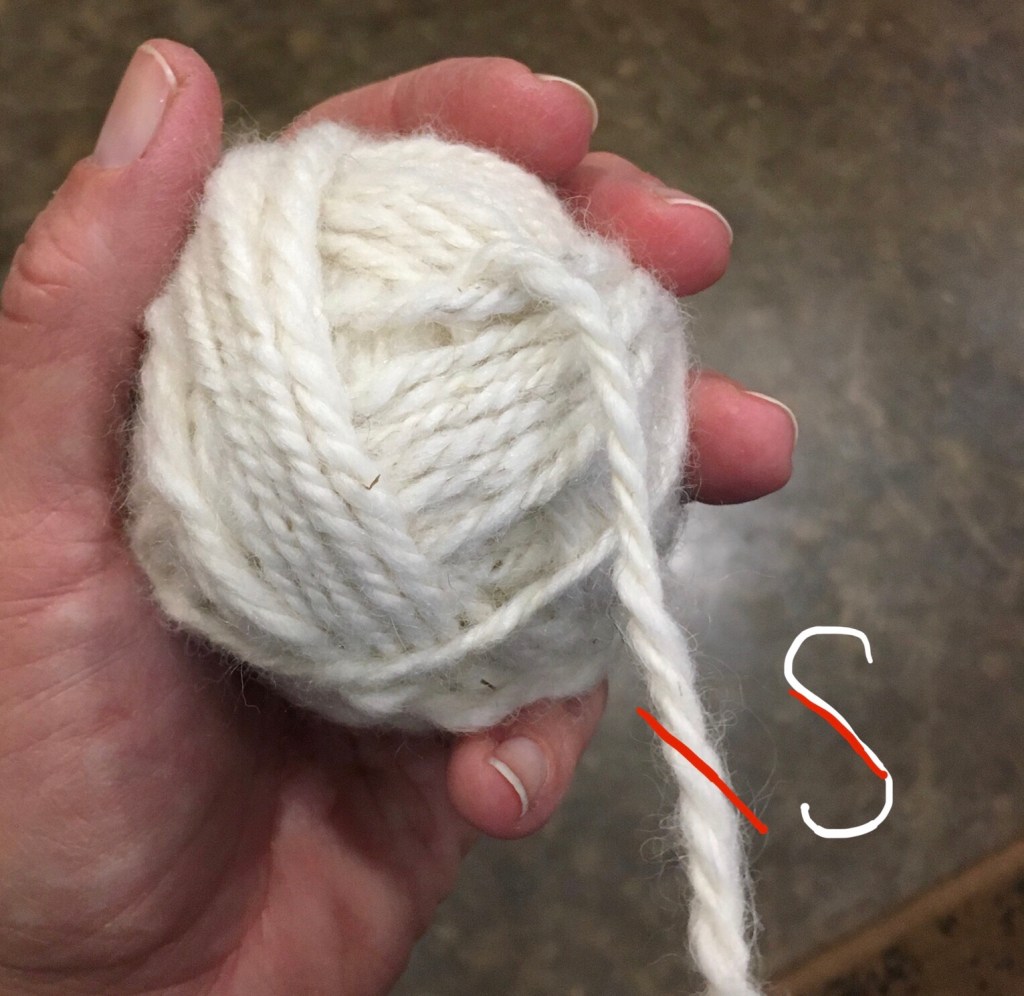
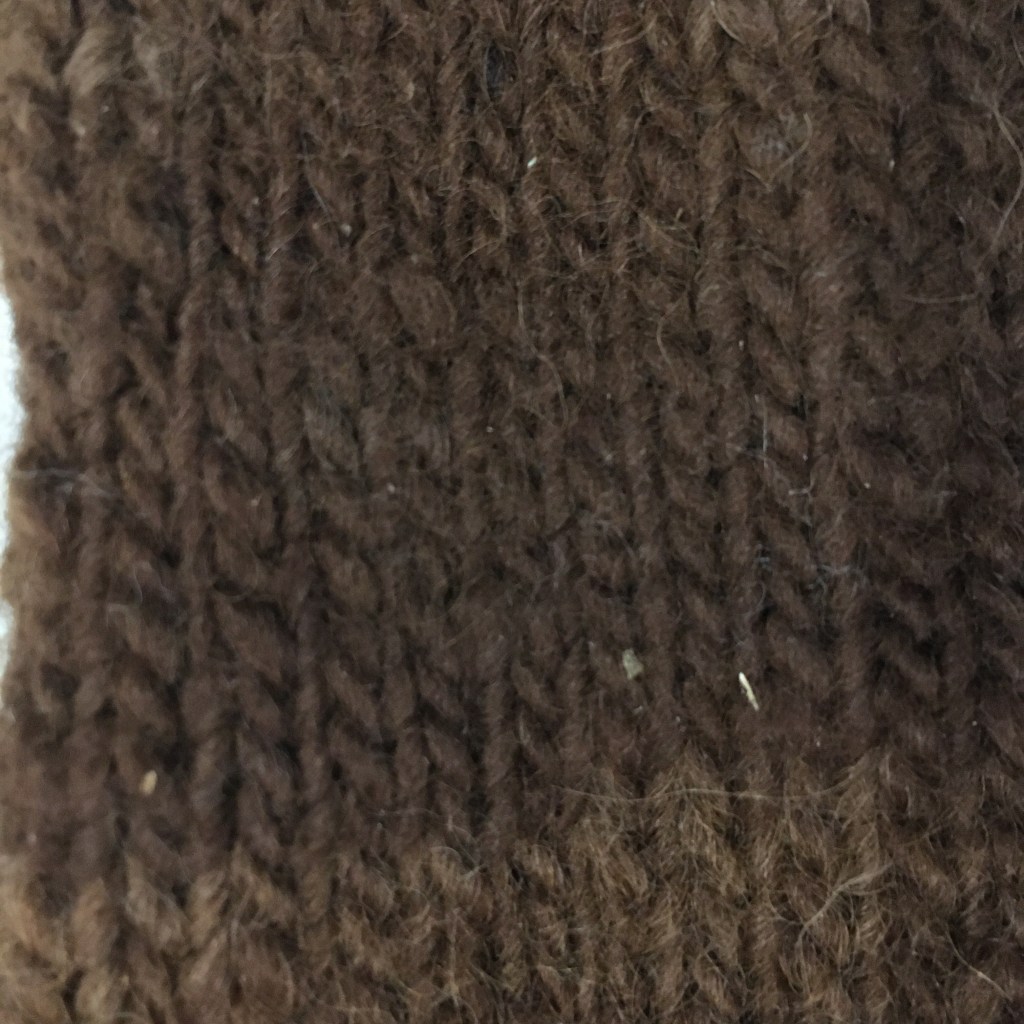
For my next alpaca project I want to try a plied yarn. This means spinning the singles thinner and plying three singles together. I am leaning toward knitting, so I an spinning my singles in a Z twist, and plying in S twist. This seems to work best for knitting (it is the way most yarns are machine made). If I were going to nålbind, I would switch the twist order, especially for the York stitch. It really is fascinating the way the twist effects the final product.
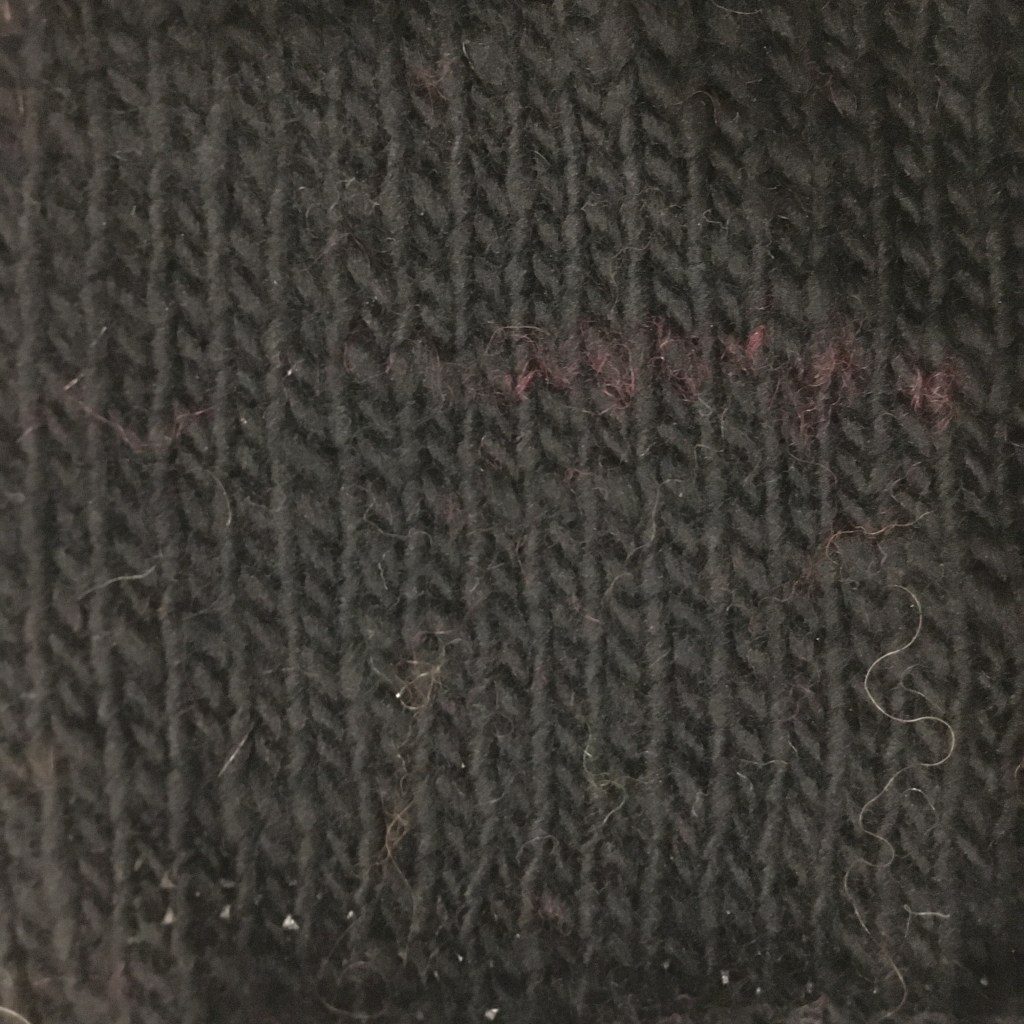
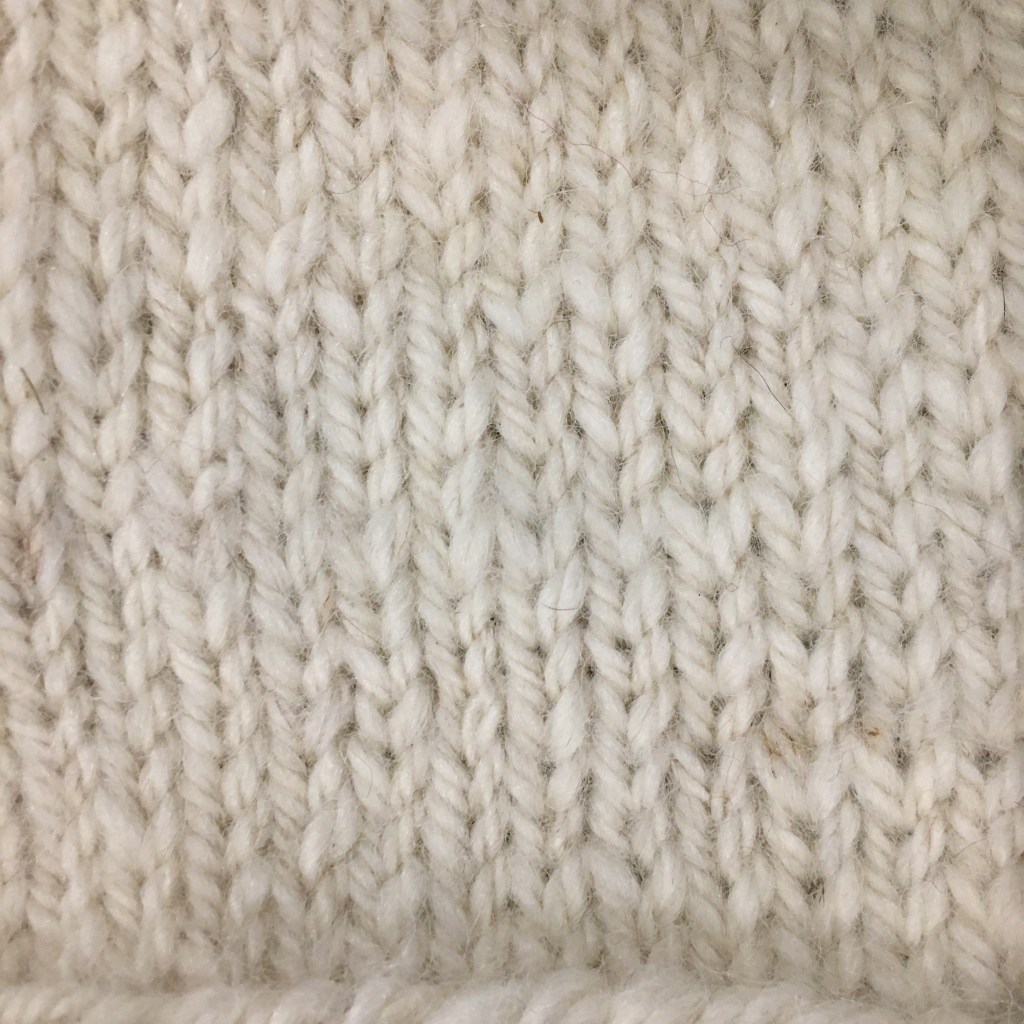
Since I am planning to knit, I made up some test swatches with various yarn scraps I had, as well as the new 3-ply alpaca. All the yarn was spindle spun, some with merino wool, some with alpaca, some plied, some singles. I found the the yarn with a Z twist knit up with uneven stitches, resulting in a fabric that doesn’t look balanced. The S twist, however, knits up nicely and the “V” of each stitch is balanced. The US 8 needles were a little small for my chunky 3-ply alpaca, and although the swatch was soft, it was not nearly as sumptuously soft as the swatch knit on US 10 needles. And oh is that last swatch soft; like cuddle on the couch, swatch against the cheek, sucking on your thumb kind of soft. It literally makes people say “oooo” when they hold it.


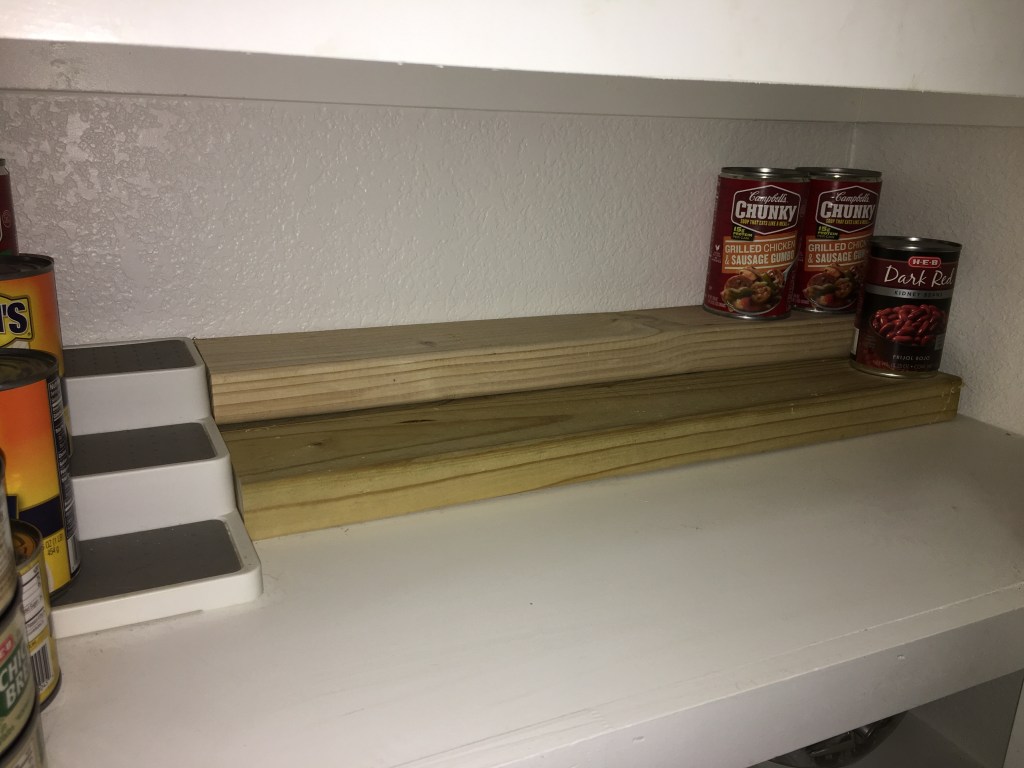
So you’ve done your Hamsterkaufen (a great German word for accumulating and hoarding food and supplies), and you’ve run out of canned good space, or you are tired of not being able to see what is in the back of the shelf, here is an easy way to make your own stands. Three 2x4s, two in the back, one in the front, make great shelves for canned goods. If you don’t have 2×4 drops laying around in the garage, you might need to buy a 2×4 and cut to length using a hand saw or miter saw. No screws, no fasteners necessary!
I found this article by Kim Caulfield which talks about distaffs for fiber management and has images of ancient distaffs. I love my rosewood distaff, but it doesn’t work well with the rolags I’ve been making when I card fibers. I noticed that the pictures of the distaffs in the article are smaller and made of bronze or glass, so I decided to try to make one out of wire. I had gold colored 14 gauge aluminum wire in my stash and used about 24” of wire.
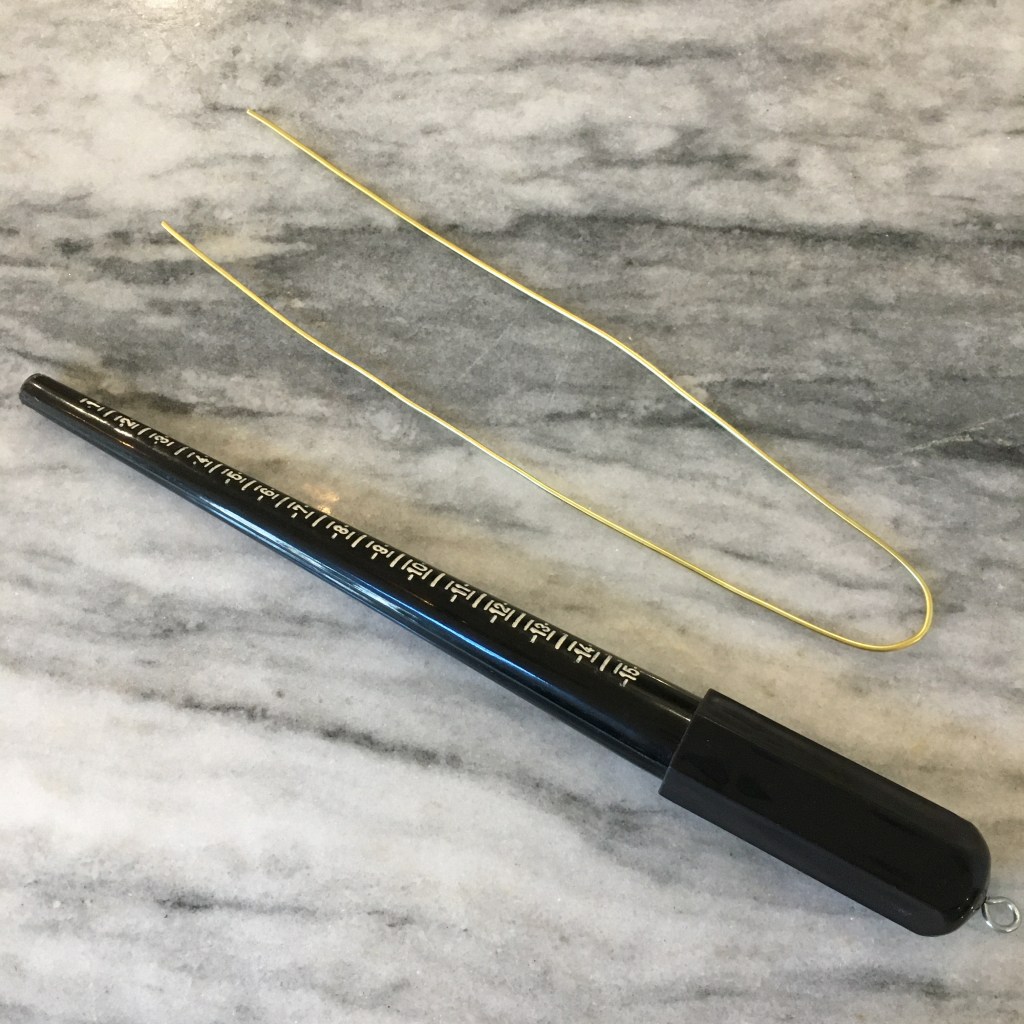
I used the ring mandrel to form the loop at the end, then twisted the two strands of wire together in a spiral about 8” long. I originally thought that the ring was worn like a wedding ring, but it is really used to stabilize the distaff, so I made the loop bigger than my finger.
At the end of the twist I needed something to catch the fibers. Most of the ancient examples have a little bird, I think because the beak is sharp and will catch in the fibers. Rather than a bird, I made a spiral. It works well to twist it into the end of a rolag, then gently wrap the rolag around the shaft.
This distaff works so well with the rolags! The aluminum is extremely light, and it holds the fibers well so I am less likely to catch errant fibers in the twist of my yarn. A few fibers do get caught in the twist of wire, but it is a simple matter to free them.
In the picture above I have an extreme wrist angle because I had trouble getting a photograph showing the fiber, the yarn, and the ring. In practice the distaff makes it easier on my wrist than working without one.
I had to share with you the way the alpaca fleece stays in a blanket after it is shorn off. It brings me joy; hope it brightens your morning. Here is the video!