Spinning Rainbows

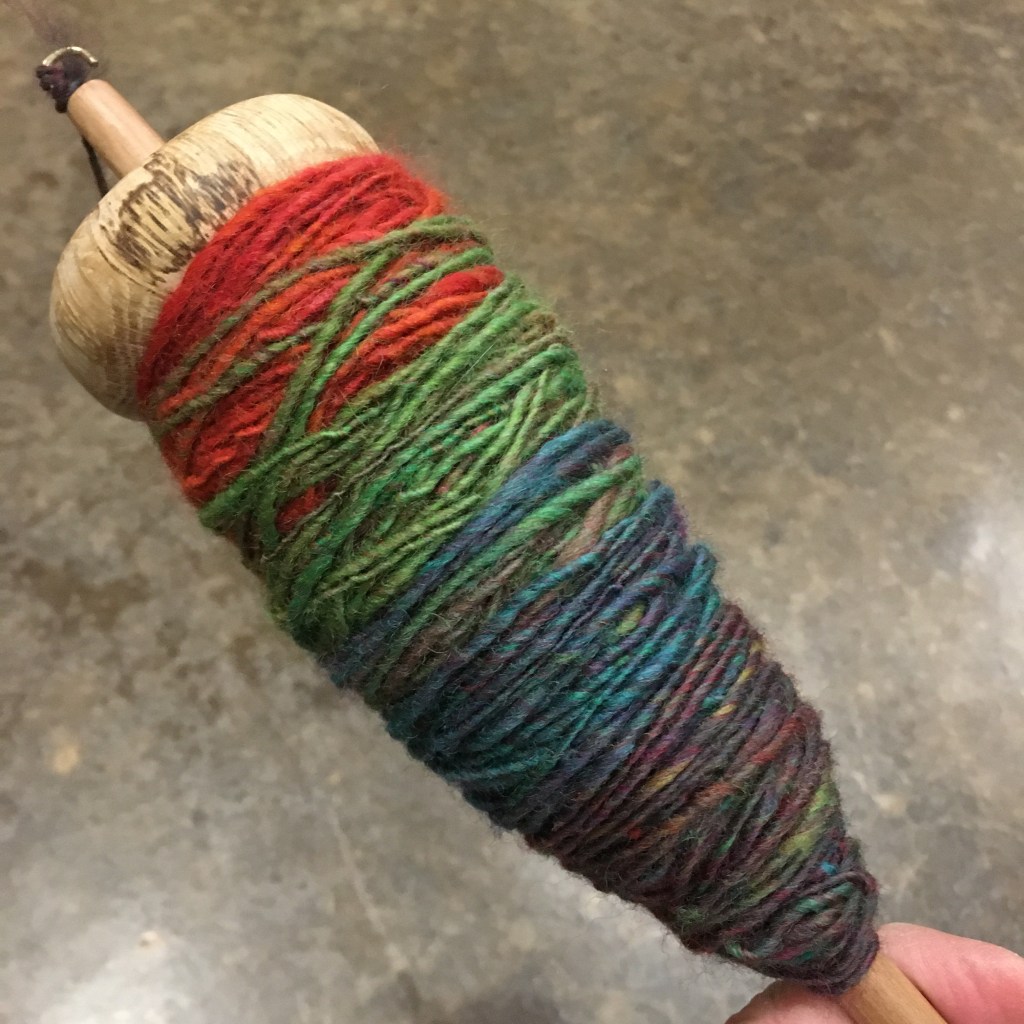
I spun up my rainbow rolags! The big fluffy rolags were nice to spin; the fibers pulled out smoothly and the color variation came out well. (And it was very pretty on the spindle!)

Spindle spun rainbow yarn

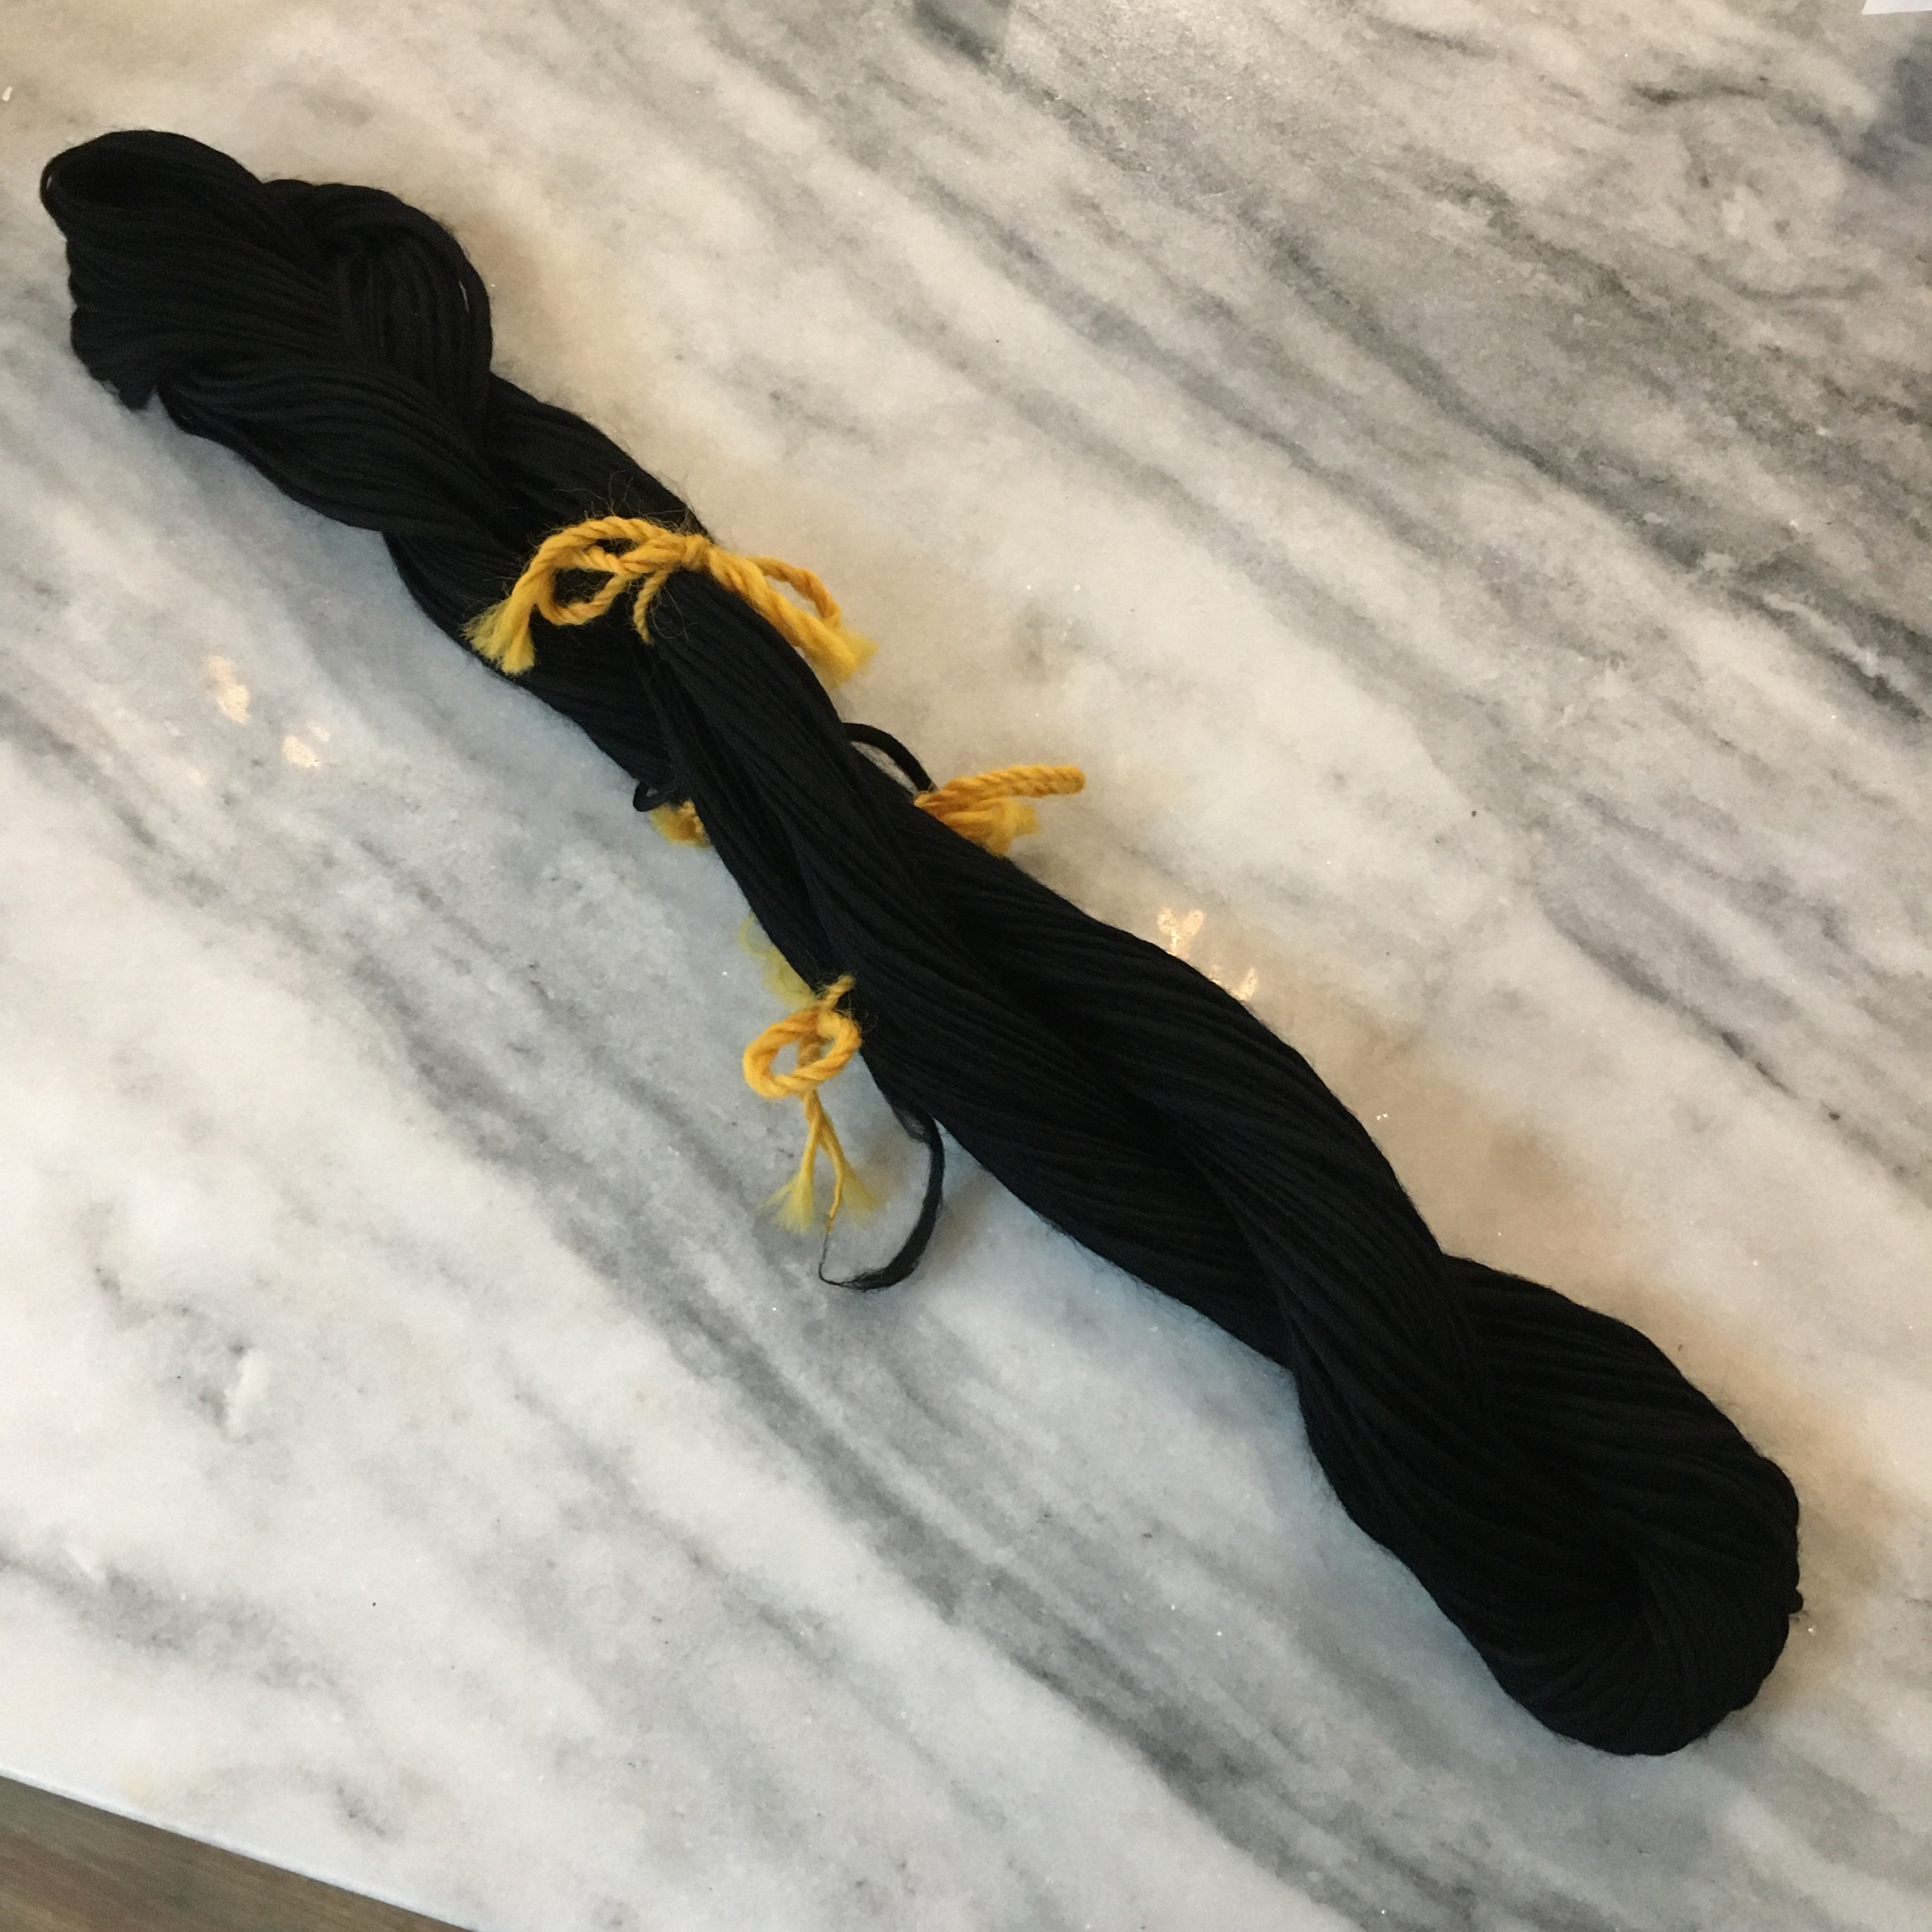
I strung the finished single on the PVC niddy noddy, rinsed it in cold water, and let it dry. The yarn seems to have set well.

Rainbow hank

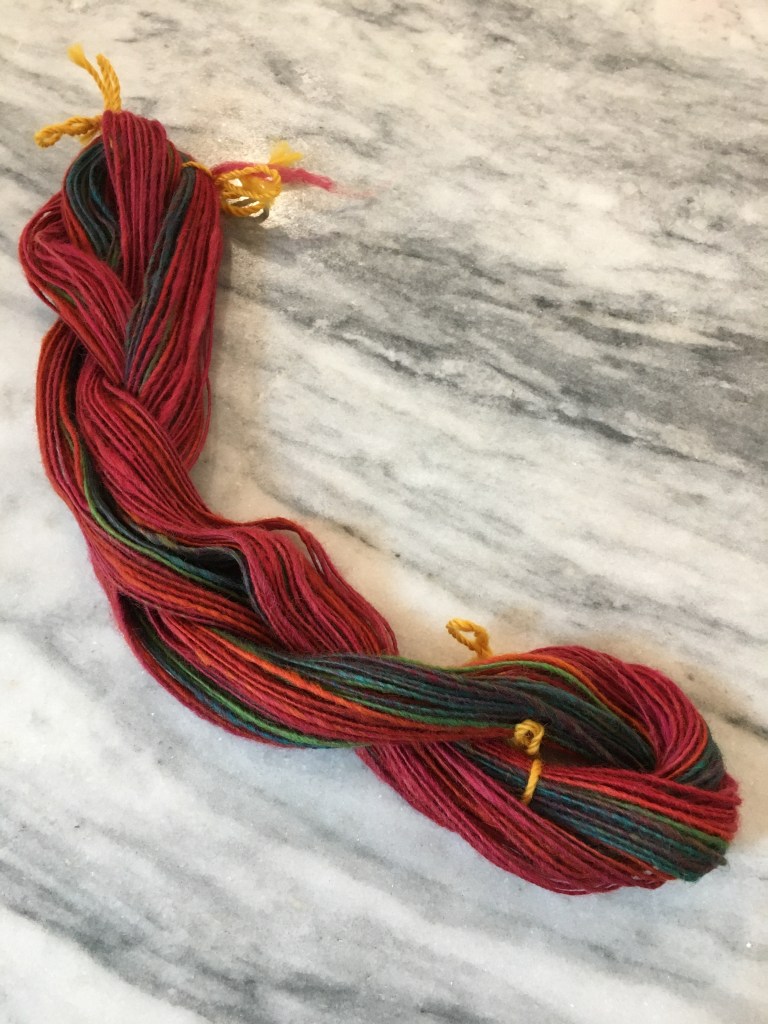
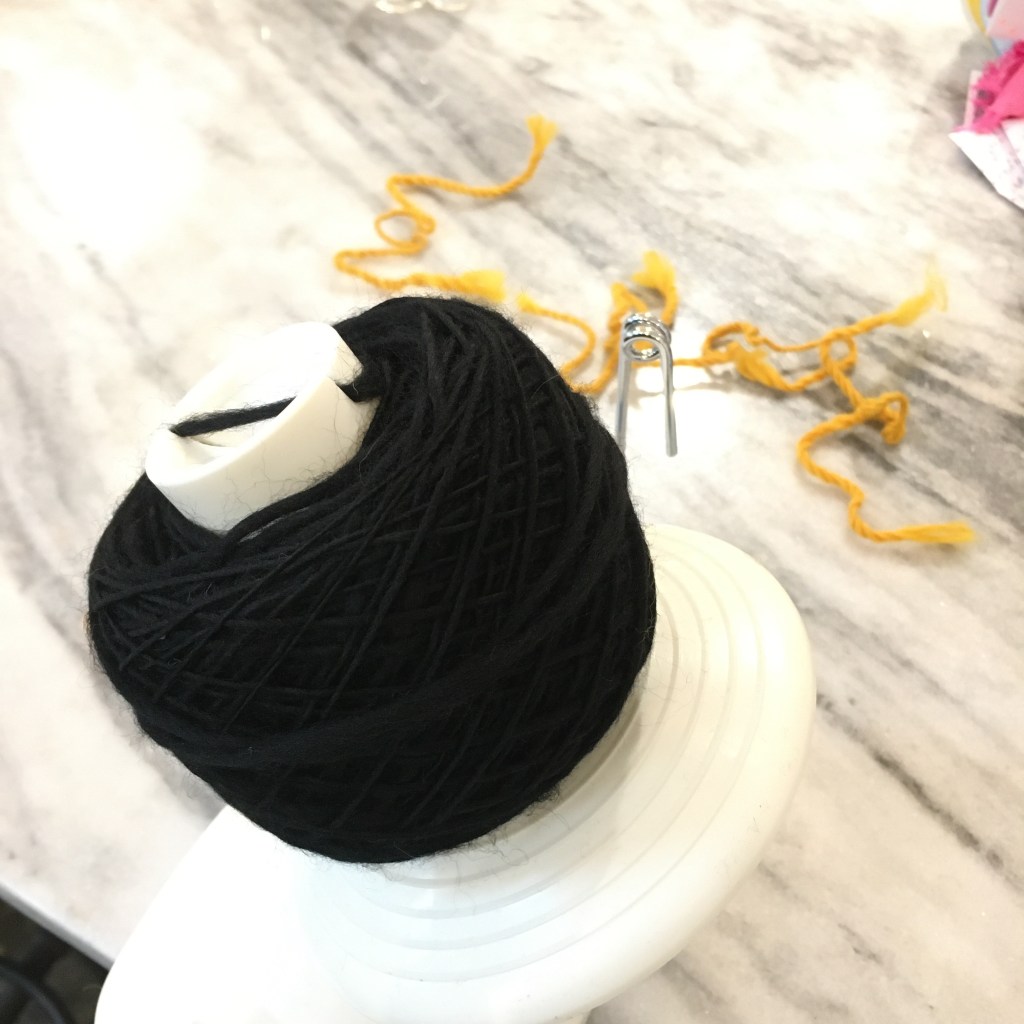
I took the rainbow hank off the niddy noddy and used my swift and wool winder to make a rainbow cake.

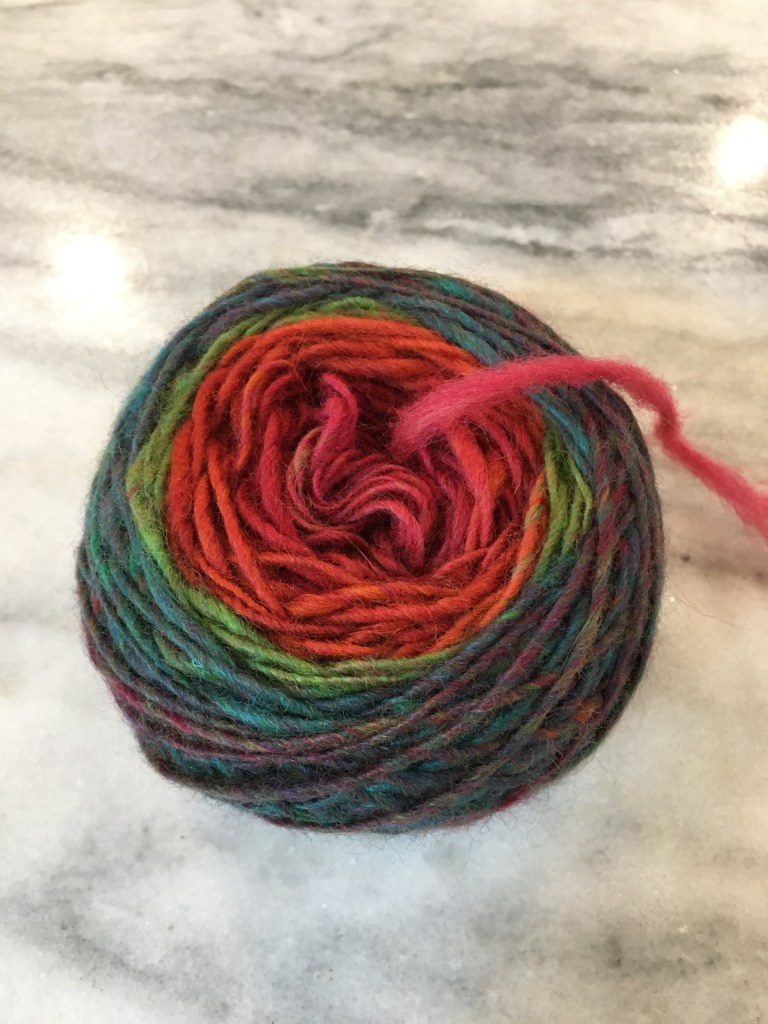
The resulting yarn cake is 53g and about 78 yards. Not enough to make a hat. Hmm. But I have some ideas…

Missing feet

I noticed one of our guitar foot stands was missing a rubber foot. I noticed it because my youngest and I were practicing and it scratched my floor when I moved it. Ugh.

Missing rubber foot

One of my readers told me about Sugru moldable glue (Thank you!). So I tried some to replace the missing foot. It works well! It is easy to shape, and after 24 hours it solidifies into silicone rubber with almost the exact same feel as the remaining feet. The stand is stable and doesn’t scratch the floor. Hurray!

Fixed foot

Hank to cake

Hank of black merino wool single ply yarn

Last we left it, my single ply black wool merino yarn was drying on the niddy noddy. Oh that works!! It took less time to dry, and it came off the niddy noddy easily (the caps were too tight, but I could get one arm off the niddy noddy easily). The yarn is balanced (which means it doesn’t get twisty), and seems strong (although I really do need to work getting an even thickness, but that should come with practice).

Yarn on wool winder

It is a little bitty cake (just 53 grams), but since it was a proof of concept experiment, that is fine.

I liked it so much I made one for me.

I liked the way my husband’s matte black decal came out so much that I made one for me. Not a castle, but a celtic knot dragonfly that I designed years ago.

Celtic knot dragonfly cut from vinyl

I found that leaving the white backing on, but having the transfer paper exposed around the edges allowed me to have wiggle room when lining the decal up on my window. It was much easier to adjust, then when I liked the position, I left one edge stuck down, peeled off the backing, then smoothed the whole decal down. It is good to learn new things.

Lining up the decal

Speaking of learning new things; that transfer paper is no joke. The tan texture in the photo above is the top layer of the wooden stool I was using as a table. Oops.

Applied black matte celtic dragonfly

I really like how these are subtle!