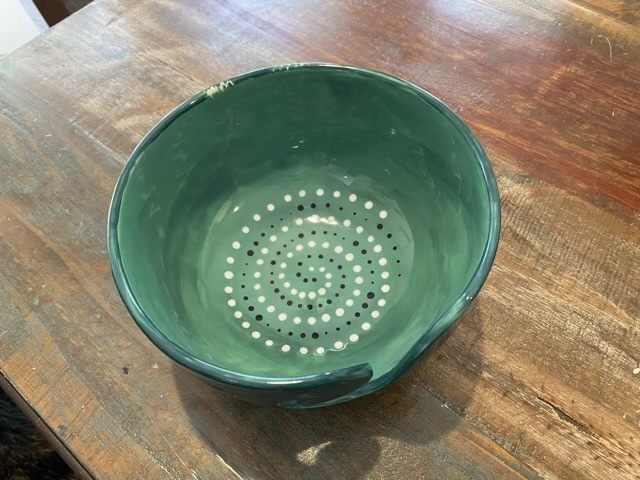
I have been wanting a yarn bowl, so when we went for another round of ceramic painting and there was an unpainted yarn bowl, I took the leap.
Photo description: green ceramic yarn bowl with holes for yarn or a hook carved in the side for yarnPhoto description: inside of the yarn bowl painted with a spiral of white and black dots
Yarn bowls are a solution to round wrapped balls of yarn. They keep the ball from rolling all over the floor. They work with other yarn preparations too.
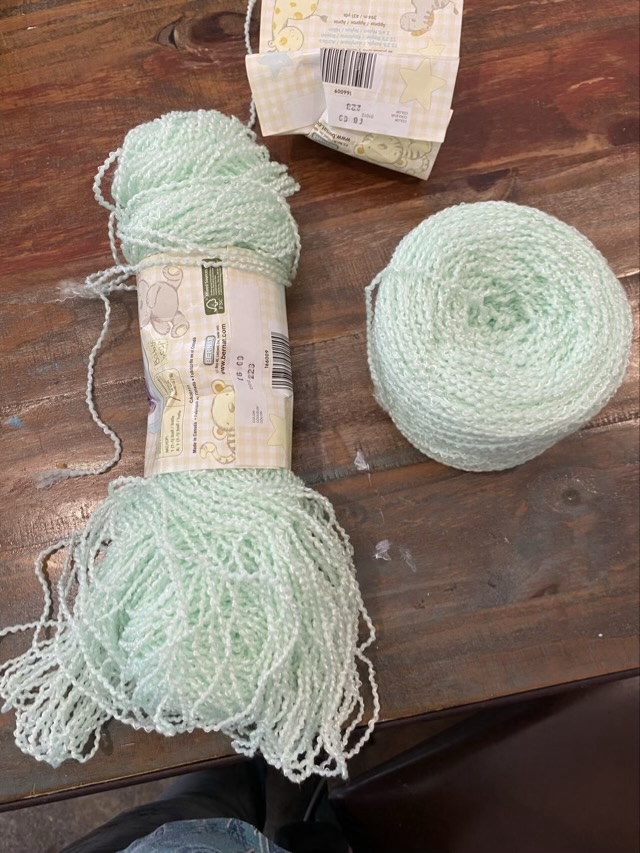
Even if you don’t spin your own yarn, I would argue that buying a wool winder should be the next purchase for the new yarn crafter, after yarn and needles or hooks. Why? Because of exploded skeins like the one below.
Photo description: exploded skein with the yarn in a state of mess on the left, neatly wound yarn cake fresh from the winder on the right
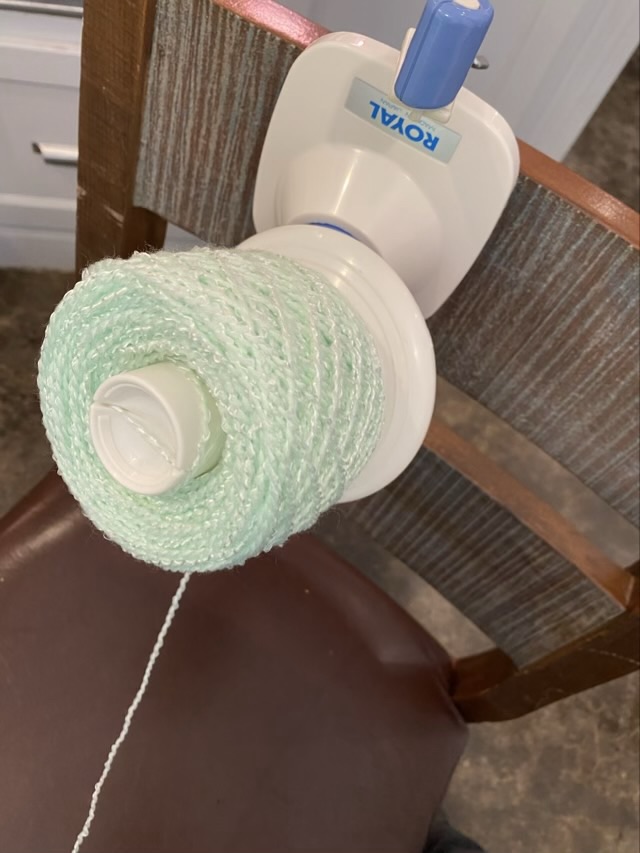
Can you wind your own balls of yarn without a wool winder? Yes, of course, but it takes more time and two hands. The wool winder gives me some extra holding power, so I can gentle tease the yarn from the snarled mess into a neater form without said form rolling off the table and onto the floor.
Photo description: plastic Royal wool winder mounted on the back of a chair
Having a wool winder also opens up more yarn buying opportunities. Many yarns in local yarn shops (LYS) or fiber shows have some beautiful yarn sold in hanks, large circles of yarn that must be wound off before use. Most yarn shops and fiber shows also have people manning a winding station and will wind off your yarn for free or a small charge. But what if you forget to stop at the station? There are choices, but an inexpensive wool winder is a worthy investment. Plus, it is satisfying to see the yarn build up on the winder.
After the winder, I recommend some kind of yarn swift, to hold the hank open. You can use a willing set of hands, or the back of a chair, but swifts are also a fulfilling basic machine to watch at work.
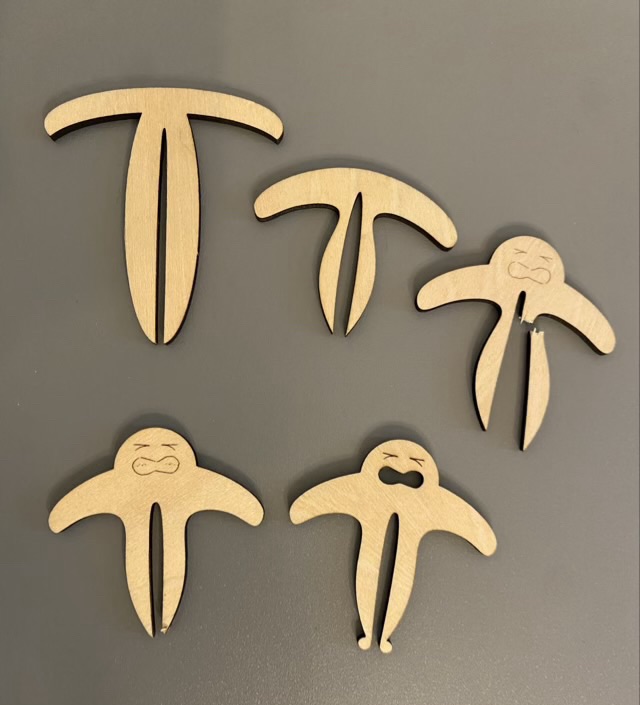
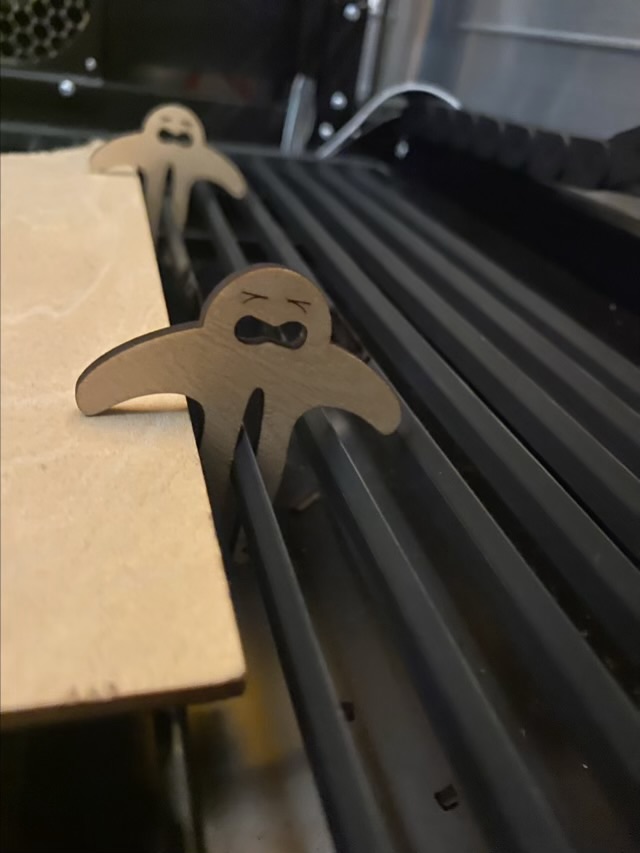
I saw a hint about making clips to hold down material in the laser cutter. The tip was for a different brand than I have, with a different grid, but I thought I could design my own clip.
Photo description: clip design evolution: top left was too narrow to fit my tray, top middle needed a tab to make placing easier, top right got a face because the tab looked like a head, bottom left the tines were delicate, bottom right is a functional and personified clipPhoto description: laser cut plywood clip person in use
I find the little straining strongman amusing, but it does stick up above the material, so has to be placed away from the path of the laser. I may design something more streamlined later, but the current version is functional so it might be awhile before need demands a redesign.