In December 2016 I was all about the stamped aluminum bracelets.
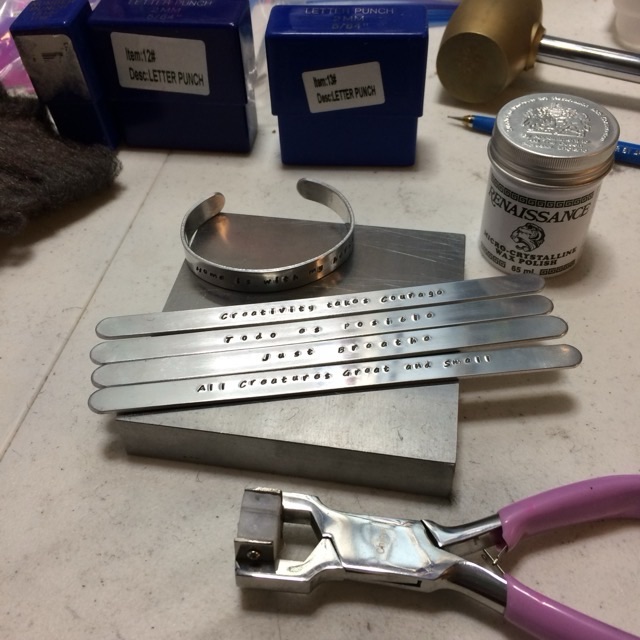
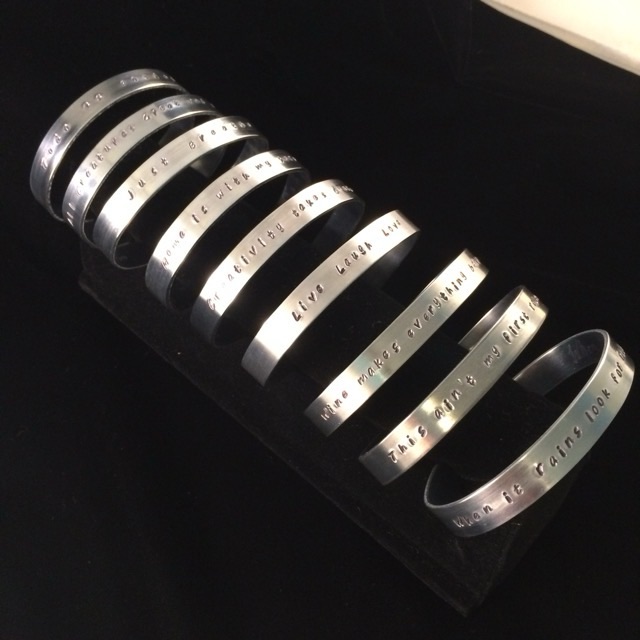
Photo description: bracelet stamping tools: steel wool, metal letter stamps, dead blow hammer, pencil, finishing wax, steel stamping block, aluminum bracelet blanks, forming pliersPhoto description: nine stamped aluminum bracelets laid out on black velvet
The next level for this craft is using tools for alignment so the words come out straight every time. Pencil layouts can only take you so far.
I did have fun finding sayings that fit on the bracelets.
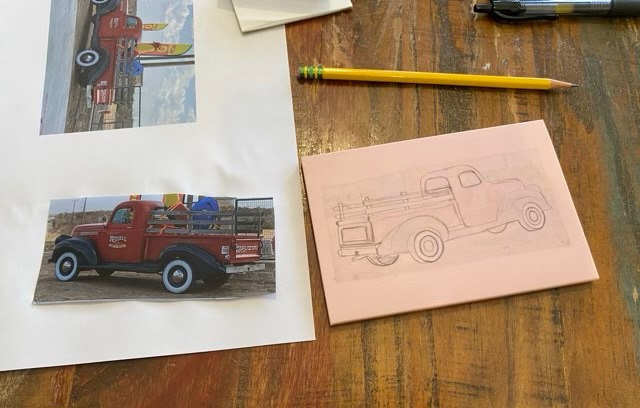
Pinterest strikes again. I’ve been pinning linocuts and woodcuts because I like the results and I saw that there are slabs of rubber that can be carved to create flexible stamps. Color me intrigued. I bought a set, and I already have micro wood cutting tools, so I gave it a go.
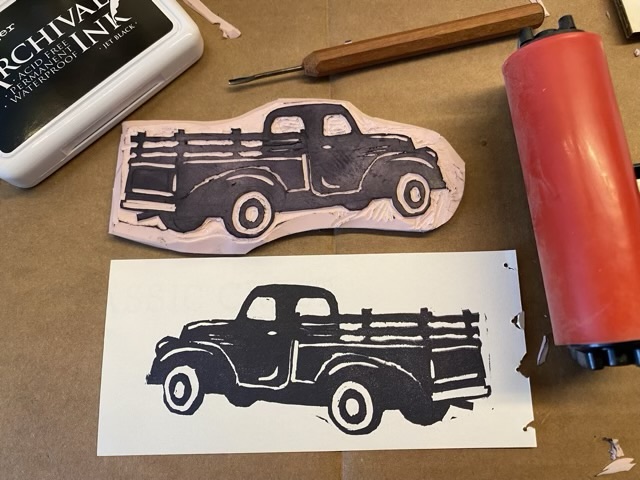
Photo description: my picture of an old farm truck printed on white paper, and a 4×6 slab of pink rubber. I transferred the inkjet image to the rubber with a steam iron, then went over the lines in pencil.Photo description: rubber carved with a single edge razor and micro carving tools and the excess edge cut away with scissors.Photo description: test print with scrap paper and black ink and a roller to press the paper to the stamp.
So this was fun. My lessons learned include making sure the carving tools are all very sharp. My gouge was not and left micro tears at the edge of the lines which filled with ink and printed a fuzzy mess. Putting the paper on top of the inked stamp then using a roller to press the paper to the stamp worked much better than pressing a stamp down on the paper. The process definitely has a learning curve, but the rubber is relatively easy to carve and it opens up worlds of possibilities.
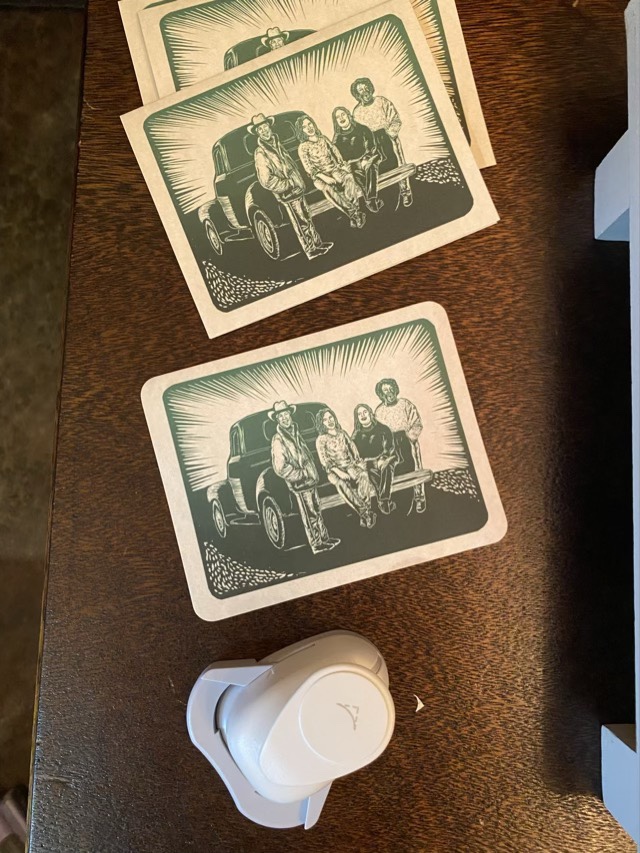
I had fun making a new holiday card design. My intention was to imitate a linocut technique, but in Adobe Illustrator, so instead of building shapes, I erased bits from the shapes. Then I applied a gradient color to the left over parts to imitate hand painting a stamp, and printed on recycled card stock. To finish off the cards, I used a rounded corner punch, and hand-stamped the greeting inside.
Photo description: Linocut-like design showing a quartet casually dressed singing around the tailgate of an old truck, corner punch shown in foreground.Photo description: Two cards, one showing the front, the other open to show “Happy Holidays“ stamped inside, stamp and ink pad on the right.