I had a panic moment. My spinning and walking is going well, and my speed is improving, and I realized that once I was done with the current preparation of fiber I didn’t have anything ready to spin. The horror!!
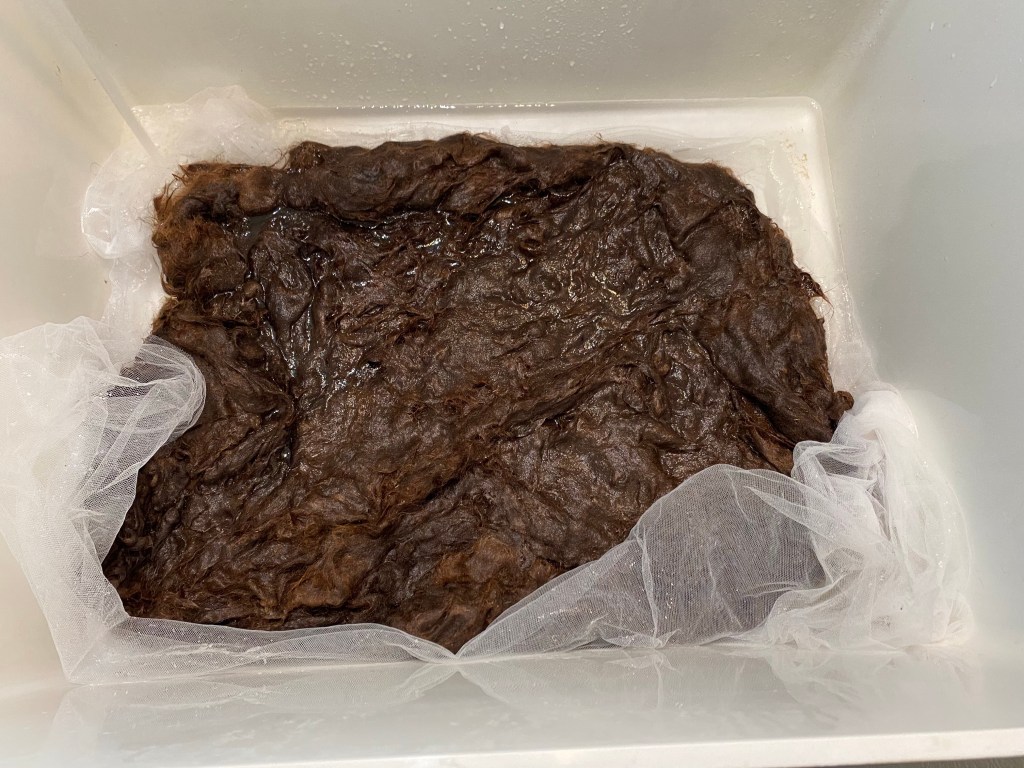
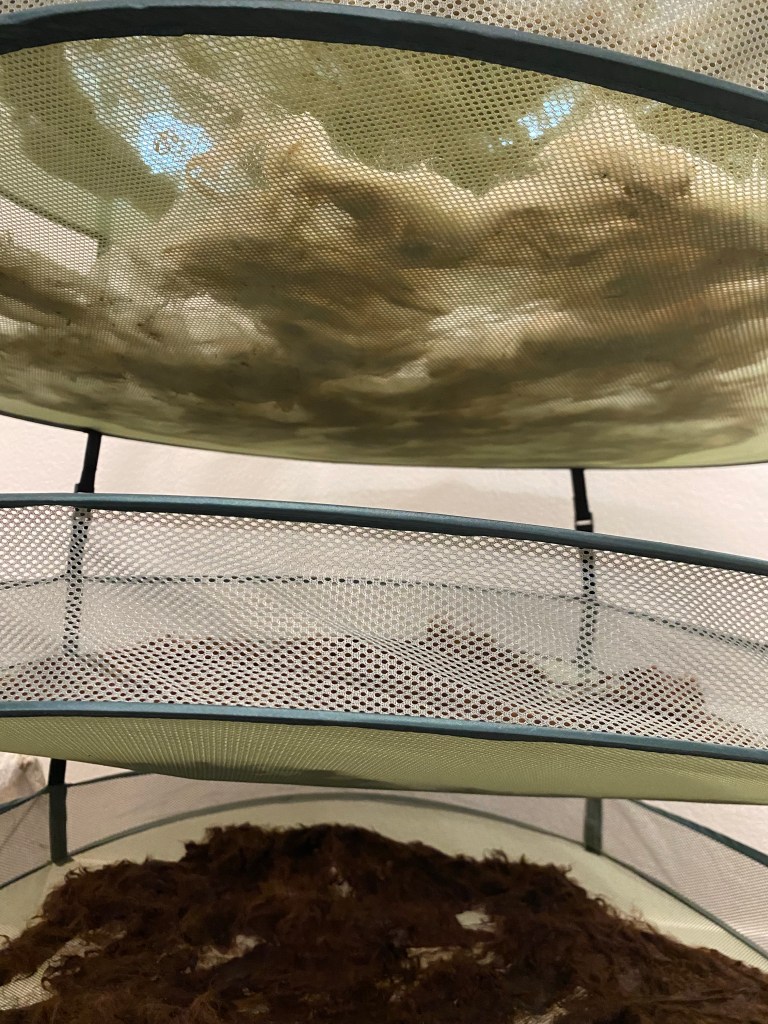
So I washed up some more alpaca fiber, this time using the utility sink and some netting, rather than bowls and towels. Since alpaca does not have heavy lanolin to scour away, I was not concerned about the wash water going down the drain. It was much like washing a dog. To keep the fibers out of the drain, I used a section of netting, which also helped squeeze out the water gently to avoid felting the fleece. I used Amway LOC liquid soap and rinsed each section three times. So much dirt. I laid each section out to dry on my hanging circular trays. There is still some vegetable matter (VM) in the fleece, but I am planning on picking and carding most of that out. I figure the evening activity will be carding and then I can spin in the morning.
Part of Aimee’s fleece after rinsing
I washed the last of Donna Bella’s fleece, and about half each of Sugar Plum’s and Aimee’s. I have five trays full of fiber. That should get me through the summer! Maybe longer.
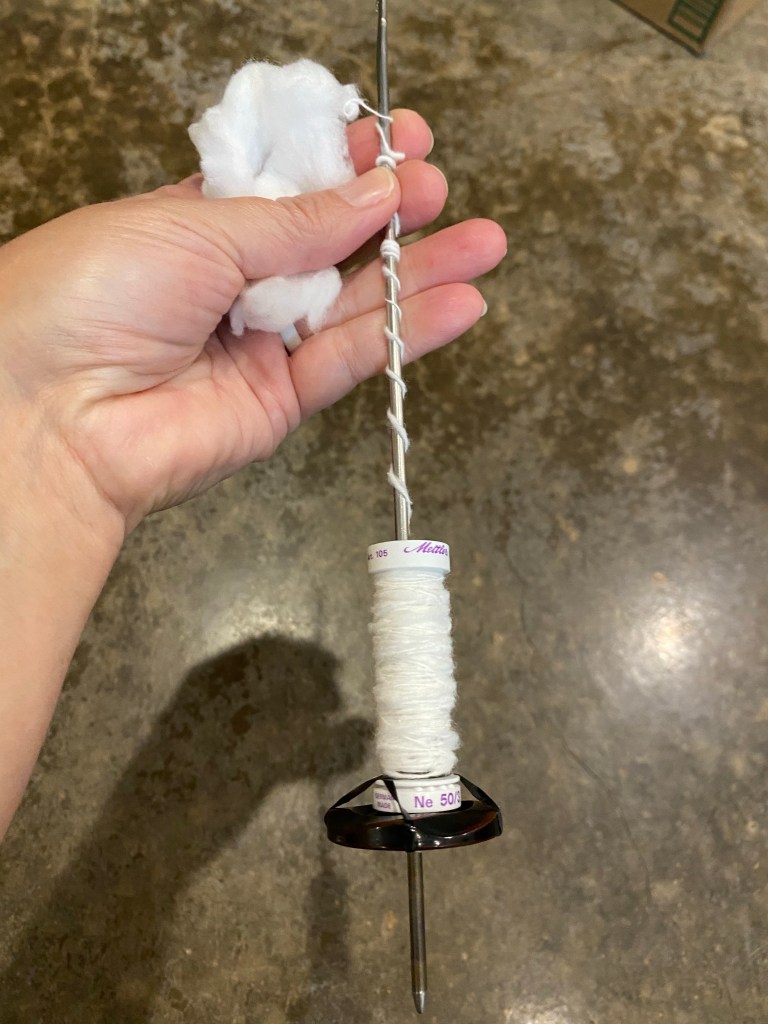
I love Spin-off magazine, but it does send me down rabbit holes! After reading an article, I usually look up the author’s blog, which is almost always full of more interesting things. Melvenea Hodges of traditionsincloth.com had a lovely shawl pattern in the magazine, then in her blog talked about spinning cotton directly onto little wooden spools. Well, of course I had to try. I did not have any spools that fit my tahkli spindle (yet), so I took an empty spool and used rubber bands to hold it in place on the button whorl (reaching new Frankenstein levels here). I’m not spinning gorgeously prepared cotton sliver (as far as I can tell, cotton sliver is similar in appearance to wool roving, anyway, it is prepped fiber ready to spin), in fact, I’m spinning cotton packaging from vitamin bottles, but the spool idea is fabulous. Enough so, that obtaining some prepped cotton and making some proper spools is tempting. Maybe after practicing some more with the bonus stuff.
Using a thread spool to hold the spun cotton singles (not my idea)
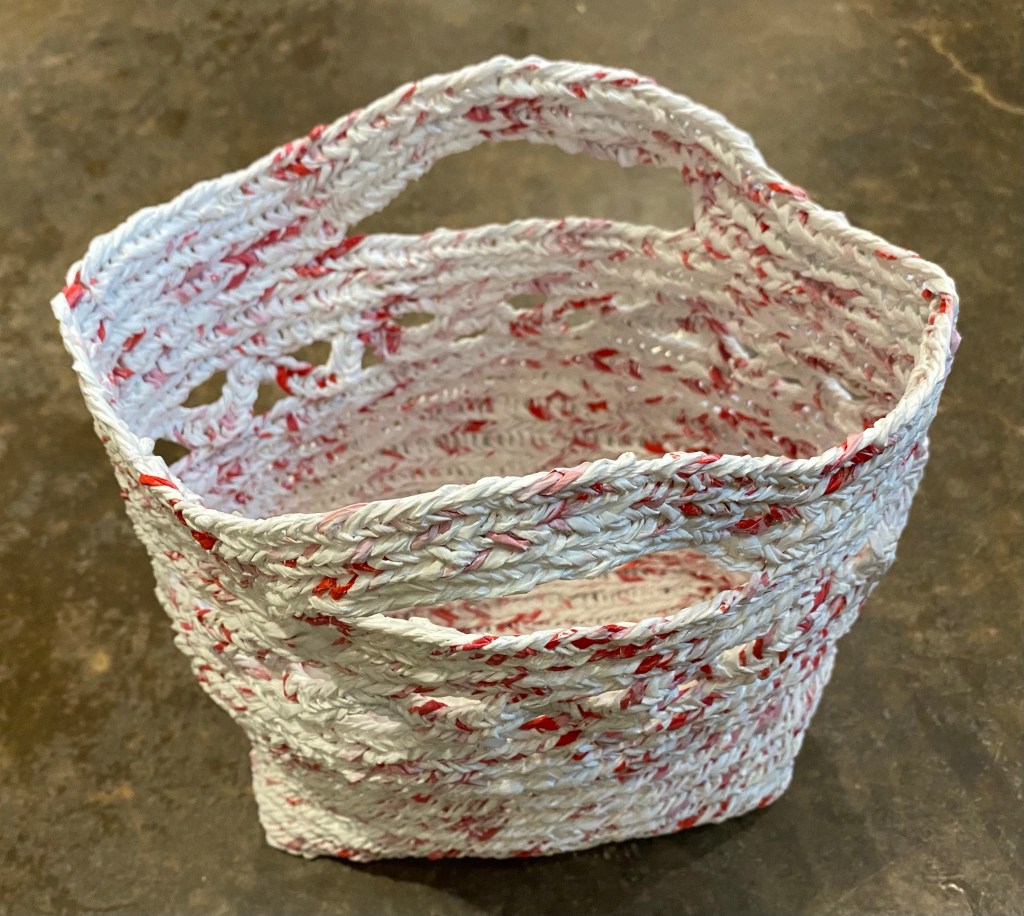
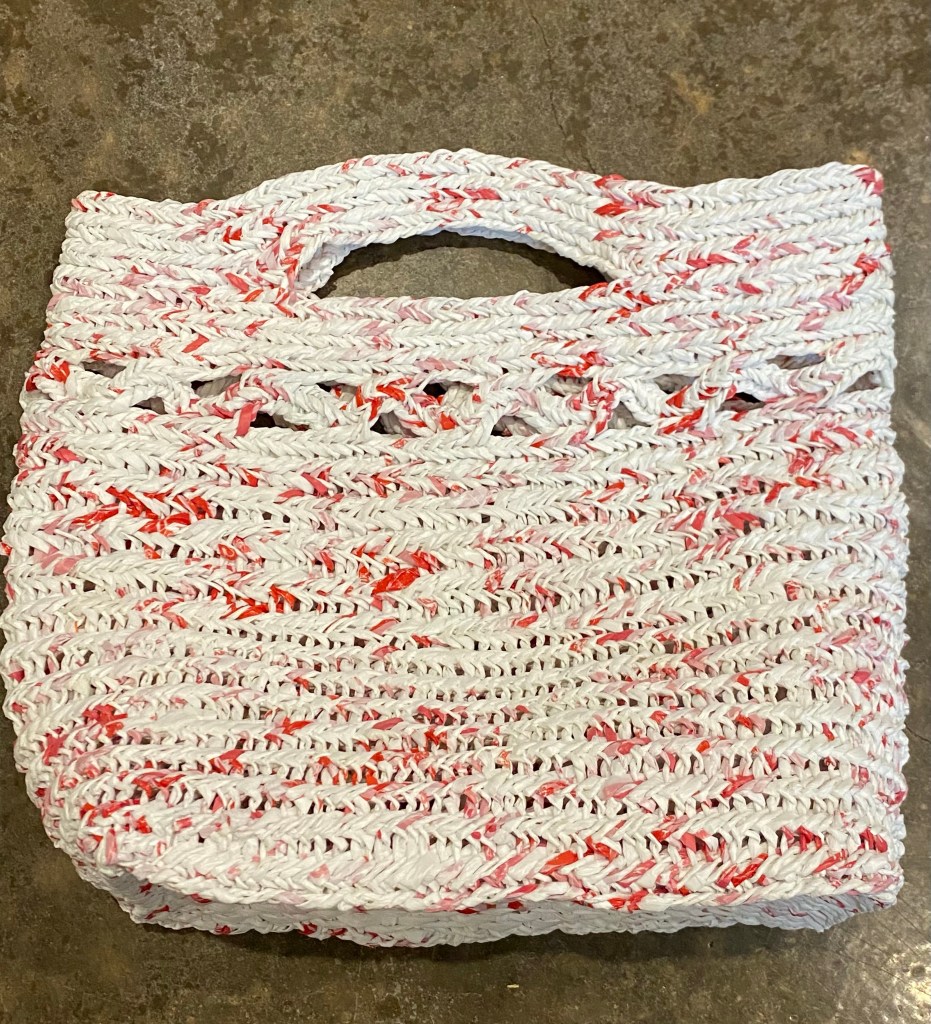
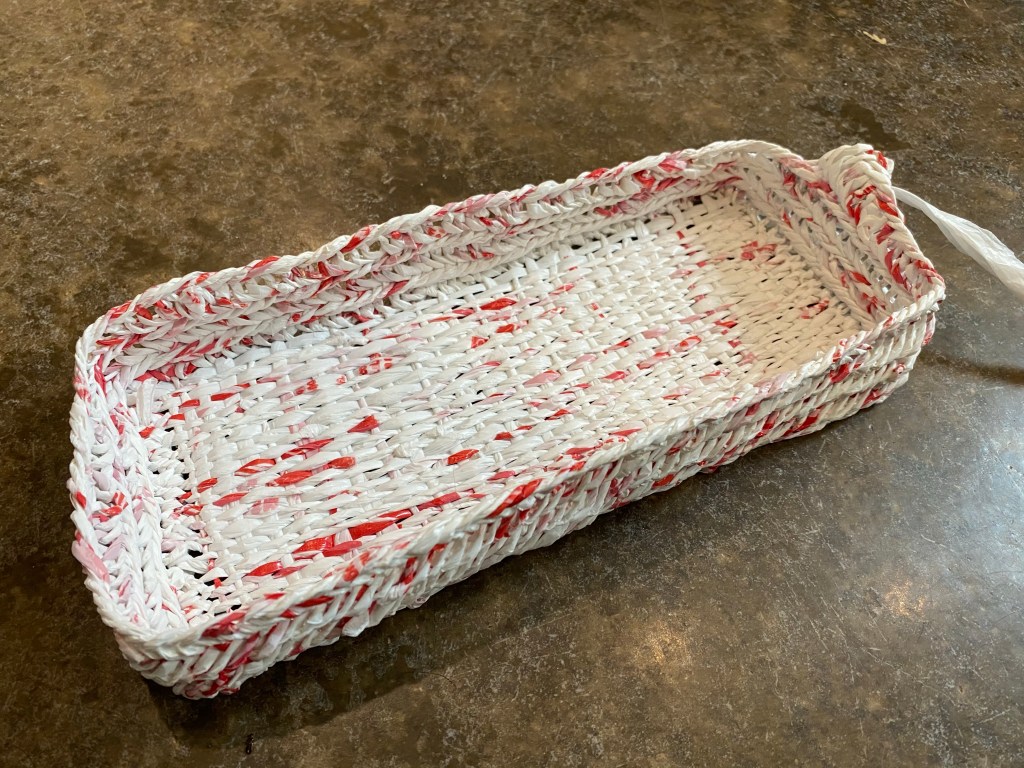
I finished the plarn bag! Or maybe it is a basket. It can stand on its own, but is still flexible. Hm.
Nålbound bag made from plastic grocery bags
I changed connection stitches mid-bag (we’ll just call it a bag, yes?) because I was aiming for the tight braided look I’ve seen produced with the Finnish 2+2 stitch. I figured out my tension at the 2/3rd mark, and the stitches finally achieved the look I wanted, so I decided to also try some decorative work (since it is an experimental object anyway).
Woven bottom of the nålbound bag
It turned out quite functional and sturdy. The handles with the three rounds are comfortable, and I made it to be large enough to hold my longest spindle. I can tell where I changed connections (from M1 F1 to F2, note to self), and where I achieved even tension, but I’m going to claim them as design choices.
Nålbound bag made of plarn
Whether the finished project is considered a bag or a basket, it is done!
P.S. This took me three weeks to complete, working in bits and pieces. The magic of the blogosphere made it seem like a few days, but it wasn’t!
P.P.S. This bag used the plastic from approximately 43 grocery bags. (And it drives me crazy when I hit “publish” instead of “save as draft” on a post.)
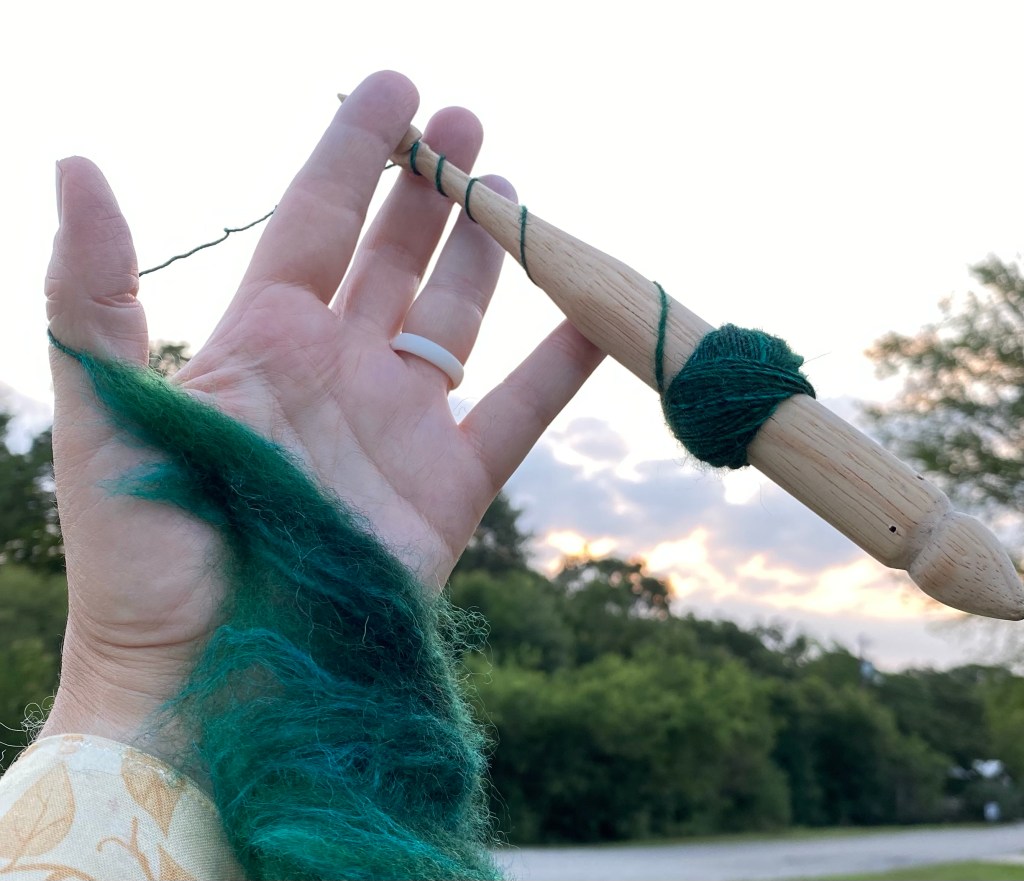
Spinning green roving nearly the color of the trees
I have started a new spinning project for my morning walks. I succumbed to color a few months ago and purchased a hand-dyed Bluefaced Leicester (a type of sheep) and silk blend roving because the colors were amazing. The color way is called “Balsam”. I think if I lived in a coniferous forest full of balsam the colors would be spot on, as it is, I noticed as I spun that it was a fair match to the greenery around me. It is joy to be spinning up essence of the trees. Mostly. I am typically not a fan of dyed fibers, not because I don’t like color, but because I like the color to stay put. I’ve noticed the top of my spindle has taken on a green hue, and when I get home my fingers are tinted. It washes away, but I will have to be very careful in the treatment of the spun yarn and final project so that it doesn’t ever lay next to something light in color. Now the conditions of my spinning are not typical, since I am outside taking exercise and the fibers are exposed to more moisture than I imagine would happen spinning inside on a wheel. The walking and spinning is teaching me to be light with my fiber hand, as pressure, heat, and water together felt wool, and all those factors can be present in the palm of my hand.
Back to talking about plarn. Yesterday I posted about how I connect and spin loops of plastic grocery bags as I stitch. I wanted to learn a new nålbinding stitch and using plarn was a perfect way to practice without wasting expensive fiber. The stitch is a Finnish 2+2 stitch as described here (this page also talks about how different connections affect the finished texture, I chose M1 + F1 because it looks more braided). I started my chain, and made it long enough that I could make a beach mat, if I so chose. It is easiest to do nålbinding in the round, so I continued in the round (nålbinding can absolutely be cut and tidied up later). As I progressed, I felt the texture would be better suited for a bag than a mat (it has a rough feel due to the twist). So then the dilemma was how to deal with the base of the bag. I could stitch it straight, as a tote bag, which wouldn’t stand on its own. I could sew an oval piece of hard plastic in, but what plastic, and would it still be recycling? I could nålbind an oval, which is downright tricky. What about weaving? It is an experimental piece anyway, could I weave a base? I found a box that fit snugly in my nålbound tube and connected the first loop by threading it through the edge and looping it back on itself (as you do for connecting loops).
Starting the weaving
I then gave the loop some twist and ran it the long way along the box, out through the edge, then back in through the next stitch. I added loops and twist as I went, making the warp threads for the weaving.
Setting up the warp threads with plarn
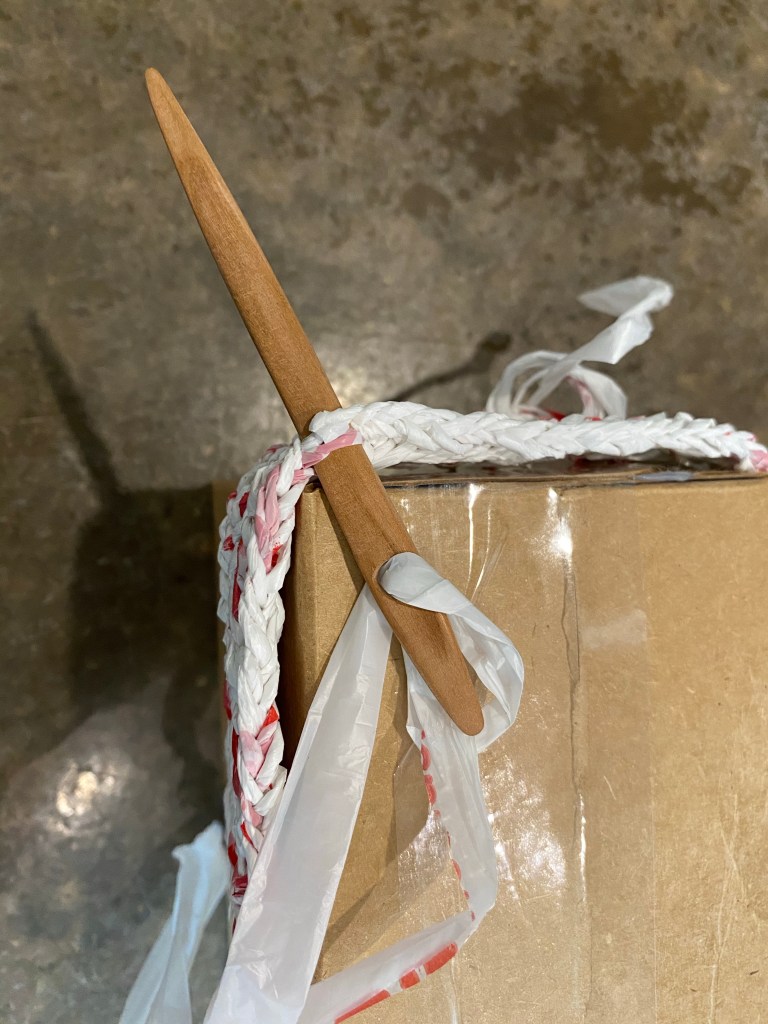
When it was time to start the weft, I realized that I didn’t have to break the plarn, I could just turn the box and keep going. I used a plain weave (over, under, over, under), and used a pick up stick to hold one shed, and a longer wooden needle to pick up the alternate threads. My nålbinding needle was best for connecting to the edge because it is smooth and doesn’t abrade the plastic.
Weaving the weft on the bottom
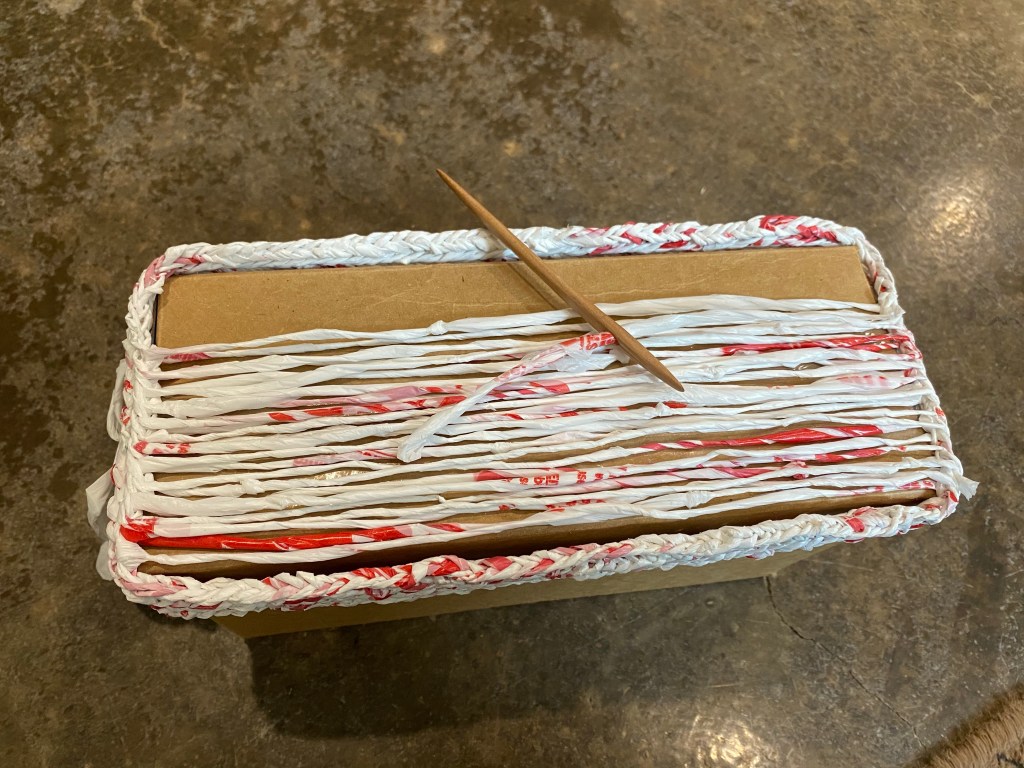
I had to adjust my spacing as I went; I started off putting the weft through every edge stitch, then ended up every third stitch to get the weft to be straight. At the end, I wove in the tail and clipped it on the inside of the bag. (Only one tail to weave in, hurray!)
Woven base for nålbound bag (in progress)
This was a very pleasing experiment. I really like the woven base: it feels nice and is sturdy. I will continue to build up the sides with nålbinding, but that will take awhile. I’ll post an update when it is done!