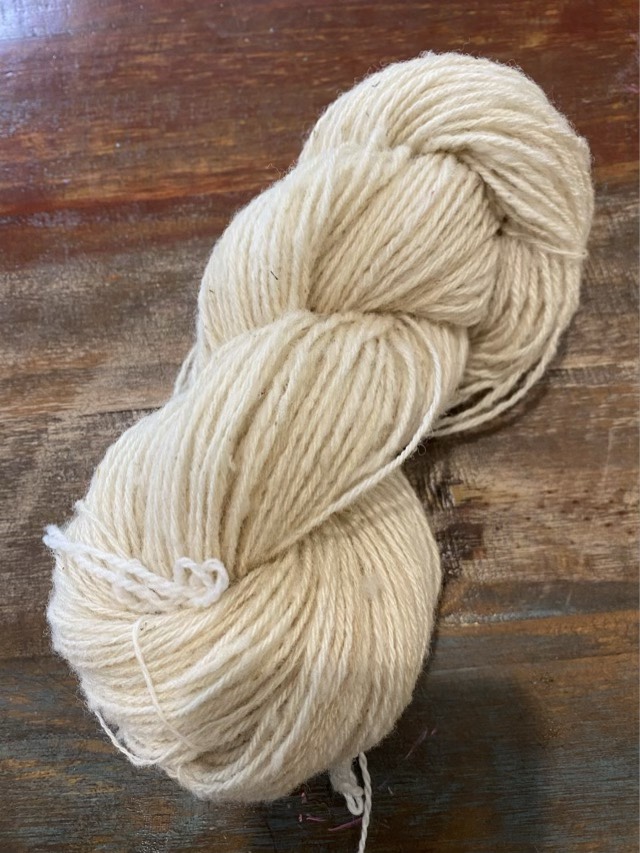
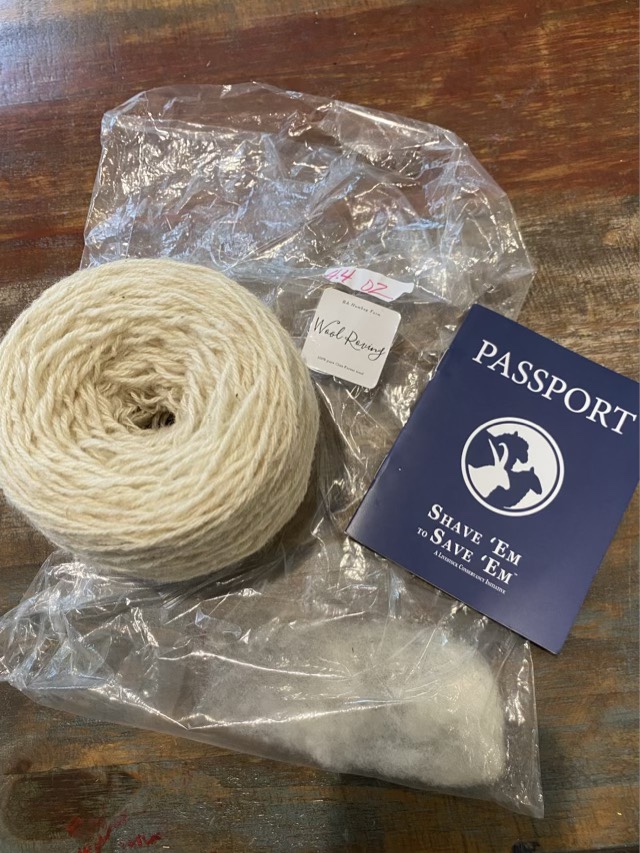
I have finished my Clun Forest hand work samples and mounted them on a page in my fiber book. I made swatches by knitting, crochet, nålbinding, and weaving.
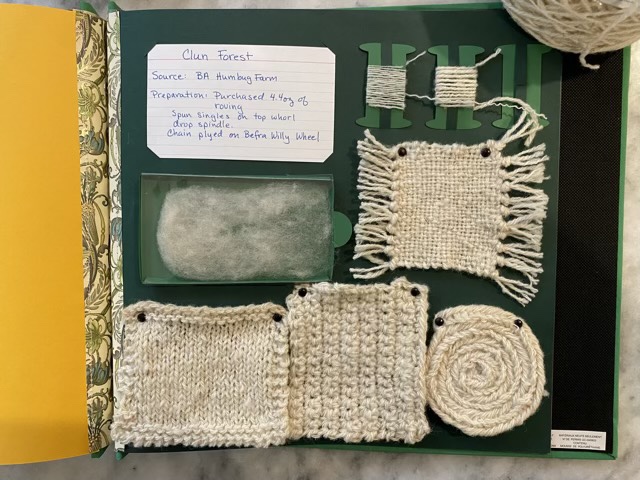
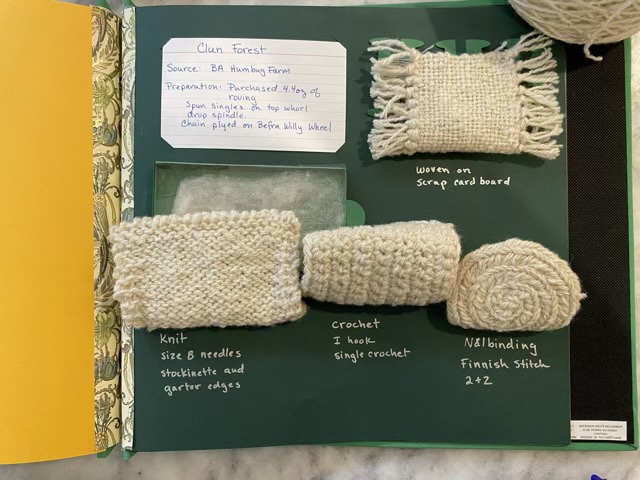
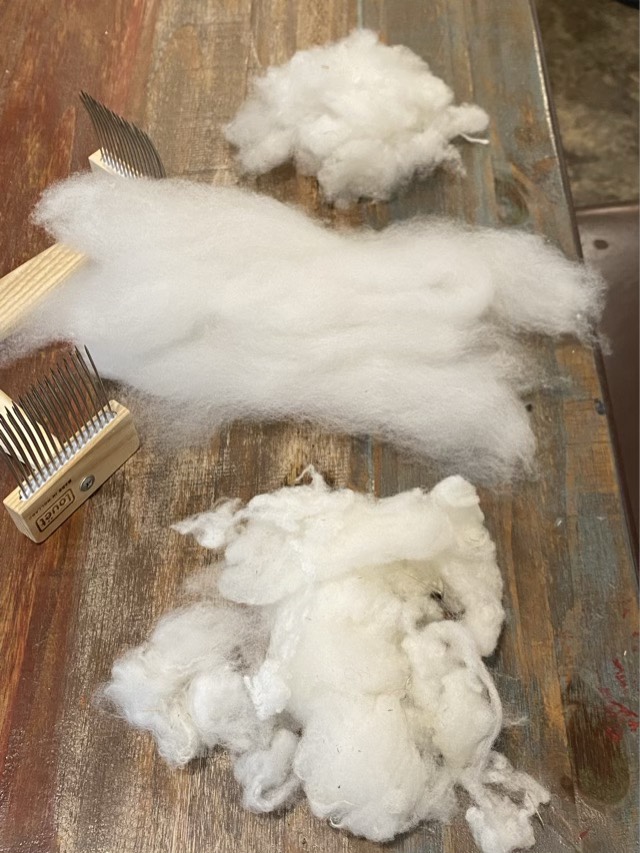
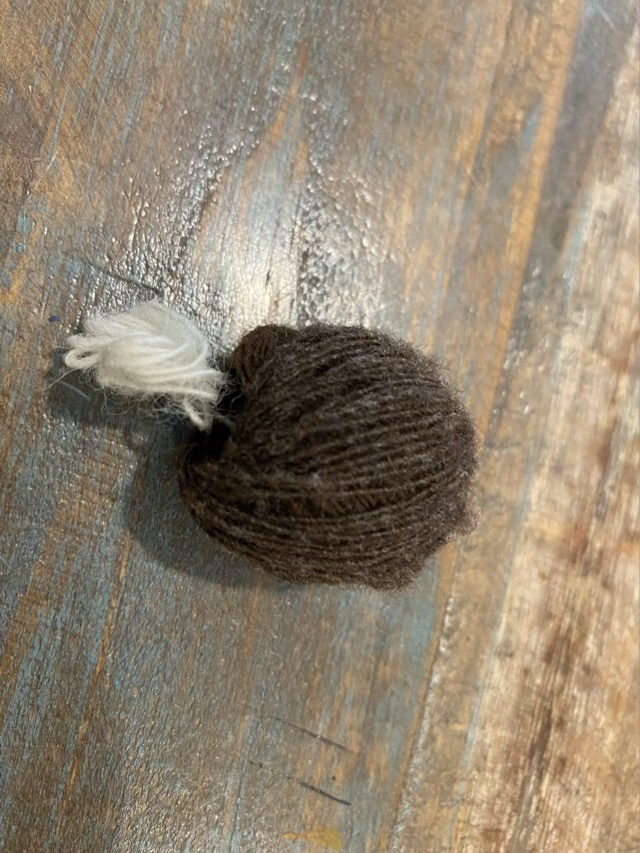
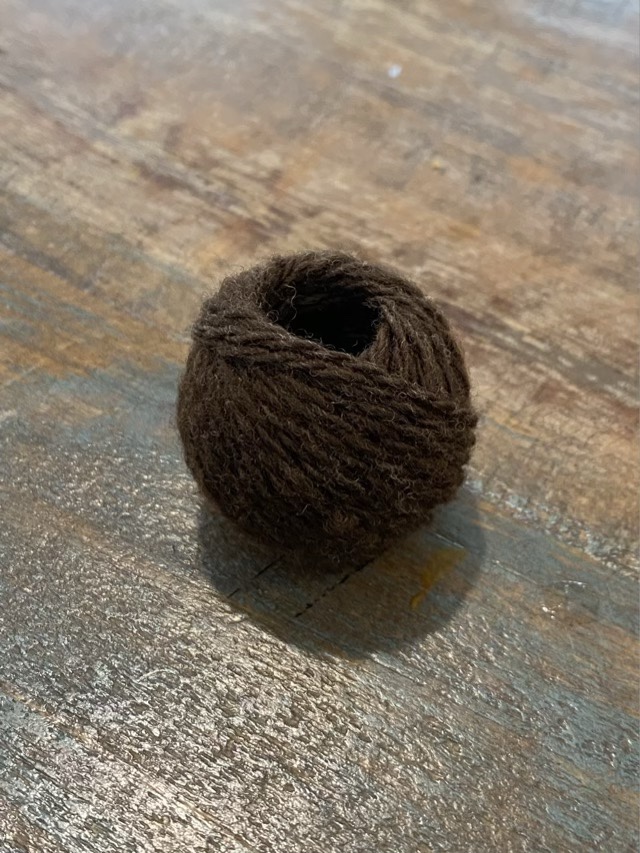
I would not make a garment out of this yarn, a rug, yes, or basket maybe. I think though that I overspun the singles. This article talks about how Clun Forest is the best for hand-spinning and produces a “very soft yarn”. My yarn sneers at “very soft” with its fists up. Perhaps on a spinning wheel with low twist some loft would be obtained, but my drop spindle spinning produced a sturdy single. Sturdy, not soft. Hm.
Nålbinding produced the squishiest swatch, and with a liner would produce a respectable hat which could potentially deflect plummeting white acorns. I just noticed that I mounted my nålbinding round wrong-side up. Hm. Easy to fix with the brads. Easier than taking a new picture. Ha.