Coaster performance update

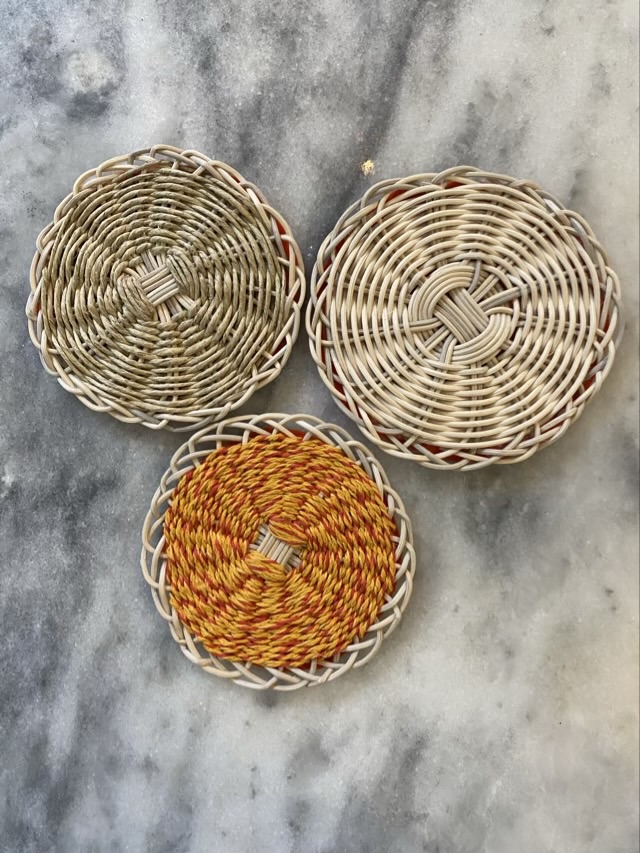
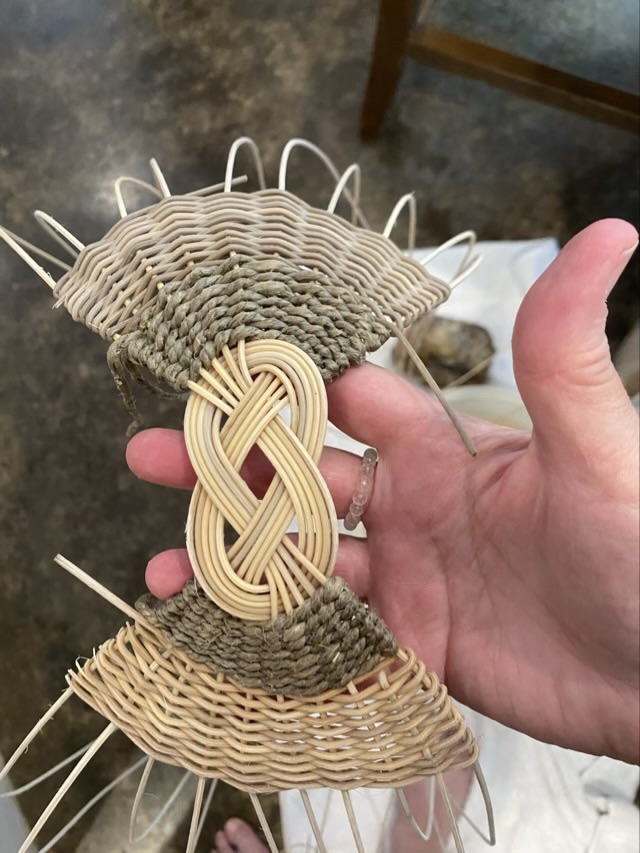
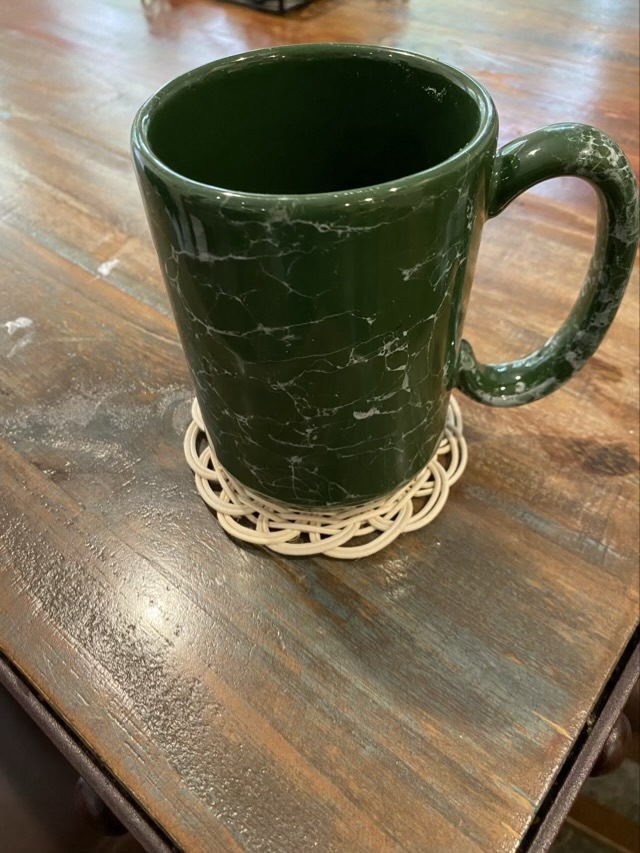
I sent my Dad four reed coasters for Father’s Day. He sent back data on preferences for hot and cold drinks.

Photo description: from left to right, #2 round reed with braided edge, reed and hemp string with braided edge, reed with tucked loop edge, reed and plied hemp string with braided edge

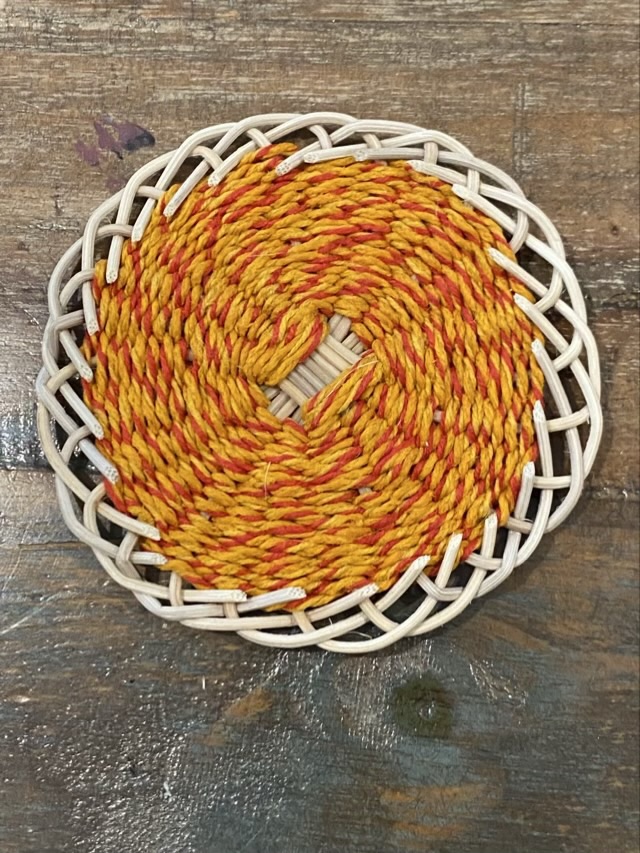
Dad reports that his favorite coasters for hot drinks are ranked left to right, and for cold drinks, right to left. The shades of orange coaster on the right made with several plies of hemp string absorbs the most condensation, so is best for cold drinks with condensation.

Reed coaster experiments

As with all my crafts, after I’ve made a few my mind wanders and I wonder how other variations might work. With the reed coasters, I tried weaving with hemp cord, and a different rim finish.

Photo description: reed coaster woven with natural hemp cord and finished with a woven edge instead of a tucked edge, back side shown
Photo description: reed coaster woven with orange and red dyed hemp cord, back side shown

The “bob” edge (behind, over, behind) leaves the ends of the reeds sticking up. I trim them flush, but being a belt and suspenders type person, used hot glue and a layer of felt to make sure they don’t wiggle free and to protect any surface they are set on.

Photo description: showing the cut ends of the reeds before I hot glue down felt to secure them and protect surfaces
Photo description: orange felt backs for three coasters
Photo description: front side of three different reed coasters

Josephine knot basket

I saw a Josephine knot based basket as I scrolled Pinterest and was immediately captivated. The construction made sense and I loved the look of the starting knot. I still had #2 reed, so I gave it a go.

My Josephine knot basket starts with ten reeds divided into two groups and woven together in a figure 8, then the stakes are woven with hemp rope and more reed.
I took the reed from each side and tucked them into the woven sections on the opposite side. I used a rolled mat as a form to get the cylinder even. I still had to adjust the staves as I wove.
Once the staves were set, I started weaving from the bottom of the basket to get the spacing set.
When the bottom section of the basket base woven, I then switched back to weaving down from the sides, which I wouldn’t do again. I think the edge of the basket would arch nicer if I had continued to work from the base up.
I added some blue colored hemp cord. The cord was thin, so I combined three shades and twisted them together as I twined the two halves around the basket staves.
Where the bottom weaving met the side weaving was a little tricky because there wasn’t much space. I used more hemp rope because it was flexible enough to take tight turns and fill in the gaps.
I soaked the completed basket in water, weighed down with a bowl to keep it submerged.
I used bowls and twine to shape the basket as it dried.
The finished, dried basket maintained the shape, and had a flat bottom which makes it stable on a table. I was pleasantly surprised that I could block the basket as I do with cloth.

When I do another of these baskets, I want to use a larger reed for the knot and staves, but still do a combination of #2 reed and cord for weaving the sides. Once I have the knot secure, I would weave from the bottom up. This basket took me a few days of interrupted time to complete.

Reed coaster

I was so excited about learning to weave baskets that I bought a pound of #2 round reed made from rattan palm. As I prepped stakes and weavers from the coiled bundle, I had shorter lengths left over. My weaver friend told me how to make coasters, so I saved the “waste” reed and used it as the stakes for a small weaving.

Photo description: coaster woven from #2 round reed
Photo description: coaster in use, with a coffee cup sitting on top

These coasters use shorter lengths of reed for the stakes or spokes, and one long weaver that weaves around the middle. It starts the same was as a double walled basket, but stays flat. They don’t take as long to weave as a full basket, and they seem to make excellent little mats for coffee or tea.

Double-walled basket

I attended a double-walled basket class taught by my wonderful weaving neighbor. I spent a morning winding #2 reed round and round, happily seeing how to turn at the top, and finish off the bottom. It is my first double walled basket, but I have ideas on how I would do different shaping. One of the other students had a beautiful curve to the sides of her basket!

Photo description: the side of a double walled basket with accent stripe
Photo description: same basket viewed from a top angle
Photo description: same basket, bottom view, showing the two walls

I’m obsessed.