Plying bracelet

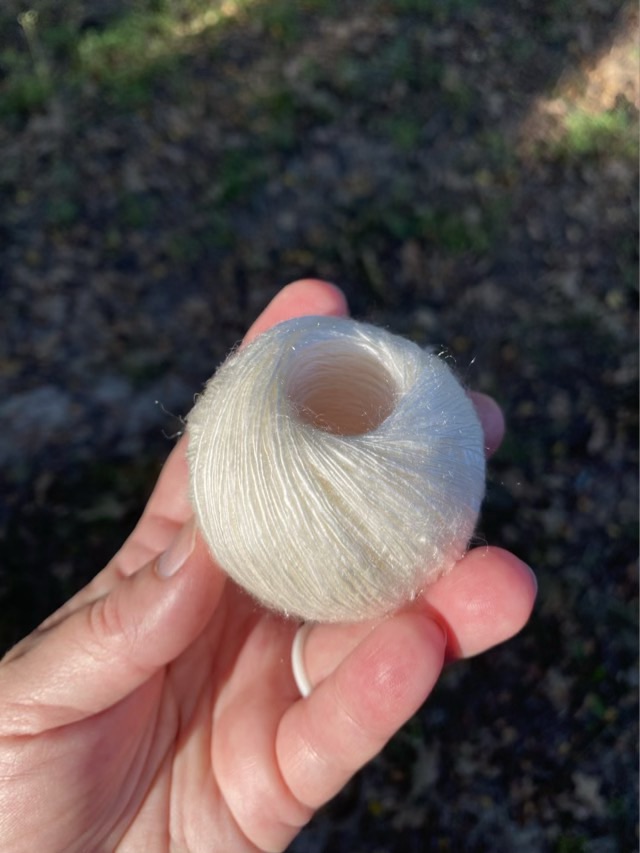
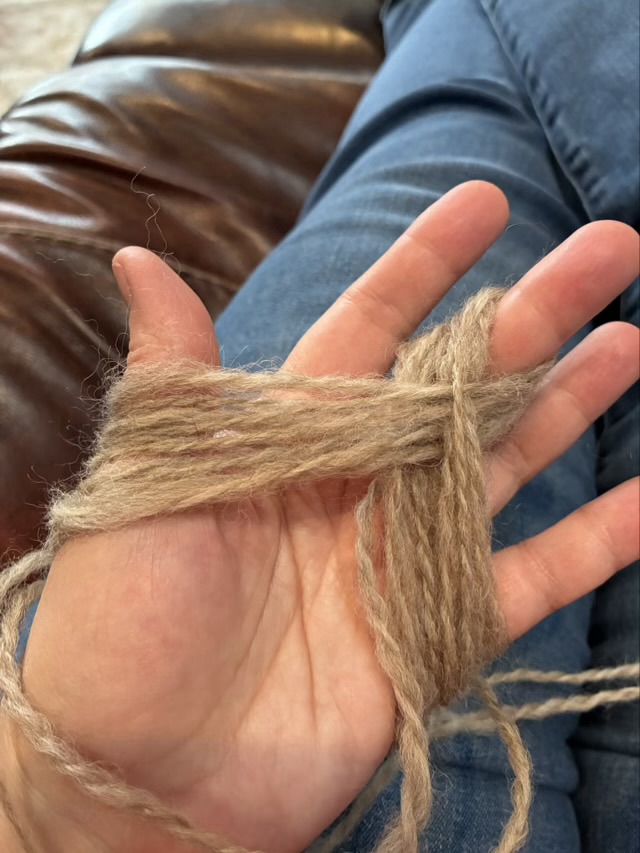
When spinning with my literal stick and my newly purchased Romney wool, I wanted to know how it would look plied, because this is the lowest twist I’ve ever put in making a yarn. This was a good opportunity to experiment with plying bracelets. A plying bracelet is made by wrapping the yarn around your hand (or other object) in a certain pattern so that when it is slipped onto the wrist, it is easy to ply from both ends without tangles. It is pretty magical, really, and worth exploring. There are several different ways to wrap a plying bracelet, here is the one I used.

Photo description: two plied yarn wrapped around my hand to form a plying bracelet
Photo description: plying from both ends of a plying bracelet to make a two ply yarn

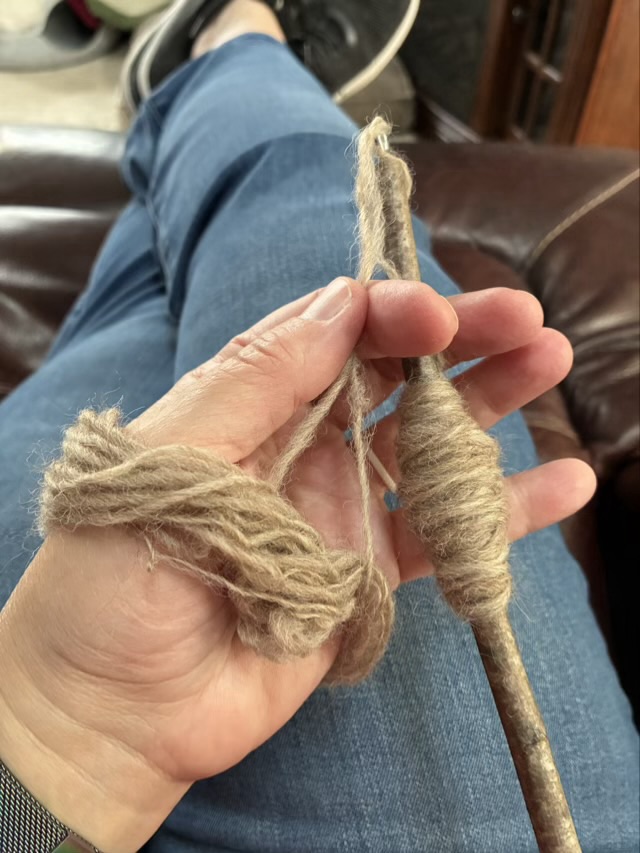
The photos are a little out of order, I forgot to take a picture of the plying bracelet to make the two ply yarn, but then took that yarn and made another plying bracelet to make a four-ply cabled yarn.

This is an interesting technique and a nice little rabbit hole to explore.

Plying Jacob’s wool

All the singles I spun with my Jacob’s wool from Sweetgrass farms had sat on their bobbins for a few days, so it was time to ply! I put a makeshift brake on the bobbins on their stands on the wheel. I used a cotton string and applied enough tension so that the bobbins will turn, but not spin freely. This saves me from future tangles.

Photo description: three bobbins full of spun singles on an Ashford Traveller spinning wheel
Photo description: jumbo Ashford bobbin full of three-ply Jacob’s wool yarn
Photo description: left over dark and silver marled yarn with the middle bobbin empty
Photo description: three-ply yarn made with two dark singles and one silver single
Photo description: left over yarn from round two of plying
Photo description: four bobbins of three-plied Jacob’s wool yarn in four colors

I used the silver single spun with the remaining two bobbins of dark colored singles, then when the dark ran out, chain plied the silver. I ended up with two jumbo bobbins full of three-ply yarn, and two regular bobbins half-full of yarn.

I need my bobbins free, so this yarn doesn’t get to let time set the twist. Next up is the niddy noddy.

In need of a nostepinne

I finished plying the rose combed top fiber, wound it onto my PVC niddy noddy, and gave it a rinse. When it was dry, I took the skein and hung it over the back of a chair, but I went to wind it into a ball, and couldn’t find my nostepinne, or the rolled card stock I had been using. Hm. Then I noticed the PVC pipe is about the right size. Perfect.

Photo description: nostepinne style ball wrap on a PVC pipe from a home made niddy noddy

Are swifts and ball winders and wooden niddy noddys nice? Yes, of course. Are they necessary to the yarn making process? Nope. The back of a chair, or an extra pair of hands, and a rolled paper or a length of pipe will do.

Spinning Tencel

It is shiny, sleek, and has a little sparkle, but I had a rough time spinning the Tencel fiber sample. I think I dropped my spindle more than with any other fiber. The fibers like to clump, but did not like to evenly draft, and my single spun yarn came out uneven with thin and thick randomly spaced.

Photo description: single spun Tencel fiber on a wood drop spindle in the sunlight, asphalt in the background
Photo description: notepinne style wound ball held in my hand in the sunlight to show the luminosity
Photo description: the side of the ball of single spun yarn held in the sunlight to show the shine

I chain plied the single from the center of the ball and added twist using my Ashford Traveller spinning wheel.

Photo description: chain plied Tencel yarn on a wood bobbin
Photo description: three ply Tencel yarn on a PVC niddy noddy, which really shows the unevenness of the spin

As much as I love the idea of using fiber made from waste tree products, I would not choose to spin Tencel again, the frustration wasn’t worth it. I was glad it was a 25 gram sample.

Dividing the last

I spun up nearly a whole bag of alpaca/merino roving, filled up six small bobbins of singles, and two large bobbins of three ply yarn. The roving that remained was not enough to fill three more small bobbins, so I weighed it and divided by three.

Photo description: “rose hip” dyed alpaca and merino roving divided up into three roughly equal parts and put back in the bag, separated by clips. Ashford Traveller spinning wheel in the background with left over single spun yarn on the bobbins.

Dividing the roving worked well, but I still had one bobbin run out of single spun before the other two when I was plying. To use up all the singles, I chain plied the last bits. Since chain plying creates a slightly different yarn than plying from three bobbins (there are U bends in the yarn, but it is still three ply), I knit up my swatch with this last bit of yarn. So I didn’t loose track of which part was chain plied, I knit straight off the spinning wheel. The yarn was nicely balanced, so this wasn’t difficult.

Photo description: knitting a moss stitch swatch straight off the spinning wheel

My spinning and plying created a “bulky” yarn, about 8 wraps per inch (wpi), so I knit with size 11 needles by Prym.