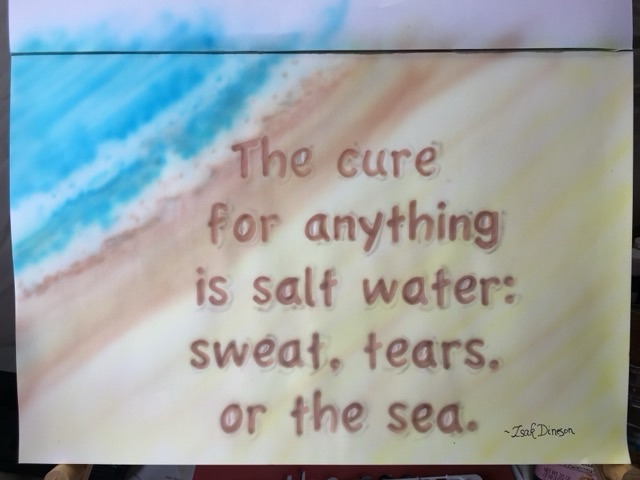
In February 2017 I was experimenting with my new air brush. I tried a design out on paper, then did it on a plank of wood.
Photo description: airbrushed painting on paper of a sandy beach with waves and the quote “The cure for anything is salt water: sweat, tears, or the sea.” -Isak Dineson
For the words I used a stencil, then airbrushed in shadows.
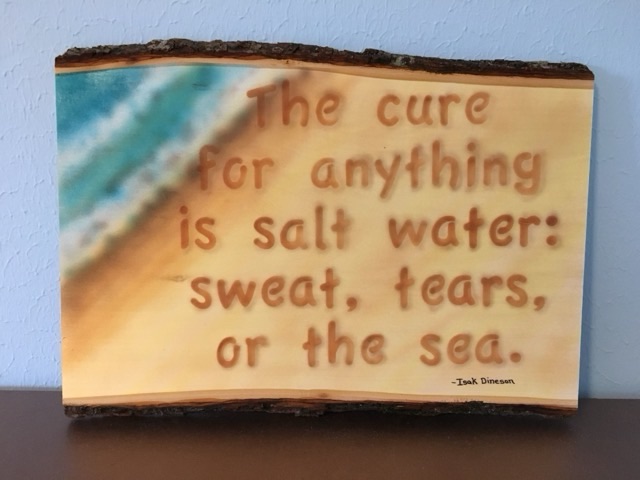
Photo description: same theme airbrush painting on a live edge plank of pine
This was a gift for a friend. I did enjoy the airbrush, but set up and clean up is an involved process, so I don’t use it often.
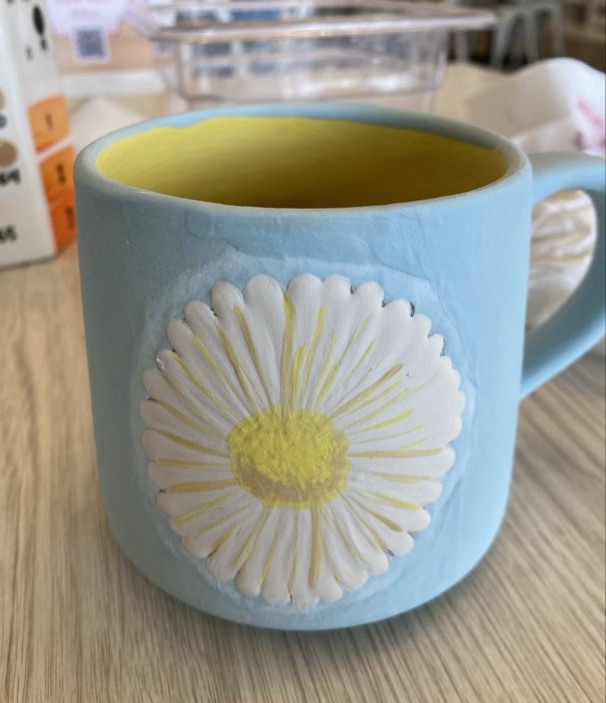
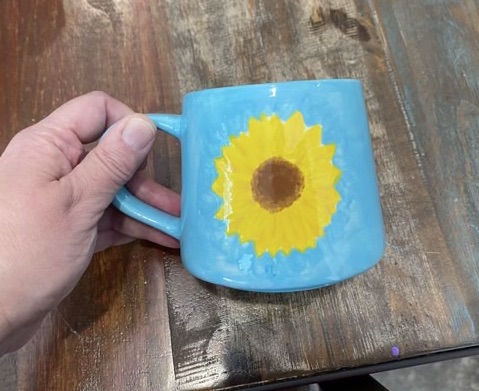
We’ve done another round of ceramic painting. This time I tried for flowers, daisy on one side and a sunflower on the other for my mother-in-law.
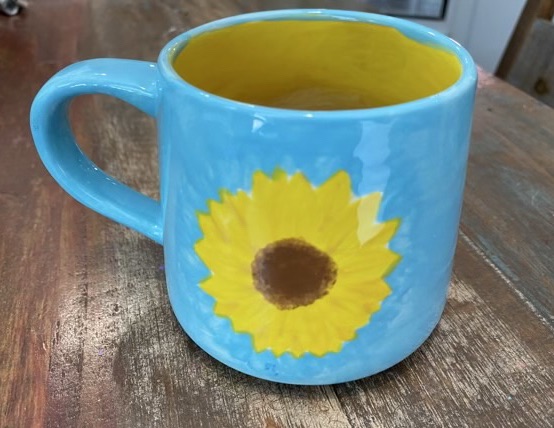
Photo description: ceramic mug painted with a white daisy on a blue background, before firingPhoto description: other side of the same ceramic mug painted with a yellow sunflower on a blue background, before firingPhoto description: sunflower side after firing, same camera angle
It was interesting how the flowers changed after firing, and something to consider when painting again with glaze.
The other interesting thing is the apparent shape of the mug. In the pictures above it looks like a standard straight sided coffee mug, but it isn’t.
Photo description: same mug, but photographed from the side showing the sloping angles of the sides betterPhoto description: daisy side of the mug, after firing, photographed straight on
My favorite part is the ombre interior. It really amuses me to have the inside painted like a patina of coffee has already built up.
Photo description: inside of the mug showing yellow to brown glaze gradient
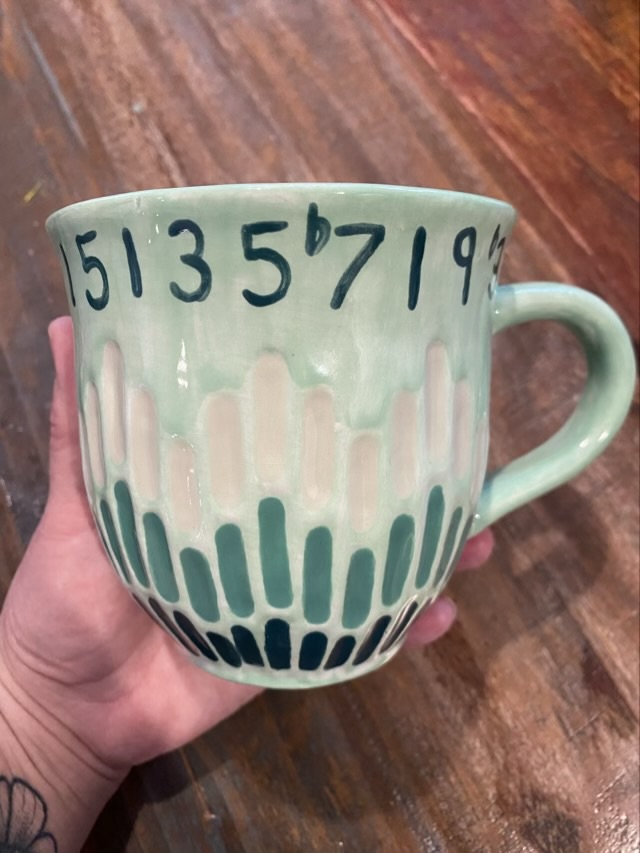
My youngest is on a ceramic painting kick this summer. We go to pick up the fired piece, and paint another. Repeat. I’m learning about music theory particularly in the realm of Barbershop harmony, so I painted a mug in celebration of Harmonics.
Photo description: “Fluted mug” from Quiggly’s Clayhouse painted with glaze in shades of green and the word “Harmonics”, my signature mark and 7/25 written on the bottomPhoto description: same mug after firing
I like that the “Fluted mug” looks like a digitized sound wave.
Photo description: opposite side of the mug with the numbers 1 5 1 3 5 b7 1 9 b3
On the opposite side of the mug I wrote the harmonic series in scale degrees, because Barbershoppers are all about the overtones (in physics overtones and harmonics are different, while in Barbershop they are often used interchangeably.)
Photo description: inside of the mug painted ombre tan to brown with the words “Go Sing” on the bottom
It greatly amuses me to paint the inside of the mug like it is already stained with tea or coffee. And, of course, when I get to the bottom of the mug, it is time to go sing.
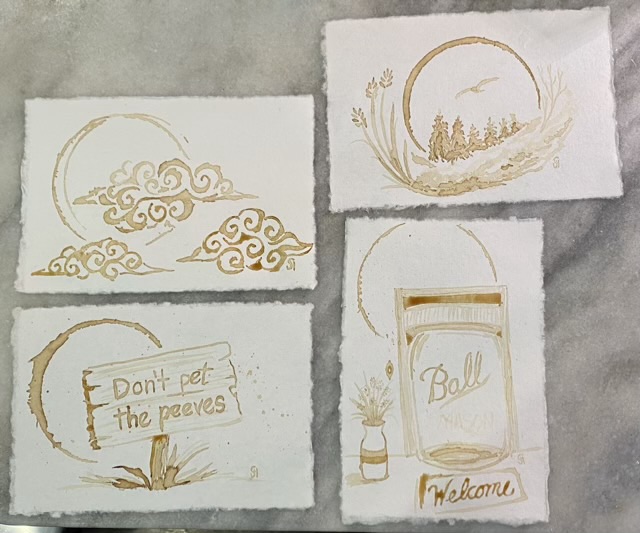
I bought expresso from The Full Cup coffee and book store back in August with the intension to paint more coffee art. Life happened, and the expresso stayed in a bottle in my fridge for nine months. I finally pulled it out and did some paintings on cotton fiber paper.
Photo description: four expresso paintings, all including a coffee ring made from a coffee cup
I digitized the paintings and made greeting cards that I took back to The Full Cup to sell.
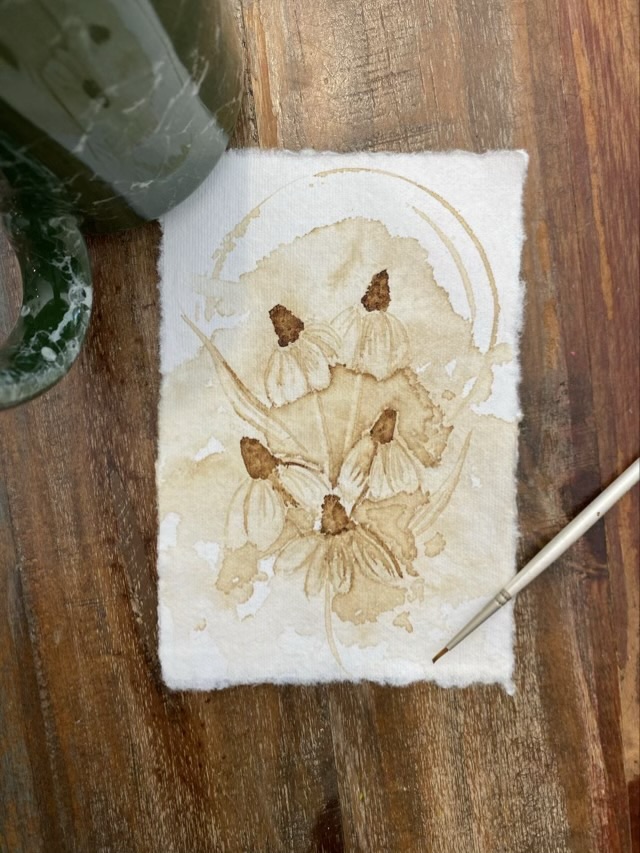
Expresso has a more intense color than American drip, and works similar to water colors. I can “erase” by adding more water, and everything looks different when it dries. The image below took many cycles of painting and drying over several days.
Photo description: Brown-eyed Susan flowers painted with expresso
My plan is to have a whole series of these small paintings, which will be digitized for greeting cards.
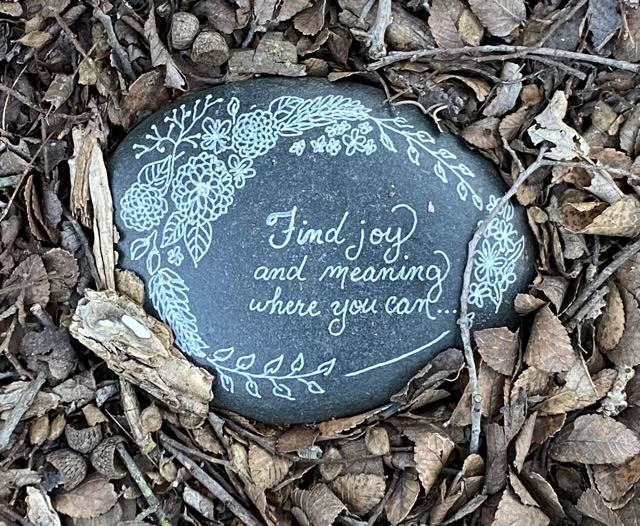
In August 2023 I painted several rocks using a line painting tool, then finished them with a clear UV spray coat. One of the rocks I put out in the garden with a collection of other painted rocks. A year and a half later, this is the only rock that looks as good as new. The others’ designs cracked and flaked off since they had layers of paint, sometimes quite thick.
Photo description: dark rock painted with thin white lines with floral designs and the words “Find joy and meaning where you can.”
My takeaway for this is that if you make or find a rock completely covered in paint, keep it inside. If you want to be super clever and hide your rock in a place it might take someone years to find, apply the paint sparingly. I think some of my planted painted rocks may have returned to their natural color waiting to be found. Those freeze thaw cycles and UV rays are hard on paint.