I finished my spun mohair fiber page. This mohair is from Rutabaga the Angora goat and is from her first shearing.
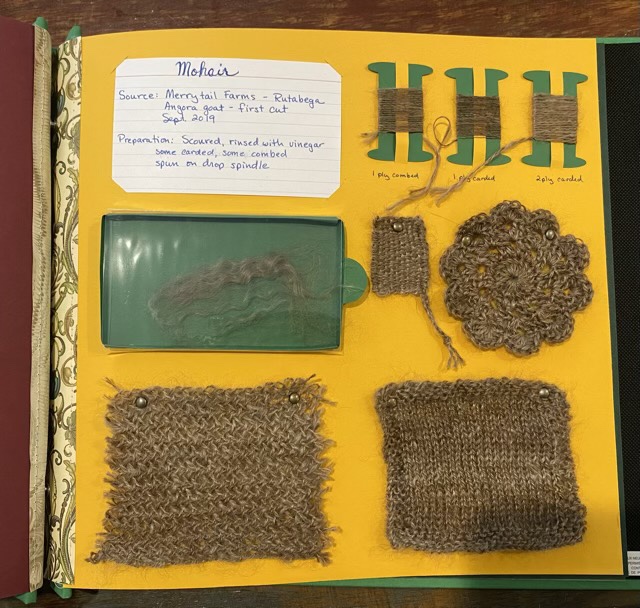
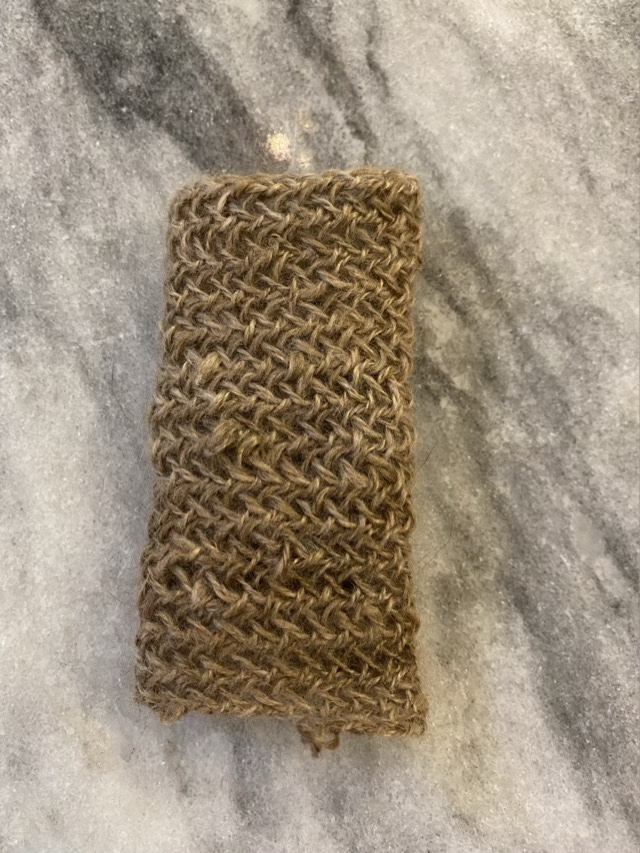
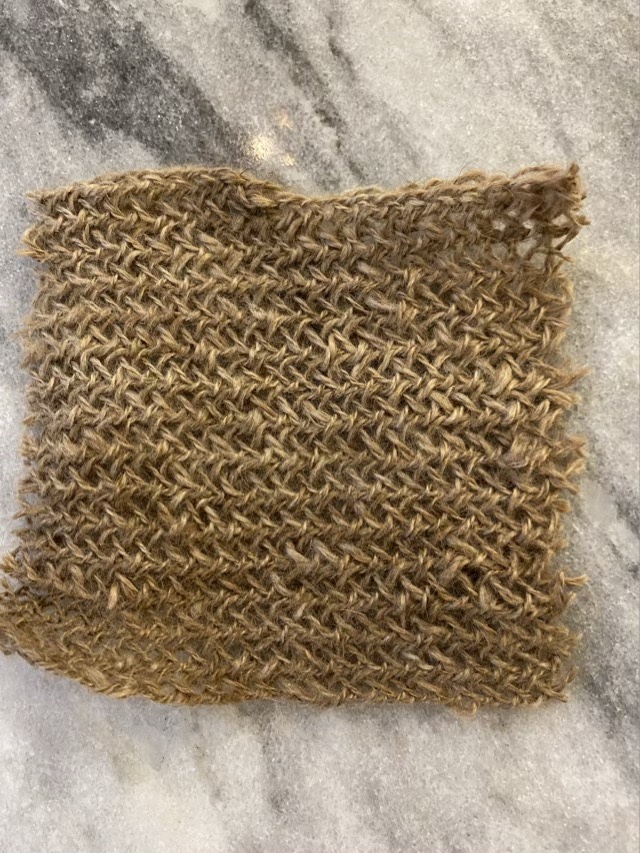
I did a knitting swatch in stockinette stitch with a garter stitch border, crochet round, a minute weaver, and a nålbound swatch.


I finished my spun mohair fiber page. This mohair is from Rutabaga the Angora goat and is from her first shearing.
I did a knitting swatch in stockinette stitch with a garter stitch border, crochet round, a minute weaver, and a nålbound swatch.
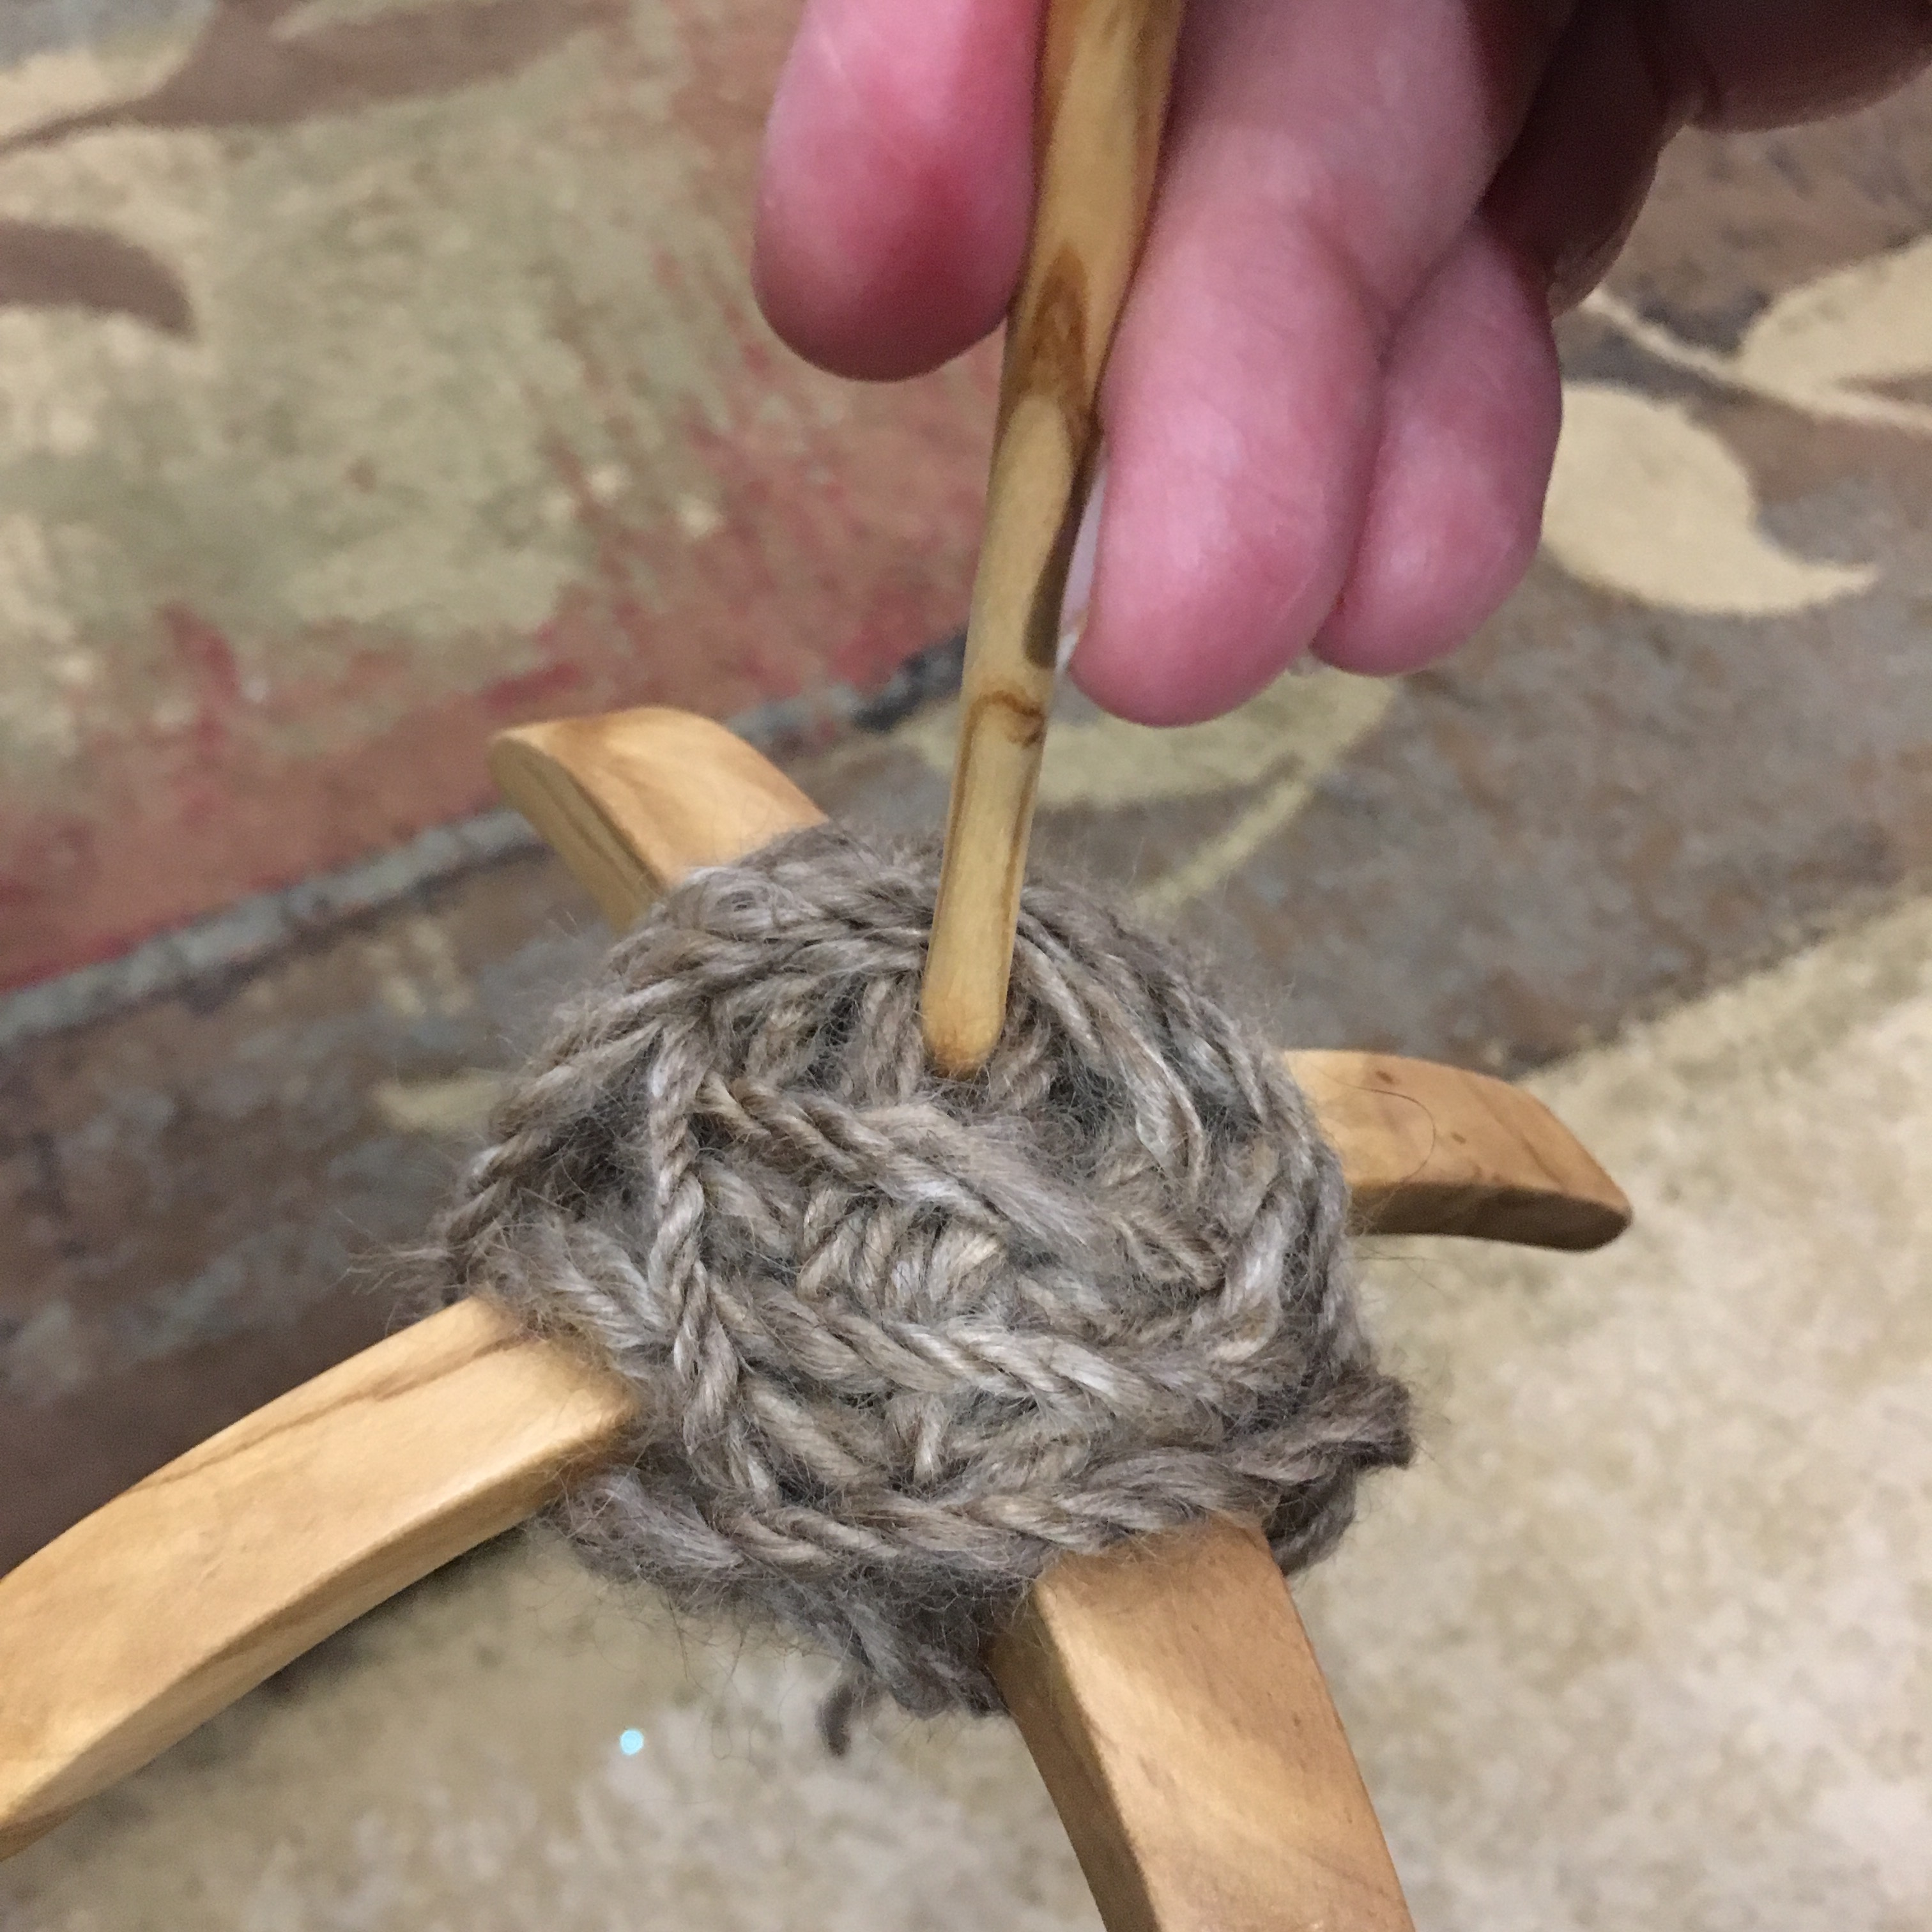
For my fiber book, I made a nålbinding swatch with hand spun mohair. The thing I love about nålbinding is the ability to cut it. Nålbinding is usually worked in the round, and each loop is connected to the next as well as to the row below. This makes it possible to cut the fabric vertically or horizontally and still have interlocked rows.
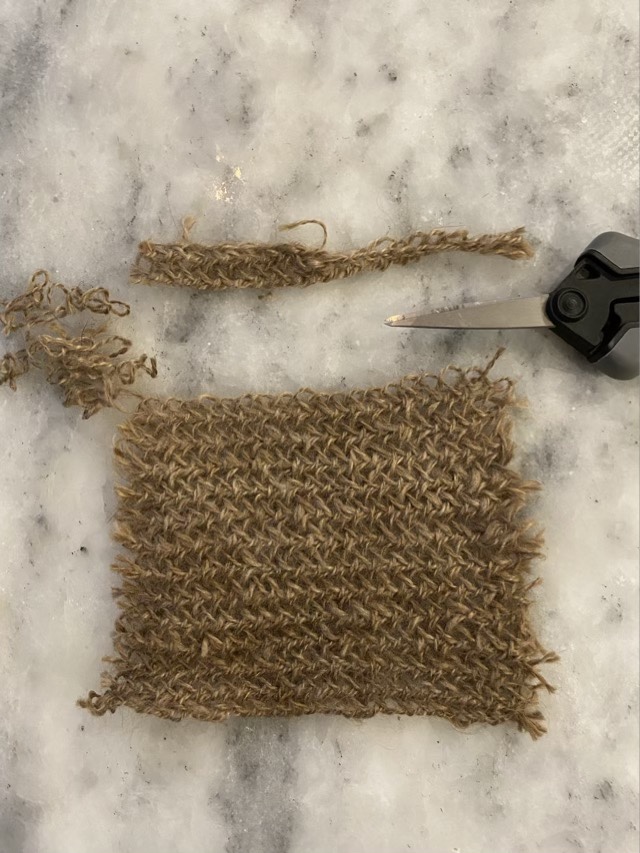
When nålbinding is cut, there are portions of loops that can be removed. I left the side edges raw, but removed the loose pieces along the top. This is going to be mounted on a page in a book, so won’t see too much wear and tear. It will still be interesting to see how it fares over the years.
I pulled some scoured mohair from my stash that I prepped a few years ago. This is hair from Rutabaga, an Angora goat, and came from her first shearing. My intention is to spin it up for another fiber log page.

The fibers condensed some in storage, and at the time I didn’t have carders, so had used a cat brush to align the fibers. I tried spinning from the sections straight from the bag, but the pull was uneven and my yarn inconsistent. So I carded some with hand carders, which made spinning easier but I lost some of the shine. I don’t have wool combs, but found some undercoat rakes designed for dogs. I am able to comb small amounts of fiber inefficiently, but I can comb them, which makes the fibers parallel and removes the noils and shorter fibers. The combed sections are much easier to spin and have more shine when spun.
The next step is to obtain actual wool combs, which have longer tines to process more fiber. Properly made wool combs are an investment. Yes, there are DIY versions out there using finish nails, but those nails aren’t mirror finished or very long. As I think about how I would construct combs, hardening and mirror finishing the metal tines seems the most intensive part. Then setting the tine into a comfortable handle in such a way that they don’t work loose under the work load is the next challenge. I am thinking that the combs, although expensive, are not unreasonably so.
100% mohair, natural color (no dye), hand spun, 3 ply, nålbound with York stitch, cloche style hat.
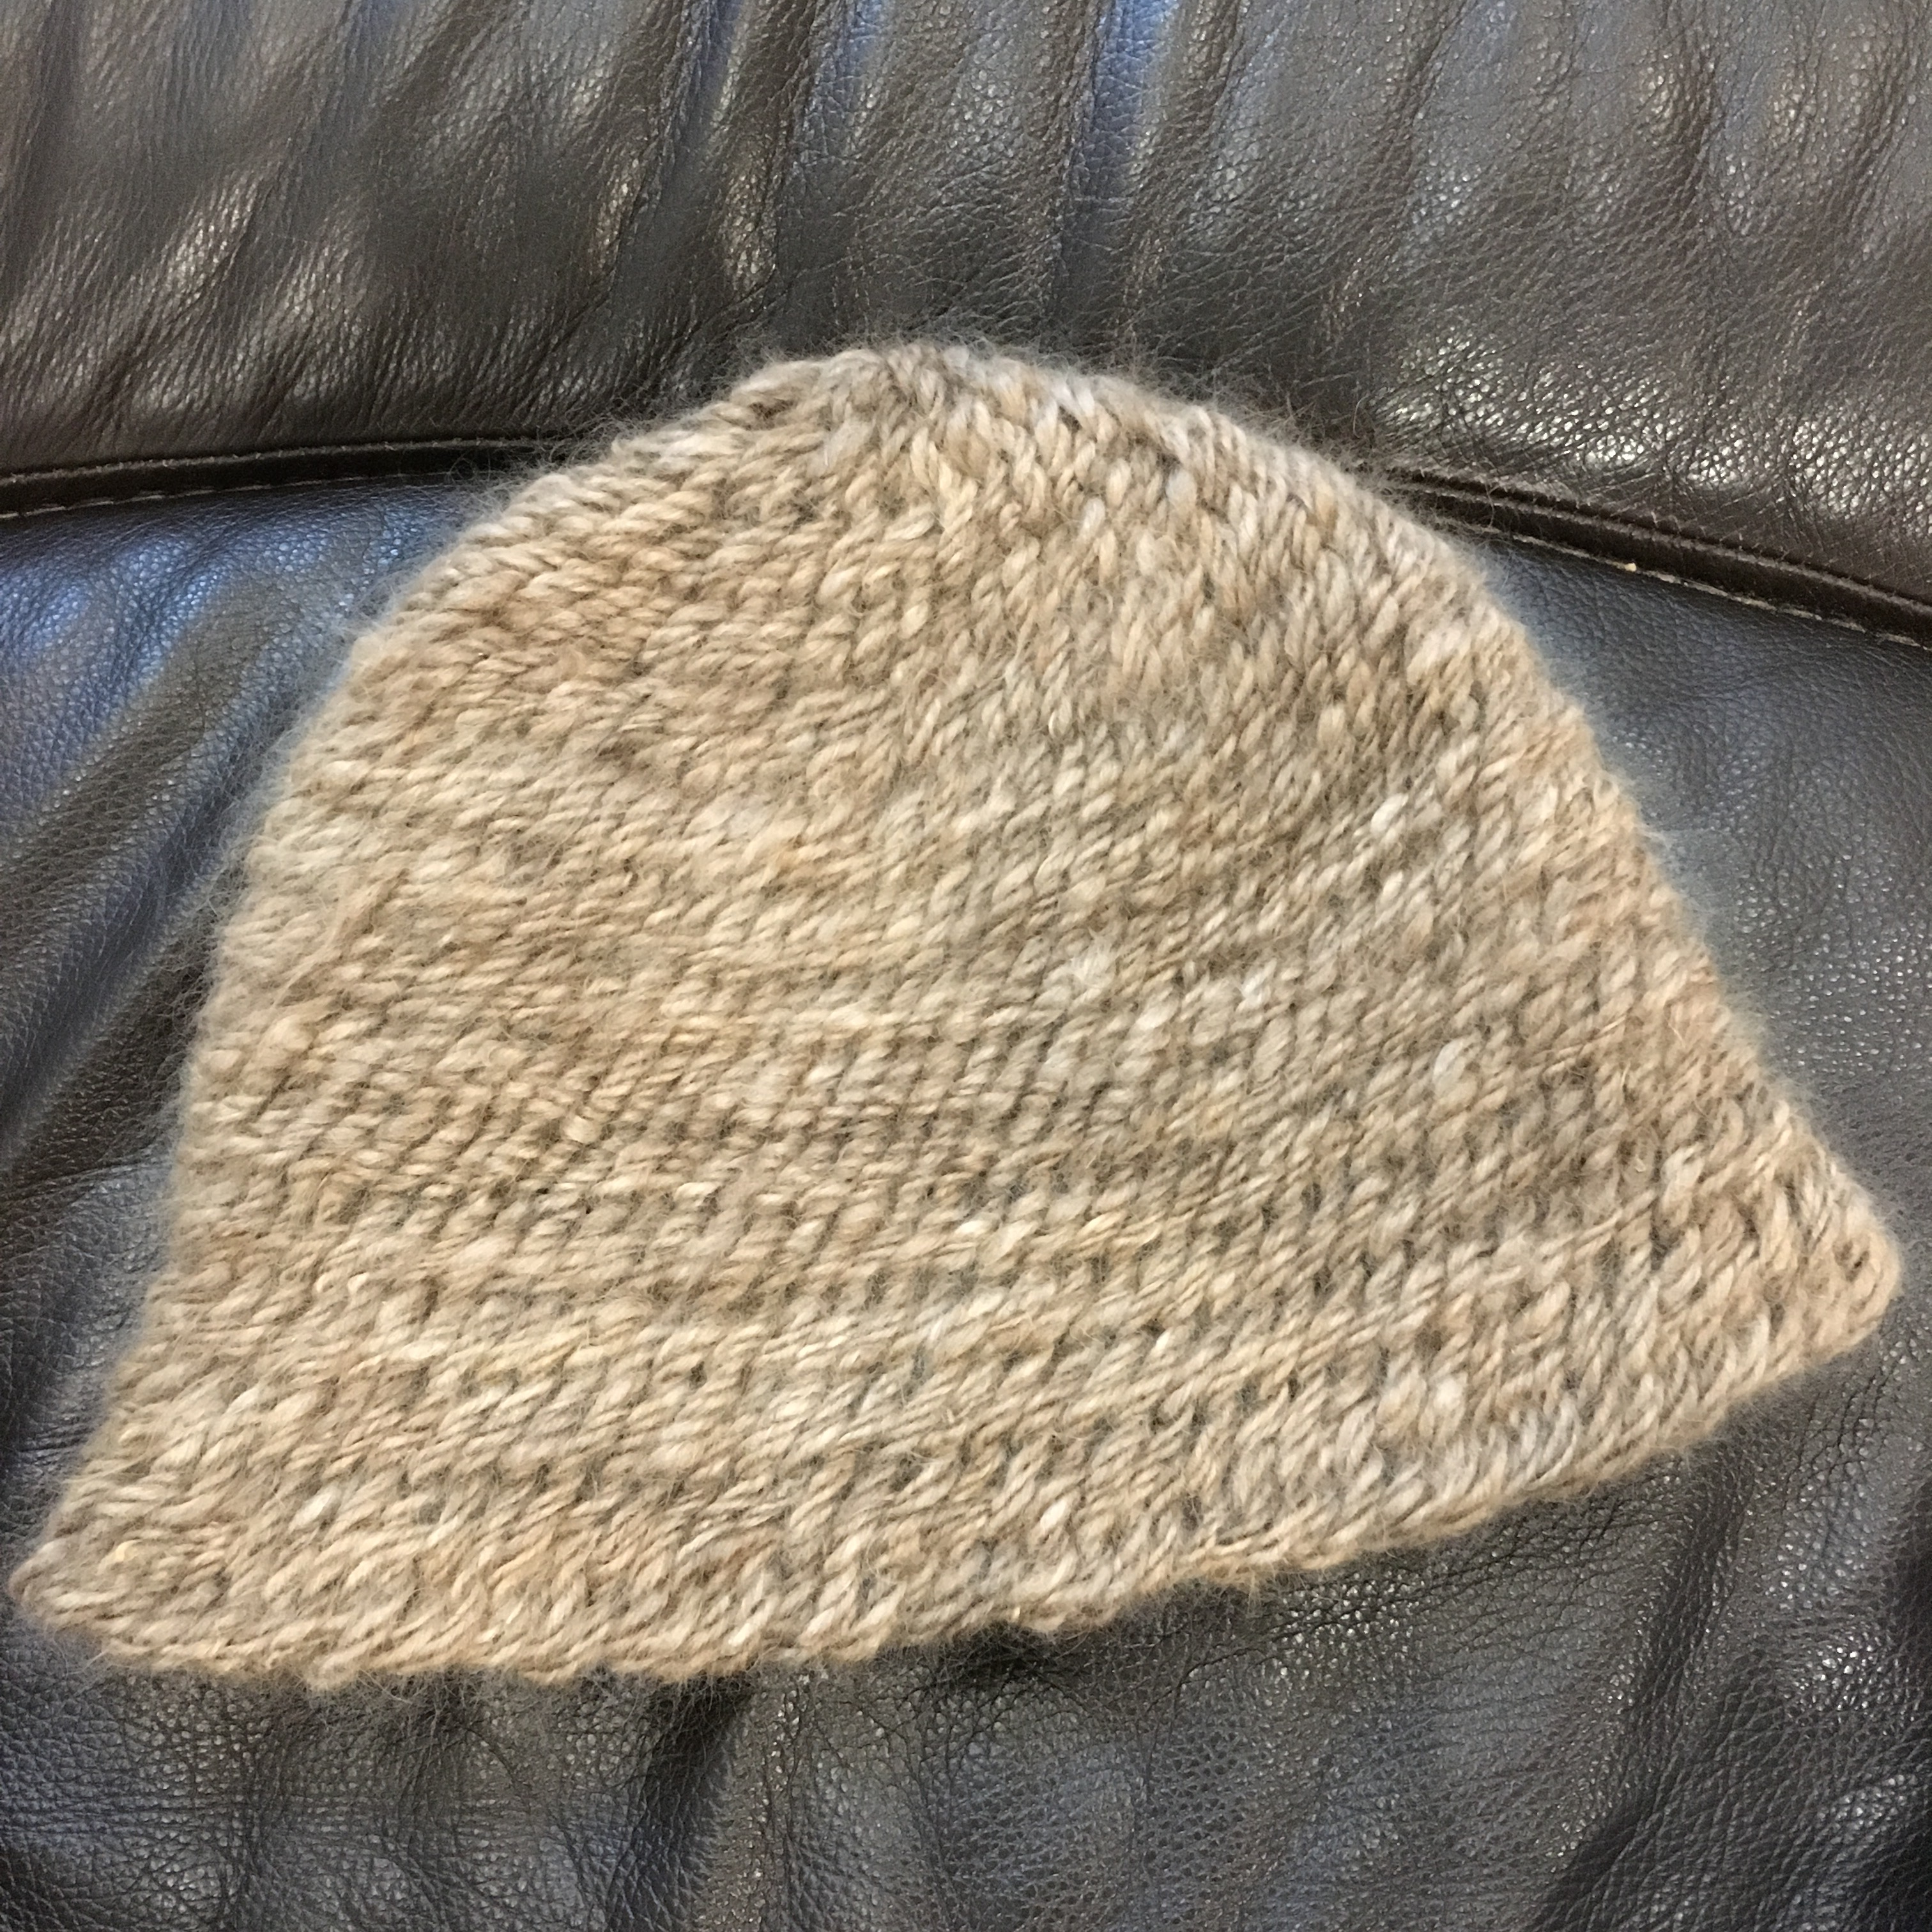
I love how the Z twist of the plied yarn goes perfectly with the York stitch so it looks like the twist goes from the crown to the brim. The mohair also has a lovely shine and an epic halo.

My youngest wanted to be my hat model this time. The hat is a bit on the big side for her, but it is easier to see the mohair halo when the hat is being worn!
I have six bundles of Rutabaga’s fleece, so I decided to wash three, spin them separately, then make a three ply yarn. I don’t have (and haven’t yet made) a lazy Kate to hold the spools and spindles while I ply, so I hung them up to keep things from tangling. It worked pretty well.
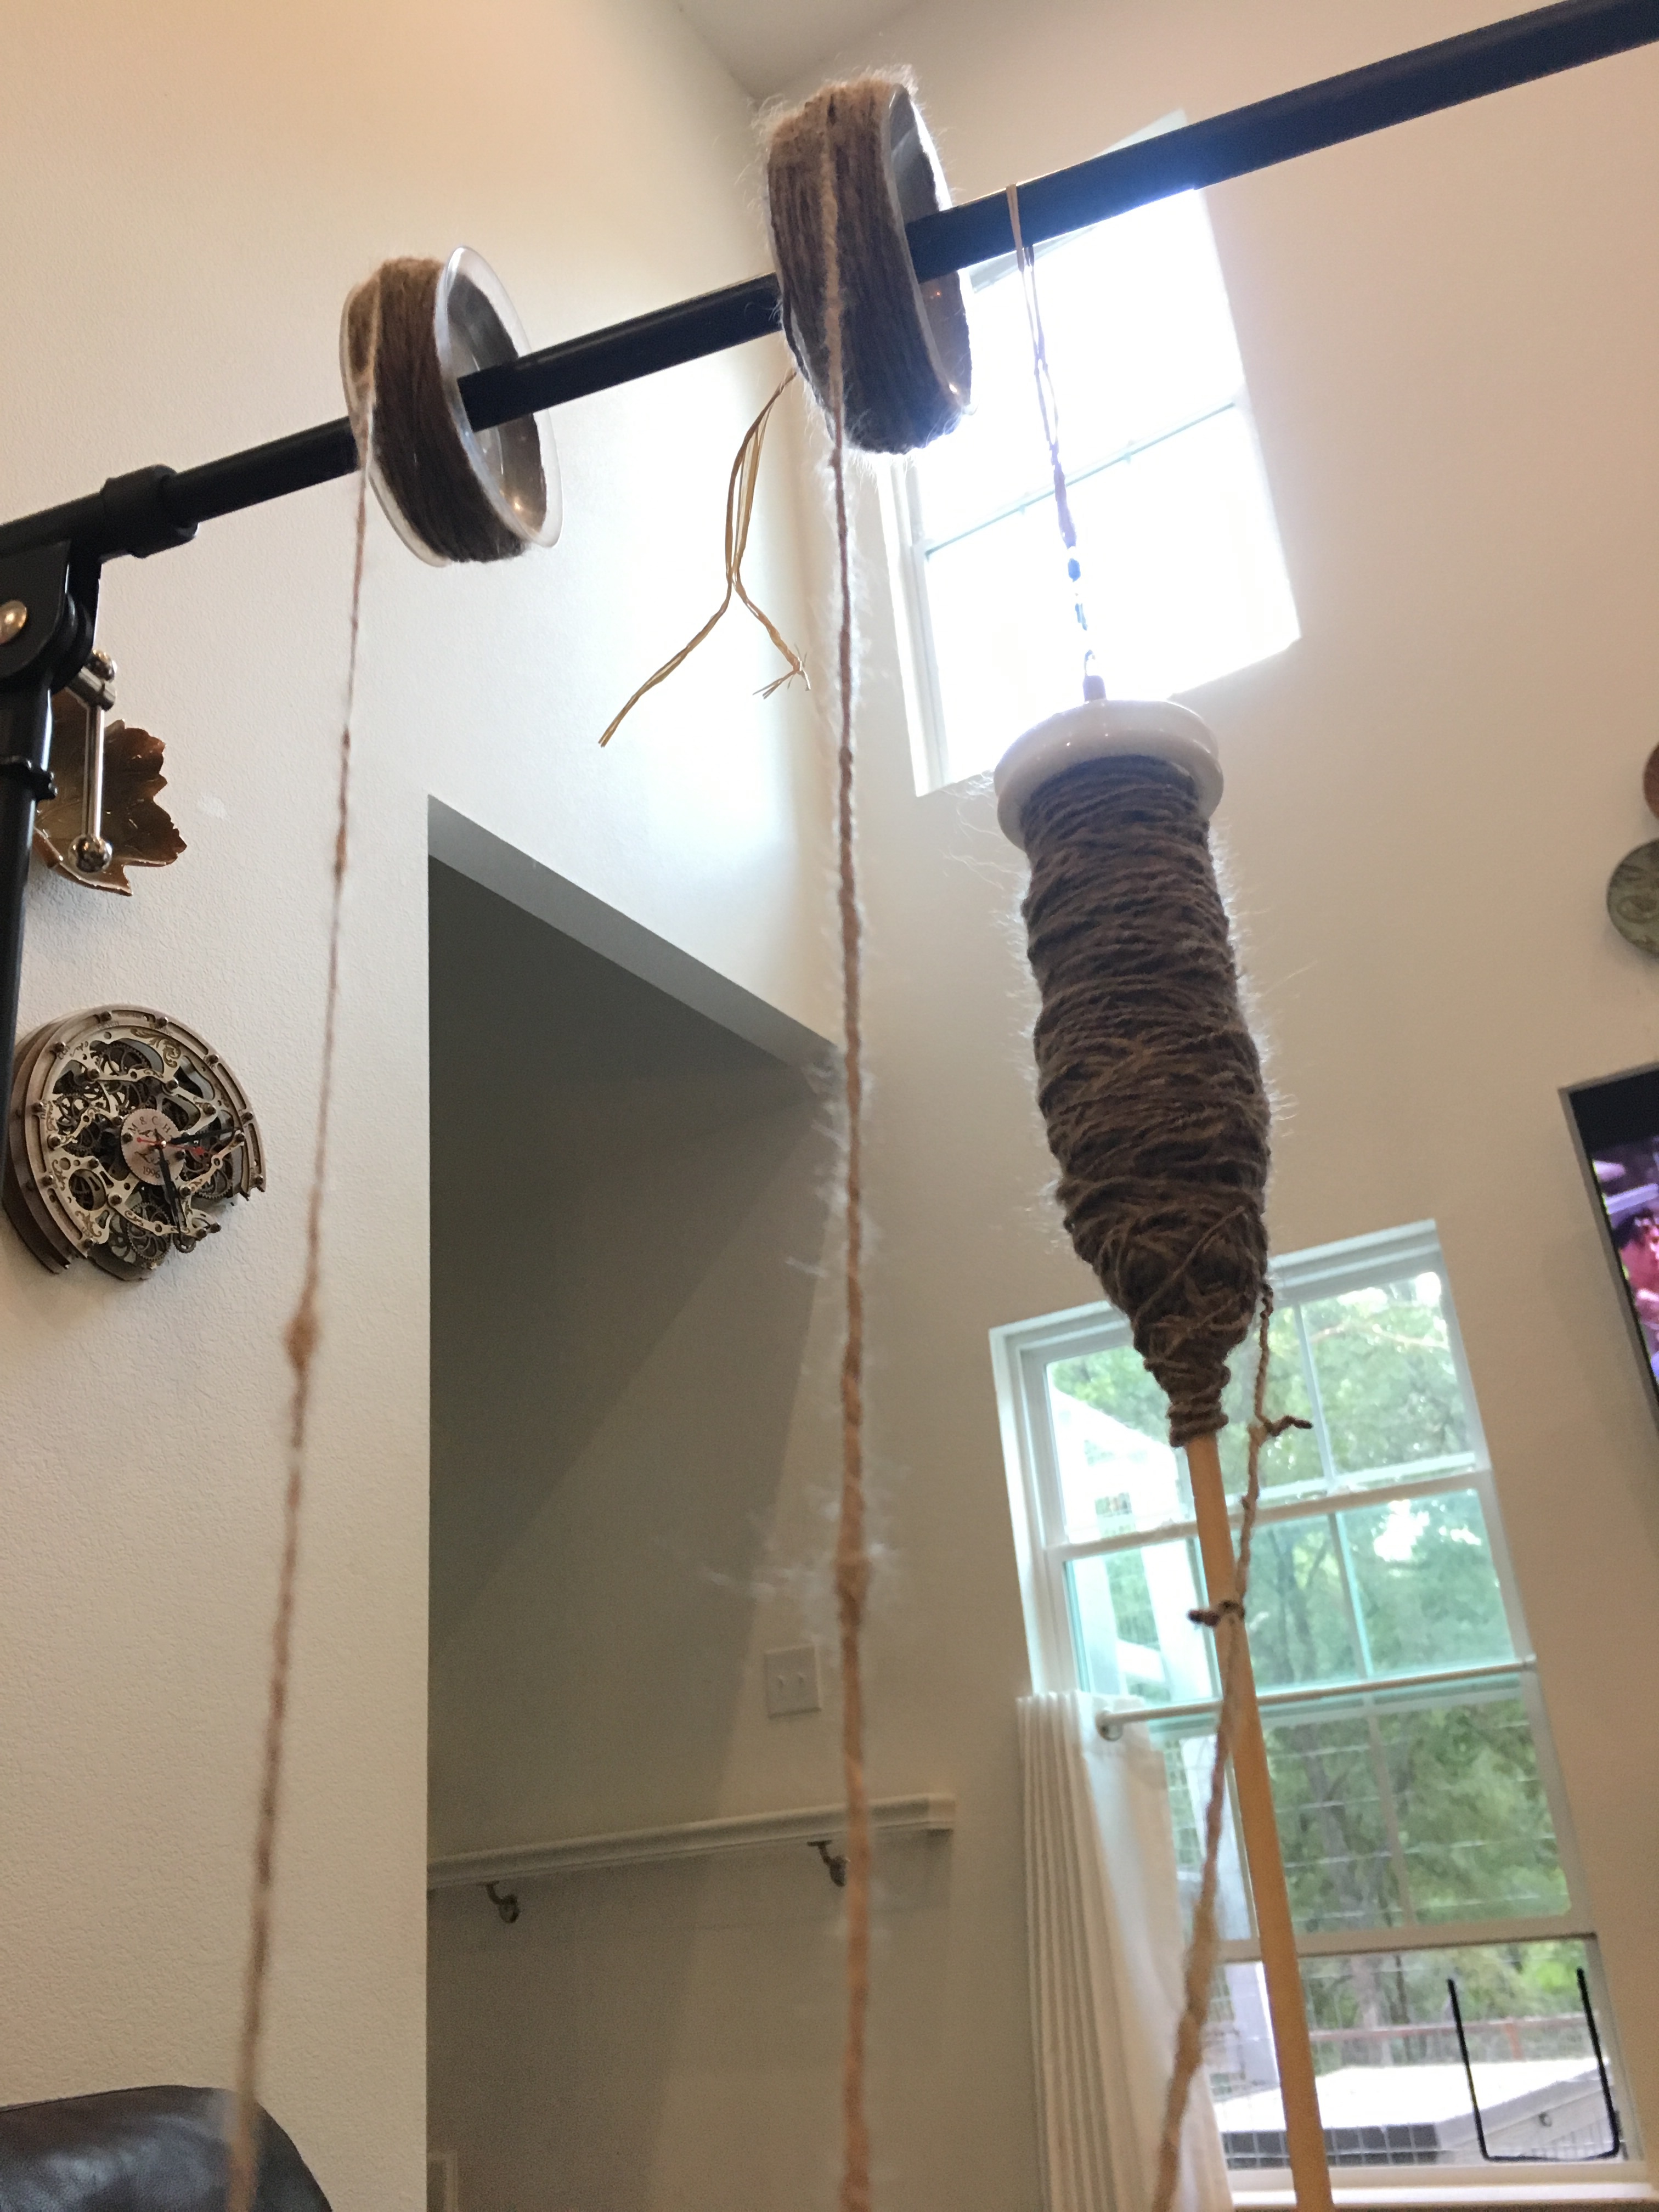
I used my Turkish spindle to ply because I left the last third of the single ply on my top whorl spindle. Plying involves twisting two or more strands of single ply yarn together, using the opposite twist. My single ply has an S (counterclockwise) twist, so I plied using a Z (clockwise) twist. Plying is much easier than spinning because there is no drafting! Although I did have to watch for tangles. Having the yarn under tension because the spools were suspended helped. Here is a short video.
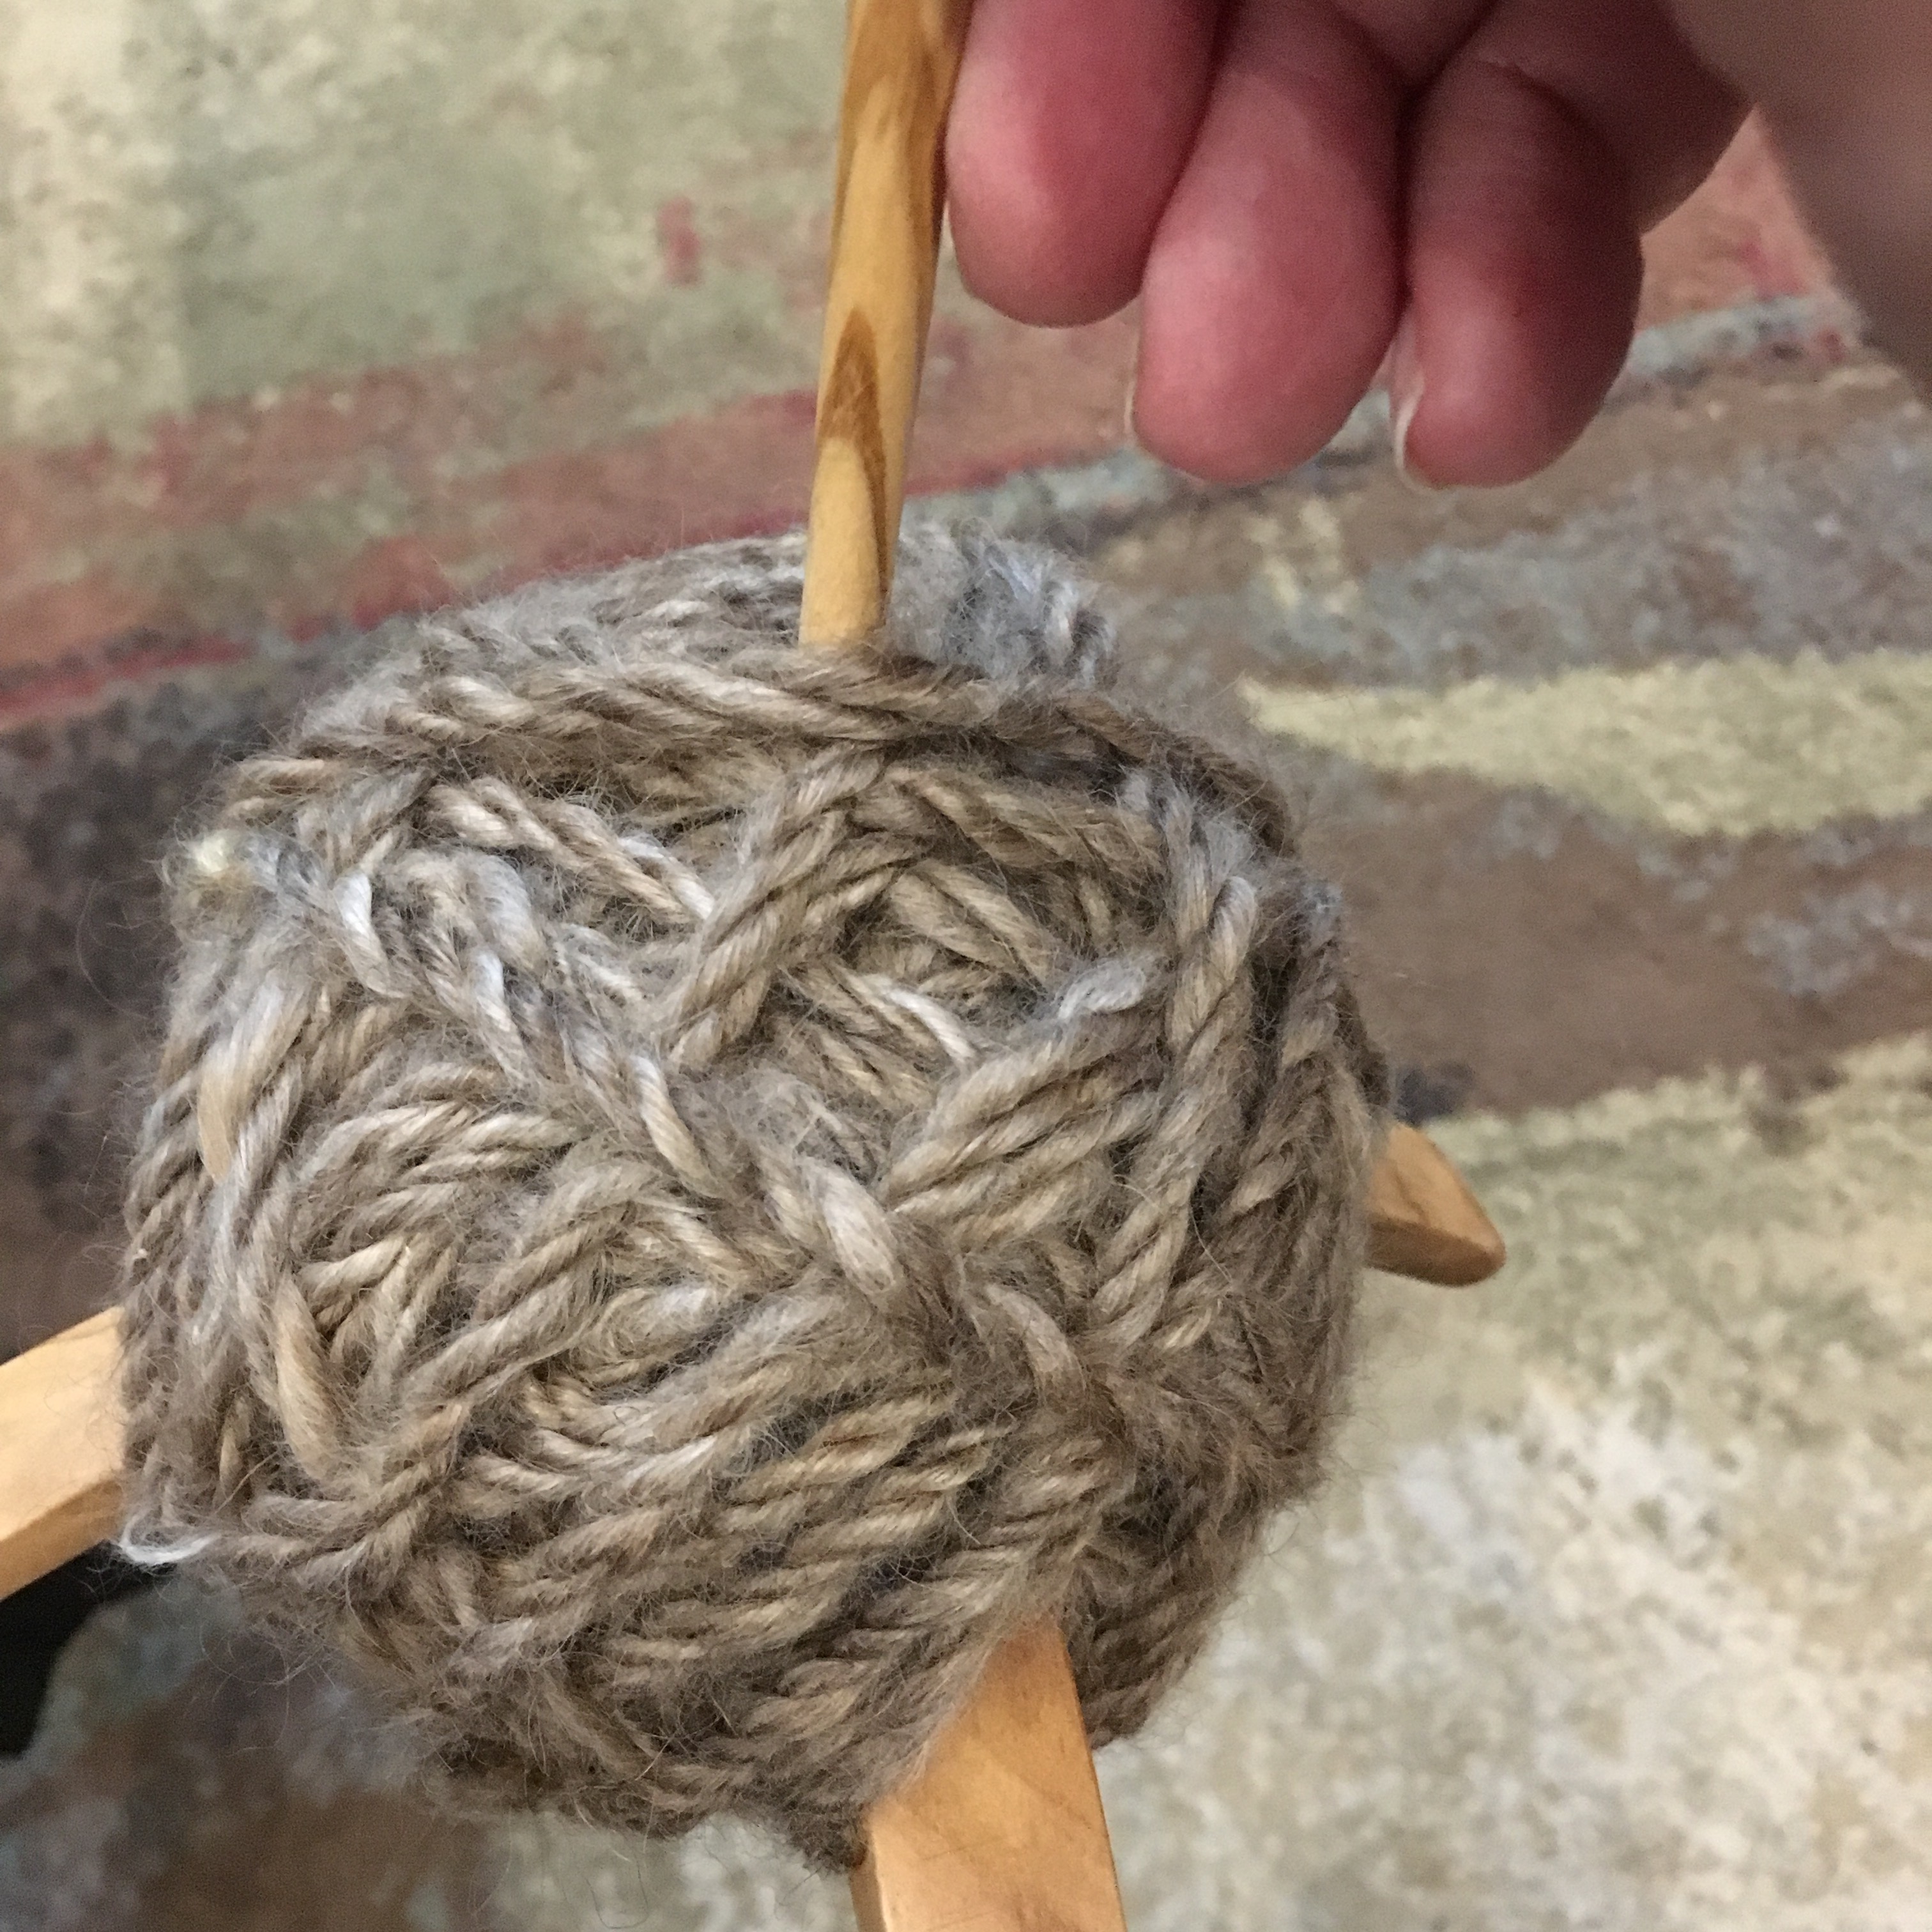
My single ply yarn wasn’t perfectly proportioned, so I ran out of one strand first. Rather than waste the ends of the other two, I chained plied the remaining yarn. Chain plying is like making a chain in crochet; by drawing a loop through another loop. It results in a three ply strand, but you only need one source of single ply rather than three. I had read that mohair was not a good candidate for chain ply, but I honestly can’t tell the difference in the finished yarn.