Nålbound hat in Aran Wool

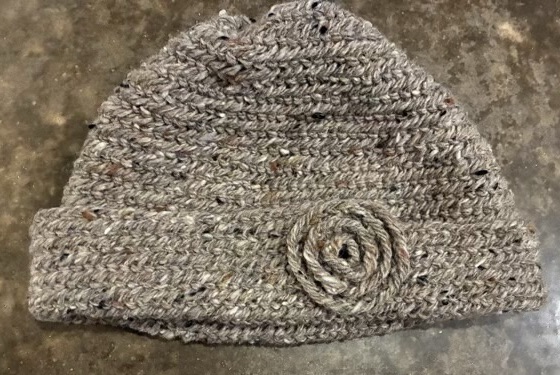
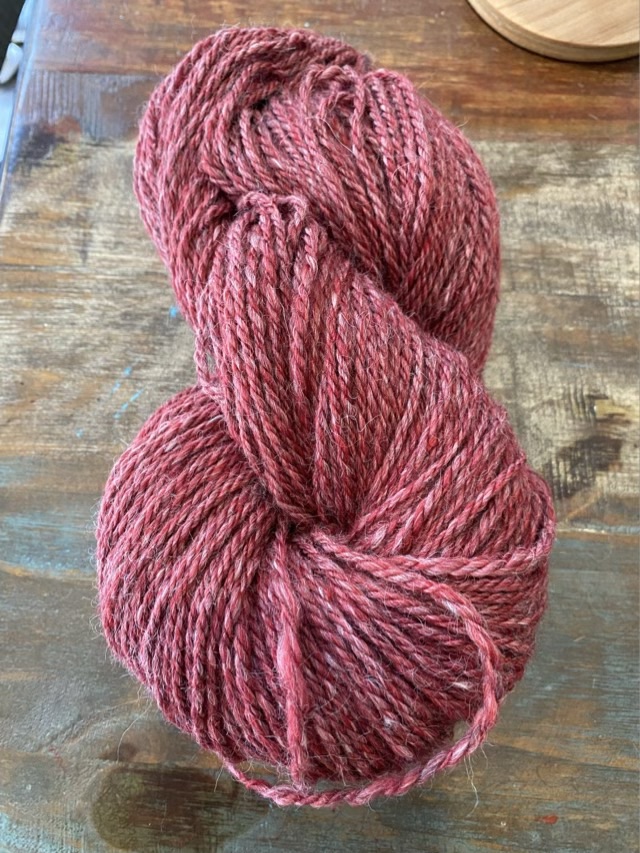
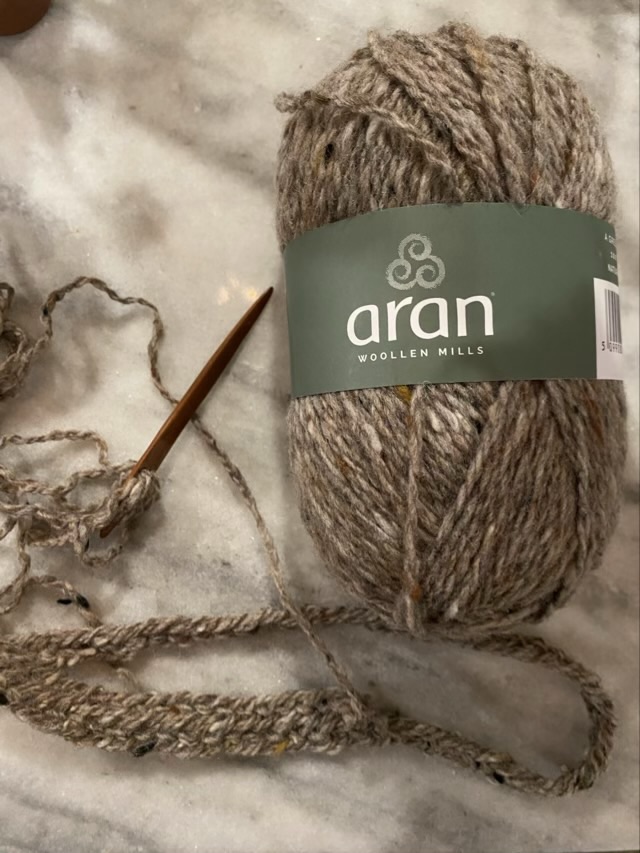
I spent last week watching as much of the Sweet Adeline International Convention webcast live as I could. This gave my fingers long stretches of idle time, which I filled with nålbinding a hat. My parents-in-law recently visited Ireland, and brought me back some Aran wool, which is lovely to nålbind because it tears apart easily and felts back together well.

Photo description: starting a hat with a cherry wood nal, Aran wool, and an Oslo stitch

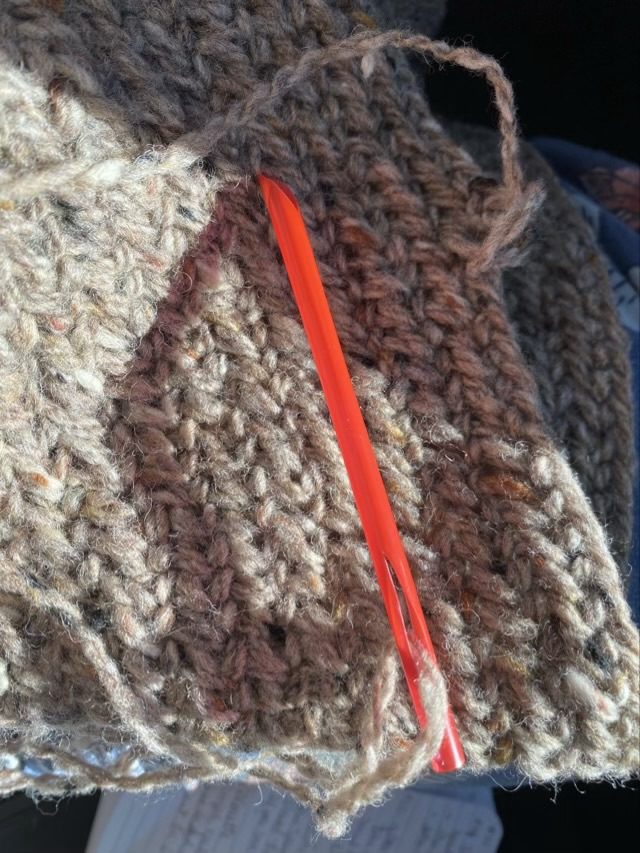
At one point I ran out the door for school pickup and dropped my nal somewhere. Waiting in the car I crafted one out of a straw by cutting one end at an angle and making two slits at the other end to hold the yarn. It worked, but wasn’t as pleasant as my wool polished cherry wood nal. I’m glad I found it when I returned home.

Photo description: nal made from a plastic straw, convention notes in the background

I know to make wool items bigger than intended because as it is worn it will naturally felt and shrink some. I thought my initial circle was oversized, but as I stitched the band contracted, so I switched my plan and added increases, and decided to gather the first rows together to form the crown. Aran wool is very lightly spun Merino, and does not have the strength to draw together and hold, so I made a length of flax cord instead. The flax won’t break and will probably outlast the wool.

Photo description: long line flax twine on the nålbound surface of the hat
Photo description: crown of the hat gathered together tightly with flax twine

I didn’t want to finish the hat with decreases, so I stitched a free length of Oslo chain, spiraled it into a rosette, and stitched down the bottom edge.

Photo description: nalbound chain spiral with a steel yarn needle in the process of a securing stitch
Photo description: finished hat, before blocking

Accessory Roulette

When I started knitting with my three-ply hand-spun merino/alpaca yarn, I wasn’t sure how much I would have. So the plan was to go a flexible route. I intended to make a wrap around scarf with sleeves, but rather than start with the sleeves, which locks me into the pattern, I started with a moss stitch on the body of the scarf (sleeves can be added later). When I knit the scarf long enough to go around my shoulders, it was obvious that I wouldn’t have enough to knit the additional third and have sleeves, so I made the scarf section into a shrug by sewing it into a Möbius ring. The Möbius shape allows the shrug to fit the wearer both at the shoulders and the elbows. A straight tube has less adjustability.

I then knit two long fingerless gloves in a rib stitch. To keep the gloves even, I worked from both ends of the yarn cake with size 11 circular needles, working both gloves flat at the same time. When they were long enough (I didn’t run out of yarn this time), I sewed up the sides and left a thumb hole (many thanks to my crochet friend for the suggestion!)

Photo description: hand spun, hand knit shrug and long fingerless gloves
Photo description: trying on one fingerless glove, calico cat for scale

The shrug and gloves have the same aesthetic as a scarf with sleeves, but with more flexibility for styling. And if you run out of yarn, at least there is one finished useable item.

Finished: 10 second rule

I stopped knitting and bound off my rainbow brioche scarf months ago, but there were errors at the beginning when I was still getting used to the brioche knitting with multiple colors techniques. I thought I needed to rip out the first few inches and rebind, which is daunting, so I stuck the project in a bag and tucked it into the back of the closet until I was ready.

Months later, when I was on a finishing kick (see yesterday’s post), I figured I was ready to work on the scarf again. I pulled it out of the bag, in all its squishy soft amazing length, and couldn’t find the spots that bothered me before. I looked again and did eventually spot the small errors, but it definitely took over 10 seconds. I have a 10 second rule, that if you can’t see the mistake in 10 seconds, the item passes. If someone else wants to examine an item that closely, they deserve to find something.

I wet the scarf to block it, and noticed that the colors bled.

Photo description: rainbow scarf in blue tinted water in the sink

I rinsed the scarf until I could not see any dye in the water, and hung it up to dry.

Photo description: rainbow brioche scarf hanging from multiple towel racks

The dye colors were taken up by the white yarn as the scarf dried, but it doesn’t distract from the piece. I’m glad I didn’t add fluffy clouds to the ends, they would not have stayed white.

Photo description: finished scarf laying artfully on a leather chair

The scarf now has a happy home, two years after I started it.

Caking yarn

Because of the bulk and quantity of yarn I produced on the Ashford Traveller spinning wheel, I decided to let time set the twist rather than do a wet block. Setting the twist in freshly spun yarn gives a more balanced yarn which doesn’t kink up when slack, making it easier to work with be it knitting, crochet, or weaving. A quick way to set to twist is to get the yarn wet and let it dry (there are many variations, but it boils down to this). Time will also set the twist; sitting under tension for a while lets the fibers relax and accept their formation.

Photo description: three-ply bulky alpaca merino blended yarn wrapped on a niddy noddy
Photo description: very thick skein of bulky yarn

I did not have to transfer the yarn to a niddy noddy, I could have wound it directly to a cake, but I wanted to see it in skein form. It was an overfull skein, though, so wasn’t as pretty, but I wasn’t willing to cut the yarn, or make a bigger skein. Oh well. I wound it all into cakes using a Royal New Wool Winder.

Photo description: four cakes of bulky yarn

I have many projects that need completing before I can get to this yarn, so it has some time to sit and settle. It is all queued up though, with the needles and the knitting plan in the bag with the yarn cakes.

Blocking the swatch

My small swatch of hand-spun merino/alpaca dyed yarn experienced a small amount of shrinkage after I rinsed it and let it dry.

Photo description: moss stitch swatch straight off the needles measuring 7 inches
Photo description: same swatch after blocking measuring 6.75 inches, but looking more tidy

The good news is that there was no visible bleed when I blocked the swatch. I was concerned that the beautiful dark red would bleed.