Macrame shaping

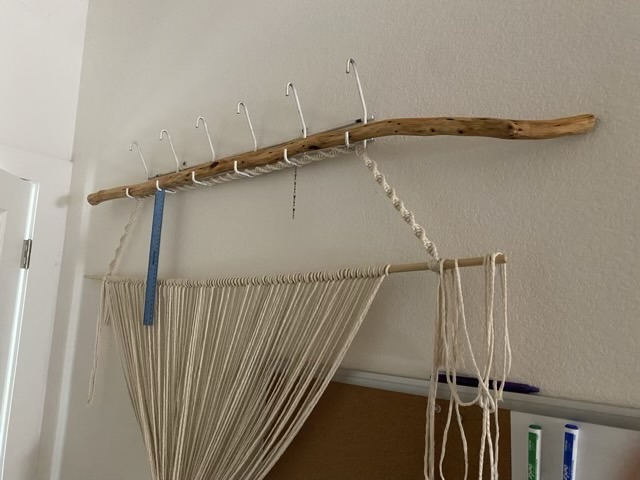
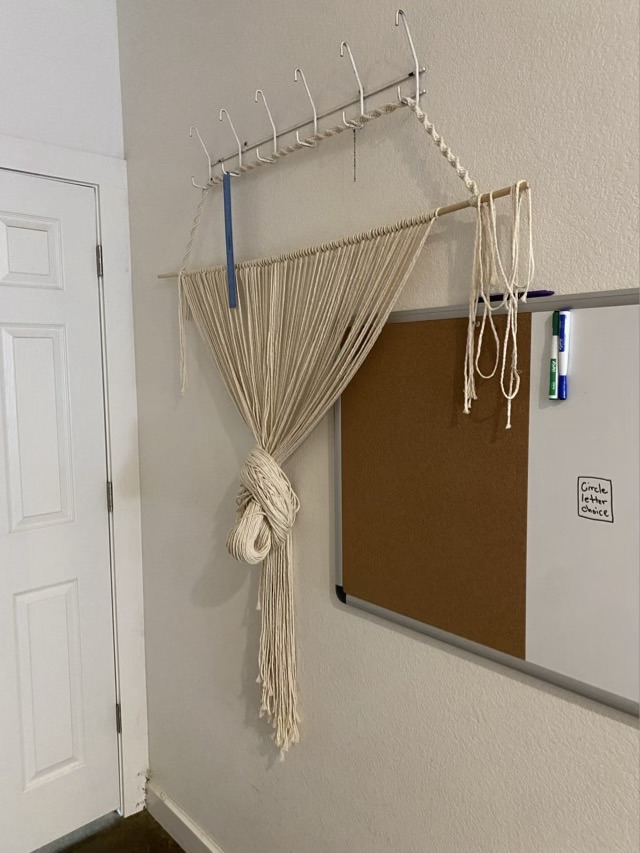
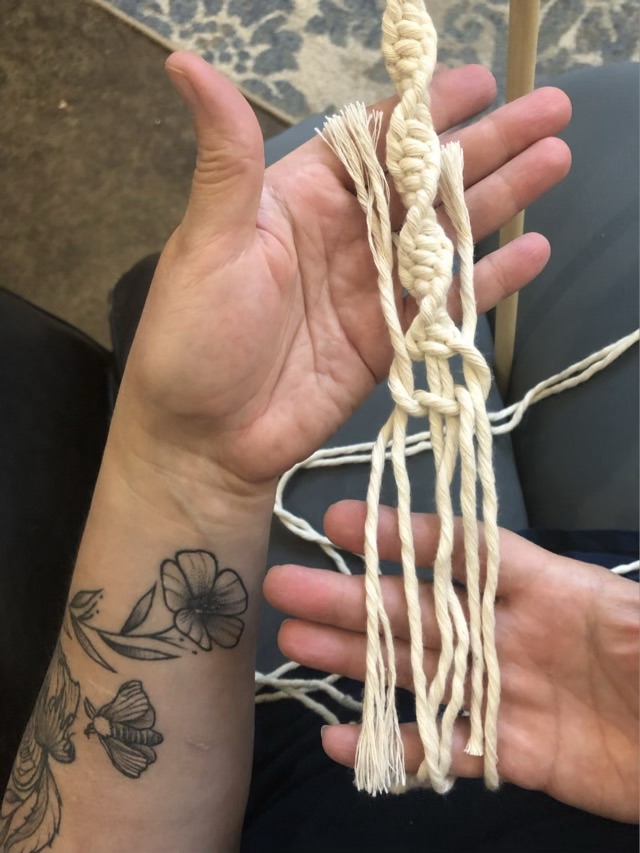
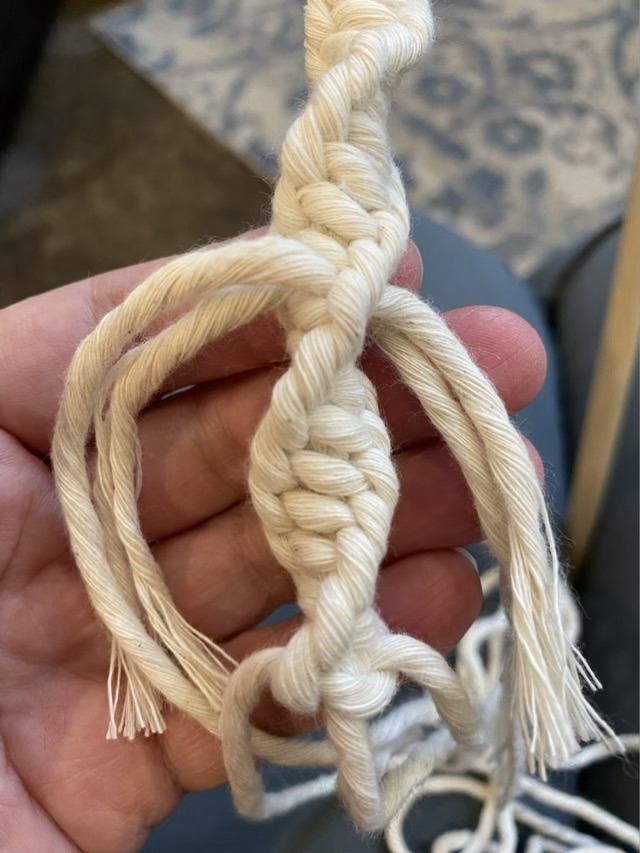
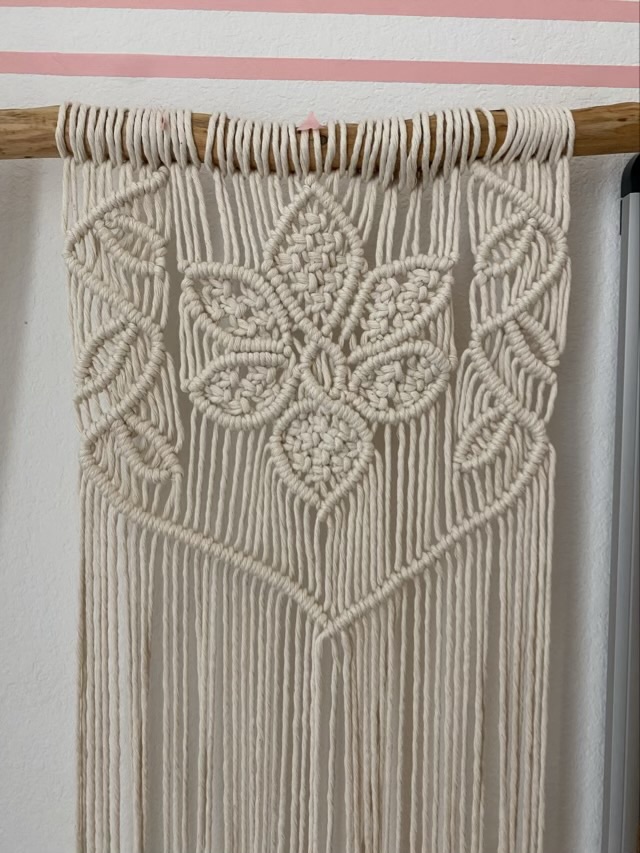
I’m slowly progressing on my macrame wall hanging. I finished the central design, now everything else will be storage pockets. The central design was my first attempt at making shapes with half hitch knots. The petals of the flower aren’t as even as the pictures in the tutorial (beware, the site is chock full of ads), but I was learning. Next time I’ll put a sketch behind the work to help keep the balance, rather than just eyeballing it.

Photo description: macrame wall hanging in progress with a six petal flower and leafed vines on each side made with cotton macrame cord

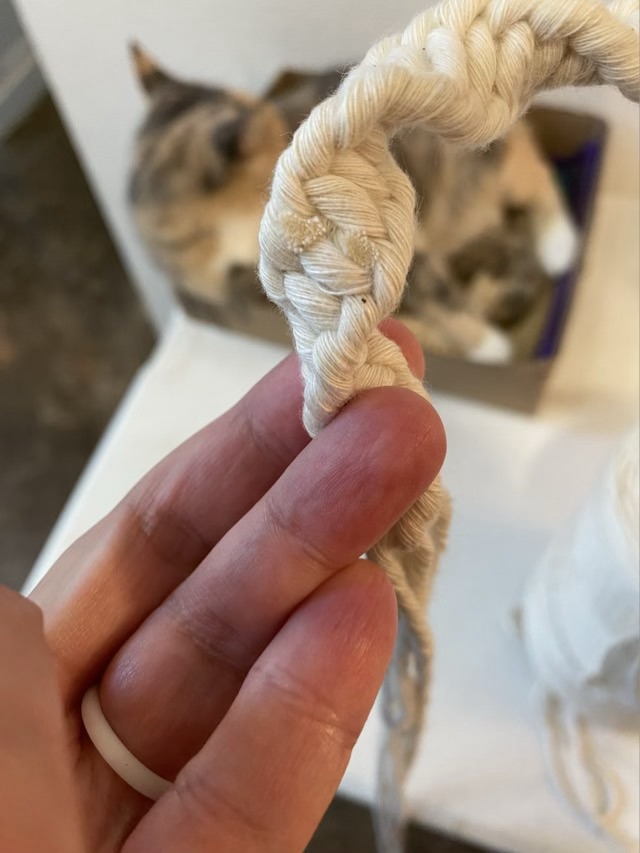
The side vines were an add-on from seeing variations of leafed vines, and I wanted to attempt them. I’m still having some left/right issues on my half hitches, and sometimes I get a full hitch and have to take it out. Here’s my tip: if you have a line of knots that need undoing, pull out the core cord so all the half hitches fall open. Much easier than untying each one.

Macrame: Cedar branch

I realized that I had a free substitute for the thin dowel I tried to use for a large macrame hanging: a branch from the yard. Not only do we have copious available branches, naturally shaped wood looks really nice with macrame. I even had a nice long cedar branch that I had cut a few months ago that didn’t work for the project at the time, that had been sitting out and curing. I stripped off the bark, which is much easier after the rain when the bark is wet, then let the wood dry. I used an oscillating spindle sander to get the remaining traces of bark removed, then sealed it with several applications of Howard’s Feed-n-Wax.

Photo description: curved smooth cedar branch set above the thin dowel with cotton cord tied on with larks head knots

Transferring the cotton cord from the dowel to the branch wasn’t difficult once I used some spare cord to tie it up above the dowel. Larks head knots are very stable, but very easy to remove.

Photo description: all the cotton cords transferred to the branch which is naturally curved not bent due to the attached weight

I left the old thin dowel hanging as a pattern line, and added a couple more guide lines to the wall using washi tape.

Now I have to settle on my macrame pattern. I initially intended a simple all-over grid, but my ideas keep getting fancier and I’m thinking of pockets and loops. Hm.

Cotton is heavy

I have it in my mind to make a practical macrame hanging to store small musical instruments. I had the macrame cord and a quarter inch dowel already, so my start cost was zero. The twisted rope I knotted for the hanger went well, and I hung the dowel up in a small hallway on a utility rack. I then started adding long strands of cotton cord.

Photo description: wood dowel with many doubled strands of cotton cord tied on hanging on the wall from a wire rack, dowel arcs down from the weight of the cotton

As I neared the number of strands of cotton I wanted, I noticed that the dowel had a visible bend. Uh oh. The slim dowel could barely hold the weight of the cotton, and certainly wouldn’t take more weight. I have to get a bigger dowel. Hm.

Photo description: same pre-macrame set up, but with all the hanging cords tied in a large loose knot to reduce the cat risk

To keep the long dangling cords from becoming cat toys, I tied them up while I process my intentions.

Macrame helper

Photo description: gray tabby with arms in ready-to-get-the-string position on a leather lounge chair that has a twisted macrame rope in progress draped over the back, with my nest of crafts and books on the floor next to the chair

My love triangle: I love yarn projects, and I love cats, and cats love yarn. Sigh.

Macrame: joining

I wanted to make a macrame twisted rope with precut pieces. My center strands were long enough, but the decorative outside strands ran out after about a foot of knotting. I found that laying new strands into a knot in the same direction as the old strands then tightening the knot, trimming, and sealing with white glue made a near invisible join.

Photo description: half macrame knot shown open with new strands laid in, the ends pointed up are the new strands, the ends pointed down are the old strands
Photo description: knot tightened and several more half knots added, the four ends are shown sticking out
Photo description: same join area with the ends trimmed flush and secured with white glue (I used Elmer’s school glue). Calico cat in her favorite box on the table in the background.

Since the knots are decorative and the un-spliced center strands bear the weight applied to the rope, I’m not concerned about the ends unraveling.