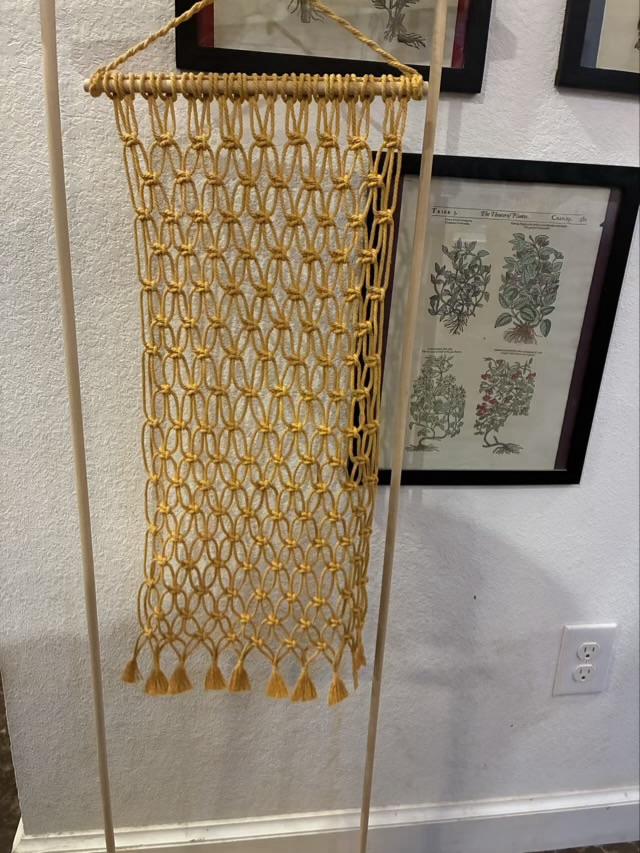
At my Dad’s request, I knotted a macrame utensil holder for his handmade spoons. I used yellow recycled cotton cord from RockMountainCo, and a dowel. I like the geometric pattern made by the alternating rows of square knots.
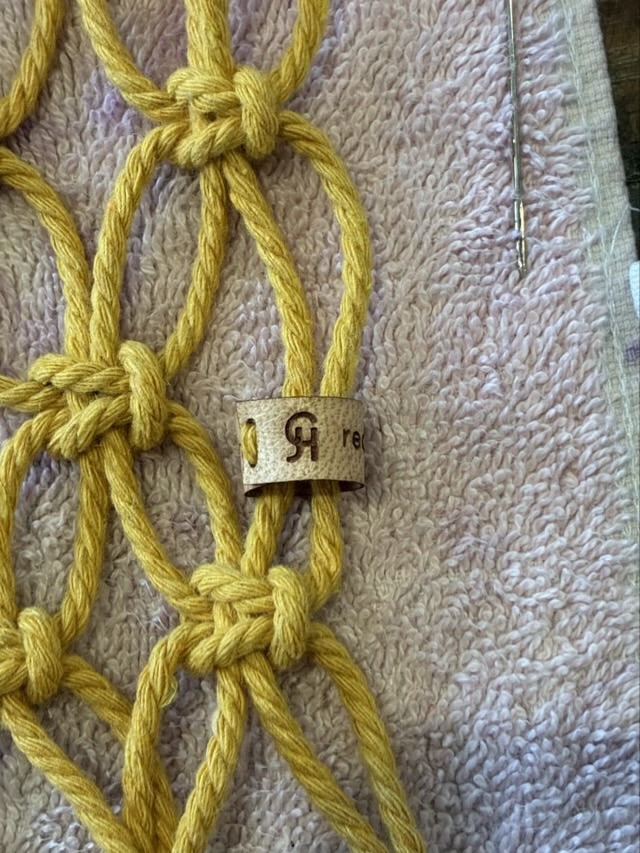
Photo description: simple yellow macrame wall hanging hanging on a twining loomPhoto description: same wall hanging with spoons inserted into the holes between the knots, showing horizontal and vertical storage optionsPhoto description: leather tag sewn into a circle around a pair of cords on the wall hanging showing my mark, the other side says “recycled cotton”
Technical details: 4mm recycled cotton cord cut into 18 pieces, 90 inches in length, attached to a 1/4 inch dowel with lark’s head knots, then tied with square knots over two core cords in alternating rows. The ends were lashed together in groups of four, then untwisted and combed into tassels.
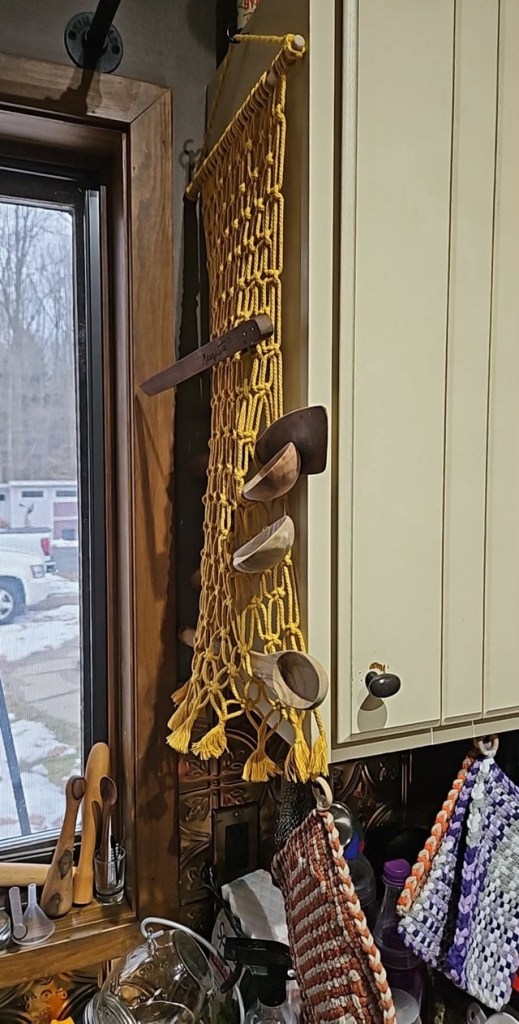
Photo description: wall hanging installed, holding three spoons, a spatula, and wood tongs
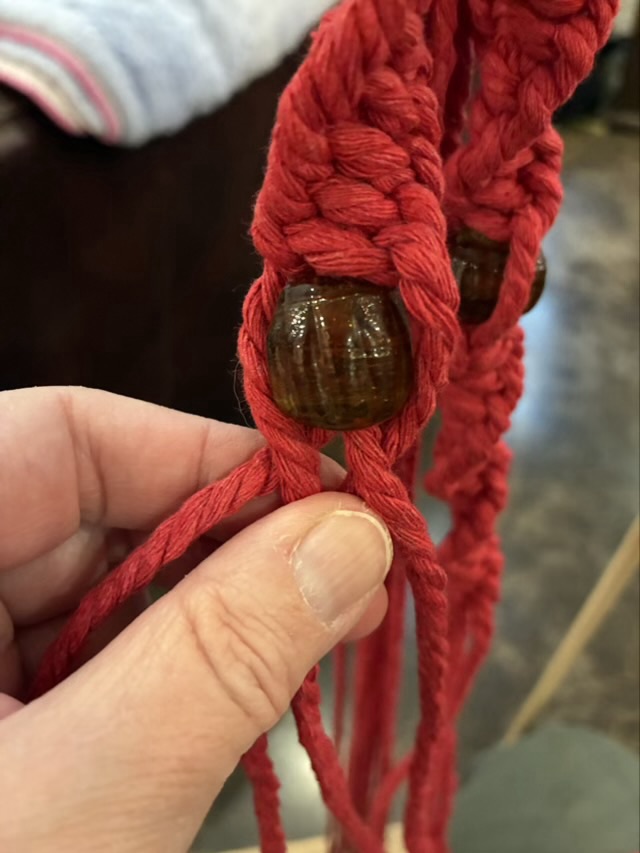
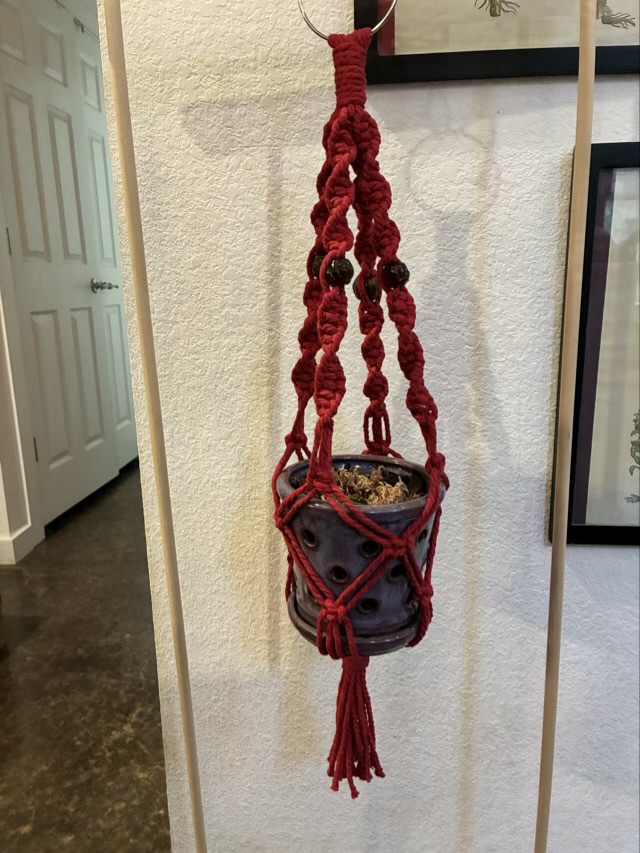
I found a source of recycled cotton macrame cord from RockMountainCo, based out of Colorado, and some recycled glass beads from our local vintage store, The Haps. The combination of recycled/upcycled materials seemed very appropriate to make macrame hanging plant holders requested by my sister.
Photo description: close-up of the macrame in progress, adding a bead to the center two strands of a half knot twist
I found that my bag twining loom works well to hold macrame in progress, and to display the finished piece.
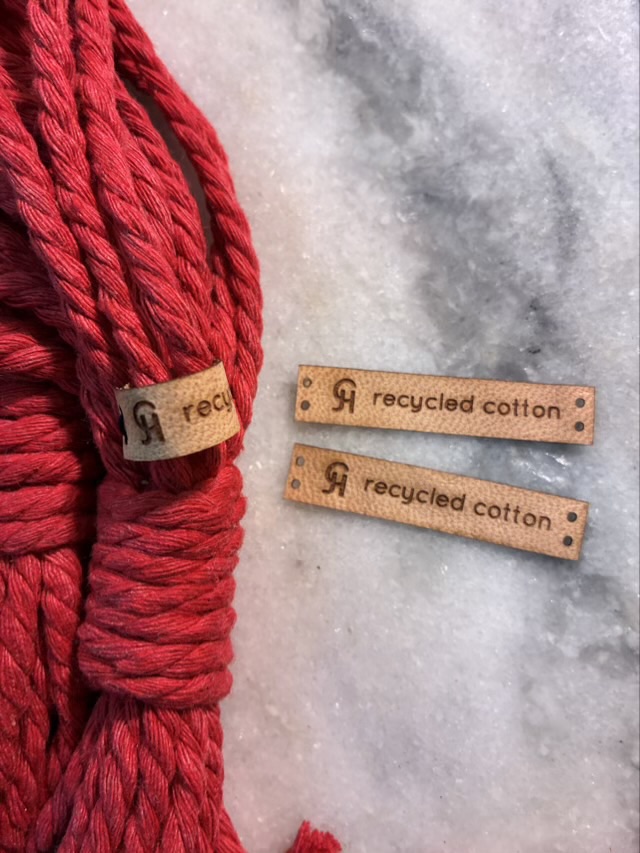
Photo description: hanging macrame pot holder made from red recycled cotton cord and recycled glass beads hanging from a bag twining loomPhoto description: leather tags marked with my signature and “recycled cotton”, one sewn into a circle on the macrame hanging
Technical details: I cut 8 lengths of 4mm cord 99 inches long, folded them in half through a welded metal ring, lashed the strands together with 30 inches of cord, made four half-knot twisted sections with 15 knots on either side of the bead, then three sets of offset square knots to make the body of the holder, finishing with another 30 inches of cord to lash the strands together at the bottom.
In macrame, when making a half-square knot twist, the two center cords function as a core, and don’t get knotted, so the outer knotted cords get short and the middle don’t. To balance this and make the most of the cordage, I used a bead to interrupt the pattern and switch the outer and inner cords. By making the same number of knots above and below the bead, the cords end up the same length. A little macrame trick for those that read this far.
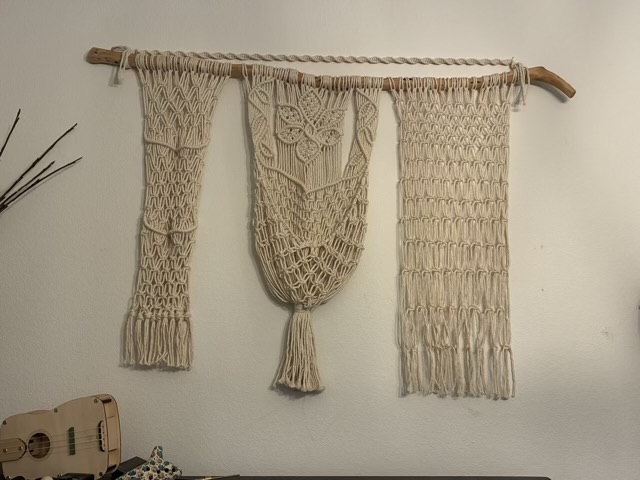
I started this large macrame hanging back in October of 2024. This basically qualifies as a throwback Thursday post, except that this project has been in progress suspension for over a year due to indecision. It has been hanging in a hallway and I’ve passed it daily during the last year. Many possibilities have gone through my head, and I’ve done a few knots, but a concrete plan never coalesced. I finally just wanted it done so I could organize my small instruments that have been living in a box in the closet. I decided to just knot a mesh of offset square knots on the right, similar to the two layer open side pockets on the left. As I started the net pattern, I decided that there should be different spacing between row to accommodate different sized instruments. It turned out perfect for my flutes, whistles, and recorders. I’d like to say I planned it for that, but really I was just desperate for it to be done and the knot pattern was the easiest path.
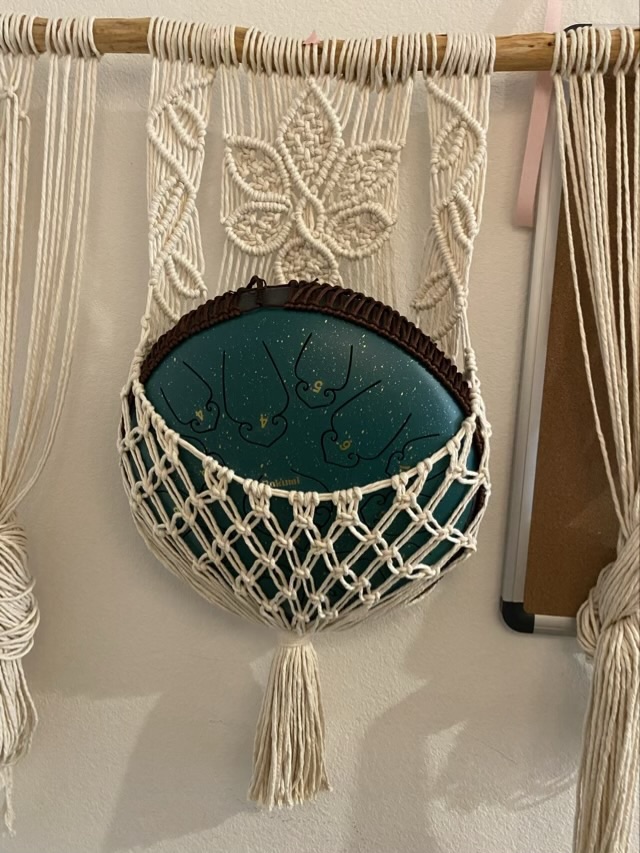
Photo description: large cotton macrame wall hanging with natural cedar rodPhoto description: same macrame hanging filled with small instruments from top to bottom, left to right: maraca, harmonicas in cases, kalimba in a case, pan flute in a case, castanets, steel tongue drum, train whistle, wood whistle, sliding wood whistle, soprano recorder, chanter, alto recorder, bamboo flute, rain stick, and on the top of the piano, a ukulele made from a laser cut kit
I’m glad the hanging is now doing its job and not sitting idle in the hallway. I would absolutely do the macrame mesh again for a different storage project, especially for long stock, such as spoons. Hm.
Happy Thanksgiving. May your projects result in satisfying completion.
One of my hanging plants started leaking from a crack in the bottom. I’m not entirely sure how a hanging pot cracks, but it definitely wasn’t leaking plant water last week. I had a spare pot, but it wasn’t hanging, so I attempted a macrame pot holder. I used cotton macrame cord leftover from a different project, and divided it into six strands. I folded these in half and secured a loop in the middle with a knot. I then used macrame style square knots to make the net part of the hanger. It took a few tries. I found that I need to leave enough room from the loop to the first knot for the pot to slip through. The knots aren’t perfectly spaced, but they are functional, holding the oval shaped pot securely. I finished the bottom by gathering all 12 strands and lashing them together with a separate strand of cord.
Photo description: very basic macrame plant holder for an oval pot
The zebrina plant looks sad because I had to cull 90 percent of it to get it into the hanger. I took cuttings from the culled sections to root out. This plant regularly goes from sad and spindly to lush and full, so I’m not worried about it.