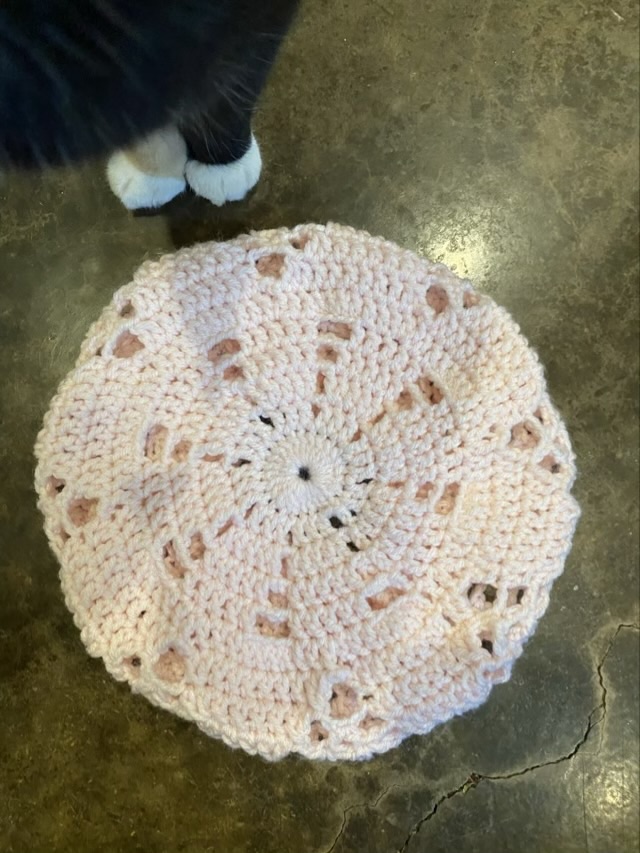
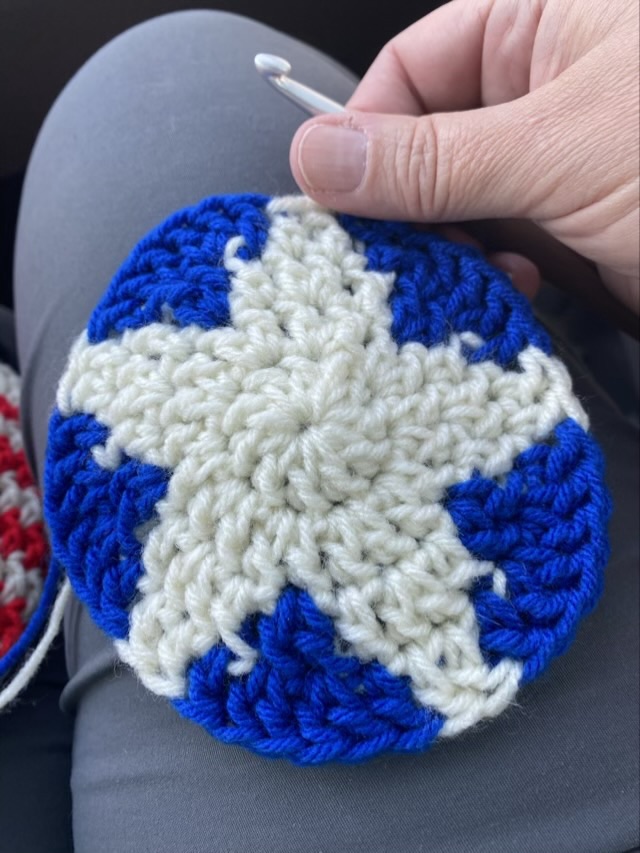
I can spiral two and three colors, how about four? Well, this might take some development. The angles of the spiral arms change even more than in the three spiral version, and I quickly slid into beret territory, but then didn’t make the increases evenly somehow and ended up a little wonky.
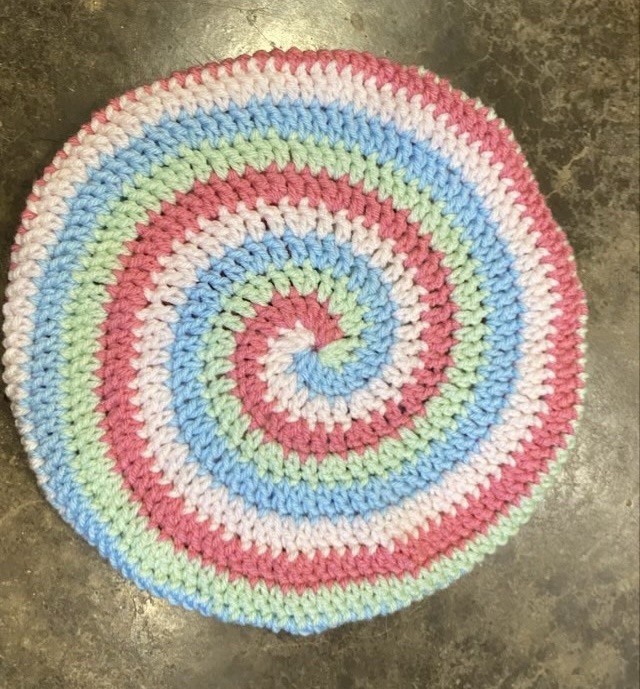
Making the beret band was a fun experiment. I tapered the final stitches on the last round and the single crochet ribbed band went on nicely.

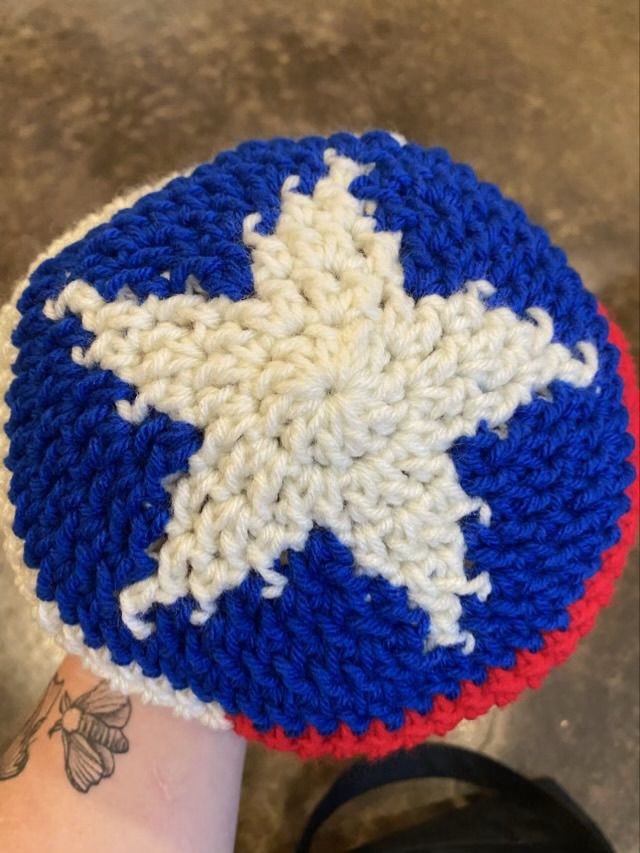
I don’t think I’ve talked about the subtle difference between beanies and berets. After a beanie’s circle is made the sides are straight with no increases or decreases, the circle should be the circumference of the head size to get a nice fitting beanie. A beret circle goes far beyond the head circumference, then the sides use decrease rows to come back to the right circle size before adding on a band.