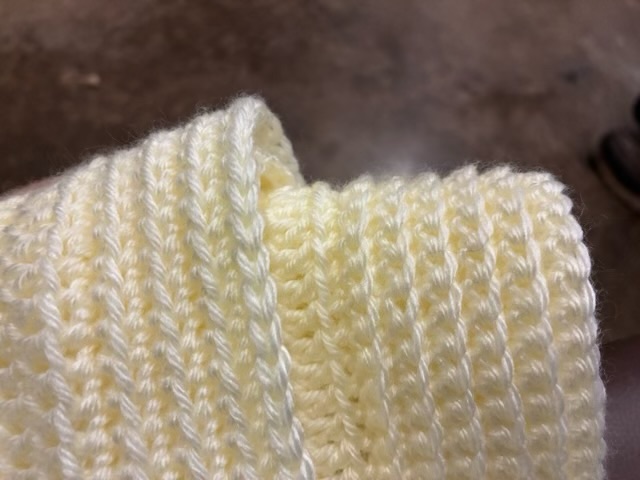
It seems like single crochet in the back loop, reversing direction each row, would create the same fabric as single crochet in the front loop one row, and single crochet in the back loop the next row in the round. It does not.
Photo description: close up of two hat brims, the left one is alternating rounds of front loop and back loop single crochet, the one on the right is single crochet in the back loop switching direction each round
In the photo above, the left brim has some ridges, but feels thin. The brim on the right is soft and squishy.
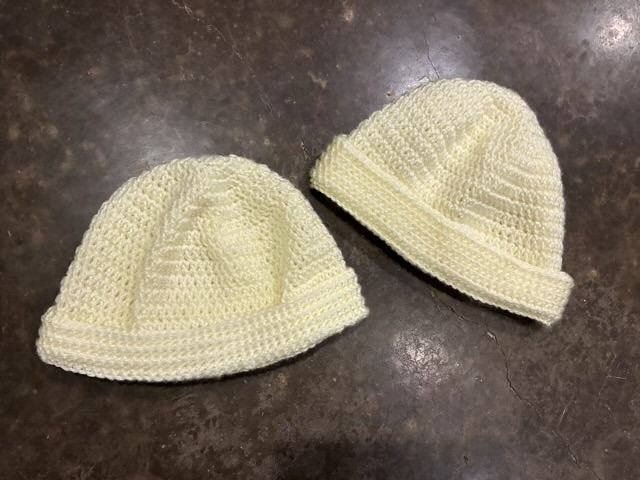
Photo description: two crocheted hats with different brims in off white acrylic yarn
The single crochet in the back loop switching directions is vastly superior as a hat brim and honestly for any other application where warmth and comfort is needed.
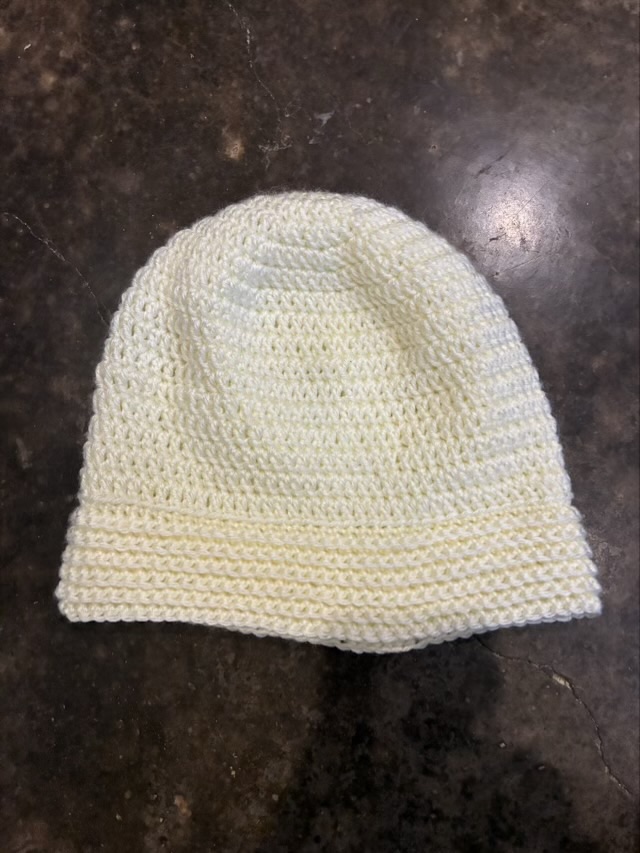
When I have a plethora of yarn remnants on hand, I default to making hats. I like to experiment with different stitches and construction methods, and it uses up the yarn in a useful and quick way. This round, I’m exploring the folded brim. Making a hat longer than necessary, then folding it up to double over the ears does a better job keeping ears toasty and warm than a single layer.
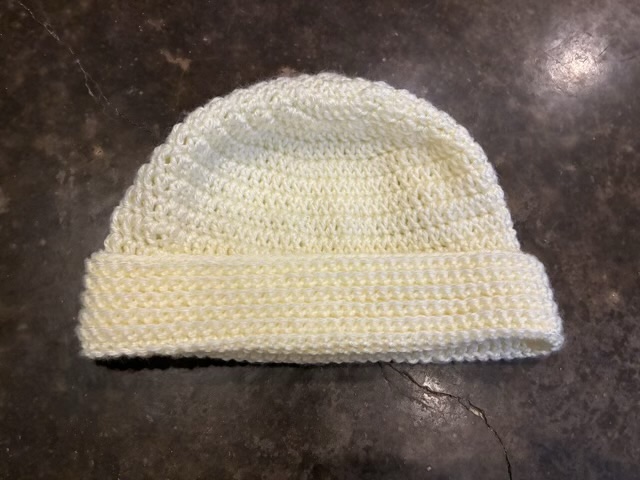
Photo description: off-white acrylic crocheted hat showing the full length Photo description: same hat with a brim folded up
I constructed the hat with double crochets in concentric circles, then for the brim did single crochet in the back loop and changed direction each round. This makes for a lovely squishy accordion-like fabric.
I do wonder if I could achieve the same effect crocheting in the back loop one round and the front loop the second round, to avoid the awkward turnaround where I tend to accidentally add stitches. Hm.
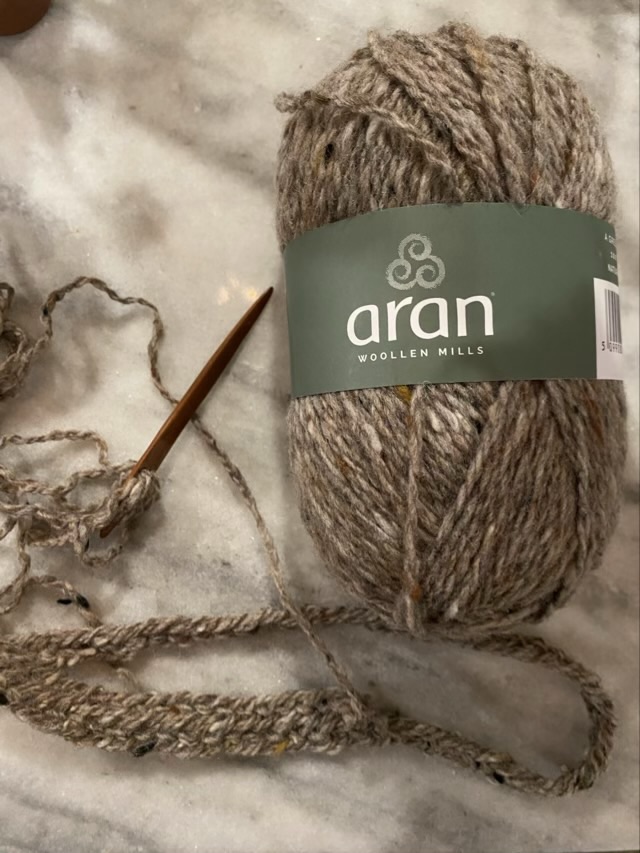
I spent last week watching as much of the Sweet Adeline International Convention webcast live as I could. This gave my fingers long stretches of idle time, which I filled with nålbinding a hat. My parents-in-law recently visited Ireland, and brought me back some Aran wool, which is lovely to nålbind because it tears apart easily and felts back together well.
Photo description: starting a hat with a cherry wood nal, Aran wool, and an Oslo stitch
At one point I ran out the door for school pickup and dropped my nal somewhere. Waiting in the car I crafted one out of a straw by cutting one end at an angle and making two slits at the other end to hold the yarn. It worked, but wasn’t as pleasant as my wool polished cherry wood nal. I’m glad I found it when I returned home.
Photo description: nal made from a plastic straw, convention notes in the background
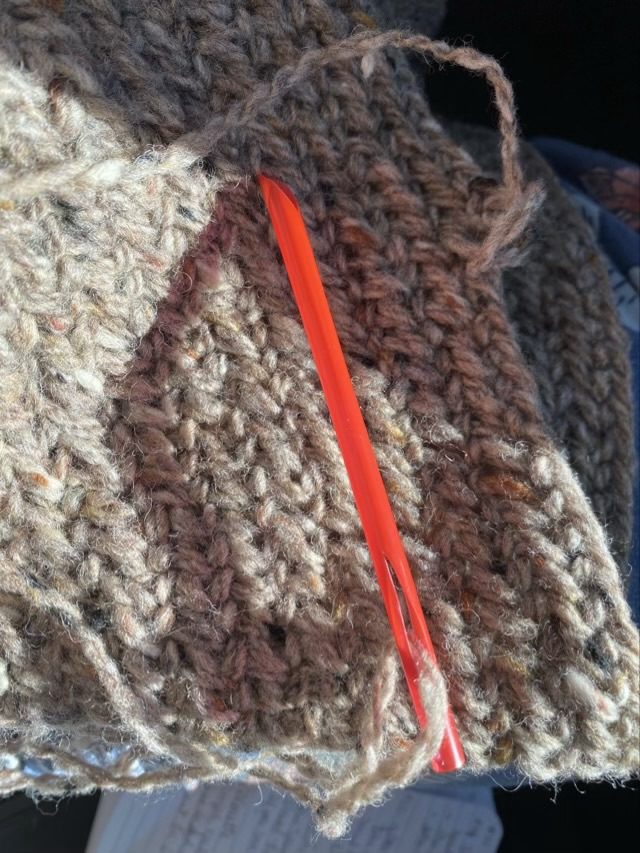
I know to make wool items bigger than intended because as it is worn it will naturally felt and shrink some. I thought my initial circle was oversized, but as I stitched the band contracted, so I switched my plan and added increases, and decided to gather the first rows together to form the crown. Aran wool is very lightly spun Merino, and does not have the strength to draw together and hold, so I made a length of flax cord instead. The flax won’t break and will probably outlast the wool.
Photo description: long line flax twine on the nålbound surface of the hatPhoto description: crown of the hat gathered together tightly with flax twine
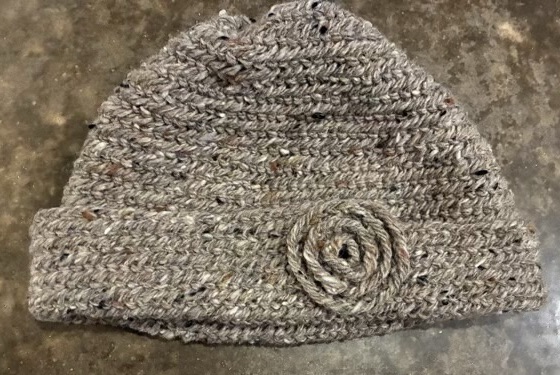
I didn’t want to finish the hat with decreases, so I stitched a free length of Oslo chain, spiraled it into a rosette, and stitched down the bottom edge.
Photo description: nalbound chain spiral with a steel yarn needle in the process of a securing stitchPhoto description: finished hat, before blocking
I crocheted my hand spun camel yarn into a beanie style cap with ribbed band. I used a 2.25mm crochet hook and a double crochet for the fingering weight yarn, but found switching to a 3.25mm hook for the single crochet ribbing of the band made it feel more flexible and soft.
I thought I had plenty of yarn for a hat, but the yarn chicken squawked a challenge as I made the band. After I sewed the band together, I had only a few inches of yarn left. So there, yarn chicken.
Photo description: about 5” of yarn left after finishing off the camel yarn hat
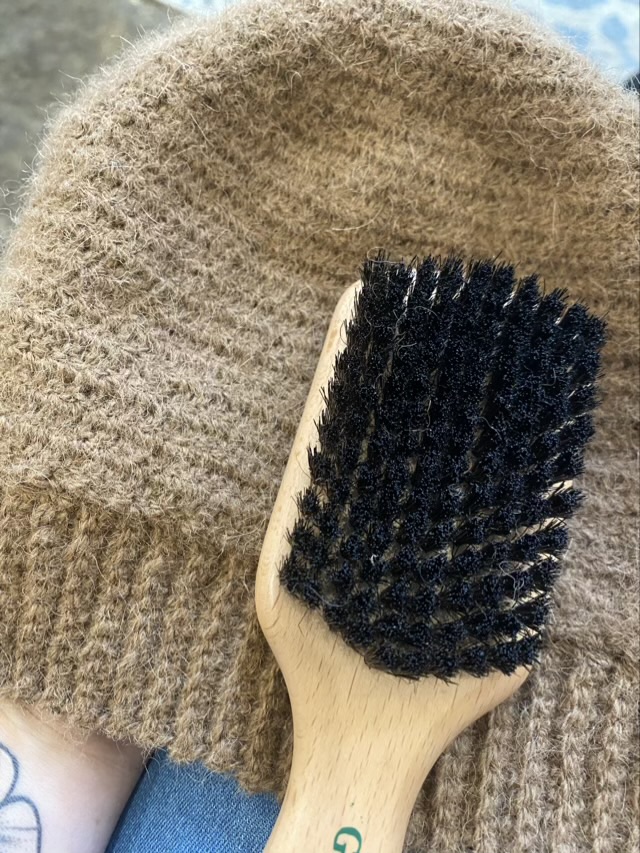
Camel is a soft fiber, but my preparation still had some guard hairs and vegetable matter, so to make sure the inside was scratch free, I brushed it with a boars bristle brush. The brushing brought the soft fibers to the surface and gave it a lovely surface feel.
Photo description: bristle brush with the brushed inside of the crocheted hatPhoto description: finished hat crocheted from hand spun two ply camel yarn
I made this for my father in law, and I did make it a larger size. My Dad has reported that my wool hats shrink with wear (a natural fulling effect, I believe), so I didn’t want it to get too small. I may have gone too large though.
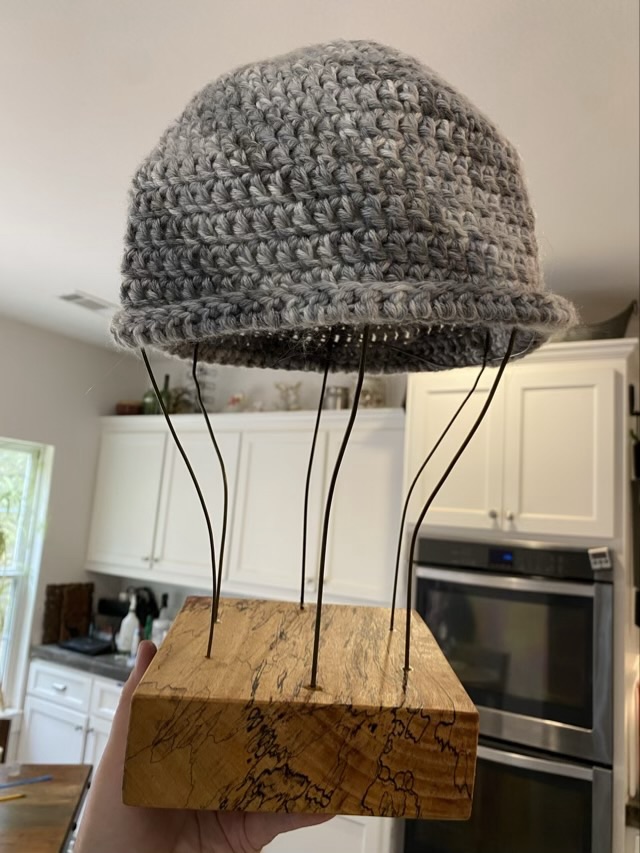
I’ve needed a hat stand for awhile now, mostly to block hats after I wash them. I decided to make one using a pretty block of spalted tamarind and some hanger wire so I could use it at the craft fair where I was selling all those hats I’ve made.
Photo description: finished spalted tamarind wood block with wire hat form holding a crocheted gray beanie.
I wanted to just have the thick wire so that I could adjust the size based on the hat, but the hat looked a little strange with only vertical support. I added a spiral of aluminum wire, which helps the hat, but looks strange without the hat. Hm. It worked fine at the fair, but I will continue to fiddle with the form.
Photo description: form without the hat showing all the wire