That was inevitable.

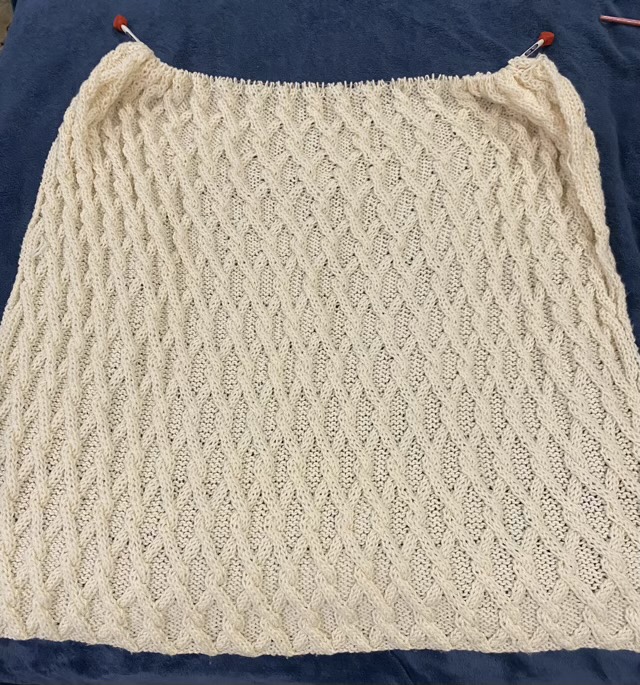
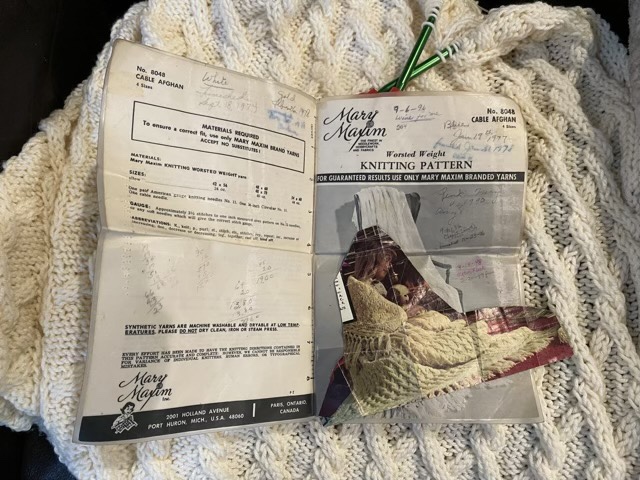
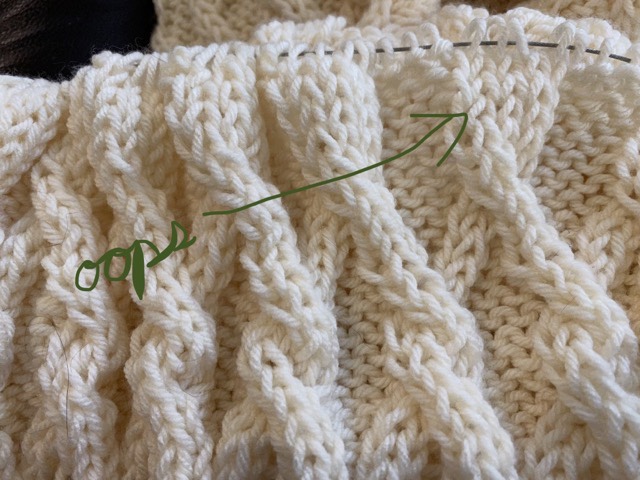
I was hoping to make it through knitting my Grandma’s blanket without having to rip anything out. Alas, it was not to be. I missed a cable cross over row, but luckily caught it two rows later, so only had to frog it (rip rip) back two rows.

Error in the knitting

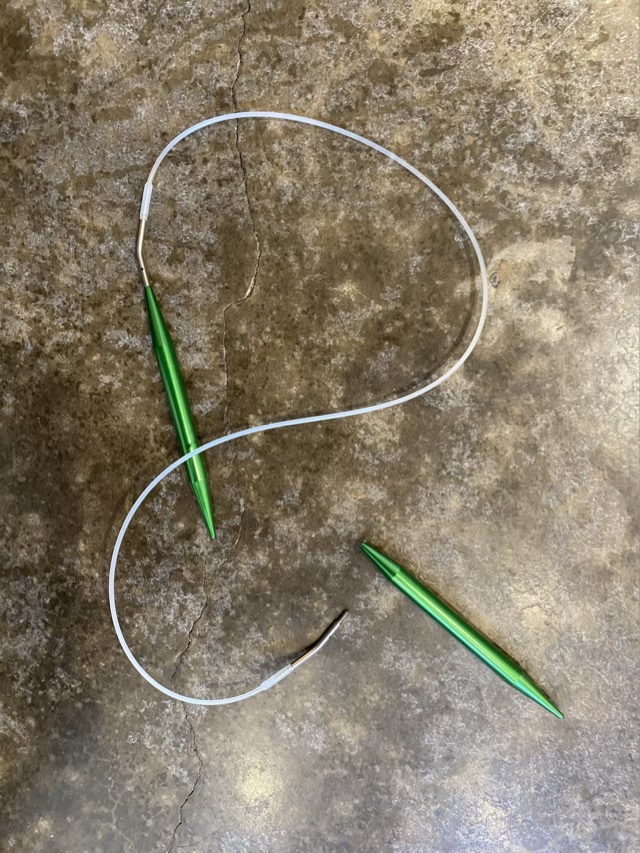
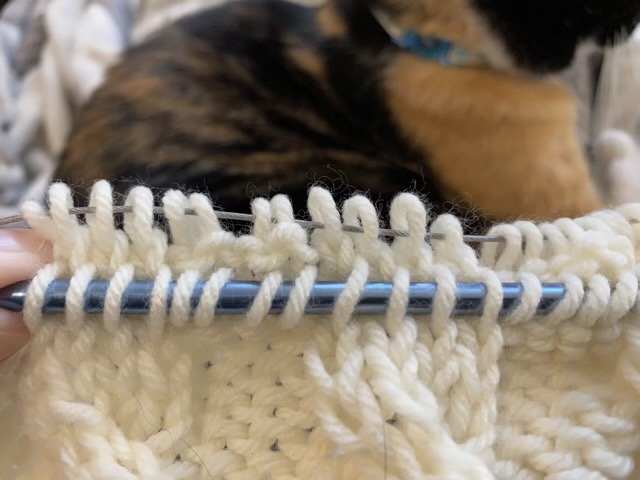
Ripping out knitting is a bit terrifying (I always think of getting a runner in pantyhose). Luckily, I learned how to make a lifeline by picking up the target row with a spare needle set. Unfortunately I didn’t look up the directions before I did it. (Here is a link to good instructions for next time.)

Picking up the good row

The mistake I made was picking up the left leg of the purl stitches instead of the right leg.

Yarn caught. Oops # 2.

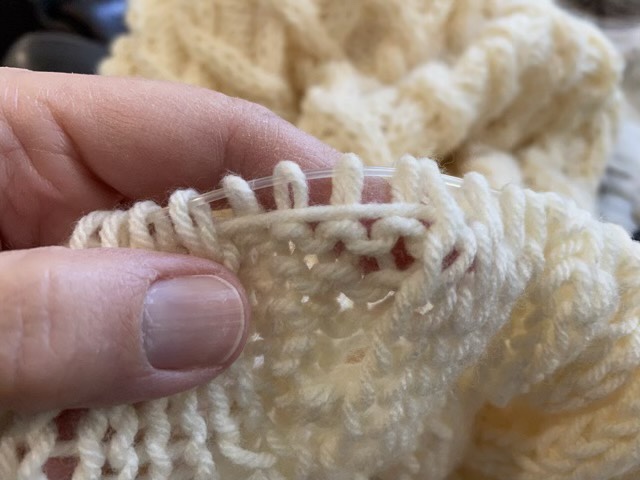
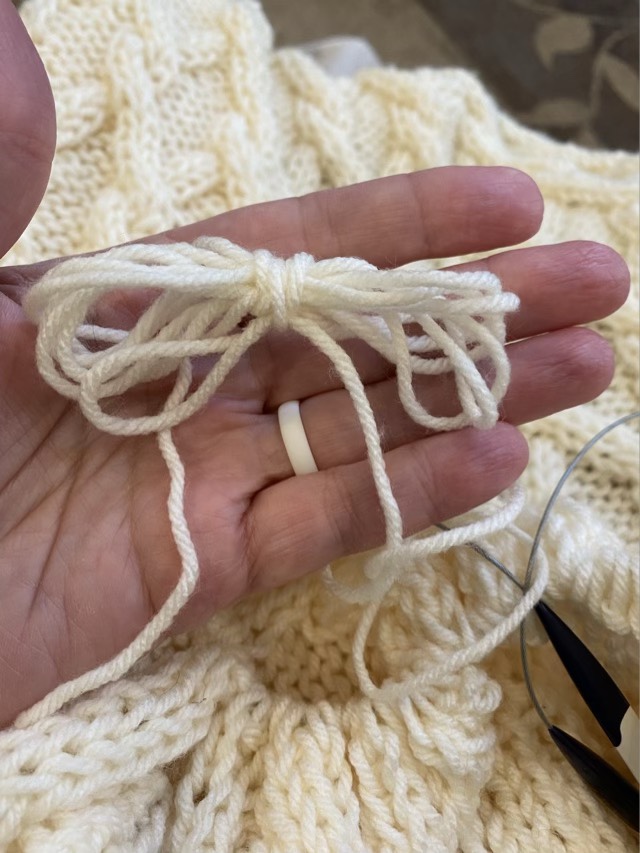
The final ripped row was still threaded through the work. Rather than pull the entire skein through, I cut the yarn and made an overhand knot at the end of the row (so I can undo the knot and weave in the ends later).

Backward stitch. Oops # 3.

When I picked the the left leg of the purl stitches, it also made those stitches backwards on the needle.

Making the purl stitch from the right leg.

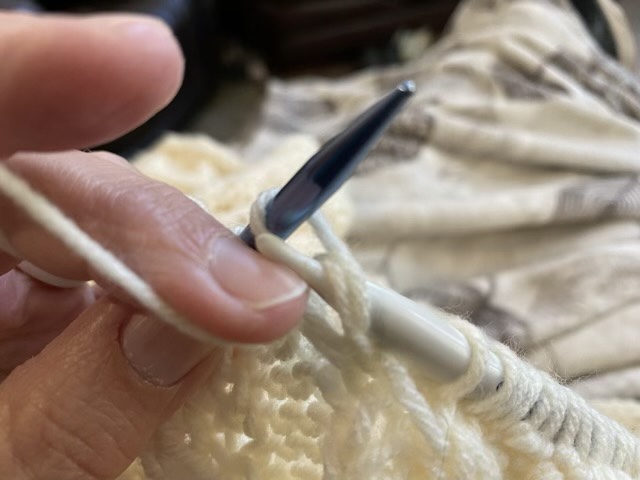
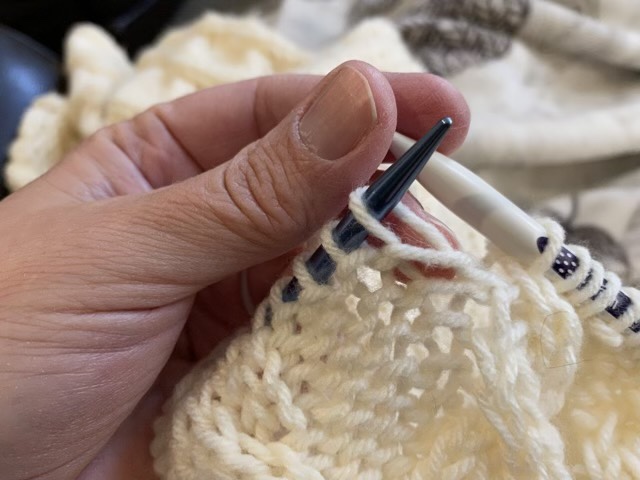
To make sure these stitches didn’t get twisted, I had to make my purl stitches from the back side of the loop. The knit stitches were all fine. It was an unfortunate mistake, but it is fixed now and I can continue on!

Another skein down

I have finished a full skein on my Grandma’s blanket. This time I was able to estimate how much yarn was left a little better so I only have a small bundle, rather than enough to make a ball.

Smaller yarn amount left at the edge

I also laid out the blanket as it stands, and I can’t immediately tell where Grandma stopped and I picked it up, so that is a relief.

Grandma’s blanket in progress

I think I will take a picture after I finish each skein, just to have progress notes.

Switching skeins

I’m ready to add in a new skein on Grandma’s blanket. I actually made it through the skein she was working on, which bodes well for the project! Grandma did not let the yarn run out willy nilly, but gauged if she had enough for a new row, and did her joins at the edges with an overhand knot. I’m guessing that she addressed the ends when she added the border.

Joining yarn at the edge of the project

I can appreciate this method because making joins in the middle of a row can leave unsightly lumps. There are many methods of joining (that might be another post), but leaving them on the edge is a sure fire way of avoiding seeing them in the field of work. Now I’m really hoping Grandma added the yarn waste into her yardage calculations.

Switching needles

I don’t like metal knitting needles. The are so slick I feel like I’m going to drop them, and if you don’t notice them coming unscrewed from the cable, you have an extreme panic moment when you suddenly have loose stitches at the end of the needle. The nylon cable has also taken on a permanent twist, which makes it fight the needle movement.

Interchangeable circular knitting needles with stiff nylon cord

My Grandma used metal replaceable needle tips on her interchangeable circular needles. Although I want to finish her project, it won’t be with her needles if I want to retain what sanity I have left. I understand that at the time they were the latest thing and better than what came before, but there are now even better options. I ordered some Prym circular needles in the same size Grandma used, but with a fixed multi-strand steel cable, which is strong and flexible. These needles are easier on my hands as I knit because I don’t have a death grip on slippery slidey needles that have a mind of their own.

Switching from metal needles to Prym ergonomic knitting needles

I do not get a kick back from Prym, in case you are wondering, I just really enjoy the thought and engineering that went into their design.

Ancestral UFOs

Boy, is that title going to be misinterpreted. UFO in this case is “Unfinished Object”, and refers to my Grandma’s knitting projects. I finished one in 2018 (which was before this blog started). Rather than try to match Grandma’s knitting (or rip out to the point the pattern needed, which was probably why she abandoned the project), I made it a patchwork of knitting and crochet, even using the same brand but different colors of yarn. It came out nice and long and finished!

Conglomerate blanket finished in 2018 using sections of knitting and crochet (Grandma’s section is the third from the bottom)

I have another project, which does not appear to need any ripping. It is the start of a beautiful cabled blanket. Grandma laminated the pattern and took notes each time she made a version. It appears that she used this pattern 10 times before this cream one, the first being made in 1974. If I am reading her notes correctly, it seems that she started this cream version in 2006, but then restarted in April of 2013. She passed in November of that year. She marked each row of the pattern with a minus when she started working on the row, then made it a plus when she finished the row, so she could tell exactly where she was (I know because she stopped mid-row, and it corresponds with the markings).

Grandma’s unfinished blanket with laminated and marked pattern, and cutout magazine photo

Yes, I am going to attempt to finish her project, but there are some preparatory steps I need to take first. I need to make a swatch to get the feel of the pattern under my fingers (and make sure I can), and I need to wrap my head around a project that will take me months to finish. Grandma wrote on her pattern that it took her “35 minutes to do two rows, 10 min back row, 25 min front row”. So only the center section of one of these blankets took her 63 hours to complete. And I am not the knitter she was.

The portion of work my Grandma completed on this cabled blanket

I am glad she left notes on her pattern, not only for her own memory, but so she could share that information with me. It would have been better to sit with her to receive instruction, but I am happy that I am still able to learn from her experience.