DIY bobbins

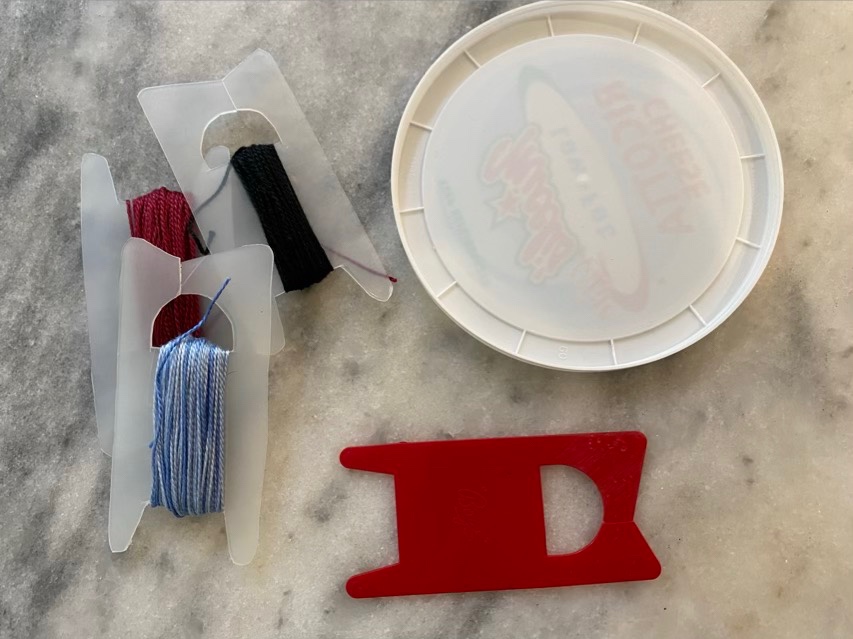
In my Grandma’s stash of knitting supplies, there is a stack of bobbins she made from plastic containers. I decided to follow suit, and make more bobbins from my used plastic lids.

Grandma’s bobbins (left), commercial bobbin (bottom), ricotta cheese lid (right)

There are no signs of tracing on Grandma’s bobbins, I’m not sure if she wiped them off, they wore off, or she made so many she didn’t need to trace them. I need trace lines, so I used a thin sharpie to outline the commercial bobbin.

Tracing the bobbin onto the lid

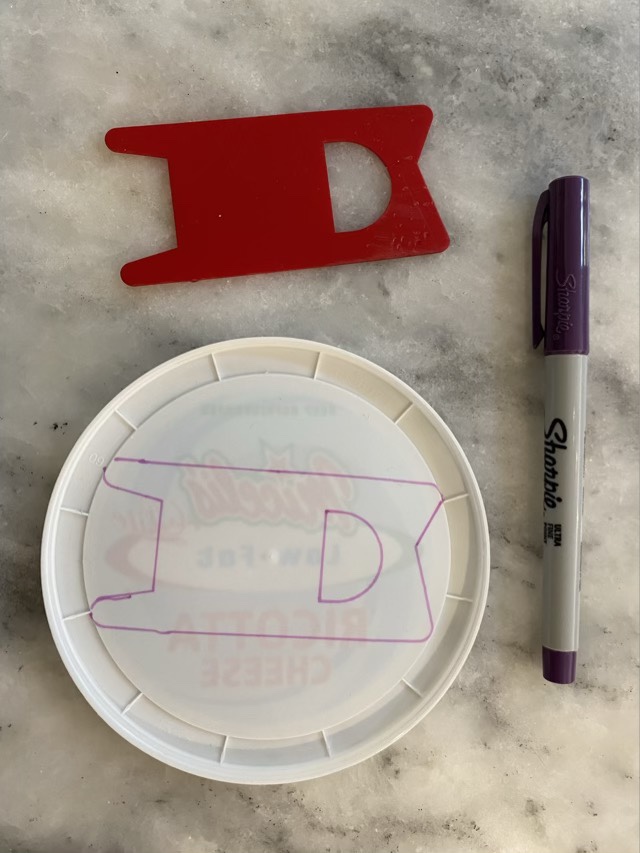
I cut out the traced design with kitchen scissors.

Cut out bobbin

I think cutting was a harder task for Grandma; the plastic she used was much thicker than mine. It is a visible reminder that plastics manufacture has changed, and products are using less plastic per item now.

Grandma’s plastic (left), modern plastic (right)

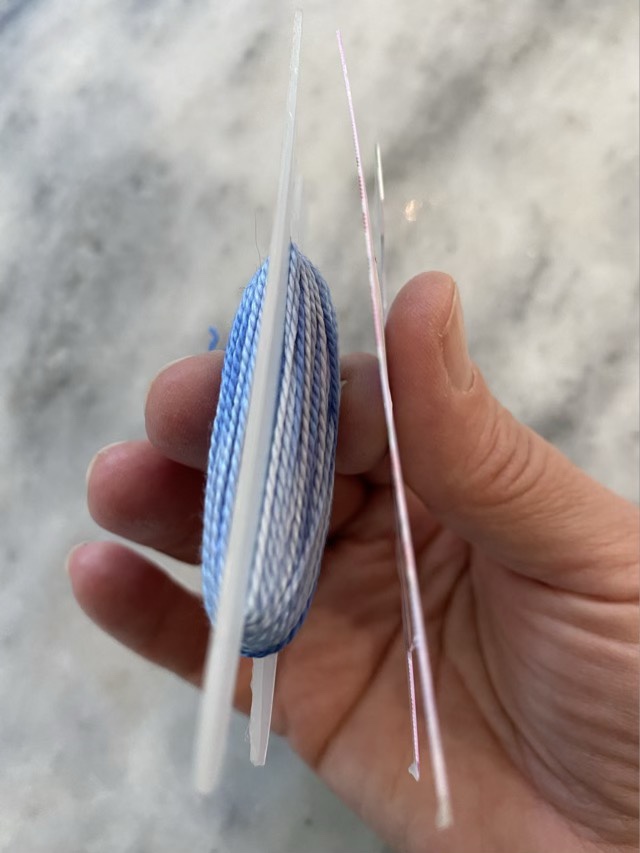
Despite the thinner material, my new bobbin works great to organize the extra bits of thread I’m accumulating as I warp my Inkle loom.

Newly made bobbin wrapped with pearlized cotton

Grandma’s blanket – finished

Knitted cabled blanket 17 years in the making

It is done. My Grandma (according to her notes on her laminated pattern) started this project on 4/22/2006, then restarted it on 4/18/2013 (I’m not sure on the reason for the restart). I picked it up in January 2022 and finished it August 10, 2022. My Mom remembers the project sitting in Grandma’s room in the nursing home, so it was one of the last things she was working on before she passed in November of 2013. If I am reading her notes correctly, she made this particular pattern 10 times. She would write down the start date, the color, and sometimes for whom it was intended and the finish date. She finished one of the afghans in three months. She was a true knitter.

The pattern is by Mary Maxim, no. 8048 Cable Afghan. The yarn Grandma picked out was Mary Maxim Starlette 100% Acrylic 4 ply Knitting Worsted Weight Yarn. She used size 11US circular needles. I did change out needles to Prym circular needles, and I made a copy of the pattern rather than write on her pattern, but I used the same pencil she used, with a new eraser.

The blanket came out well, soft and stretchy. The finished measurements, without tassels, is 45 by 70 inches. The left over yarn is less than a quarter skein.

I should probably have some emotional comment here, something profound and inspiring. I don’t usually roll that way. I’m glad I was able to complete this project, and tie up loose ends.

Let there be tassels

I am not a fan of tassels. Yes, they look nice all laid out and arranged, but mostly they tangle and catch on things. But I’m fairly sure that Grandma followed pattern instructions and would have put the tassels on. And I have a whole extra skein since I used scraps to sew the borders. So it seems the blanket is meant to have tassels. (It really was a deliberate choice to start the last three sentences with conjunctions. This was a difficult decision and each step needed the full stop.)

The tassels are wrinkly

I started making the tassels from the outside of the skein, then the inside of the skein turned out to be kinked, so some of the tassels were smooth, and some were wrinkly. Steamer to the rescue.

Tassels steamed straight before doing the second knot

As per the instructions, I made a second row of knots, then trimmed the ends.

Tassels knotted and trimmed

It is done. I’ll do the final reveal on tomorrow’s blog, with a summary of the whole project.

Sewing on borders

Time to sew the borders on Grandma’s blanket! I laid the center field and borders out on the king bed, and set up a stool so I could sit and sew. As an extra precaution, I used quilting pins to secure the borders to the middle at regular intervals.

Blanket laid out on the bed for sewing on borders

I used a mattress stitch, but with the border over lapping the center, by picking up stitches under the border edge and from the top of the center field. This hid the curled edge of the middle, but showed off the neat edge of the border.

Izzy demanding attention

Izzy tried to get her tail into the stitching, but luckily I am adept at sewing around cats. She has been waiting for months to lay on this blanket. She made the most of it.

Borders sewn, Izzy content

I did wash the blanket and dried it in the dryer (deep breath, it is acrylic yarn, it can take it), to get most of the cat hair off.

Grandma’s blanket with borders

I still have a whole skein of yarn. Hm.

Glad I tested

My plan was to do a knitted i-cord seam to connect the border to the center field of Grandma’s blanket. Before delving in, I made a swatch of stockinette stitch and tried out the seam method by joining the sides of the test fabric. I’m glad I tried it on scrap yarn first. I don’t like it at all. The seam ends up thick and bulky and not very elastic.

Test swatch with knitted i-cord binding and free knitted i-cord.

So I guess I will sew the seams. I don’t mind sewing, so it isn’t a hardship, but matching up everything can be quite daunting.