Cat number three is complete on the Bucilla felt wreath kit.
Photo description: in process Bucilla felt wreath kit with three cats
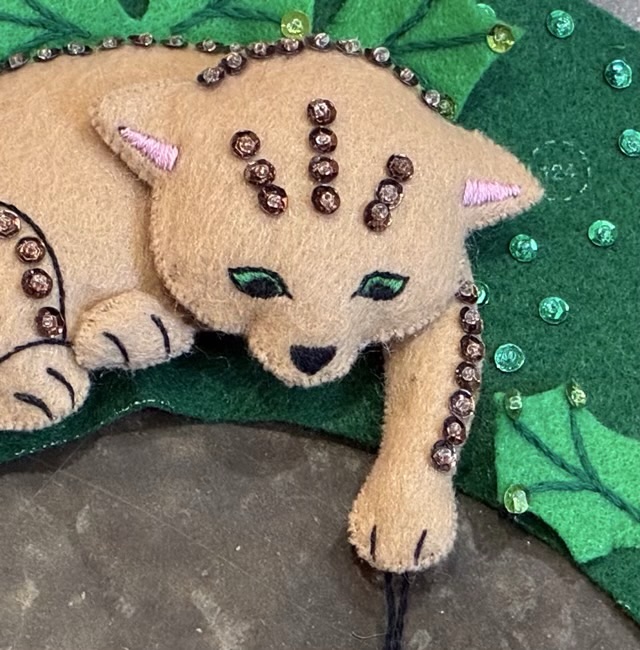
I changed a couple small things on the brown cat, giving it three stripes of sequins on the forehead to break up the space, and making the eyes green rather than the pattern indicated white.
Photo description: pattern image of the brown cat’s head sewn as per instructions Photo description: closeup of brown cat’s head as I stitched it, the lighter tan color was what came in my kit, which does have a caveat that the felt colors may differ from the picture
Two more cats to go, and I am feeling particularly rebellious.
The felt wreath sewing kit now has two cats. I didn’t deviate from the instructions on this second cat like I did for the candy cane with the first cat. I sense more deviation coming in my future, though. The thought of finishing the wreath and it looking like the picture on the kit is disquieting. It won’t ever look exactly like the picture, a head tilt difference here, a slight color variation there, but I’d like to make it mine, specifically. I have lots of scrap felt. Hm.
Photo description: in progress Bucilla felt kit with a gray cat with a red scarf, and a cream striped cat in a Santa hat
I keep working on the Bucilla felt kit to make a cat themed wreath. So many tiny stitches. I laid it down to take a progress picture and Izzy the cat decided to investigate.
Photo description: in-progress felt wreath with calico cat standing next to it
The stuffed candy cane the cat is holding is the smallest stuffed object I have ever done, so far. The project has many, many tiny stuffed details.
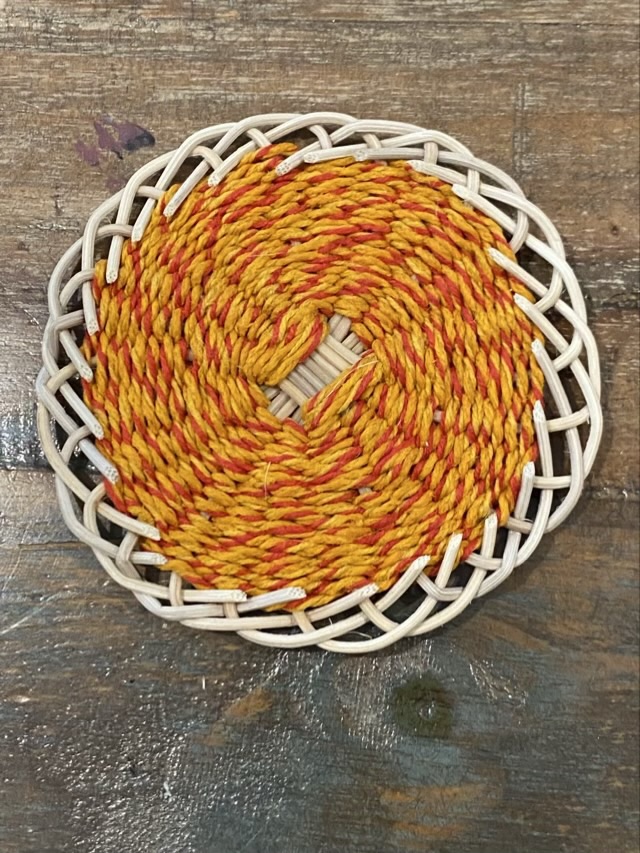
As with all my crafts, after I’ve made a few my mind wanders and I wonder how other variations might work. With the reed coasters, I tried weaving with hemp cord, and a different rim finish.
Photo description: reed coaster woven with natural hemp cord and finished with a woven edge instead of a tucked edge, back side shownPhoto description: reed coaster woven with orange and red dyed hemp cord, back side shown
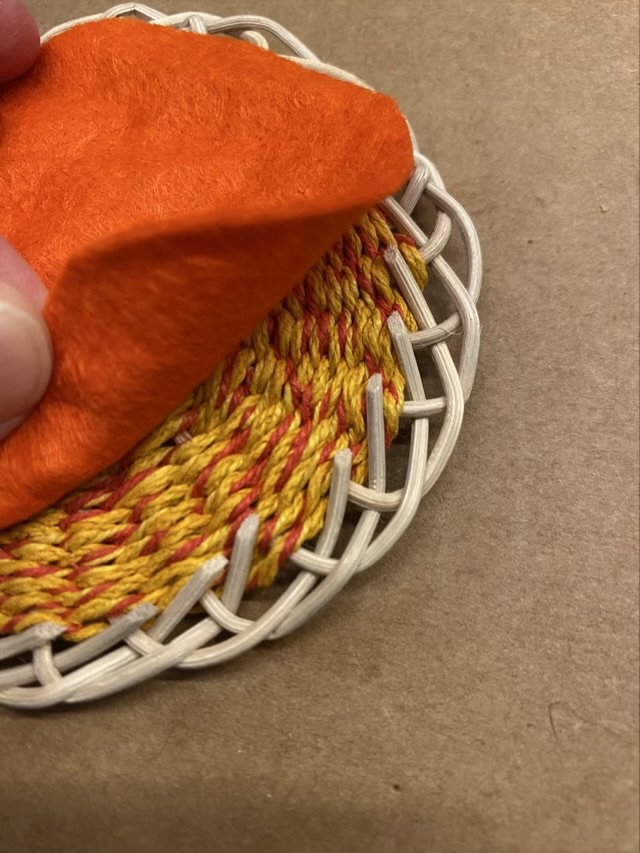
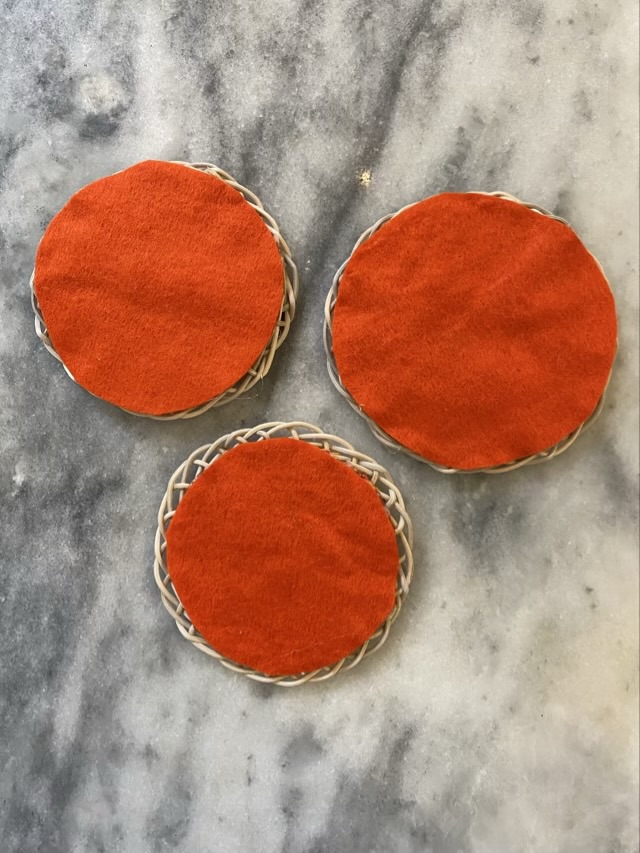
The “bob” edge (behind, over, behind) leaves the ends of the reeds sticking up. I trim them flush, but being a belt and suspenders type person, used hot glue and a layer of felt to make sure they don’t wiggle free and to protect any surface they are set on.
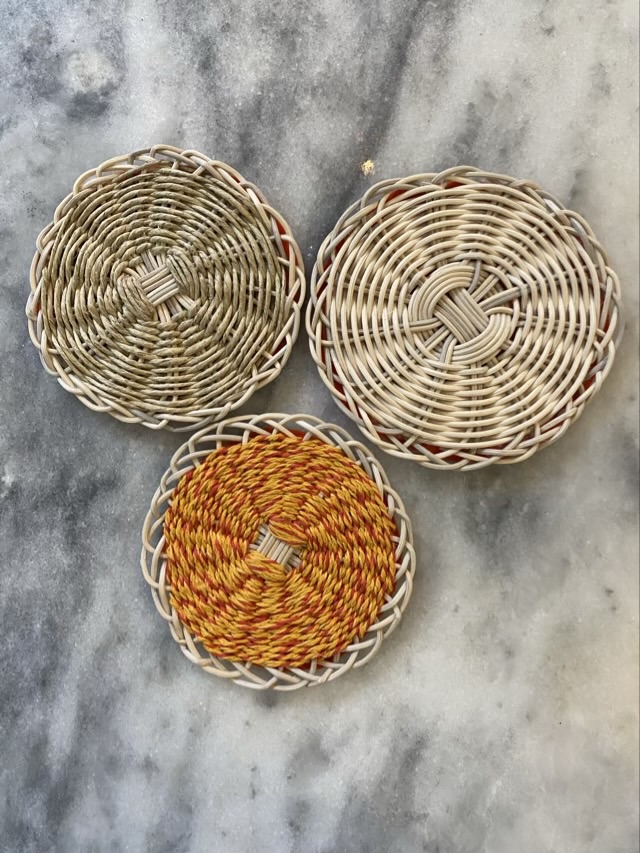
Photo description: showing the cut ends of the reeds before I hot glue down felt to secure them and protect surfacesPhoto description: orange felt backs for three coastersPhoto description: front side of three different reed coasters
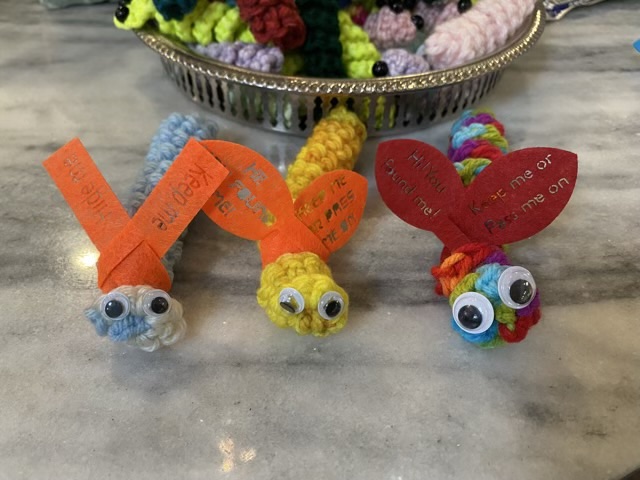
When we hide rocks for the Kindness Rocks project, we put some simple instructions on the back. I wanted to put something similar on my worry worms. I started with a scarf idea, with a simple slit for the attachment and words burned into man-made felt. After a couple tests, I thought the scarf looked more like wings, so changed my design in Adobe Illustrator, saved it as an SVG, and imported it in my laser cutter’s program.
Photo description: three worry worms with a scarf (left), wings with a bold font (middle), and wings with a thin stencil font (right)Photo description: yellow and orange felt in the laser cutter, there were definite cutting differences between colors, in this photo the orange cut much cleaner than the yellow with the same settingsPhoto description: purple glow worry worms with a with purple wings that say “Hi! You found me! Keep me or pass me on” with more worms and wings in the background
I just love their little wings! I did find it interesting that the thin stencil font was easier to read than a bold stencil.
I took these to my regional chorus competition and my chorus had a great time “hiding” them for other competitors to find.