Doll House bed

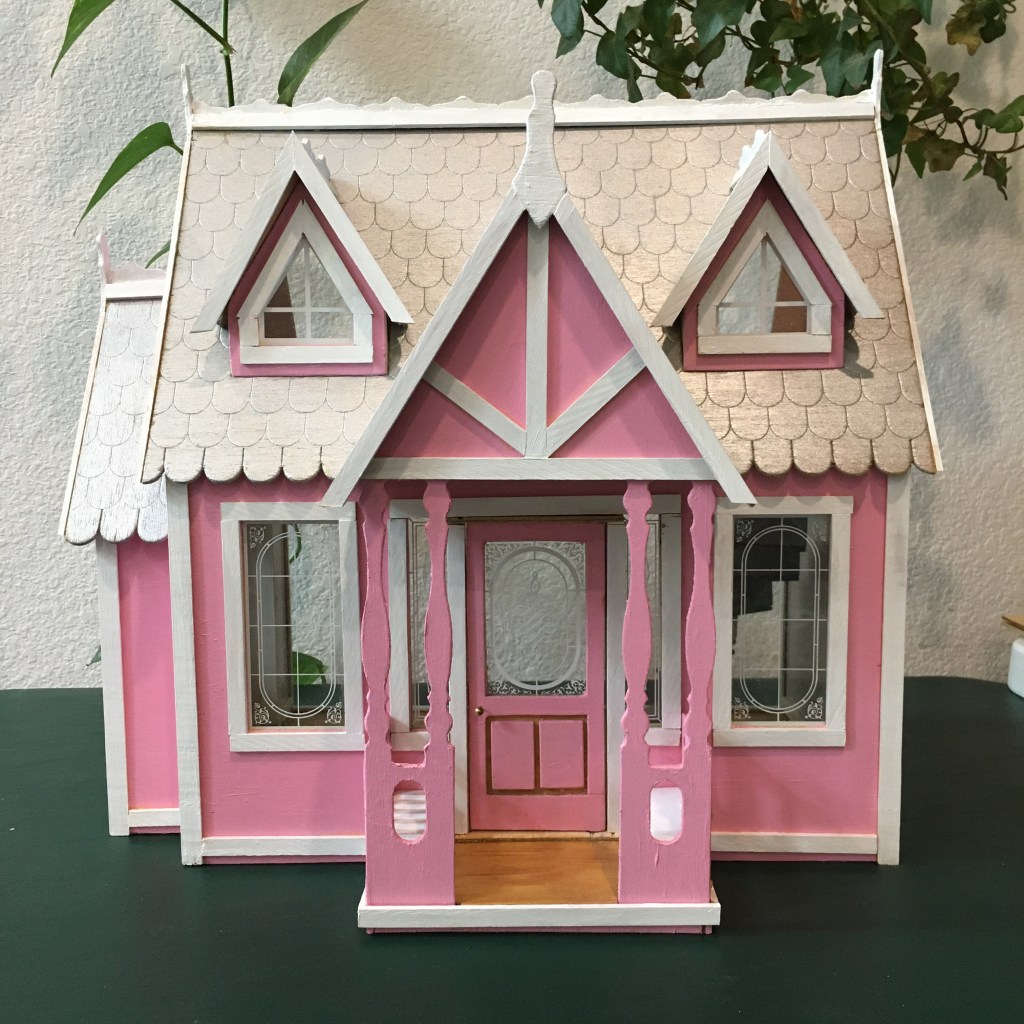
So I saw something on Pinterest (I think this phrase is to crafters what “Once upon a time” is for fairy tales), and my youngest asked for a bed for her doll house, and have been wanting to try weaving a cot. (Pinterest is both the boon and bane of my existence.)

Weaving a doll cot

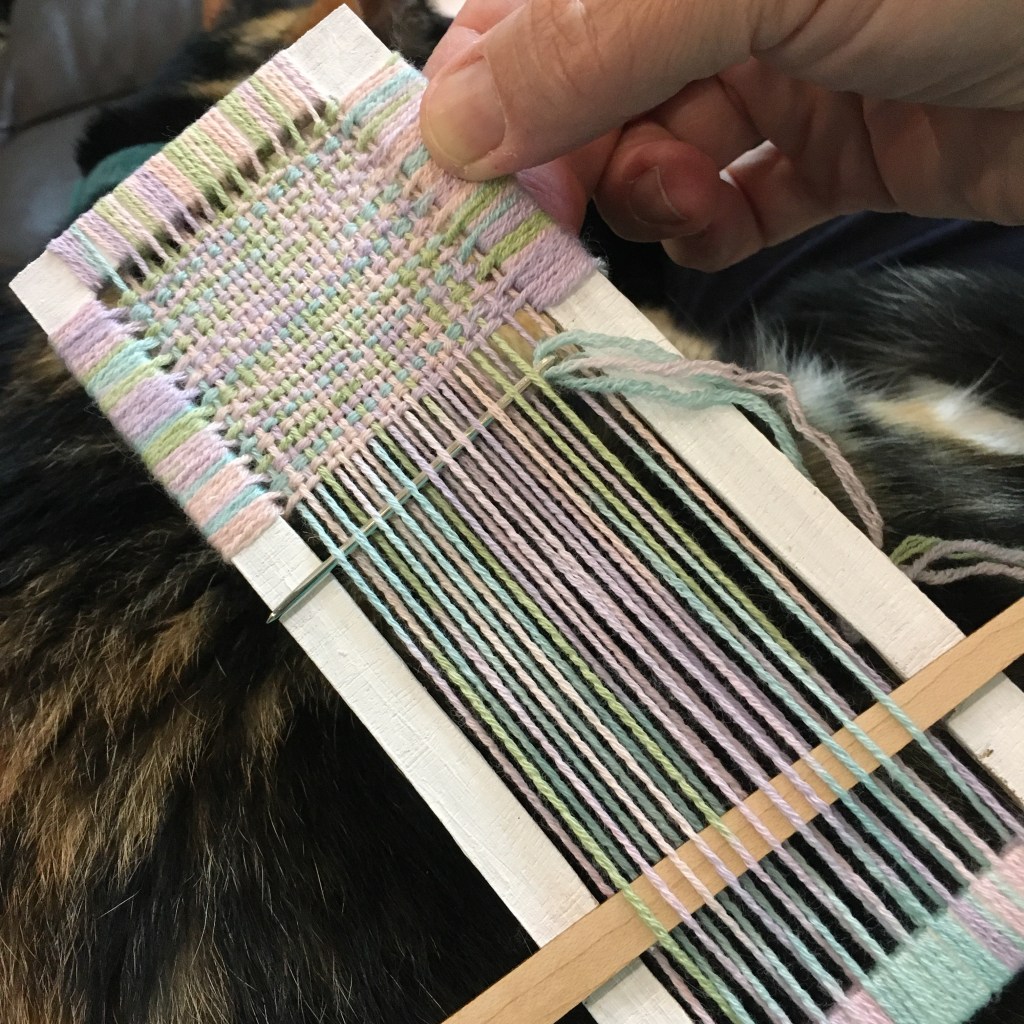
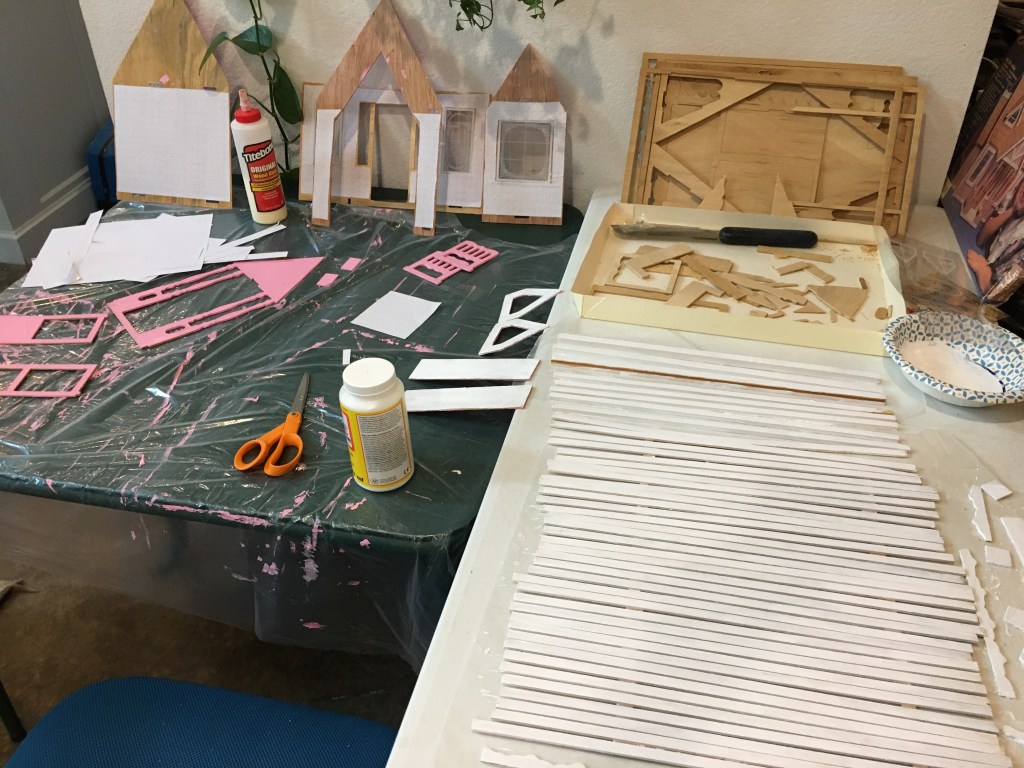
I had extra wood from the doll house construction, so made a frame. I found some bamboo and cotton fingering weight yarn in my stash and wrapped the warp with two lashes between each warp thread, and repeated for the weft. This was much more straight forward than I feared! The wraps kept the sides straight, and I could easily hide the ends by running them through the wraps on the back side. I used more scrap to make a base for the cot, which I glued on after the weaving was done.

Finished doll cot
Doll house with cot

I knit a small blanket for the cot too, out of the same yarn, but my youngest said it was too big and she didn’t want it to match, so now it is a rug. I used scraps to make a kind of table too, but it also is even smaller and more fiddly than making the doll house. No thank you, especially when Melissa and Doug makes such pretty doll furniture.

Dura-craft Ashley doll house

Done! It took me a week gluing and waiting, gluing and waiting, but the doll house is complete and my youngest is happy that she can play in it now without worrying about wet glue or paint.

Dura-craft Ashley doll house front
Inside

By the way, artist’s acrylics do a pretty good job as caulk for doll houses, since the consistency is nice and thick. It is very difficult to get a crisp joint on that tiny trim. Touch up paint was definitely my friend.

Most of the house is painted with acrylics. The roof and stairs were spray painted metallic silver. The pink was mixed by hand, and I tried for a lighter shade inside than outside (note, a little red goes a LONG way). The wall paper on the ground floor room was designed in Photoshop, printed on office paper, and decoupaged to the walls. The whole thing looks much better in photographs. I’m not a huge fan of the press board construction. Time will tell for the durability.

Oh, what did I get into?

Box cover for Dura-Craft Ashley doll house

It seemed a good rainy day project, maybe stretching to a few days. The instructions said easy assembly. My youngest was enthused and helped me paint it her favorite color: pink. I convinced her not to have the entire thing a solid pink, mainly by promising to paint all the trim white myself. Oh so much tiny trim.

Pre-painting tiny dollhouse parts

My grandmother gave me this dollhouse after I was married. My husband found the kit recently when he was cleaning out the garage. I’ve had it for probably 24 years. The Dura-craft dollhouse company went out of business in 2005. The copyright date on the instructions is 1992. I discovered these last two facts after the project was spread over two tables and a bench in the middle of the house.

Cutting the oh so tiny trim around oh so tiny windows

I discovered on day two, after the painted parts were dry, that the company and I have different definitions of “easy assembly”. Each piece of tiny trim needs to be cut to size. I have some good wood glue, but even that needs some time to set before going on to the next step. So it will take awhile to get everything assembled using a stop and go method. My youngest does come by and show interest and helps, which keeps me going. I may also be getting a wee bit obsessed. My youngest wanted wall paper inside, “Pink flowers” wall paper. I designed a repeating pattern in Photoshop and then shrunk it down to doll house size and printed it. I then used Modge podge glue to attach the paper to the wall, and other coat of glue on top to protect the paper. Maybe a little obsessed…

Custom doll house wall paper