Coconut coir fiber

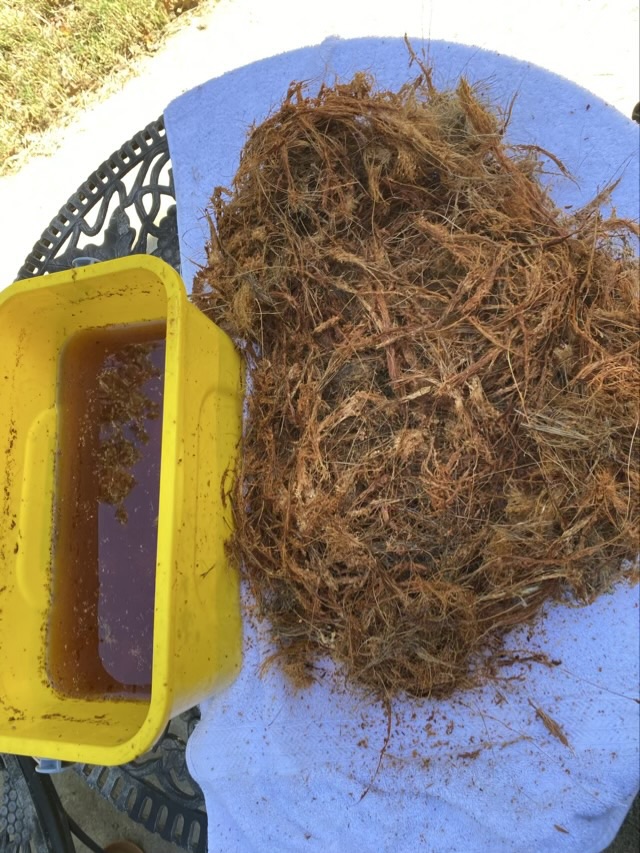
I took my dried coconut husk back outside after soaking it, pulling it apart, rinsing it, and then air drying it on a drying rack inside. The mass of husk was copiously shedding bits whenever the drying rack was disturbed, so outside was the best choice for further processing. I decided to twine the coconut coir, the long, strong fibers from the coconut husk.

Photo description: twined coconut coir in front of a pile of separated coconut husk

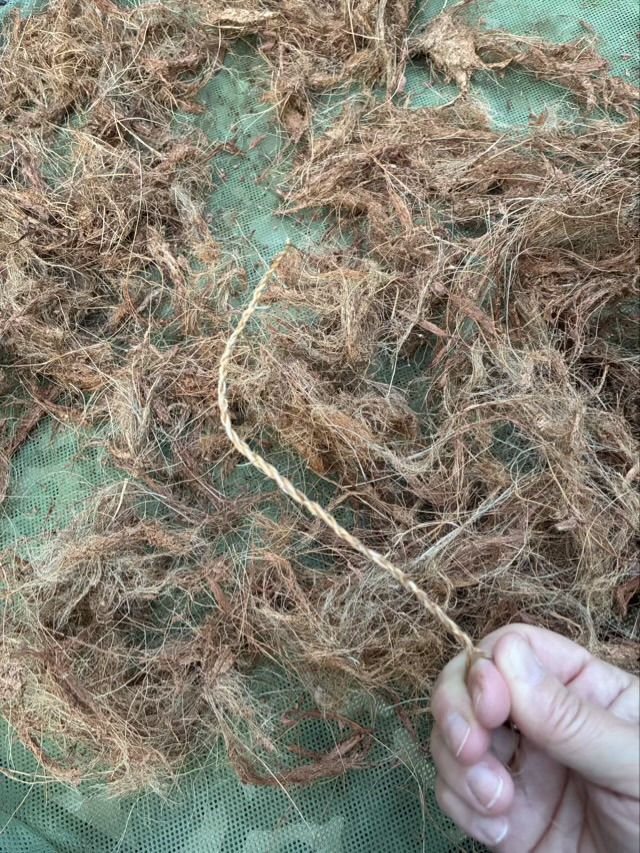
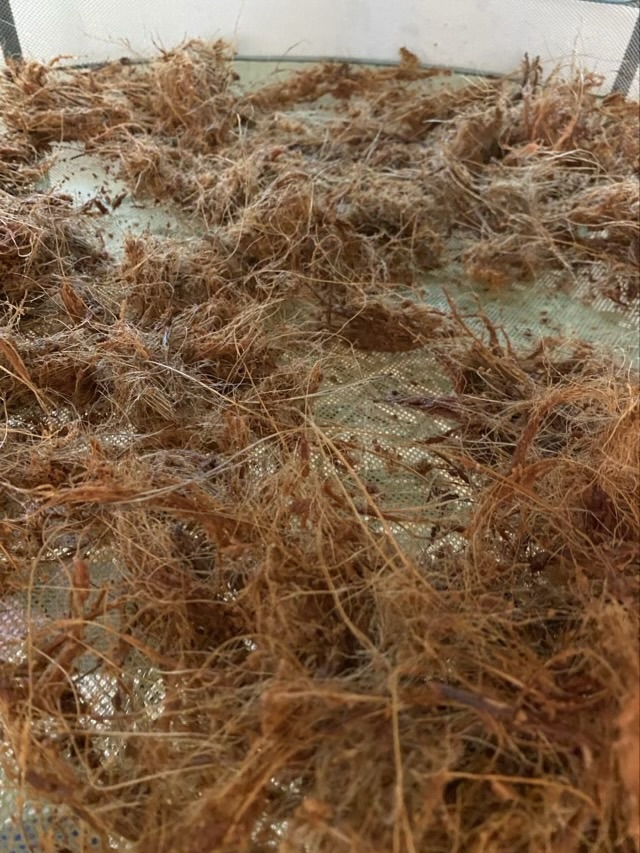
Even with the soak and rinsing, there was still a large amount of spongy brown pith on the fibers, which I scraped off with my nails. I separated out the longest fibers, leaving the pith and the short, fine, breakable fibers, which were more difficult to twine.

Photo description: paper bag of cleaned coconut coir fibers
Photo description: bucket of coconut coir pith, I promise there is a bucket under there

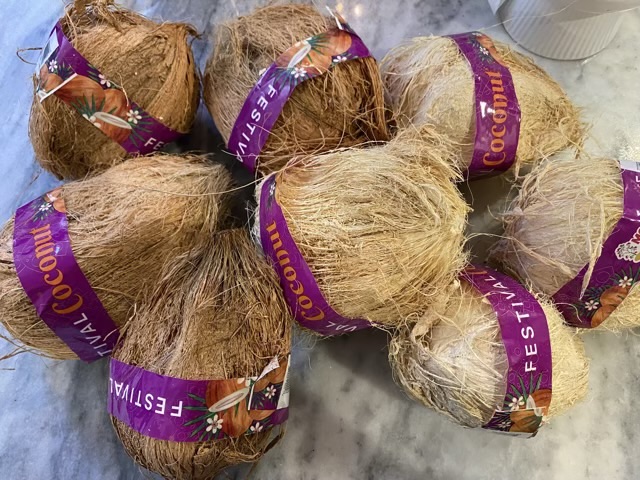
I was a little disappointed in how few long fibers I was able to rescue, and I’m not sure that the soaking and rinsing really made my work any easier. I have four more white coconuts (unripe), which I will try getting the fibers straight from the husk as a comparison. The coir pith I put in my compost heap, it has excellent moisture retention so will do well in the mix for future plants.

Coconut fiber shredding

My coconut husks ended up soaking for three days until I could get back to the project. I took the bucket outside and used my hands to tear open the clumps to free the husk particles from the fibers.

Photo description: shredded coconut fiber next to the soak bucket

After pouring the soak water over garden plants, I put the shredded fiber back in the bucket and rinsed it several times. There is still some particulate matter, but the majority rinsed away. I spread the fiber out on a drying rack hanging inside.

Photo description: coconut fiber spread out on a mesh drying rack

I have to note that the coconut fiber and husk has no discernible smell to me, even after soaking for three days.

Coo coo for coconut

My grocery store had a large display of whole coconuts in the produce section, full of husk fiber. I went a little bananas and bought eight coconuts… for the fiber.

Photo description: eight “brown” coconuts, but four are more cream colored

As I tore off the fibrous material from the coconuts I realized that maybe I didn’t need to buy eight. There is a lot of fiber! So I started with just processing four with the darkest color. I put the husk into a bucket, added water, and weighed it down with rocks.

Photo description: yellow bucket filled with coconut husk and water and two large rocks

I am also interested in making items from the coconut shells, so I found the one soft hole in the end of the coconut poked it with a gimlet, and shook out the water.

Photo description: coconut water in a bowl with the coconut on the right showing the three dents, only one of which is an actual hole, and a gimlet

On the fourth coconut I finally had a method for cracking the shell cleanly. I whacked them with a metal rod (my knife sharpener) along the equator, then took them outside to tap on the concrete. I actually managed a clean break! One.

To get the flesh from the shells, I cooked them in my pressure cooker for 5 minutes, then let them cool. I cut a small wedge from the side of the flesh, which gave enough flexibility to use a butter knife to pry out the flesh.

Photo description: small wedge cut from a cooked coconut

I removed the brown skin on the coconut meat with a vegetable peeler.

Photo description: coconut shells and peeled coconut meat drying over the kitchen sink

Next steps include cleaning up the fiber and polishing the shells. And figuring out what to do with all that coconut meat.