
My primary book reference “Storey’s Guide to Raising Chickens” by Gail Damerow suggests putting feed on pieces of paper for days old chicks, then switching to a shallow tray once they have all figured out what to peck. I have some card stock I’ve been trying to get through (I thought I was ordering bright white, but what I ordered had rainbow flecks, ugh), so I used some of that to make simple little trays. The nice thing about the trays is they can be thrown away when they get poopy. But it will be even nicer when they eat just out of the hanging feeders. Any who, here is the video:
Tag: chick
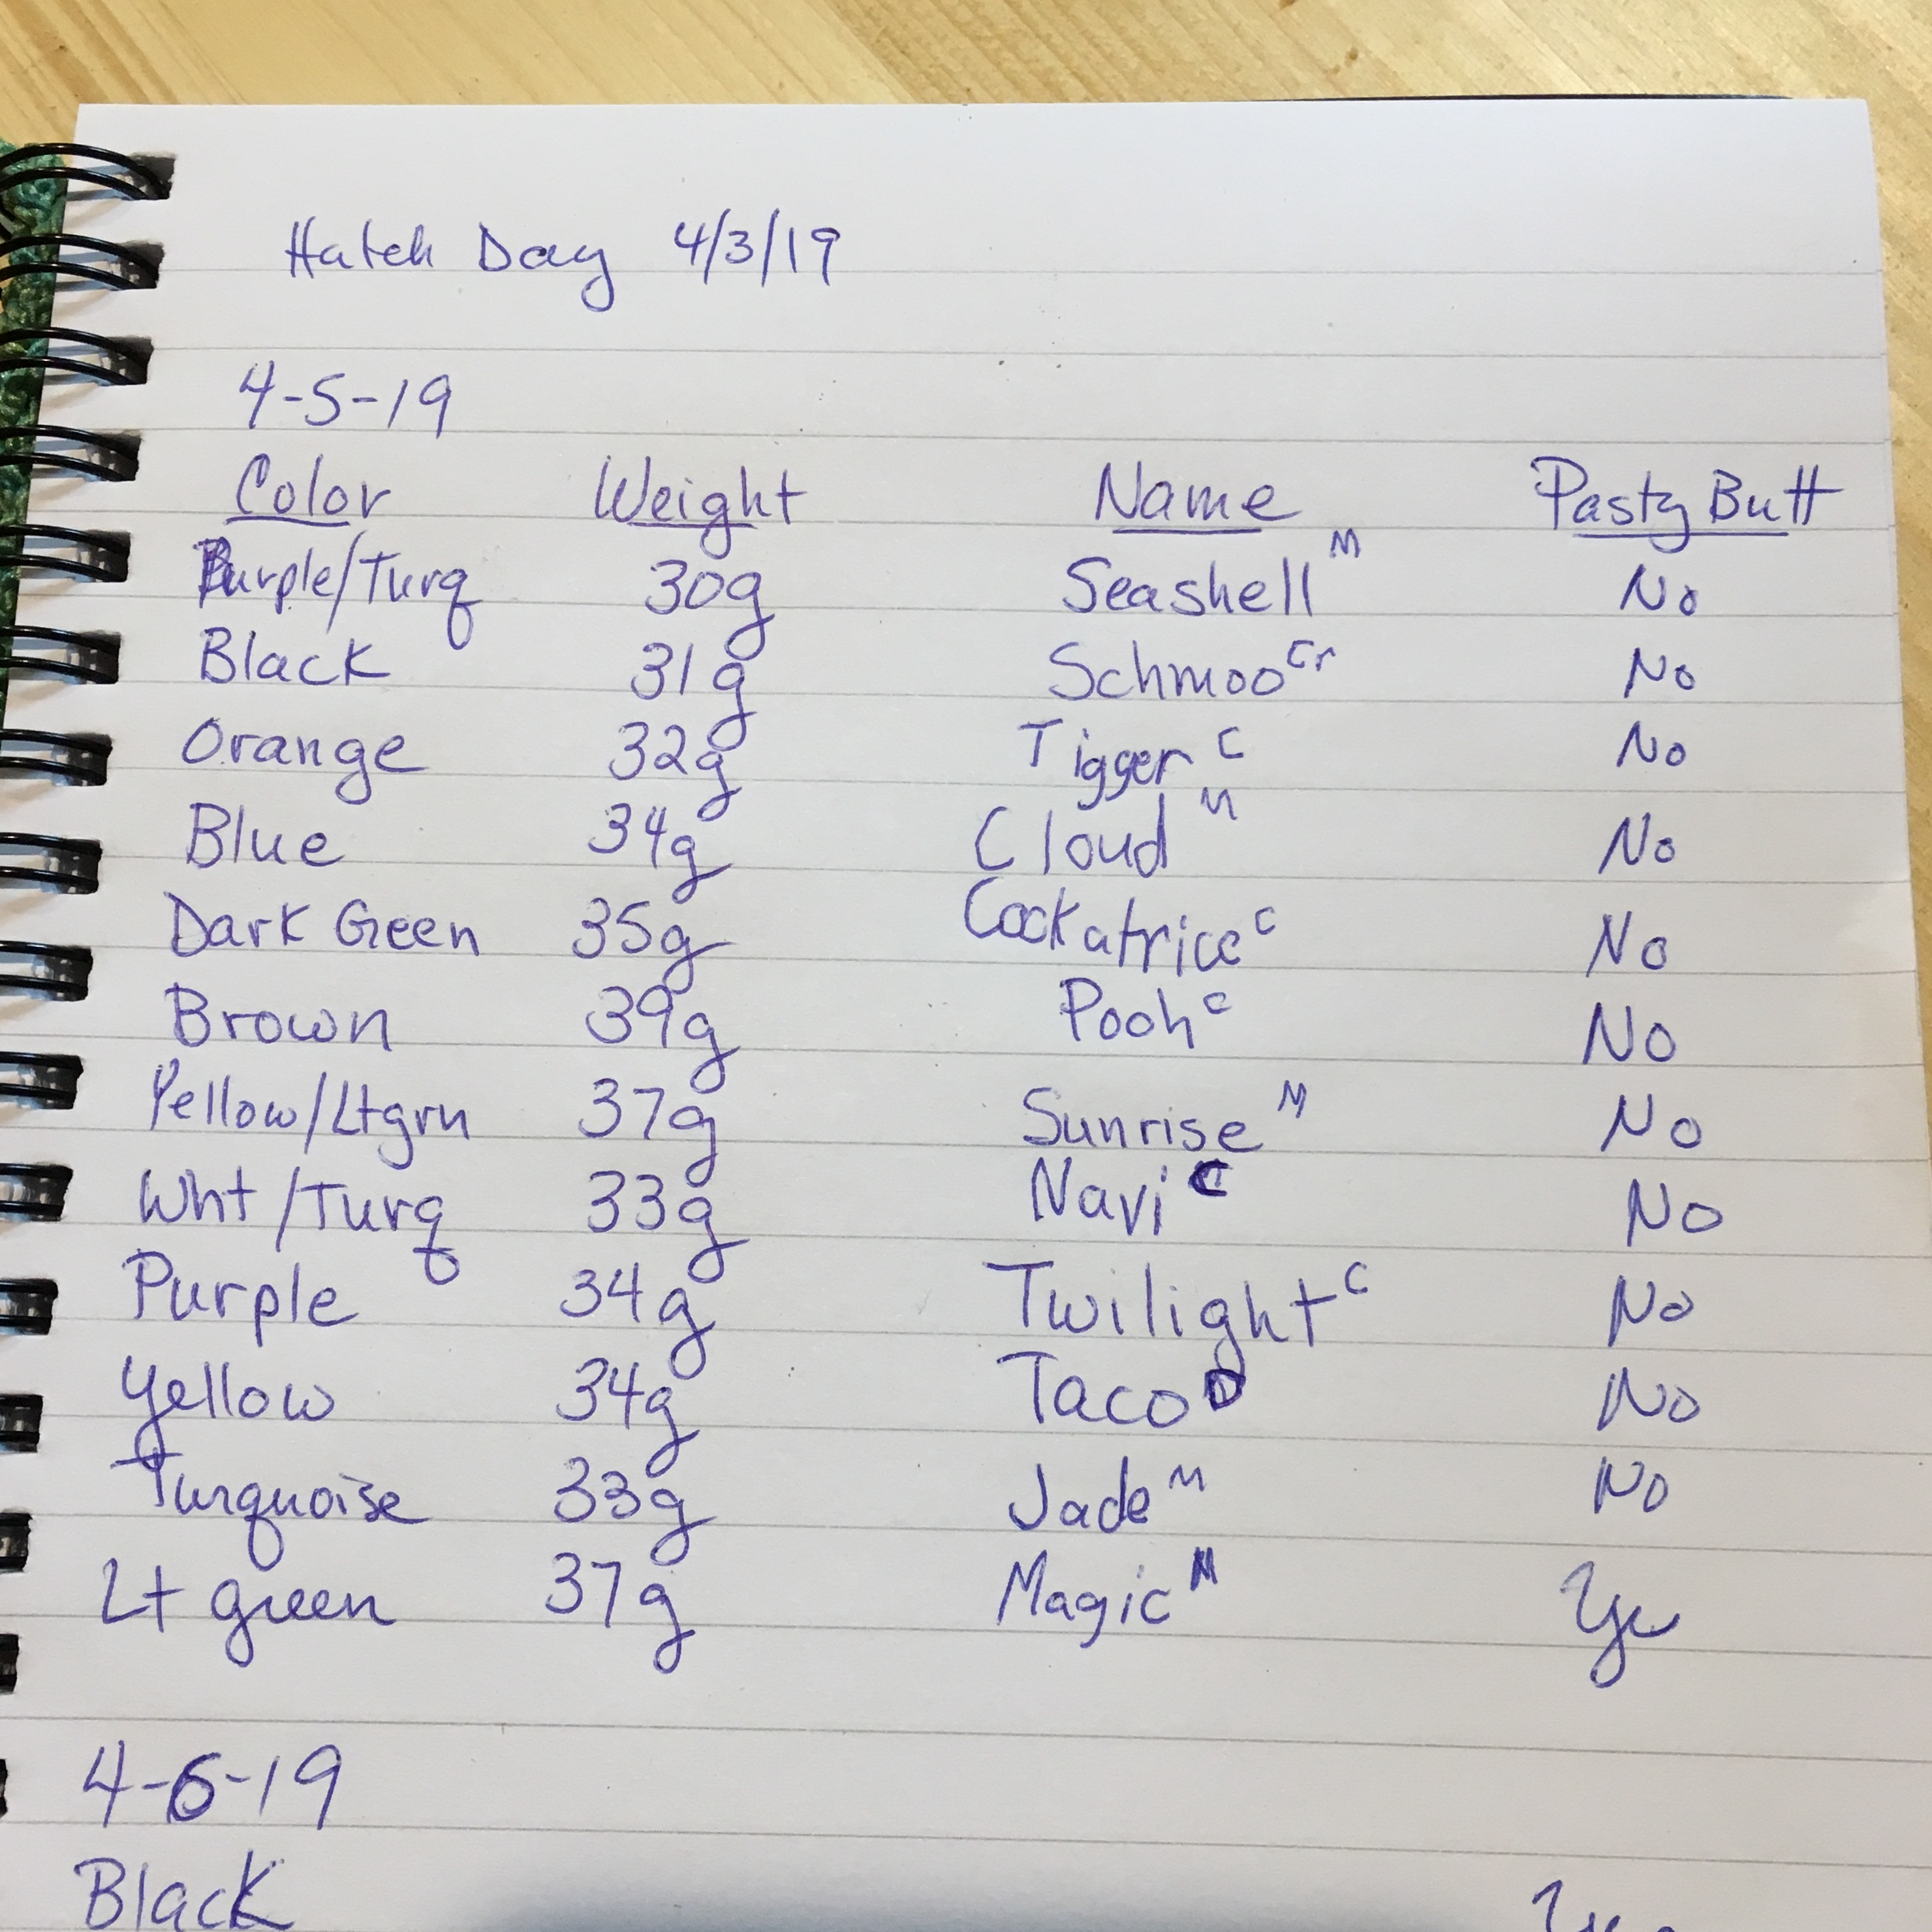
Names
We banded, weighed, and named all the chicks, and made a little chart. (The marks next to the names indicate who named the chick. Each child named 5, and my husband and I named one each.)
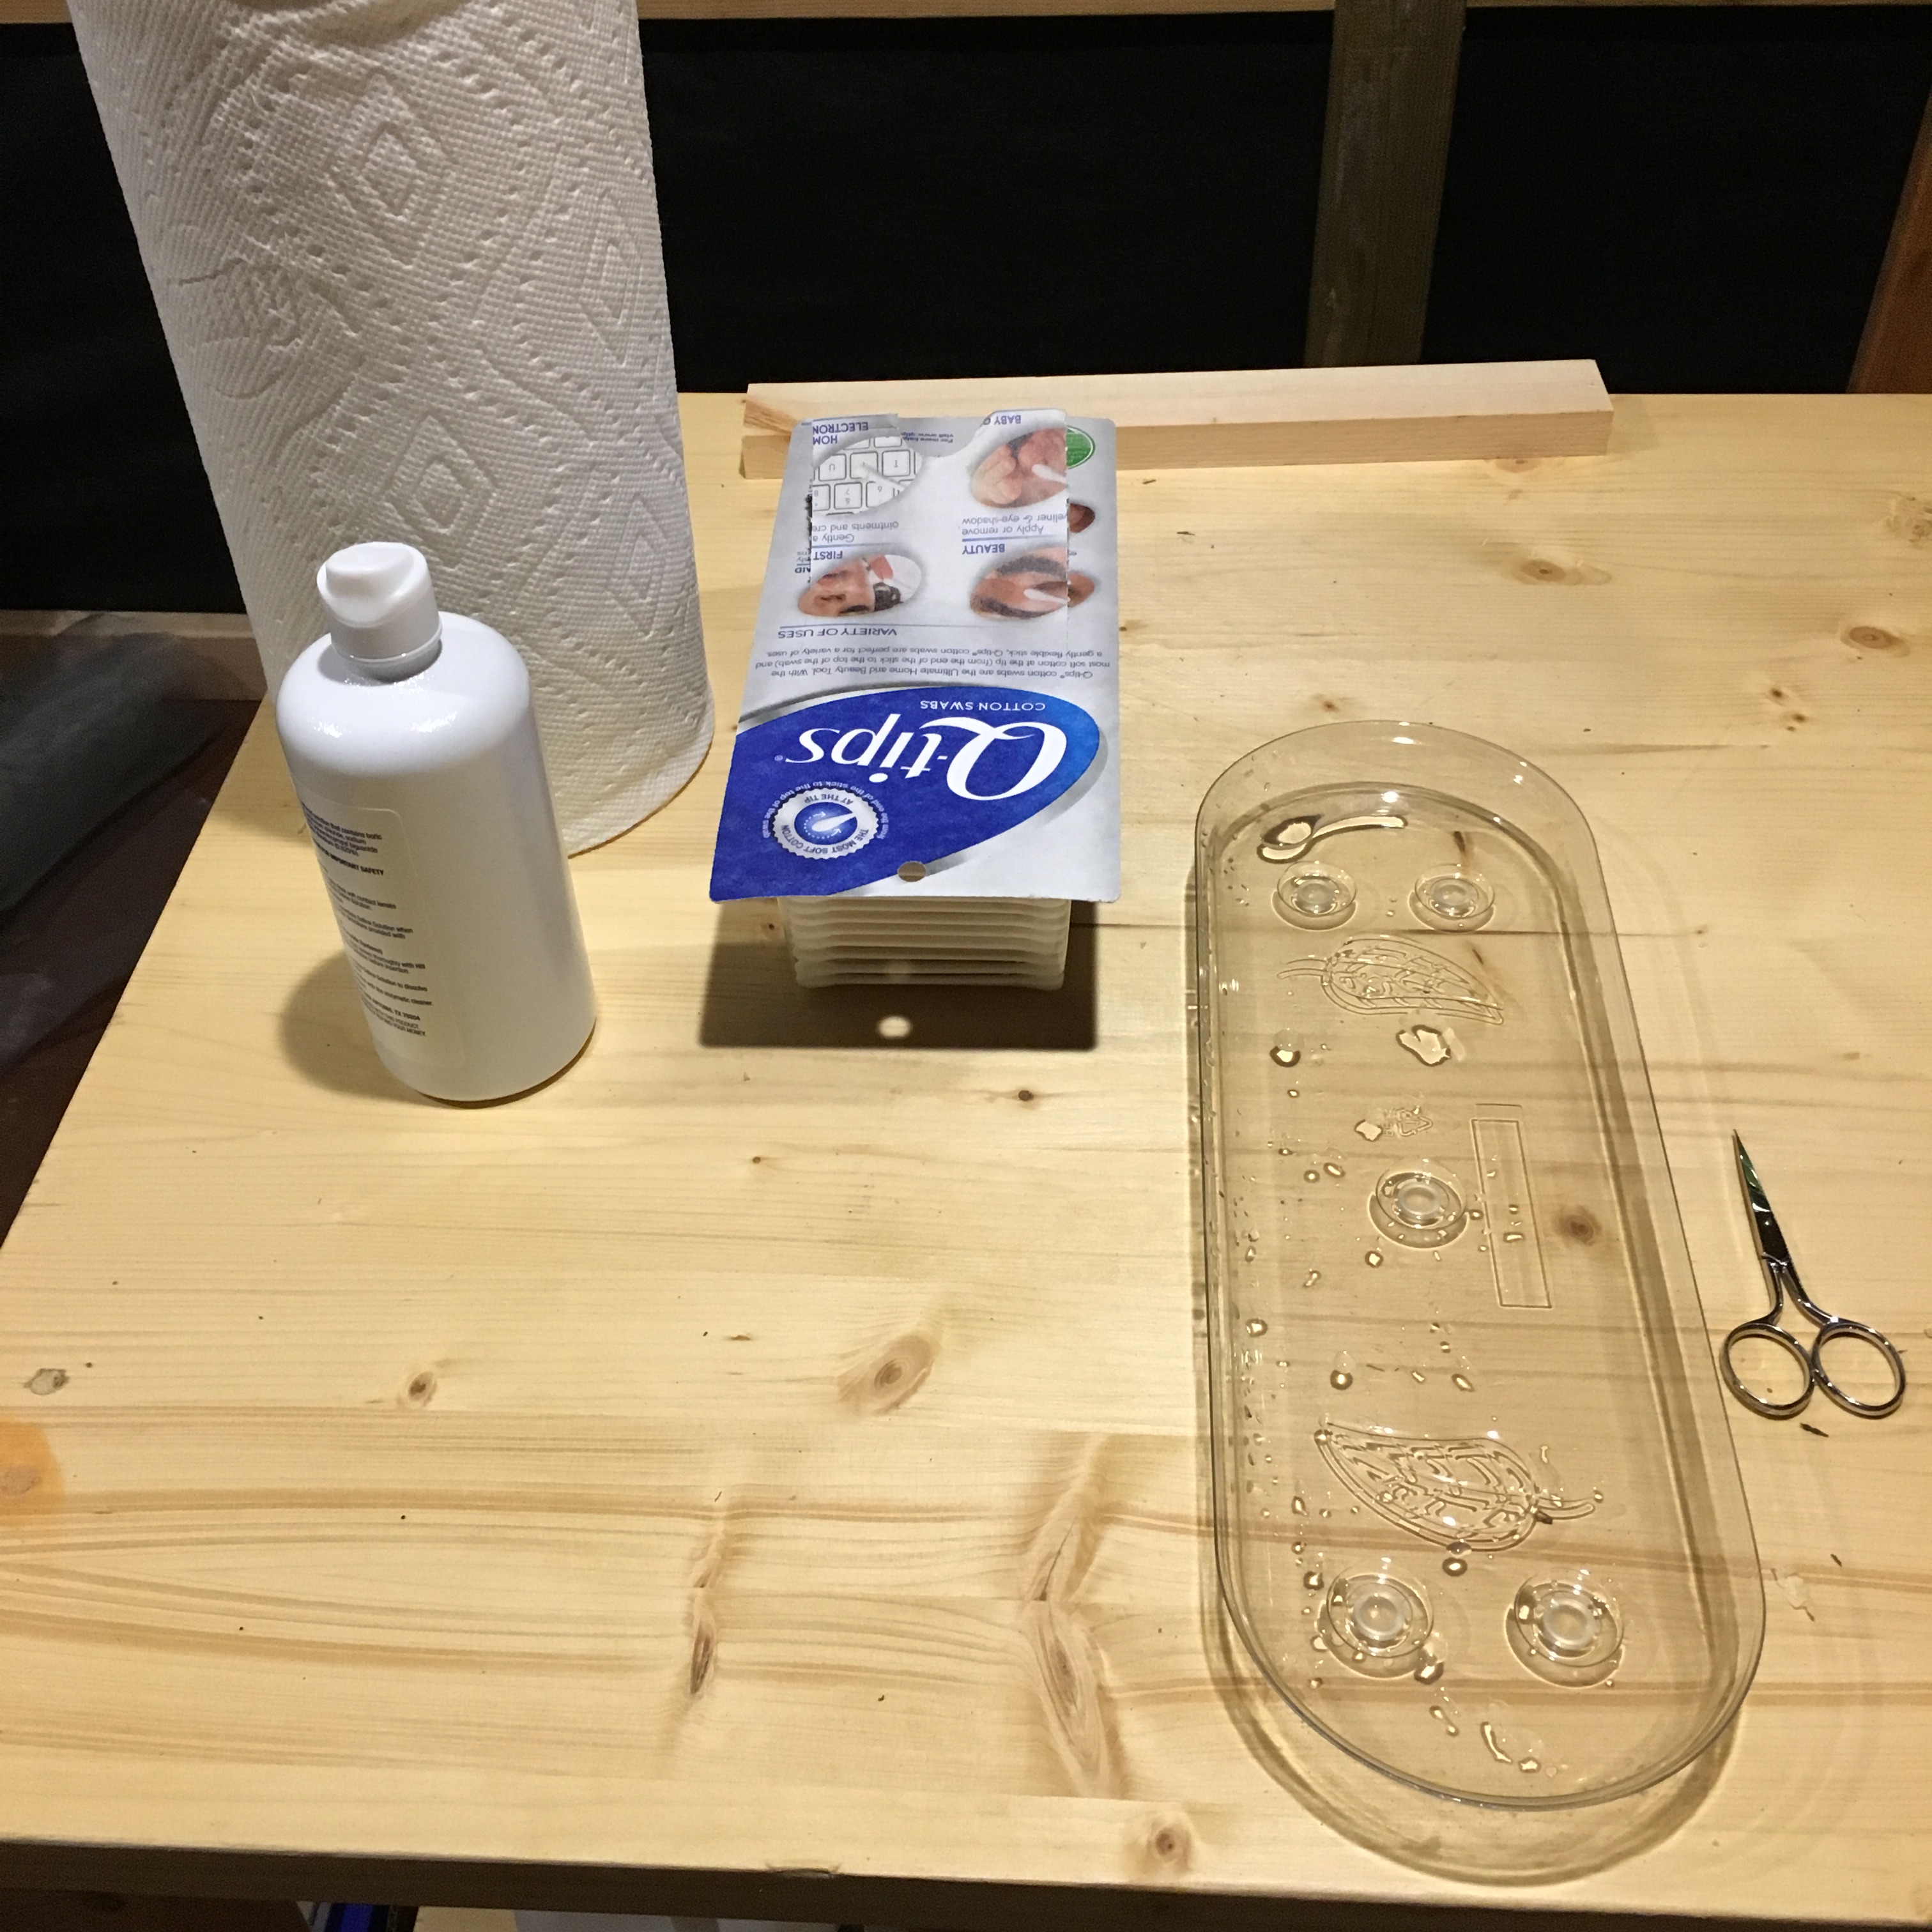
The table that I originally made to the hold the brooder (aka dog crate), makes a great prep table. I’ve been using it to clean up pasty butt. They started out pretty clean, but are getting more stuck to their feathers now. We are making twice daily checks of all 12 chicks.
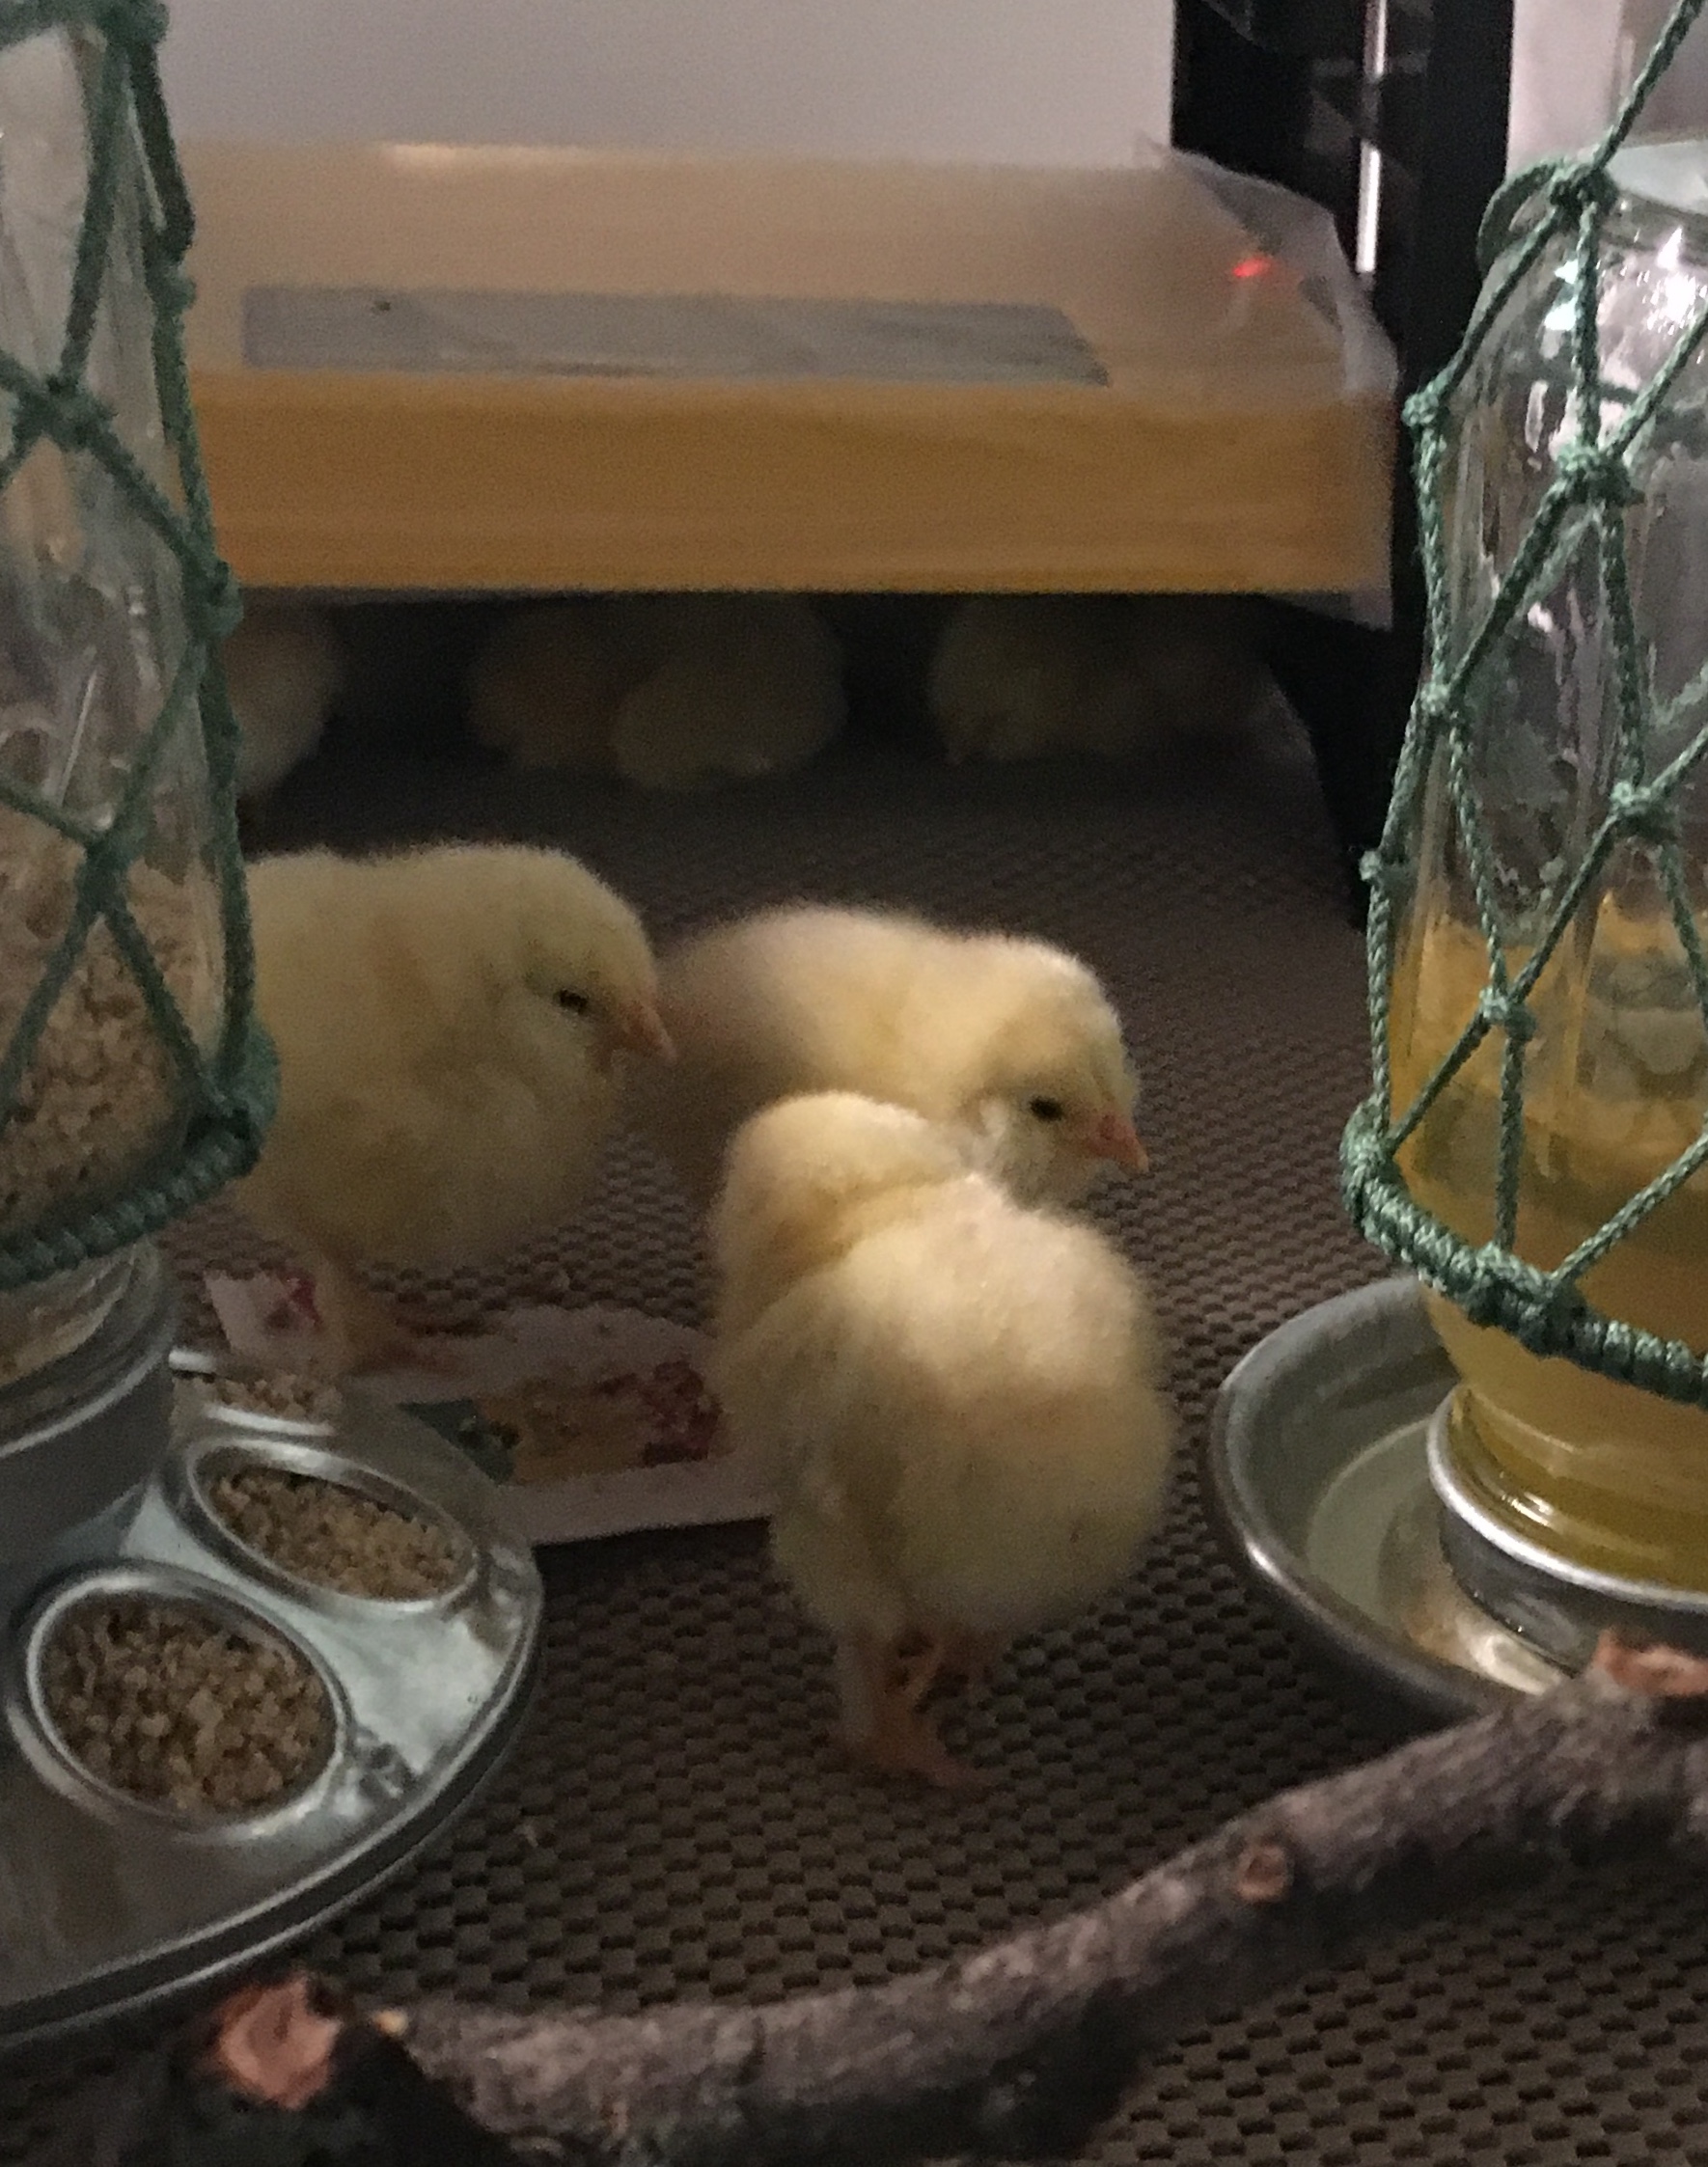
And here is a video of the chicks at three-days old!
We have chicks!
After cancelling the online order of chicks (because they had a “glitch” and couldn’t ship my chicks until May 20th), I went in search of local Faverolle chicks.
I had to drive an hour away to a feed store that received a shipment today, but they had faverolle pullets, and enough for me to get 12! There is a 5% chance that one is male, which would not be a bad thing, since I originally wanted a rooster too.
Here is a video, it is a little broken up, I’ll get better with practice!
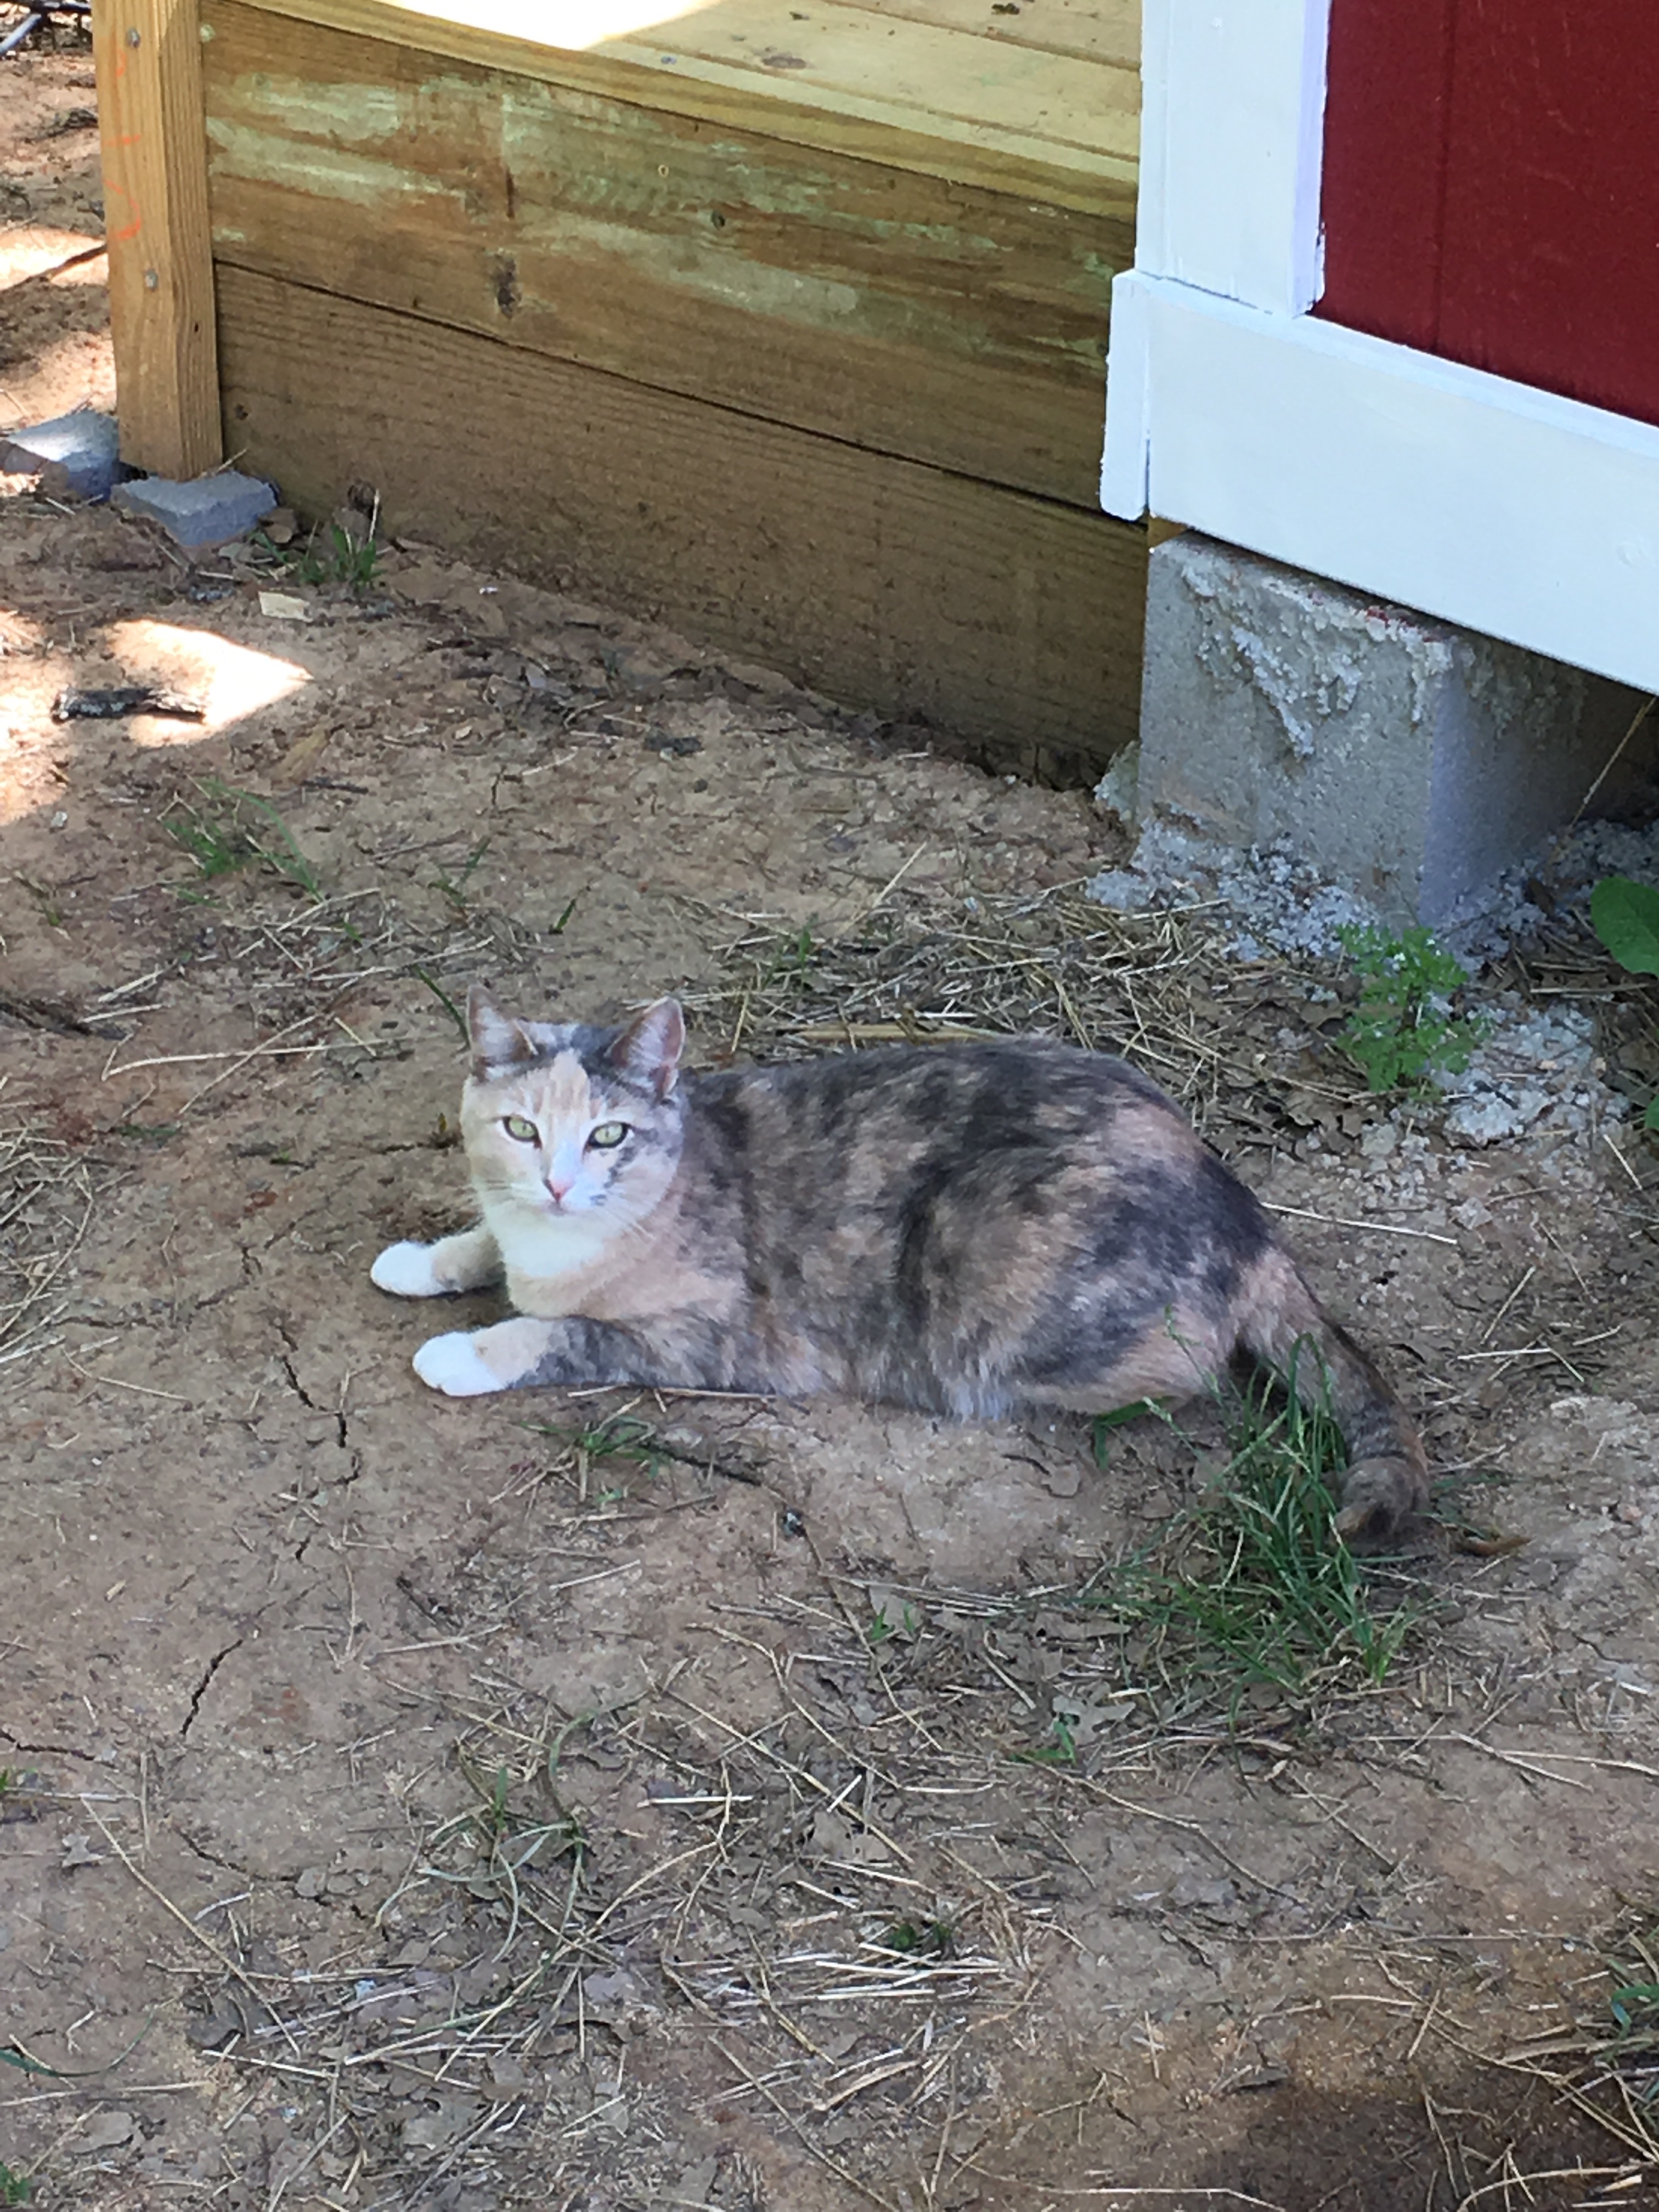
Sophie is very curious about what I’ve brought home to put in “her house”.
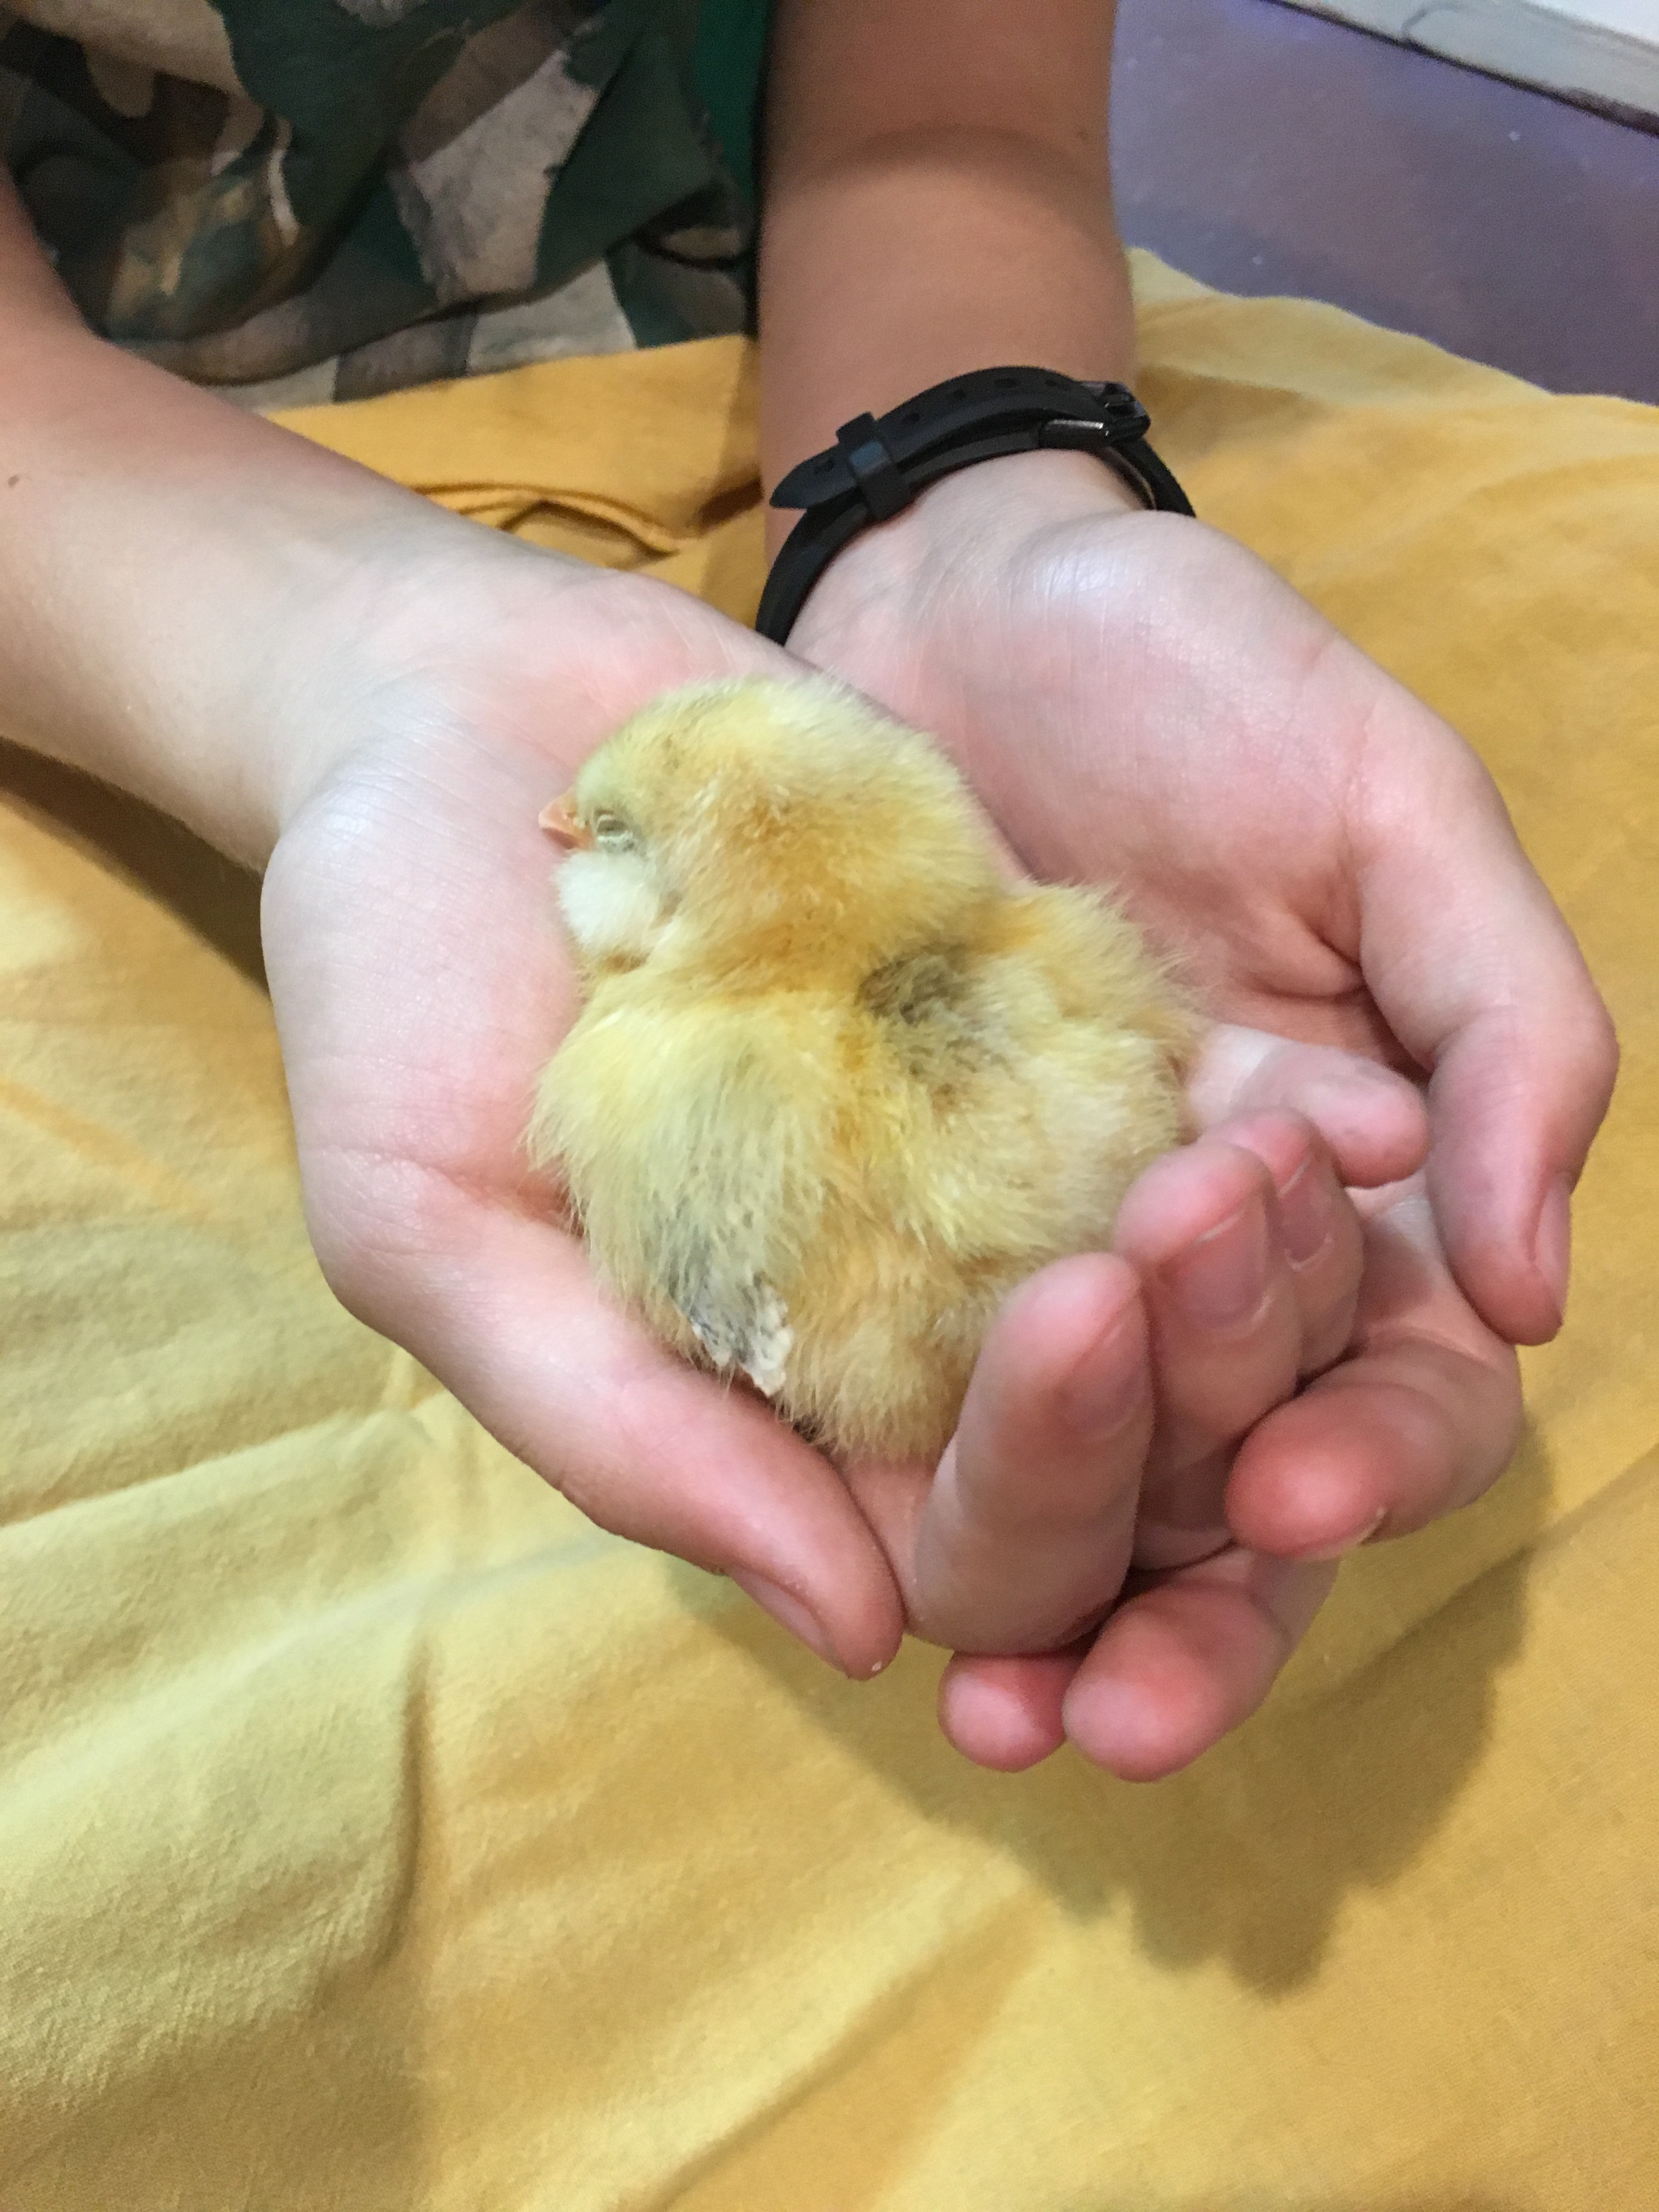
Our kids were super excited when I picked them up from school. My eldest is already training them to be lap chickens. I think she will be successful because one fell asleep in her hand!
Hanging Chick Feeder

I’ve been reading up on how to feed and water chicks, and all the many different methods available! I’ve read that keeping the feeder at the chick back height is important, and one of my favorite suggestions was to use hanging feeders so the chicks can’t knock them over. Most hanging feeders are designed for wild birds and can get quite expensive (especially if you need 4!) So I came up with my own design for hanging regular, inexpensive chick feeders and waterers using the bases designed to screw onto quart Mason jars. I’m planning on using an old wire dog crate as my brooder, so hanging things from the top of the crate will be quite easy.
I was not able to find the exact instructions I wanted, so I combined a few different techniques. I used a steel ring so the jar could not slip through, made a wrap for the steel ring to protect the jar from bumps, a net around the jar, and “ladder” straps so I could easily adjust the height at which the feeder would hang.
I have written up instructions below, and have also done a “speedy” video for the curious with short attention spans. (My eldest said the video should be 30 seconds. I couldn’t quite get it that short, but I managed to get it down to 5 minutes. It goes fast, but is kind of neat to watch at super speed.)
Here is the materials list:
Metal Chick Feeder Base (usually available at the local feed store)
Quart Mason Jar (also available at the feed store, or at the grocery store)
4 inch Steel ring (you can pick these up in the macrame section of the craft store)
40 feet of craft rope (the kind used for macrame, also available at the craft store, usually for about $5 for 100 yards)
S-hook or carabiner to use to hang the feeder
Instructions: Cut 20 feet of craft rope and seal the ends by melting them (I use a lighted match, but lighters work as well). Cut four 5 foot sections of rope and seal the ends.
Covering the ring: Wrap the 20′ section of rope into a center pull bundle by leaving about 12″ hanging and wrapping the rest around three fingers until there is 12″ left. Use the tail to wrap the bundle and tuck the end through the wraps. Use an overhand knot to tie the rope onto the ring, leaving about 4″ of tail. Then use half-hitches to cover the ring; remember to go over the tail as well to keep it in place.
Making the net: Using cow hitch knots (also called larks head), make 7 even loops around the ring. Use an odd number of loops to make it easy to go to the next row. When you have completed the base row, continue to make cow hitch knots in each loop, making sure to keep the loop lengths even and pulling the knots tight. When you have reached the bottom of the jar, use a few half hitches to secure the end of the rope.
Making the adjustable straps: (This is similar to making a rope ladder.) Choose two opposite pairs of loops on the bottom of the net, and attach one 5 foot section of rope to each loop by folding the rope in half and using the larks head knot. Take two ropes (four strands) and tie them together with an over hand knot. Take one of the left strands under two strands to the right, over two to the left, under the third on the left, and back across the top of the other three strands to the right. Then take one of the right strings and wrap it around the outside of the rung you just made. Open the loop on the left and tuck the end of the rope through, and pull everything tight. On the next rung, use the two strands that did not get used on the previous rung. This will keep the rungs from being able to scrunch together. When you have done 10-11 rungs, about 1″ apart, tie the four strands together with an overhand knot. Do the same procedure on the ropes on the other side of the net. Cut and seal the excess rope. Use the rungs on the ladder to hang your feeder!
