Camel hat

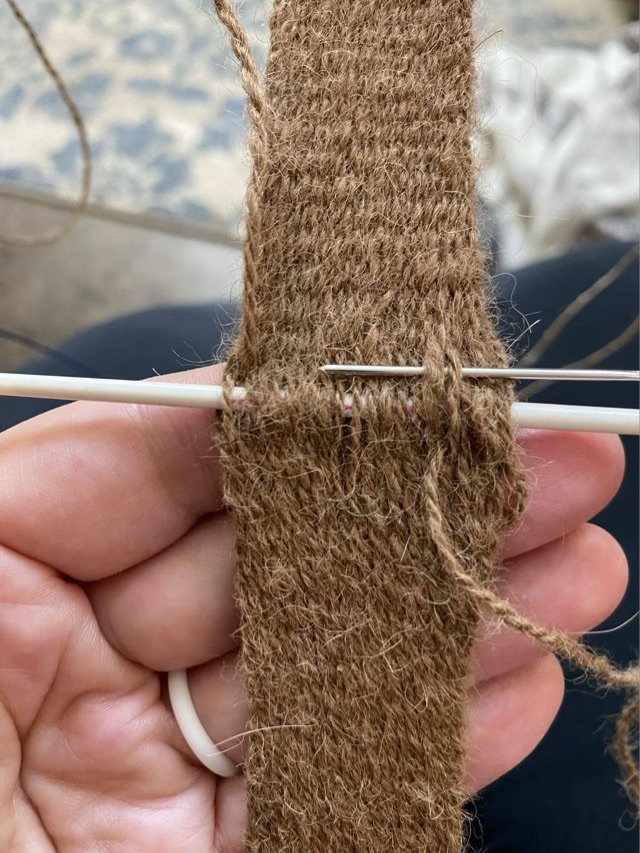
I crocheted my hand spun camel yarn into a beanie style cap with ribbed band. I used a 2.25mm crochet hook and a double crochet for the fingering weight yarn, but found switching to a 3.25mm hook for the single crochet ribbing of the band made it feel more flexible and soft.

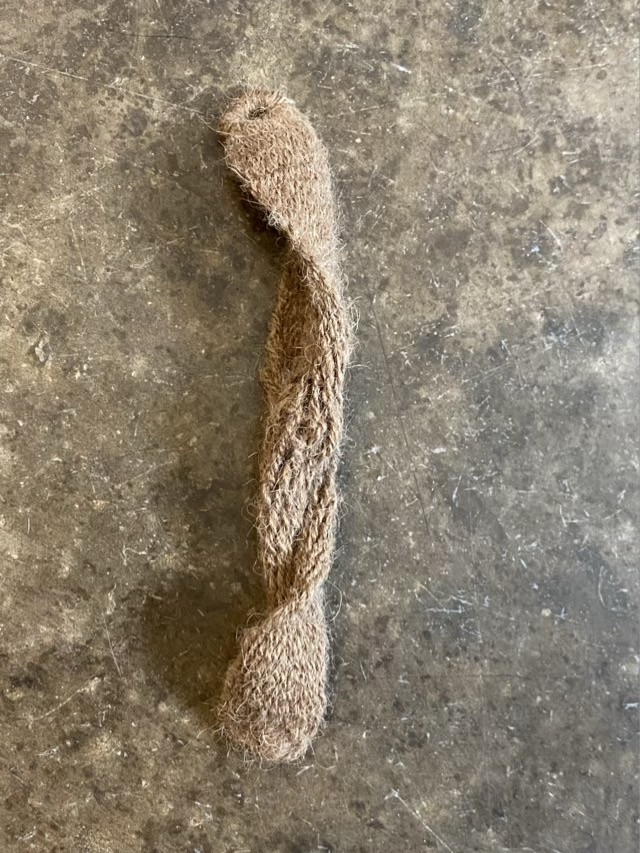
I thought I had plenty of yarn for a hat, but the yarn chicken squawked a challenge as I made the band. After I sewed the band together, I had only a few inches of yarn left. So there, yarn chicken.

Photo description: about 5” of yarn left after finishing off the camel yarn hat

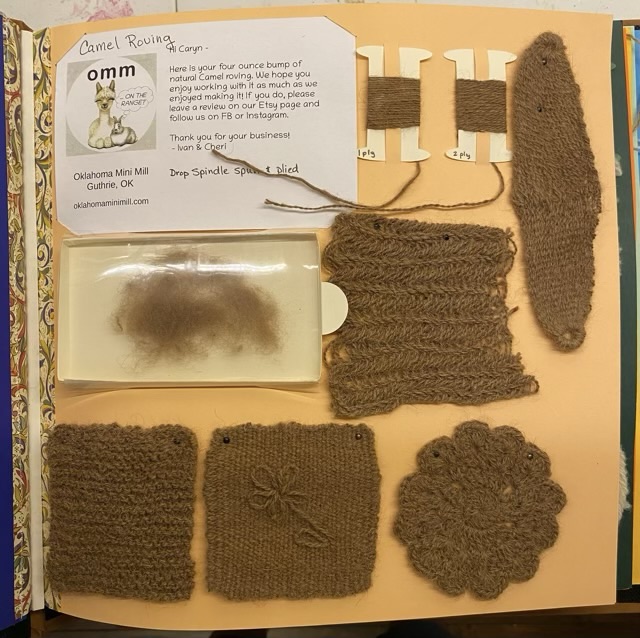
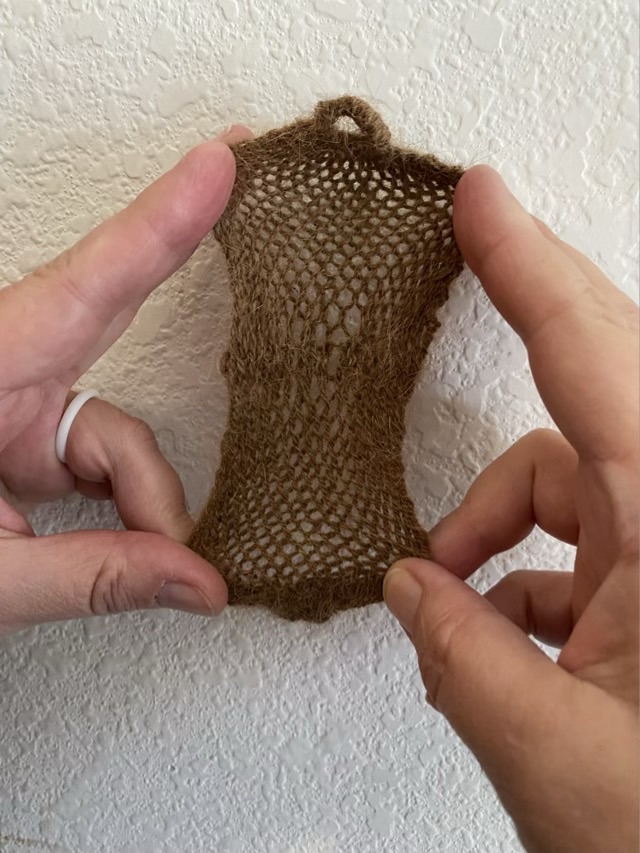
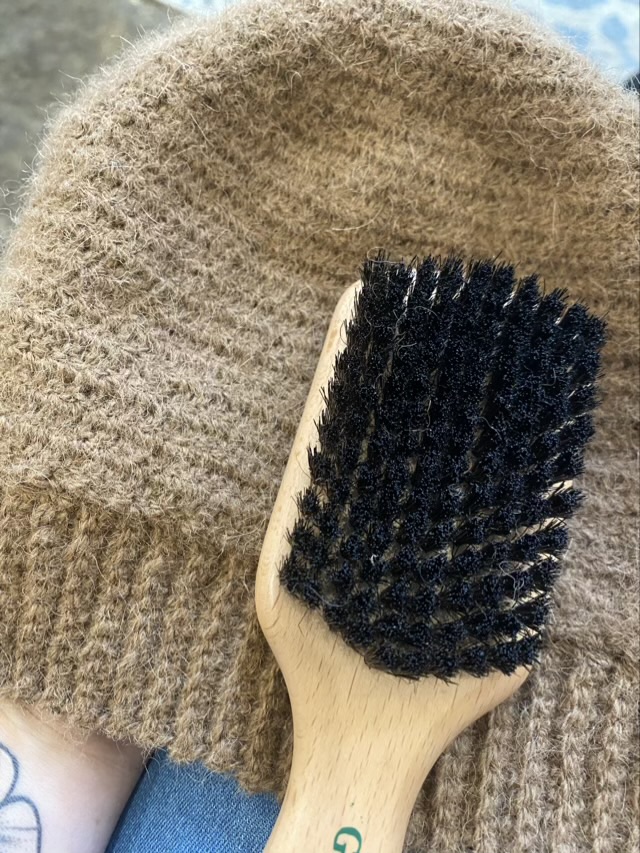
Camel is a soft fiber, but my preparation still had some guard hairs and vegetable matter, so to make sure the inside was scratch free, I brushed it with a boars bristle brush. The brushing brought the soft fibers to the surface and gave it a lovely surface feel.

Photo description: bristle brush with the brushed inside of the crocheted hat
Photo description: finished hat crocheted from hand spun two ply camel yarn

I made this for my father in law, and I did make it a larger size. My Dad has reported that my wool hats shrink with wear (a natural fulling effect, I believe), so I didn’t want it to get too small. I may have gone too large though.

Fiber Study: Camel roving

Photo description: fiber study page for camel roving from Oklahoma Mini Mill, (counterclockwise) with a card from the mill, a sample of roving, knit swatch, woven swatch with embroidery, crocheted round swatch, nålbound swatch, sprang swatch, two ply on a paper bobbin, and single ply on a paper bobbin

I assembled my camel roving fiber page! I quite like camel fiber; it is nice to spin, and soft. I would definitely work with the fiber again. In fact, I have two and a half balls of 2-ply yarn with which to plan a project. Exciting. I have also decided to add a synopsis of my blog posts about the fiber to the pages, so I can remember how I felt about the fiber. Now to figure out how to attach the printed pages. I tried some washi tape, which surprisingly doesn’t like card stock much. Hm.

Photo description: same page with the swatches lifted to reveal the hand written descriptions

The roving sample isn’t as perfect as it came from the mill; I liked spinning so much I forgot to leave a bit unspun. The fiber in the box was spun, and then I brushed it back open. Oops.

A bit of Sprang

I used my small sprang loom to make a swatch with hand spun camel yarn.

Photo description: bent branch Sprang loom with interlinked 2 ply camel yarn nearly completed

To finish the middle, I tried a method I saw in a Sprang group that uses an Kitchner-like stitch to secure the warp threads. In knitting, the Kitchner stitch is a grafting method that takes the yarn in a winding path under and over two alternating strands at a time.

Photo description: binding off the Sprang by stitching

I finished the ends by pulling a section of yarn through the loops, doubling it, then wrapping the resulting circle with more yarn, forming a grommet.

Photo description: the end of the sprang swatch formed into a yarn grommet
Photo description: fresh off the loom unblocked Sprang swatch showing the tendency to twist
Photo description: same Sprang swatch laying flat after blocking (getting it wet and pinning it to a drying rack)
Photo description: Sprang swatch pulled horizontally open to show the interlinked warp strands

I quite like the grommet finish for the ends, I’m sure I’ll think of a use for the structure eventually. I don’t care for how messy the center stitches look when the fabric is stretched. I like the chain method less, though. Experiments will continue.

Weaving: camel

I used my Clover mini loom to weave a swatch of my two ply hand spun camel yarn. I like to double the warp and I chose a plain weave this time. I start and end my weaving with a twined row to help keep the ends in place.

Photo description: 2 ply camel yarn warped onto a Clover mini loom

To finish, I used an embroidery needle to run the looped warp ends back through the weft on the back. I rather like the ribbed edge created by doing so. I added an embroidered daisy with a stem and leaf because the front looked rather plain. The daisy and leaf are done with a lazy daisy stitch, and the stem is a stem stitch, which amuses me.

Photo description: back of the small woven swatch showing the woven in loops and the back of the embroidery
Photo description: front of the small weaving swatch done in hand spun camel yarn with five petal daisy, stem, and leaf, Missy the dog looking on in the background

It is interesting that the color of the yarn looks different in each picture. In real life, the color is a soft brown quite like milk chocolate. I did try to color adjust the final picture. I suspect the radical difference in backgrounds is the primary suspect for the color shift.

Turns out I can

I’ve been spinning on my morning walks for some time. I finished spinning up some camel fiber, but forgot to bring down a more fiber. I didn’t want to clomp up the stairs and wake everyone up at 6am, so grabbed a ball of the plied camel fiber, a crochet hook, and circular knitting needles. It was experiment time. My intention was to make my fiber page swatches as I walked. I know the crochet pattern I use by memory, and I don’t need a pattern for my knit swatch. I think I have crocheted hats while walking before, so finishing up the crocheted camel swatch wasn’t pushing the limits really. I’m pretty sure I haven’t knit on the hoof, but with the circular needles, it wasn’t a problem. I don’t think I would take a large or fiddly project out for a stroll, because dropped stitches would be a nightmare, but a simple patch is easily done.

Photo description: asphalt background, size 2 circular knitting needles with hand spun camel fiber cast on and in progress knitting garter stitch. The ball of yarn is in the colorful bag hanging on my arm.

Things I can do while walking: spin yarn, ply yarn, crochet, knit, nålbind, chew gum. Just not all at the same time. (By the way, I really recommend not chewing gum while working with fiber, stray hairs get everywhere.)