A change in plans

I was planning to brood the chicks in a spare dog crate, but then I started building shelves for storage and my folks suggested that it would be easy to build in an isolation/brooder shelf. So I did! (The brooder table I made can be used for nesting boxes, so no wasted work.)

New brooder/isolation ward

I covered the asphalt paper and OSB board with plastic cardboard to protect the surface from the chicks and vice versa. My eldest helped me make wood frames for the doors (she is learning to use power tools), and then I stapled chicken wire on the doors and the open end. We put metal rods (threaded was cheaper than non-threaded) inside to hang the water and feed containers.

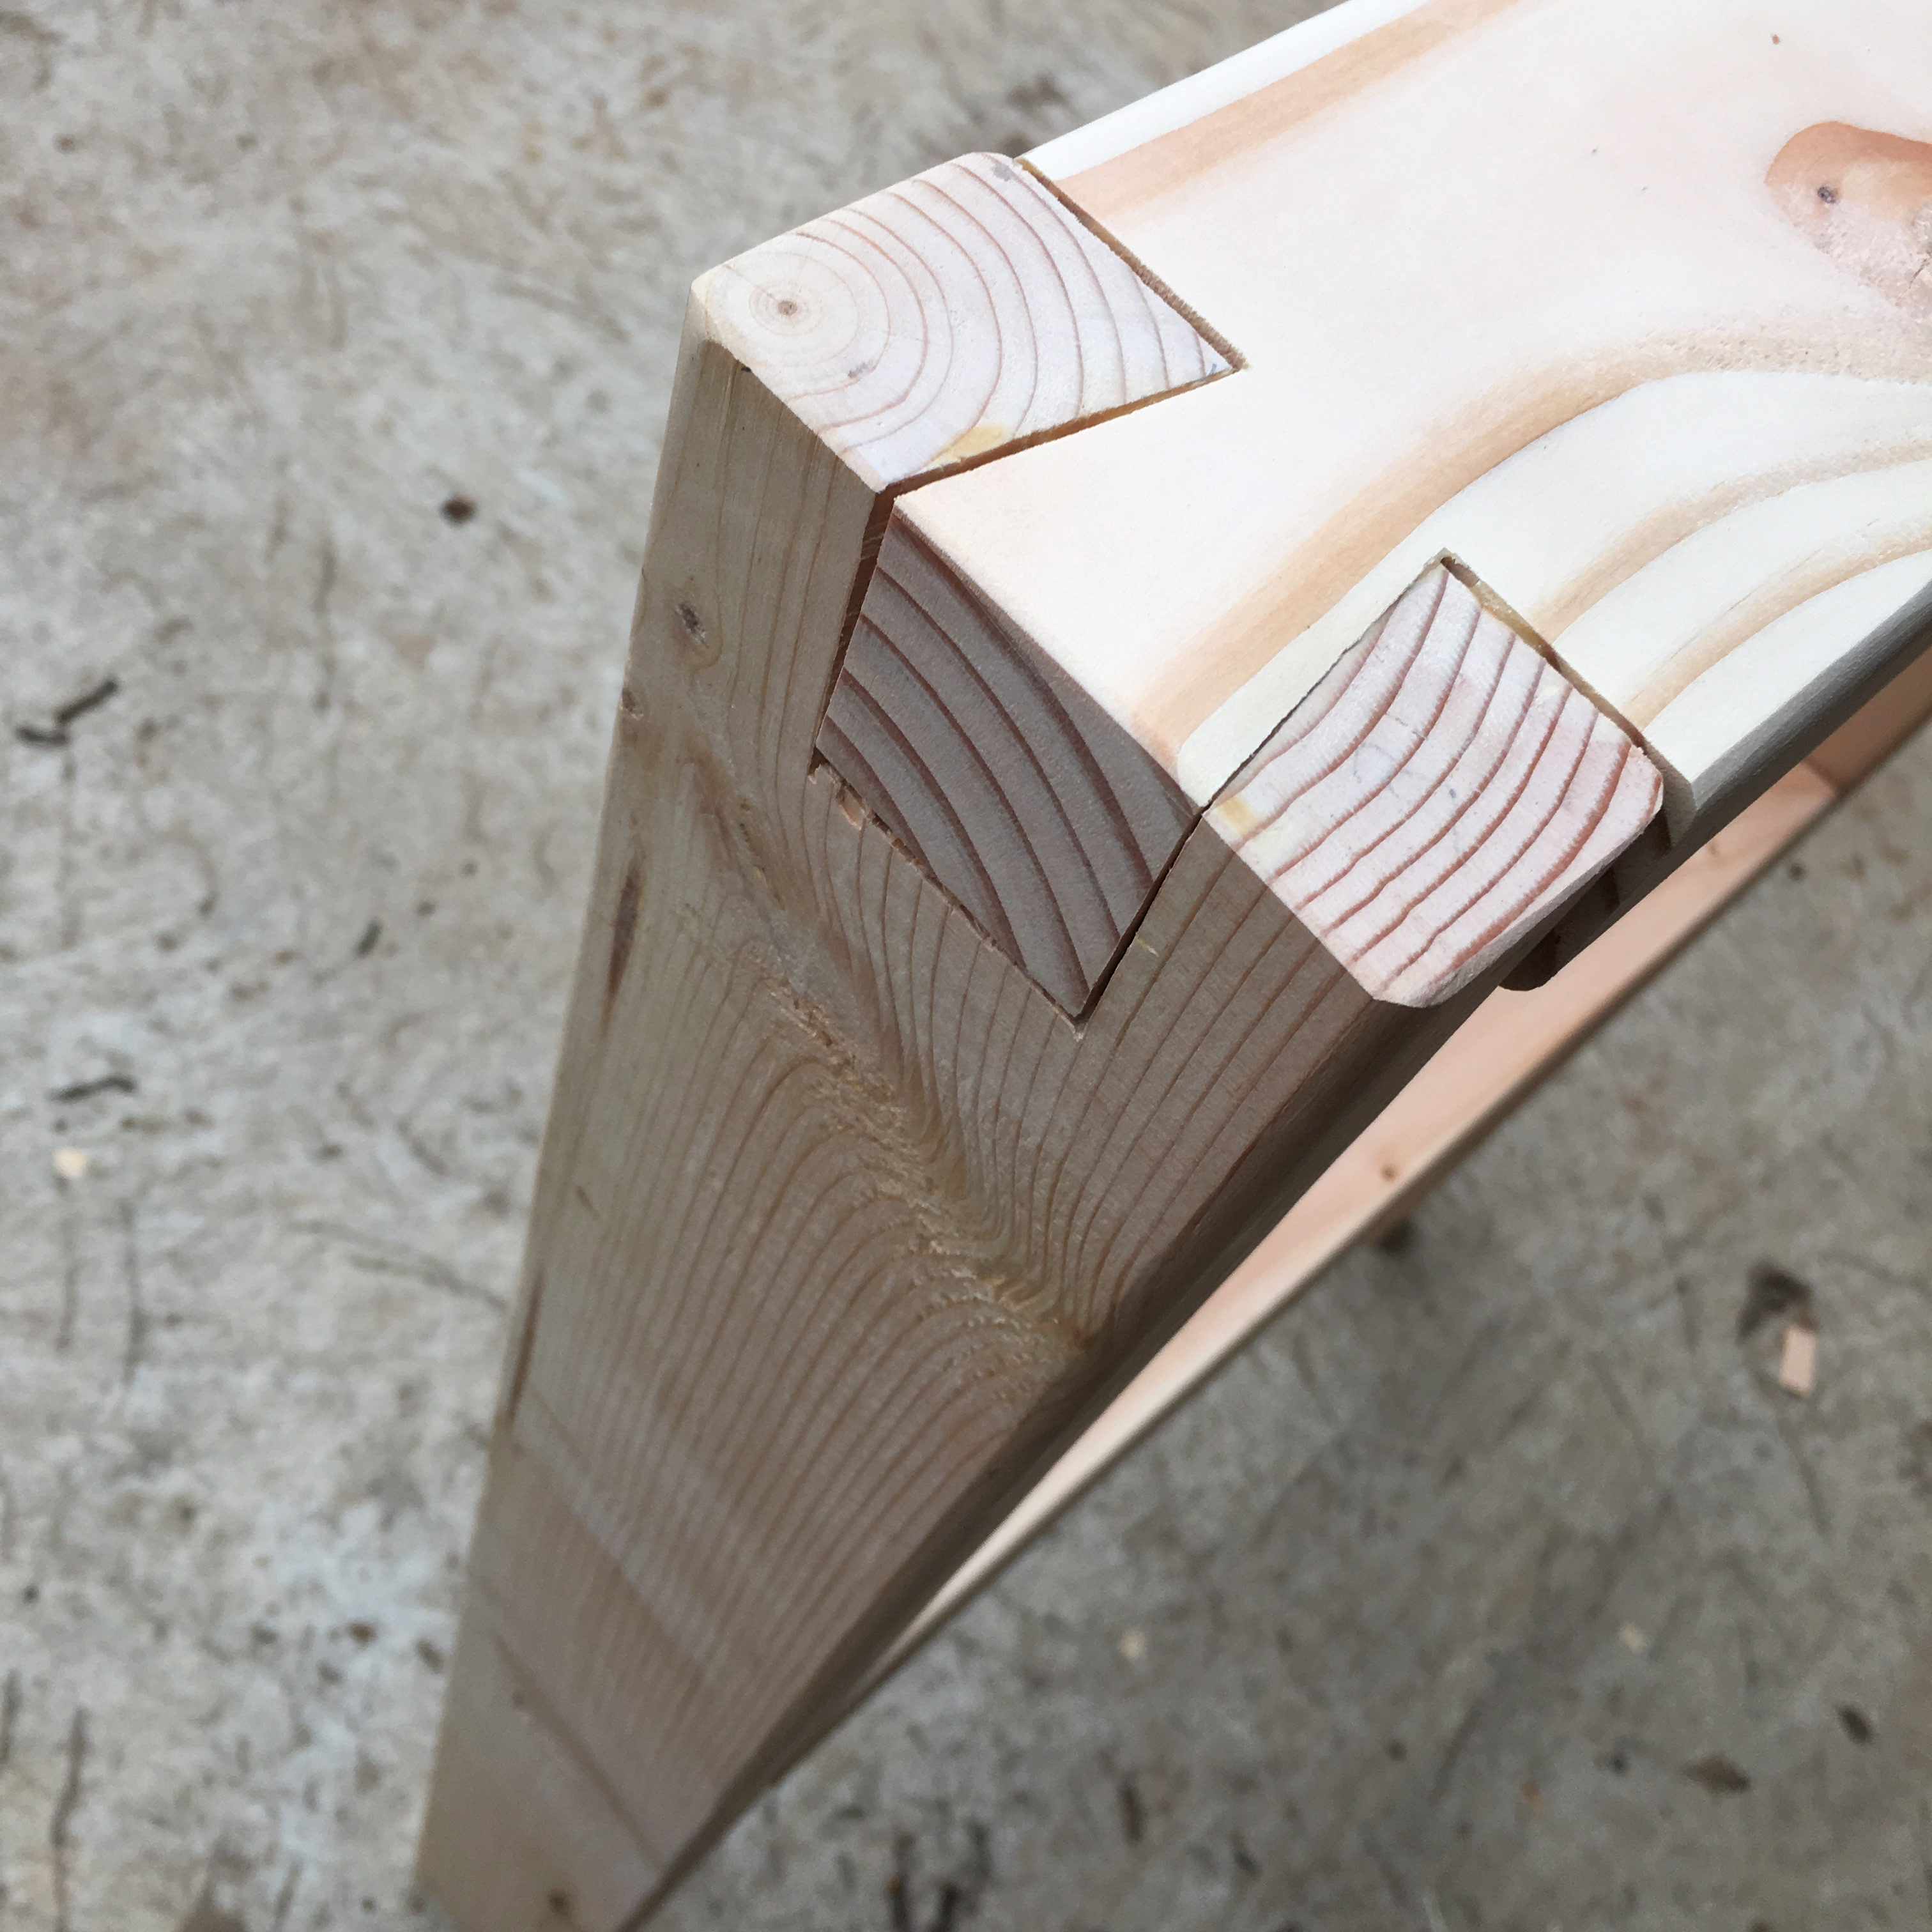
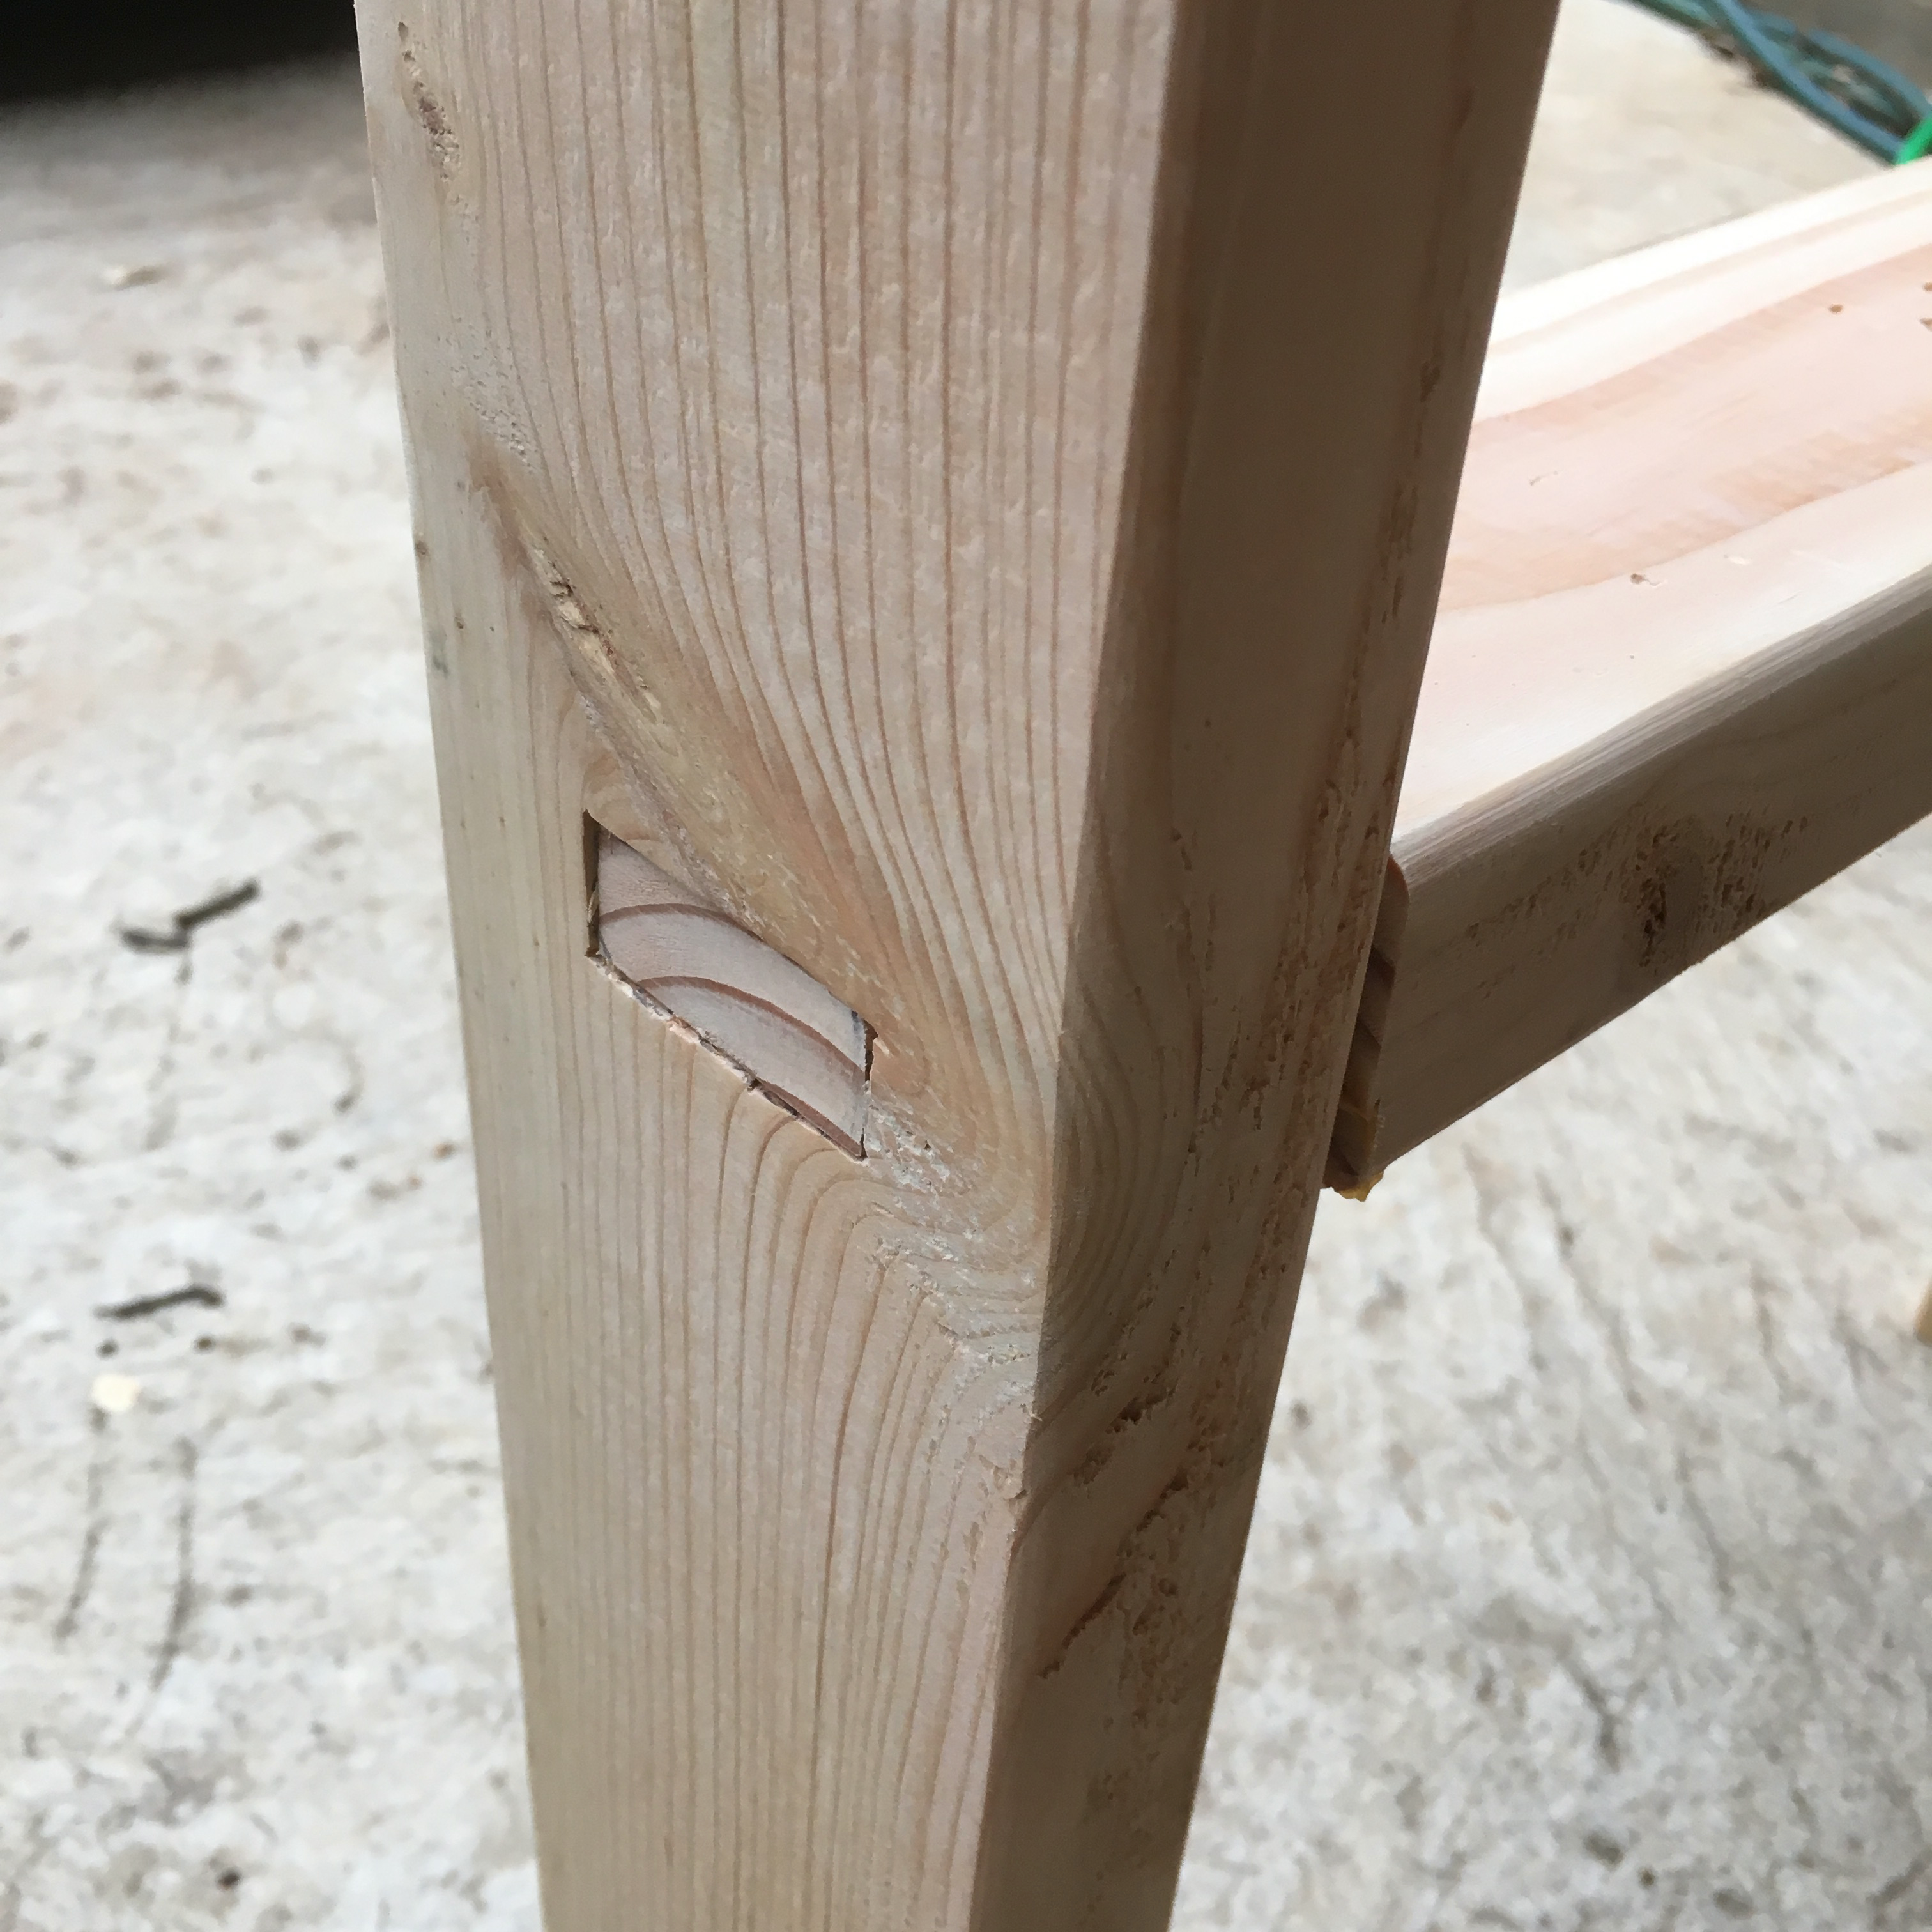
I made wood latches to hold the doors closed (I used the band saw, band sander, drill press, and compound miter saw today, it must be a good day!), and used nails to hold them in place so they will still turn easily.

The brooder area is about at counter height, to make it easier to access and to not freak out the chicks by swooping down from above. There is still lots of storage space above and below (doors will come later, but before the chicks have free run of the coop.)

Brooder set up

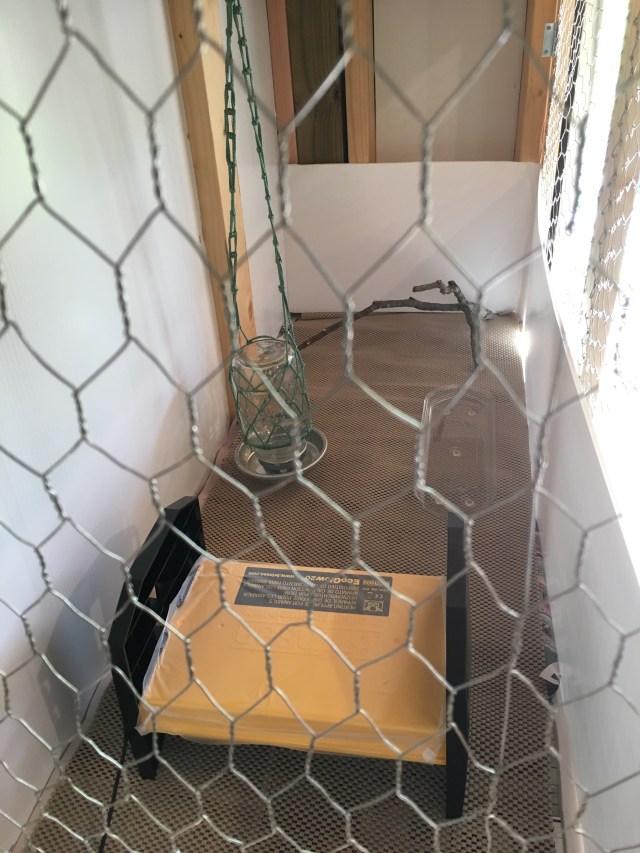
I used another piece of plastic cardboard to make a draft barrier. My eldest and I worked together to line the brooder with paper and rubber shelf liner, and we put Press and Seal on the top and plugged in the warmer to make sure it works.

I have chick starter, electrolytes and probiotic to add to the water, more paper, more shelf liner…there is still quite a bit to do before the chicks are older, but I think we are ready for chicks.

Now, will they come this week? I turned on informed delivery with USPS and there are no notifications. Hmm.

Brooder table

Brooder table with one shelf

I’ve been working on my chisel skills again. It is a good thing that I’m making stuff for chickens and they aren’t known to be tough critics, as I still need more practice! But I’m pleased with the way this table is coming out, all things said.

I decided a while ago that I wanted to make chicken “furniture” for the coop; items that are movable rather than built-in so I can rearrange. Being a first time chicken owner, I know I’m going to want to rearrange. (Heck, I just like rearranging in general.) So with all our designs, we are thinking flexibility first.

I’ve read that chicks are more traumatized by being picked up from above, rather than approached from the side, not surprising since most threats come from above). I’ve also read that Faverolle chicks are particularly prone to little chicky terror. I have a 2×3 foot dog crate that I planned on using as the brooder, so to raise it up, I decided to build a table. The shelf underneath will hold nesting boxes when the hens reach that age, and the crate will be my isolation unit for injured chickens when I no longer need it as a brooder. Once the whole thing goes in the coop, I will install a 45 degree “roof” over the crate so the chickens can’t roost up there.

I went to the lumber store and was absolutely thrilled that there were prefabricated slabs in the sizes I was planning to make. (I do have a biscuit joiner, and was going to biscuit together 1×4″ lumber, but this saved me time and, believe it or not, money!) So then I just needed three 2x4x8 pine boards. The legs are 36″ tall, and the outside dimensions are 24″x36″. For the top rail I made a large dovetail joint, and for the shelf (which is 18″ off the ground), I cut mortise and tenons. I did take pictures of the best cuts, but all the joins needed to be filled with wood filler. I sanded down the whole thing and rounded the edges to reduce splintering and potential harm to my hip if I run into the thing.

Dovetail joint joining two 2x4s

I have not finished it yet, but am planning on rubbing it with Tung oil, just to make it easier to clean later. When the coop is done, I will assemble the top and shelves permanently, but for now it will stay in 4 pieces because those are easier to store!

Mortise and tenon joint