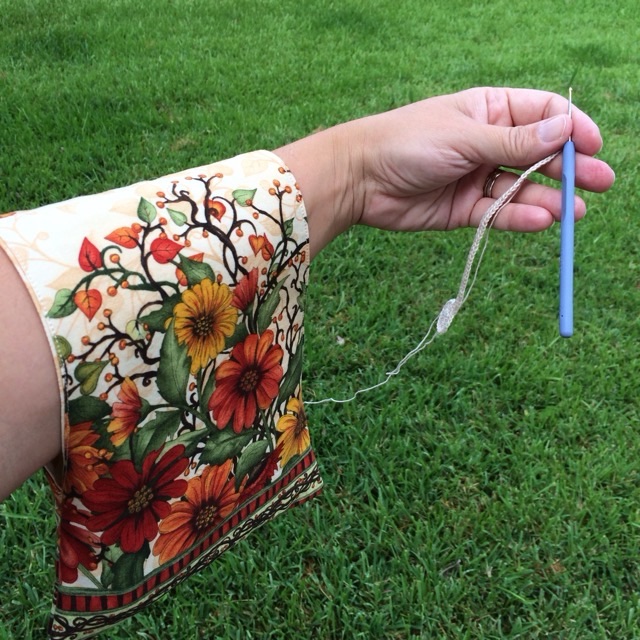
In July 2016 I made my first arm bag using my favorite fabric.
Photo description: vines and floral fabric bag with very wide “handle” that fits over the forearm and can hold a small skein of yarn
I have made many of these bags, and I love them. It is a way to keep my yarn close and still allow me to move around. I first needed it following kids around the house and playground, later I found it worked well for walks, and travel, and waiting rooms. I make mine reversible, and have added small pockets in later versions.
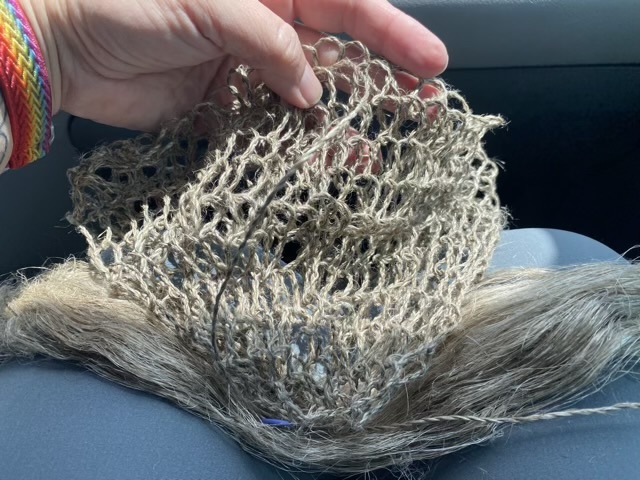
Photo description: loop and twist bag in progress next to flax fiber
After about 14 hours of riding in the car, I figure I have put about 12 hours into my loop and twist bag that I am twining from flax fiber as I go. I like the work because I can enjoy the scenery as we drive. I can both twine and loop mostly by feel (I do look when I join in new fiber.) I’m drawing my fiber from the center of the bundle, which I don’t think is the best way, because I’m getting tangles that have to be pulled out. I tried from one end, but the tangles were worse. I should lay out the fibers like flax spinners do, but space in the car is limited, and flax fibers can be over three feet long. The plan is to continue to twine until I run out of untangled fiber, then clean up the tangles and twine the string for the closure.
I have finished my twined bag. Yes, I was obsessed with making it and spent three days working on it. (Should I have been doing other things? Oh yes, but this was fun.)
I experimented with the weave as I progressed, not only doing stripes, but changing twist direction and number of twists between warp threads to control which color was on top, using this project as sampler.
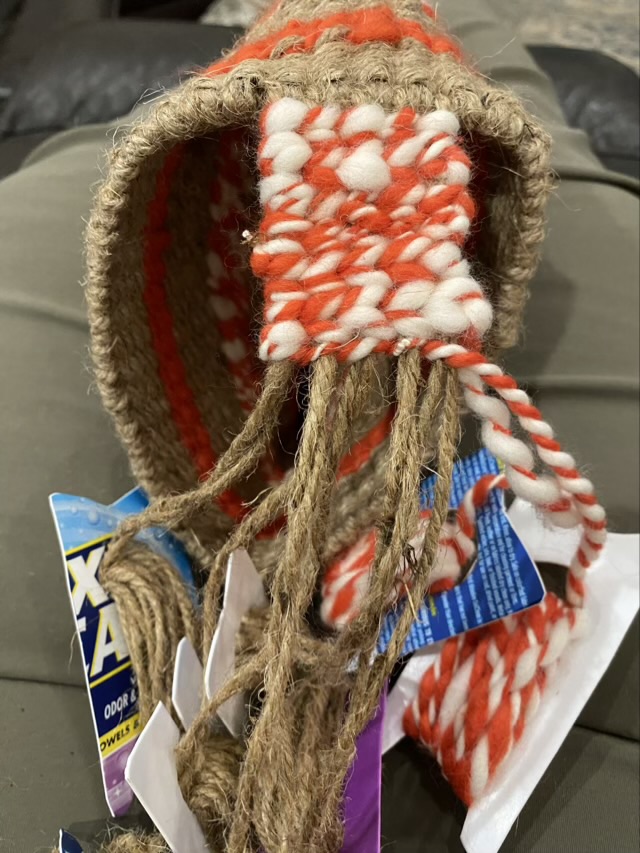
Photo description: body of a twined bag made with natural jute and hand spun orange and white wool showing different styled stripes
To make the strap, I threaded long strands of jute through the top edge of the bag, then used more hand-spun wool to cover the jute, reversing twine direction on each row, so as not to introduce bias twist in the final strap.
Photo description: starting the strap, with the excess yarn wrapped onto recycled plastic bobbins
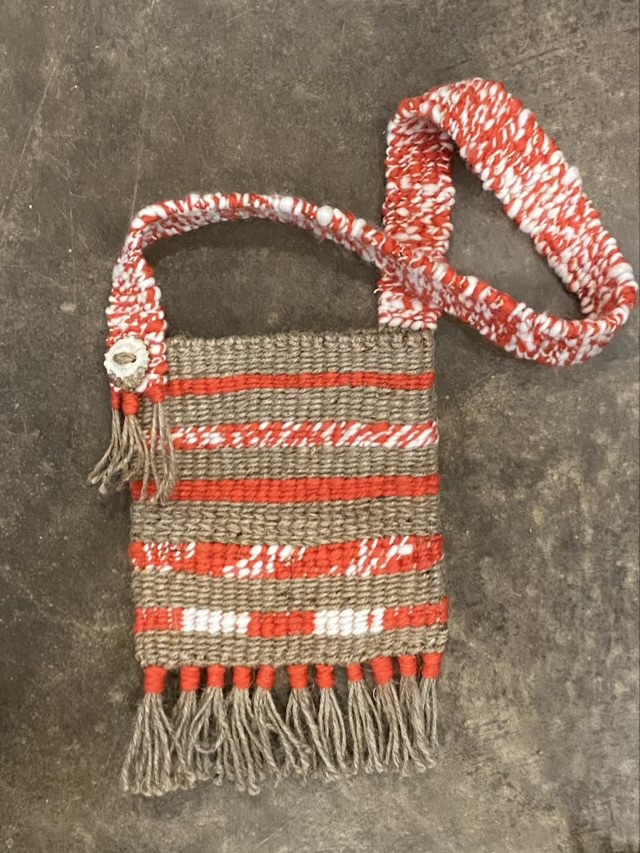
I felt the other end of the strap needed some adornment, so I cut a slice of antler and drilled two holes to make a decorative button. It is sewn on, not functional, but I think it came out nice and coordinates well with the natural jute.
Photo description: antler decorative button attached at the other end of the strap.
I finished the bottom end of the bag and the end of the strap with tassels lashed with wool.
Photo description: finished twined shoulder bag made with jute, wool, and antler
I absolutely love this weaving technique. Want to learn more about twining a bag? There is an excellent book called “Twined Bags: A Historic finger weaving craft of the Native Americans” available from Livingston Press, written by Monica Newman Moore.
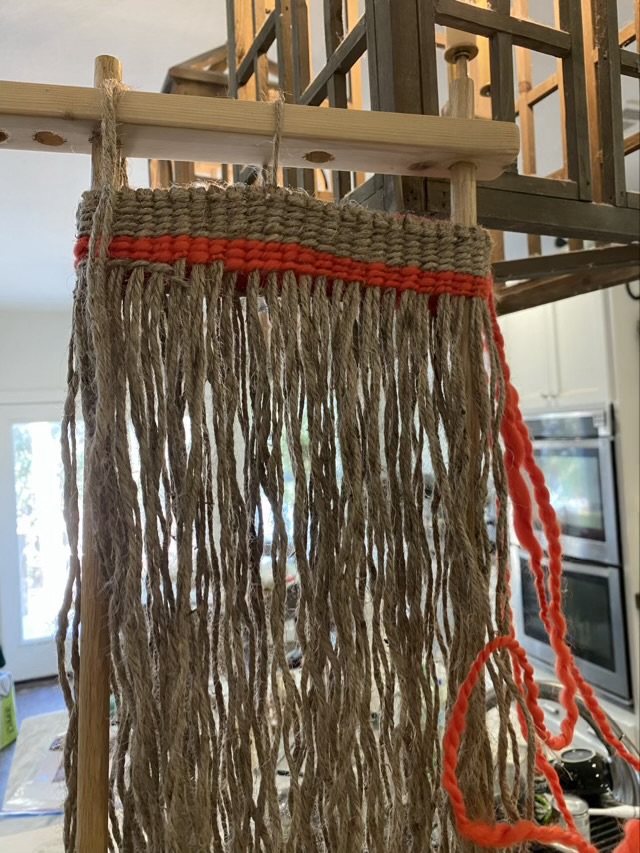
I have a crafting friend who taught me to twine a bag! I’m borrowing her wood frame, made by her husband, and using jute twine and her hand spun wool. Below is the picture of the progress I made on our crafting morning.
Photo description: wood loom with jute twine and orange hand spun wool twined around the upright poles of the loom with one stripe of natural jute and one stripe of orange finished
The warp is attached with larks head knots to a circle of jute at the top of the frame. Two longer strands are then twined around two hanging threads at a time, with one twist between each pair of warp threads. I love the open ended warp technique; it is so much easier to twine than on a loom where both ends of the warp are fixed in place. I also love twining, but to this point have only made cordage. This is the next step in my twining journey.
Twining is found historically around the world, and this type of twining with the open ended warp was used by Native Americans.
My friend also has a great book called “Twined Bags: A Historic finger weaving craft of the Native Americans” available from Livingston Press, written and signed by Monica Newman Moore. It is a very comprehensive book with instructions on the basic twining as well as tips on patterns.
This is my Oops bag because I started out making a hat, but made it too big, so just kept stitching until the skein was almost gone and finished with a row of 2dc 1ch to make holes for a ribbon to turn my failed hat into a drawstring bag.
Double crochet drawstring bag
I’m still experimenting with the two yarn spiral start, and thought it would be fun to go from both ends of a color block cake.
Crocheting from the inside and outside of a yarn cake
I chose to use a double crochet (dc) stitch because the counting is easier than a half double crochet.
Open drawstring bag showing spiral base
The holes for the drawstring are a little off set, since I was working in a spiral, but it isn’t really noticeable when the bag is closed.
To summarize my process (American notation): In a magic circle, cast on 2 sc, 2 hdc, 1 dc with yarn 1. Cast on 2 sc, 2 hdc, 1 dc with yarn 2 (10 stitches total). Row 1: Yarn 1: inc in each Yarn 2 stitch, Yarn 2: inc in each Yarn 1 stitch (20 stitches total). Row 3: Yarn 1: (1 dc, inc) repeat 5 times Yarn 2: (1 dc, inc) repeat 5 times (30 stitches total). Row 4: Yarn 1: (2 dc, inc) repeat 5 times Yarn 2: (2 dc, inc) repeat 5 times (40 stitches total). Continue adding dc between increases until circle is desired diameter. Then dc round, alternating yarn 1 and yarn 2 (this is more obvious than it sounds when you get going!) until you get to the desired length. To make the eye holes for the ribbon, using yarn 1 (1 dc, 1 dc, chain one and skip dc) go 1/2 way around. Do the same with yarn 2. 1 hdc, 1 sc, then single crochet (sc) around half with yarn 1 and repeat the other half with yarn 2. Fasten off and weave in ends. Weave ribbon through the holes (two strands of ribbon starting on opposite sides makes a secure drawstring).