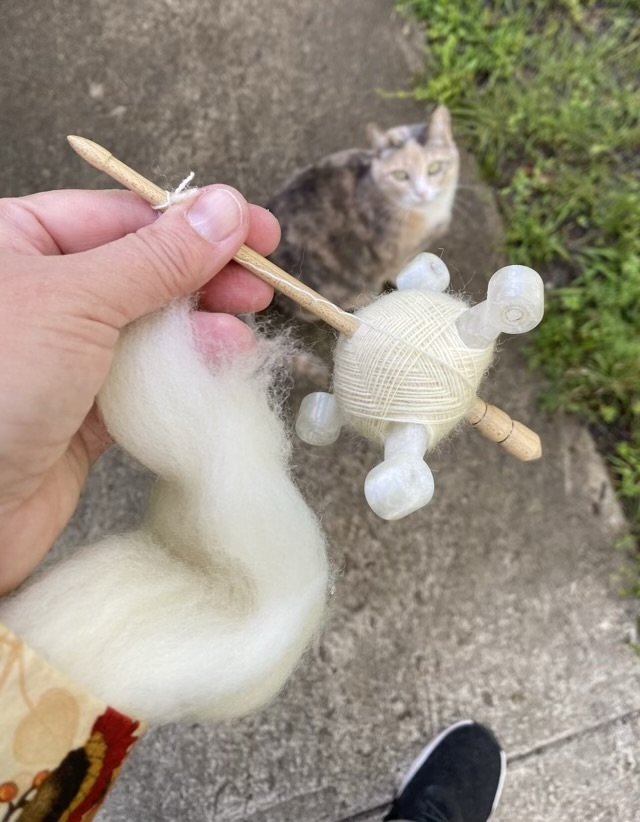
My youngest gifted me two skeins of yarn last December. I cast on with size 11 knitting needles at the end of February, thinking that a nice wide scarf would be cozy. Hm. Two skeins does not make a very long, wide scarf.

So the scarf became a shrug. Sewing the ends together for a few inches formed short sleeves, which help keep the shrug in place.
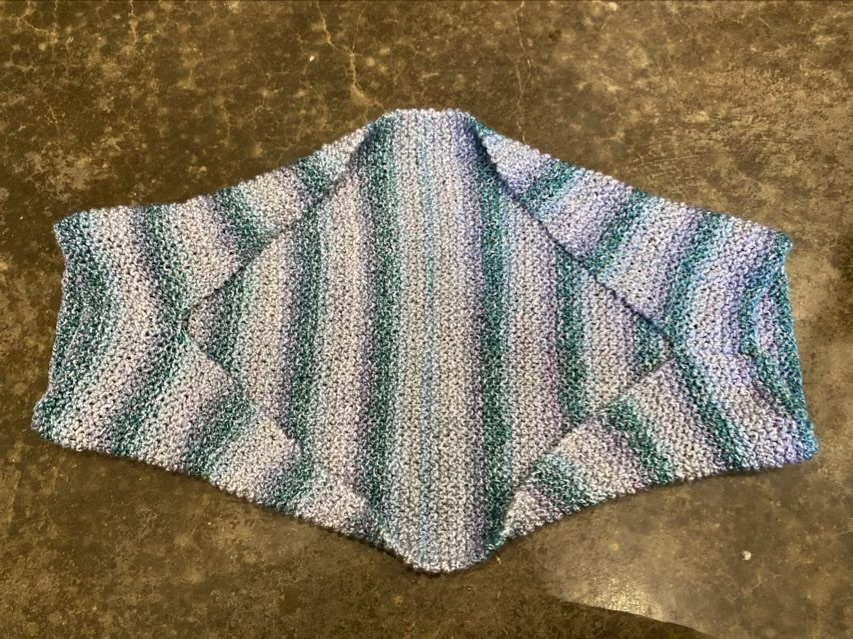
It works! It is now a garment that gives a little extra warmth, and as a bonus, doesn’t wrap around the neck. This isn’t the first time, and won’t be the last, where I have had to pivot the purpose of a project. This one definitely came out better than the original idea.