Laminate repair

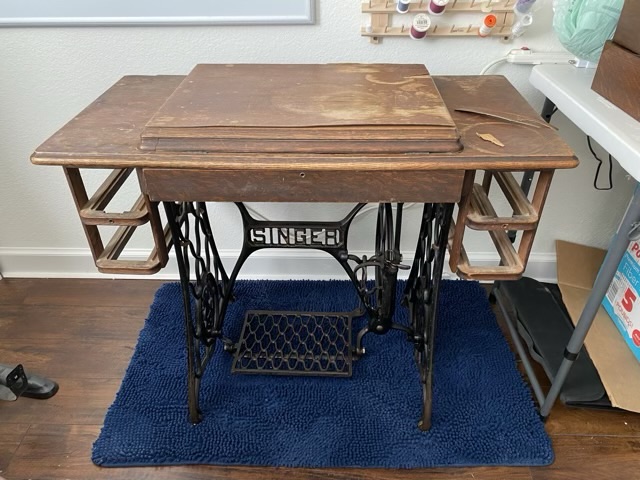
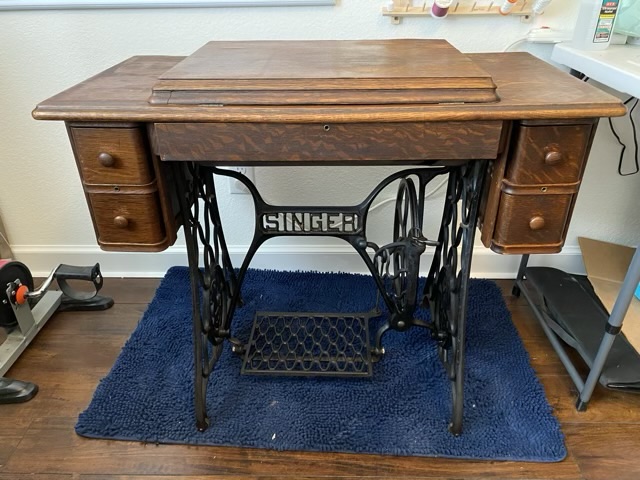
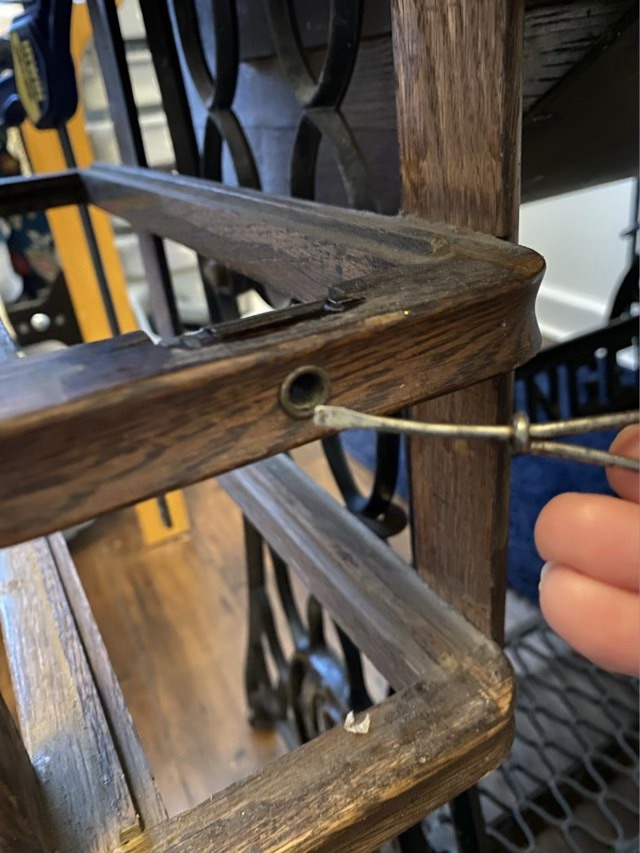
To stabilize the top of the sewing cabinet for the Singer model 66, I did a bit of laminate repair by taking some of the broken wood laminate from the curved back of the cabinet (which is usually against a wall) and putting in in the larger holes on the top. I am not going for a full “like new” restoration, just stabilizing and reinforcing to protect it from further damage.

Photo description: Squared up tear in the wood laminate, with a matching rectangle of reclaimed laminate, craft knife also pictured on the top surface of the cabinet.

A craft knife and some scissors were tools enough to fit the wood laminate pieces, then I used wood glue and a brush to get glue in as far as I could on the lifted areas. I clamped and weighted the glued areas and let it sit overnight.

Photo description: Sewing cabinet with clamps on the edge protected with wax paper, and the top weighed down with craft books and heavy tools.

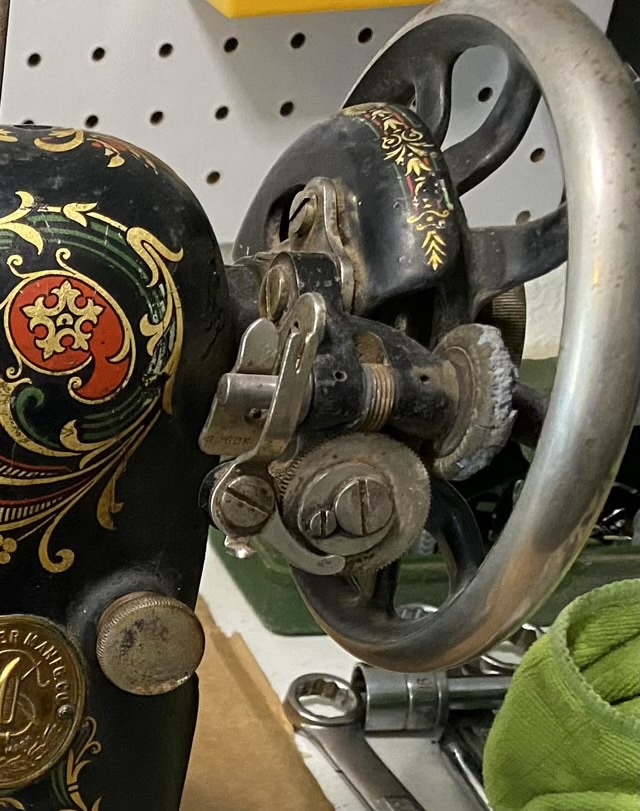
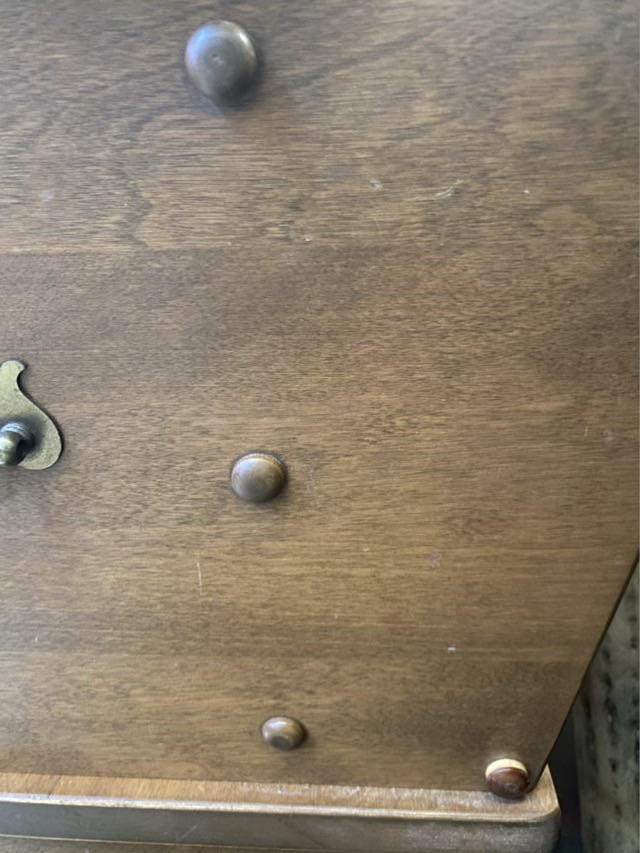
Some fine grit sandpaper was enough to smooth the edges of the laminate, then I wiped down the wood with Howard Restor-a-finish. This evened out the tone, but was not able to completely blend the water marks, which is OK. I then used Howard Feed and Wax, which is my newest favorite product. I love this stuff and what it does for the wood surface as well as the shellacked sewing machine body.

Photo description: Sewing cabinet before stabilizing, showing lifted laminate and looking dull.
Photo description: Same cabinet after some TLC and lots of Howards Feed and Wax.

A matter of rust

There was some rust on the family Singer model 66, even though it lived mostly indoors with some garage time. The worst area was the back access plate. Good news, the knurled knob unscrewed easily!

Photo description: Back access cover for a Singer model 66, embossed metal coated in spots of rust. Knurled knob laying on the side.

I washed the plate and knob with soap and water, then placed it in Evapo-rust for 24 hours.

Photo description: bottle of Evapo-rust next to a plastic storage container with about a half inch depth of yellow liquid covering the back plate, knob, and spool holder.

I rinsed and dried the plate, but it was still tarnished.

Photo description: back plate and knob after soaking in Evapo-rust showing black tarnish.

I used some Brasso, a tooth brush, 0000 steel wool, and a small rotary wire brush to remove as much of the black as I could (and still retain my sanity). When the rust and tarnish is removed, there are pits in the metal, and the surface is dull and needs to be burnished to regain the metallic shine. When I had enough, I did a final wipe with a silver polishing cloth.

Photo description: same back plate showing the pitting from the rust, but the rust is gone, most of the tarnish is gone, and more of the original design is visible.

Polishing to a high finish and shine is really not my thing. I do appreciate an artful patina, probably because I don’t care for polishing. On this part, at least I have removed the rust and protected it from further deterioration.

Bobbin winder

I took off and cleaned the bobbin winder from the family Singer Model 66. The rubber wheel had rotted, which happens with age, so I ordered new wheels. While I waited for those to ship, I cleaned off what I could without disassembly, since the mechanism works fine.

Photo description: Singer model 66 bobbin winding assembly attached to the balance wheel before cleaning.
Photo description: same machine with a new rubber wheel and assembly cleaned up.

It isn’t super shiny, but my goal is not to restore to like new, but to get things working in reasonable order. I’m not big on polishing (I admit, I get bored and frustrated and it hurts my hands, I’m glad there are other people who enjoy it).

Here is a video of the bobbin winder working!

A simple key

The Singer treadle cabinet that came with the Model 66 sewing machine has lockable drawers! And no key. Luckily it was not locked when it came to me, and a little peeking through the keyhole and some perusing the internet suggested that a small screwdriver would work. I happened to have an original Singer wire screwdriver that came with my Model 27. It worked!

Picture description: Treadle cabinet with drawers removed, showing the “key” hole and a wire screw driver.
Photo description: Same drawer frame, but with the “key” inserted, turned, and the metal latch showing in the locked position.

Each drawer has corresponding grooves, so when the key is turned the lock engages both drawers. Each drawer has grooves on both the top and bottom edges, so they aren’t position specific (I love good planning). I did put some sewing machine oil on each latch to help them get moving. Though I probably won’t lock the drawers either.

Random but not surprising

In the drawers of the Singer Model 66, that just recently came from my husband’s aunt’s house 206 miles away, I found wood plug that looked very familiar. I popped it into the open hole in my vintage side table. It fit and is a near color match. I purchased this table at an antique store in Houston TX, but my grandmother had its twin in South Dakota, and that one now resides at my Mom’s house. So it was a popular piece of furniture in the mid-1900s. Wood plugs are also common screw hole covers and furniture manufacturers would use the same size wood plug on various pieces.

Photo description: The side of a wooden end table showing four wood plugs, the bottom right is the “new” plug, not fully inserted.

So it is random but not surprising to find a plug that fits the hole in a cabinet that was around at the time this furniture was in vogue. It also shows that those devilish fat pegs like to fall out and go a-hiding across the nation. Although this one has found its home. I put it in the hole lightly, but it stuck tight, so the only thing to do was tap it all the way in. Serendipity is the word I’ve been trying to find.