So now that I’m back to posting things for sale on Etsy, I needed a way to organize and protect my inventory. In the past I would tuck boxes into a cupboard, but then have to rummage through the boxes when something sold. This time I bought a file box with hanging folders, and am tucking the cards and wood work into the folders and labeling.
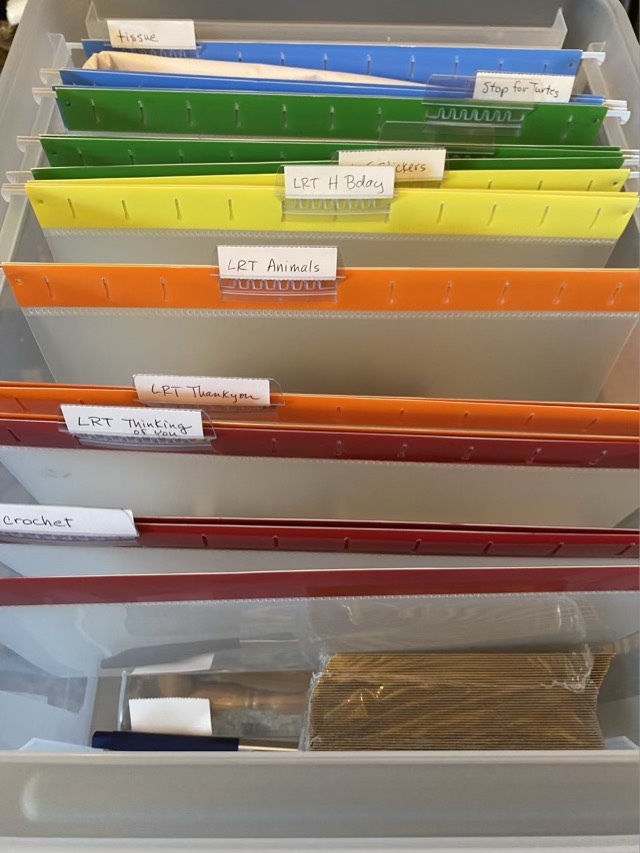
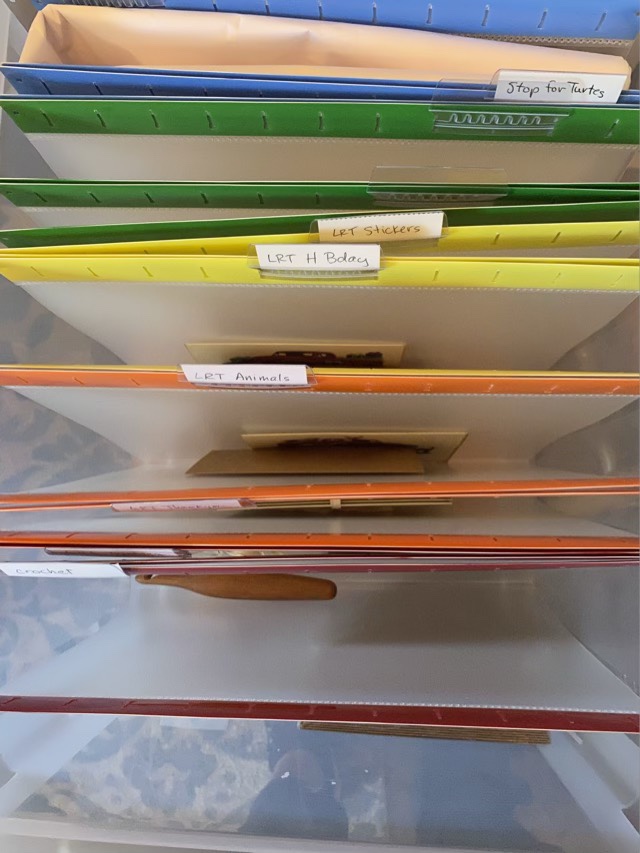
This should keep my inventory safe and dry (rather than on a table or counter where anything could happen), and I know where everything is!