Don’t eat that!

The chickens have been eating styrofoam

My DIY AC unit in the coop is attracting unwanted attention. The chickens have decided that styrofoam is yummy. Even though I have the cooler in a plastic bin, they can still reach in and pick out styrofoam. I put a piece of scrap board across the styrofoam cooler, but the long necked things just reached in further. They are even so bold as to sneak a pellet when I am changing out the ice. So a redesign was in order.

New air output using a plastic bottle

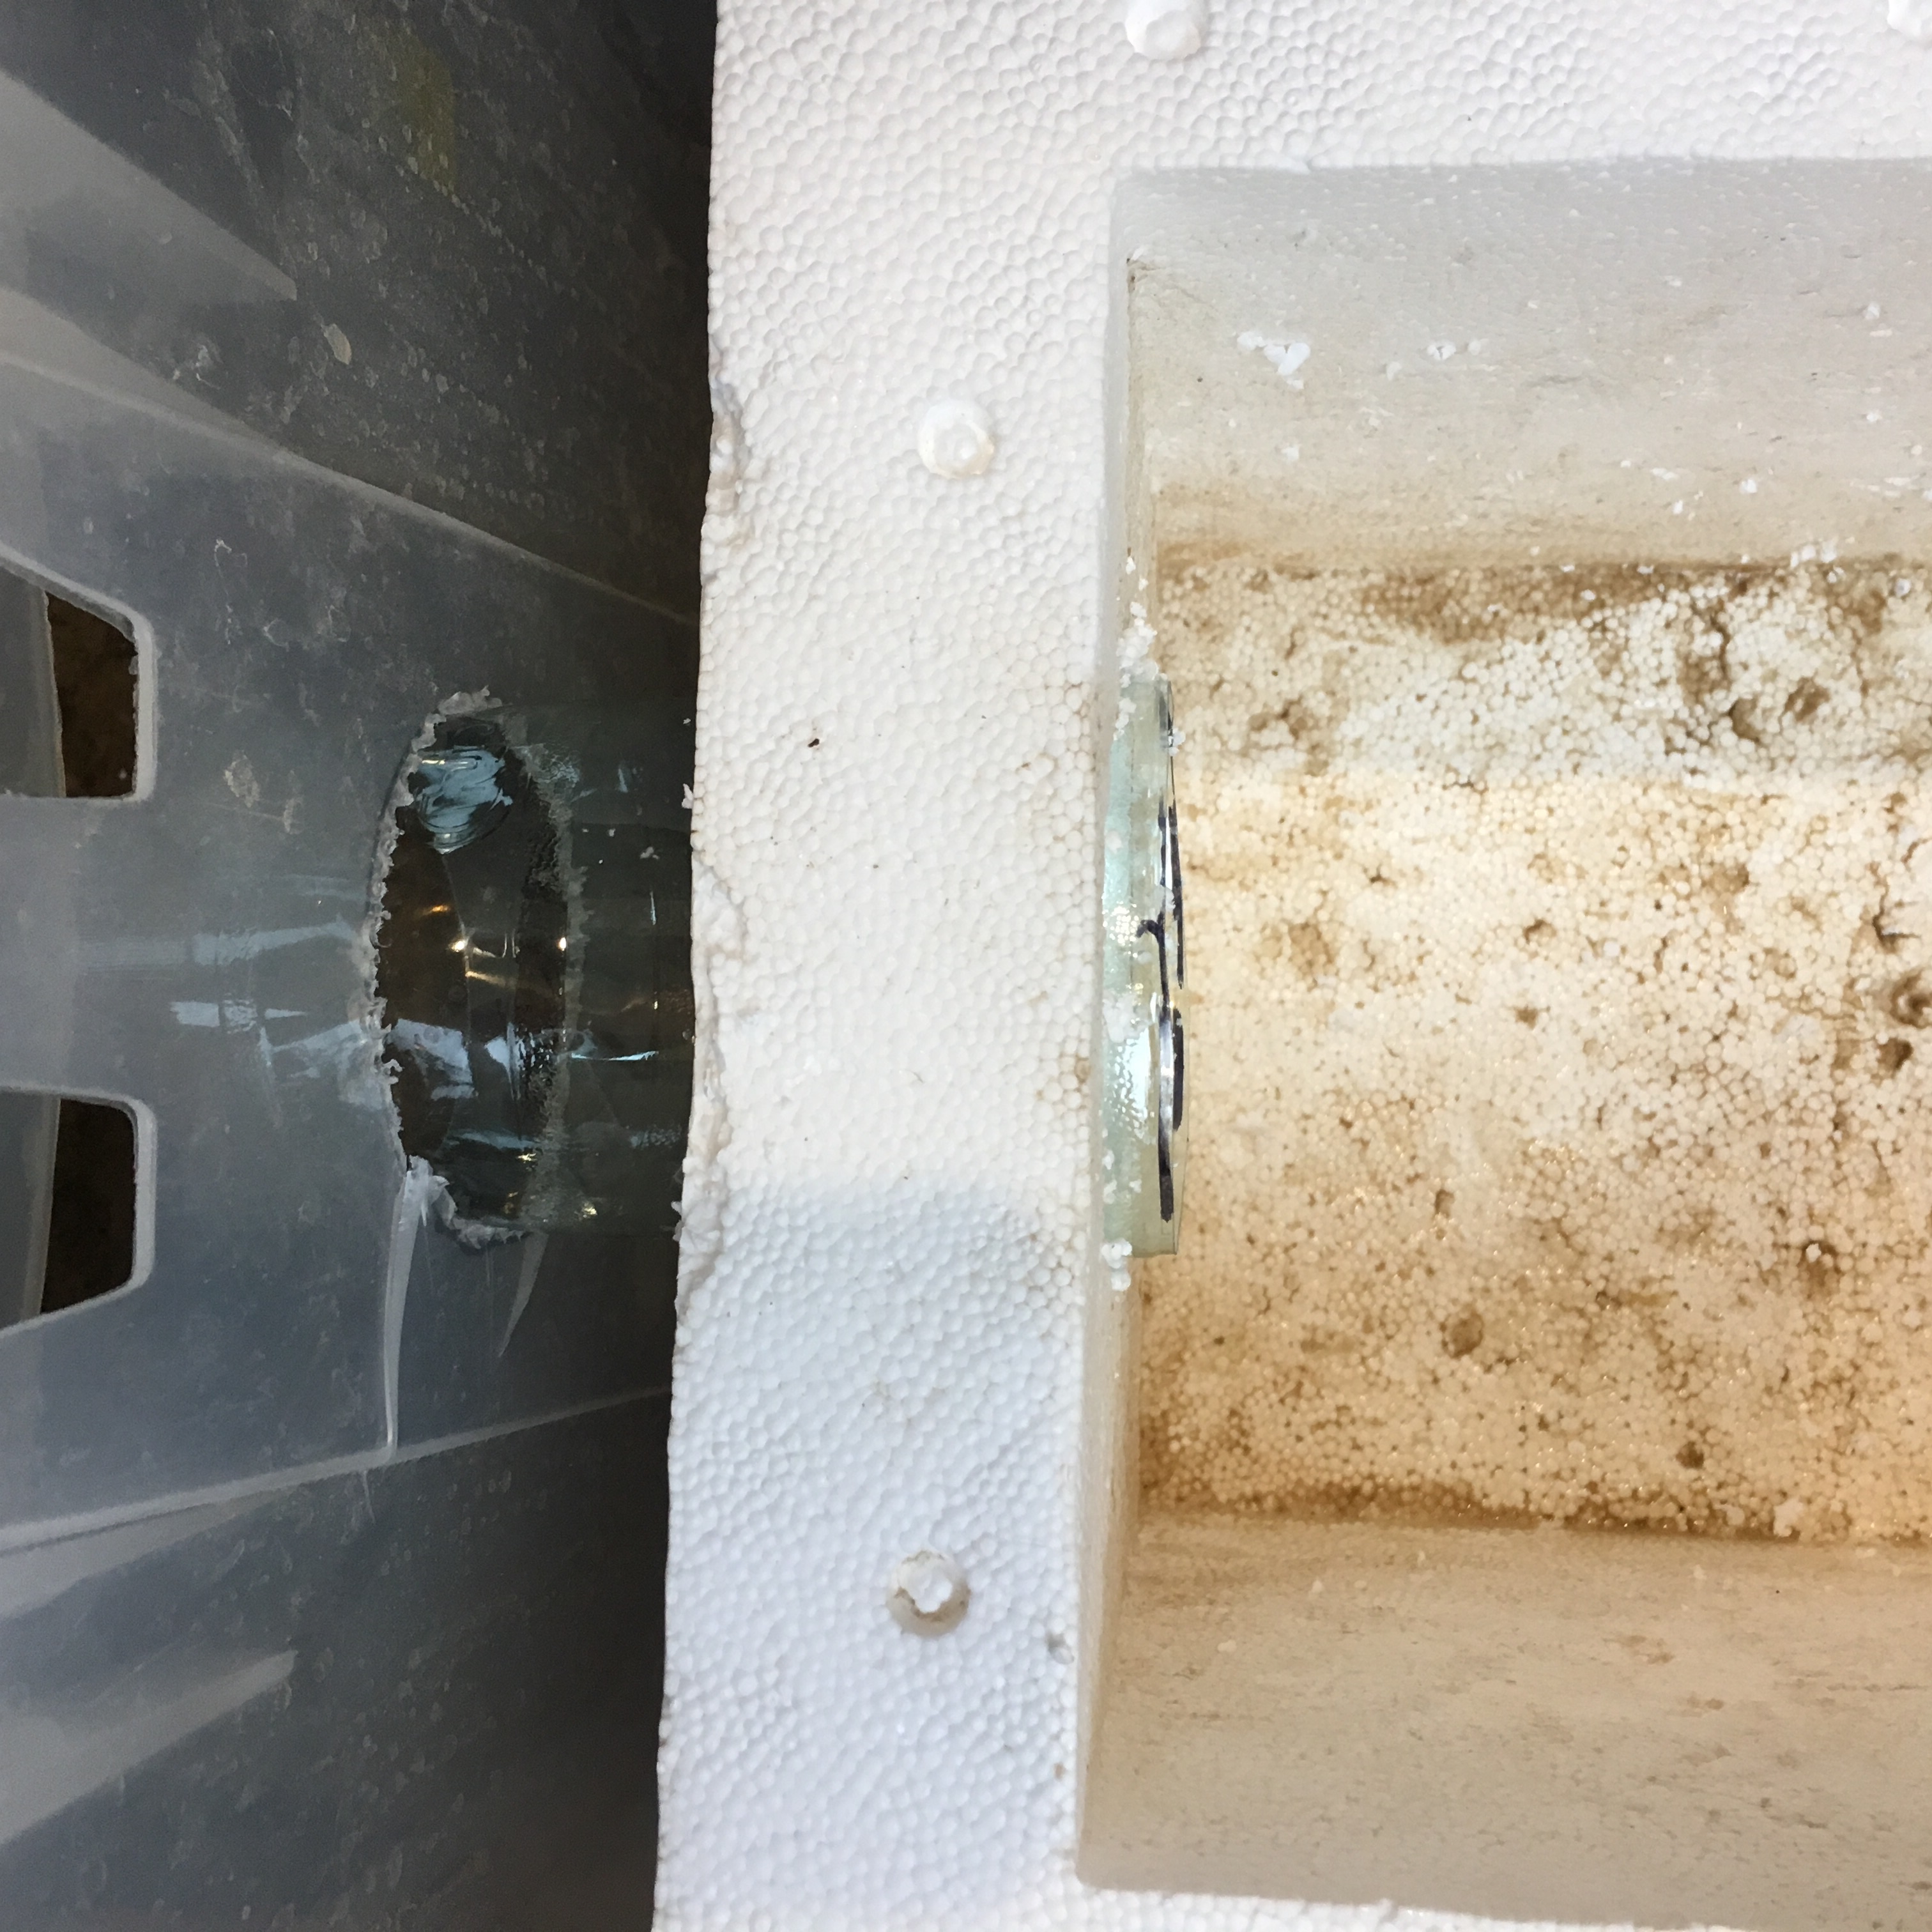
I discarded the old styrofoam lid, and cut a new output hole in the side of the cooler. Instead of a vacuum extension, I cut the top and bottom off a plastic bottle to make a tube, and fit that in the cooler. I cut an access port through the plastic tote as well. (It worked best to drill holes all along my cut line on the plastic bin, then cut.)

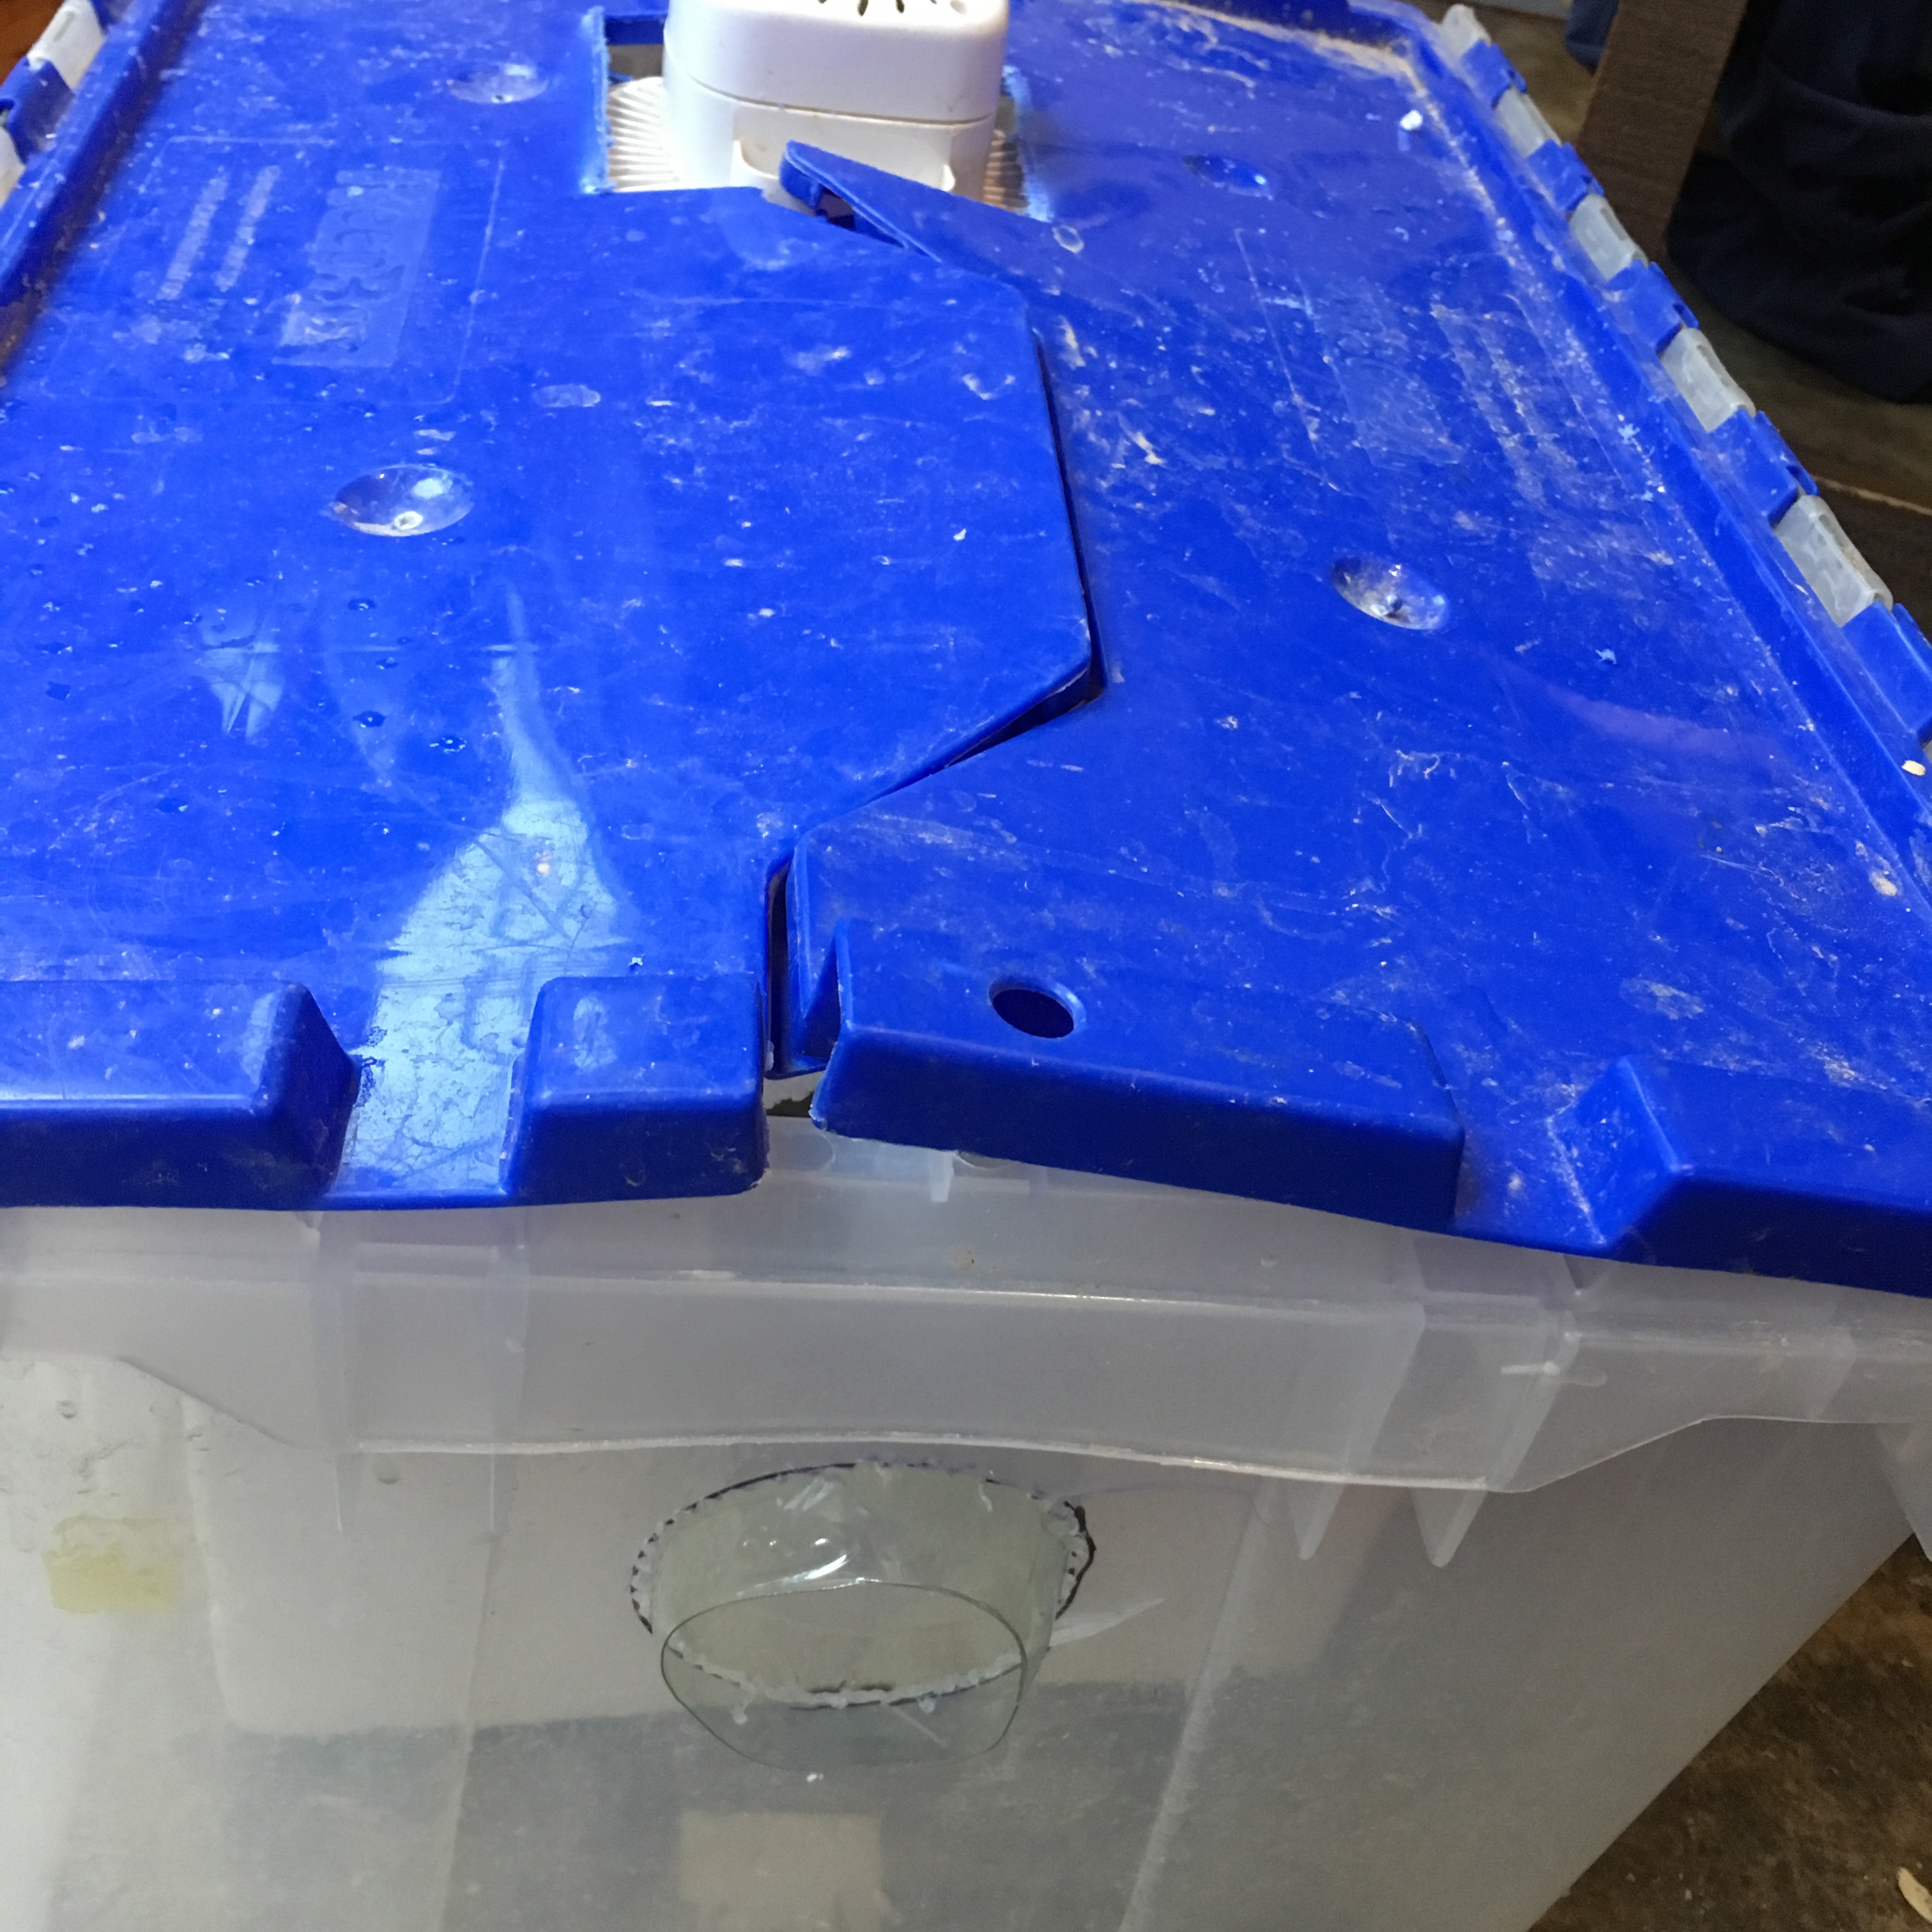
I cut a fan hole in a new styrofoam lid and fit the whole thing in the plastic tote. The back of the fan still prevented the lid from closing, so I cut out some of the lid to fit around it.

Reworked DIY AC coop unit

I hope this will keep the chickens from eating styrofoam!!! We are starting to cool down, but the highs will still be in the 90s for awhile.

Evaporative cooling

Chickens checking out the new sheet

Another local chicken keeper posted that she puts up a sheet in the breezy part of her run and wets it down with water to get some evaporative cooling for her hens. I had to try it since the high temps have been over 100 degrees F for a week and are forecast to go another week (which is still better than the three months of 100 plus degrees last year).

New sheet is no big deal on the scary meter

So I grabbed a cotton flat twin sheet and tied it to the hardware cloth and wet it down with the hose. The chickens were not scared of it, which is a big plus. Time will tell if it provides them a more comfortable area.

Outside view of wet sheet

First nesting box attempt

The chickens are over 16 weeks old now, and even though they are a large breed (adult female Faverolles can be 6+ pounds), so will probably lay later, and they have started to molt, so will probably lay later, I felt remiss about not having some kind of nesting box. Just in case.

Looking inside one nesting box

So I used the plastic bins from an old kid’s storage set (given to me by a friend!), and set them up on the shelf of my work table. It was always my plan to set up the nesting boxes here; I just modified the original plan slightly to make use of the plastic bins. I put some wooden ledges in to keep the boxes from accidentally getting knocked off the shelf, and added a hard divider made of scrap siding to separate the two nest boxes.

Hard divider between the nest boxes

Because the weather gets hot here in Texas, I worry about hard-sided nesting boxes, especially as I wanted my nesting boxes to open to the wall, rather than into the room (as recommended in Storey’s Guide to Raising Chickens). So I sewed some curtains to go around the nest boxes. I used cotton with a dark print to keep the light out but still let the air circulate. I used picture frame wire (twisted steel cable) and screw eyes to hang the curtains. I am hoping this will make the area dark enough for the chickens, but easy for us to reach in and gather eggs.

Curtains hung on steel cable threaded through screw eyes
Outside view of nesting area, with access near the wall

The chickens were eye-balling the area, but no one was actually getting up there, so I added small perches to the entrances.

Perches made of 1×2 and leftover dowels

Since it looks like I may have 11 or 12 hens, I should have one more nesting box. I’m thinking on what I will try next.

Grandpa’s Feeder

I bought a Grandpa’s Feeder awhile ago for the chickens, then found out they weren’t big enough to operate the opener yet. So it sat in its box for a couple months. Now at well over two pounds they are big enough! (They really only had to be 14 ounces. Oops.)

Grandpa’s Feeder set up on bricks outside the coop

There are three stages to train chickens to use the feeder. The first stage holds the lid of the feed area open with no movement. This stage lasts a week. We started this stage and Cloud was my brave chicken; the first to eat from the feeder! I put mealworms in there on top of the feed, so there was definite incentive.

Cloud investigating the new feeder

I noticed as the other chickens started to try it, that they were reaching in from the side and not standing on the treadle. The instructions say to block the sides with a box or something similar to keep this from happening. A box would block the coop door, but I have a bunch of temporary fence stakes, so I pounded one in on each side. Those long necked chickens could still reach around, so I added another stake. That did it! Now they all stand on the treadle to eat. I added some more bricks too so there is a step up.

Nice try, you have to stand on the treadle to eat.

The next stage is allowing some movement with the treadle and lid. I’ll see if I need to expand my brick area and how long it takes for the chickens to get used to the movement. But I have a few days before I worry about that! Then another week before we try full movement.

Water access

Hose hanger and sprayer holder

I realized I could thread the hose through the wire mesh and have access to the sprayer inside the chicken runs. It makes it much easier to rinse out and refill the foot baths. Eventually we may put a PVC pipe down to the runs, in which case this setup is still useful, but for now this works. I had an extra pull handle from the catio door rebuild, so put it in at an angle, which makes a great sprayer holder. I also have had hose holders for years that I’ve never installed, so I put one of those up to keep the hose from being a tripping hazard. I fully expect the chickens to try roost there, but the ease of water accessibility is worth it.