First nesting box attempt

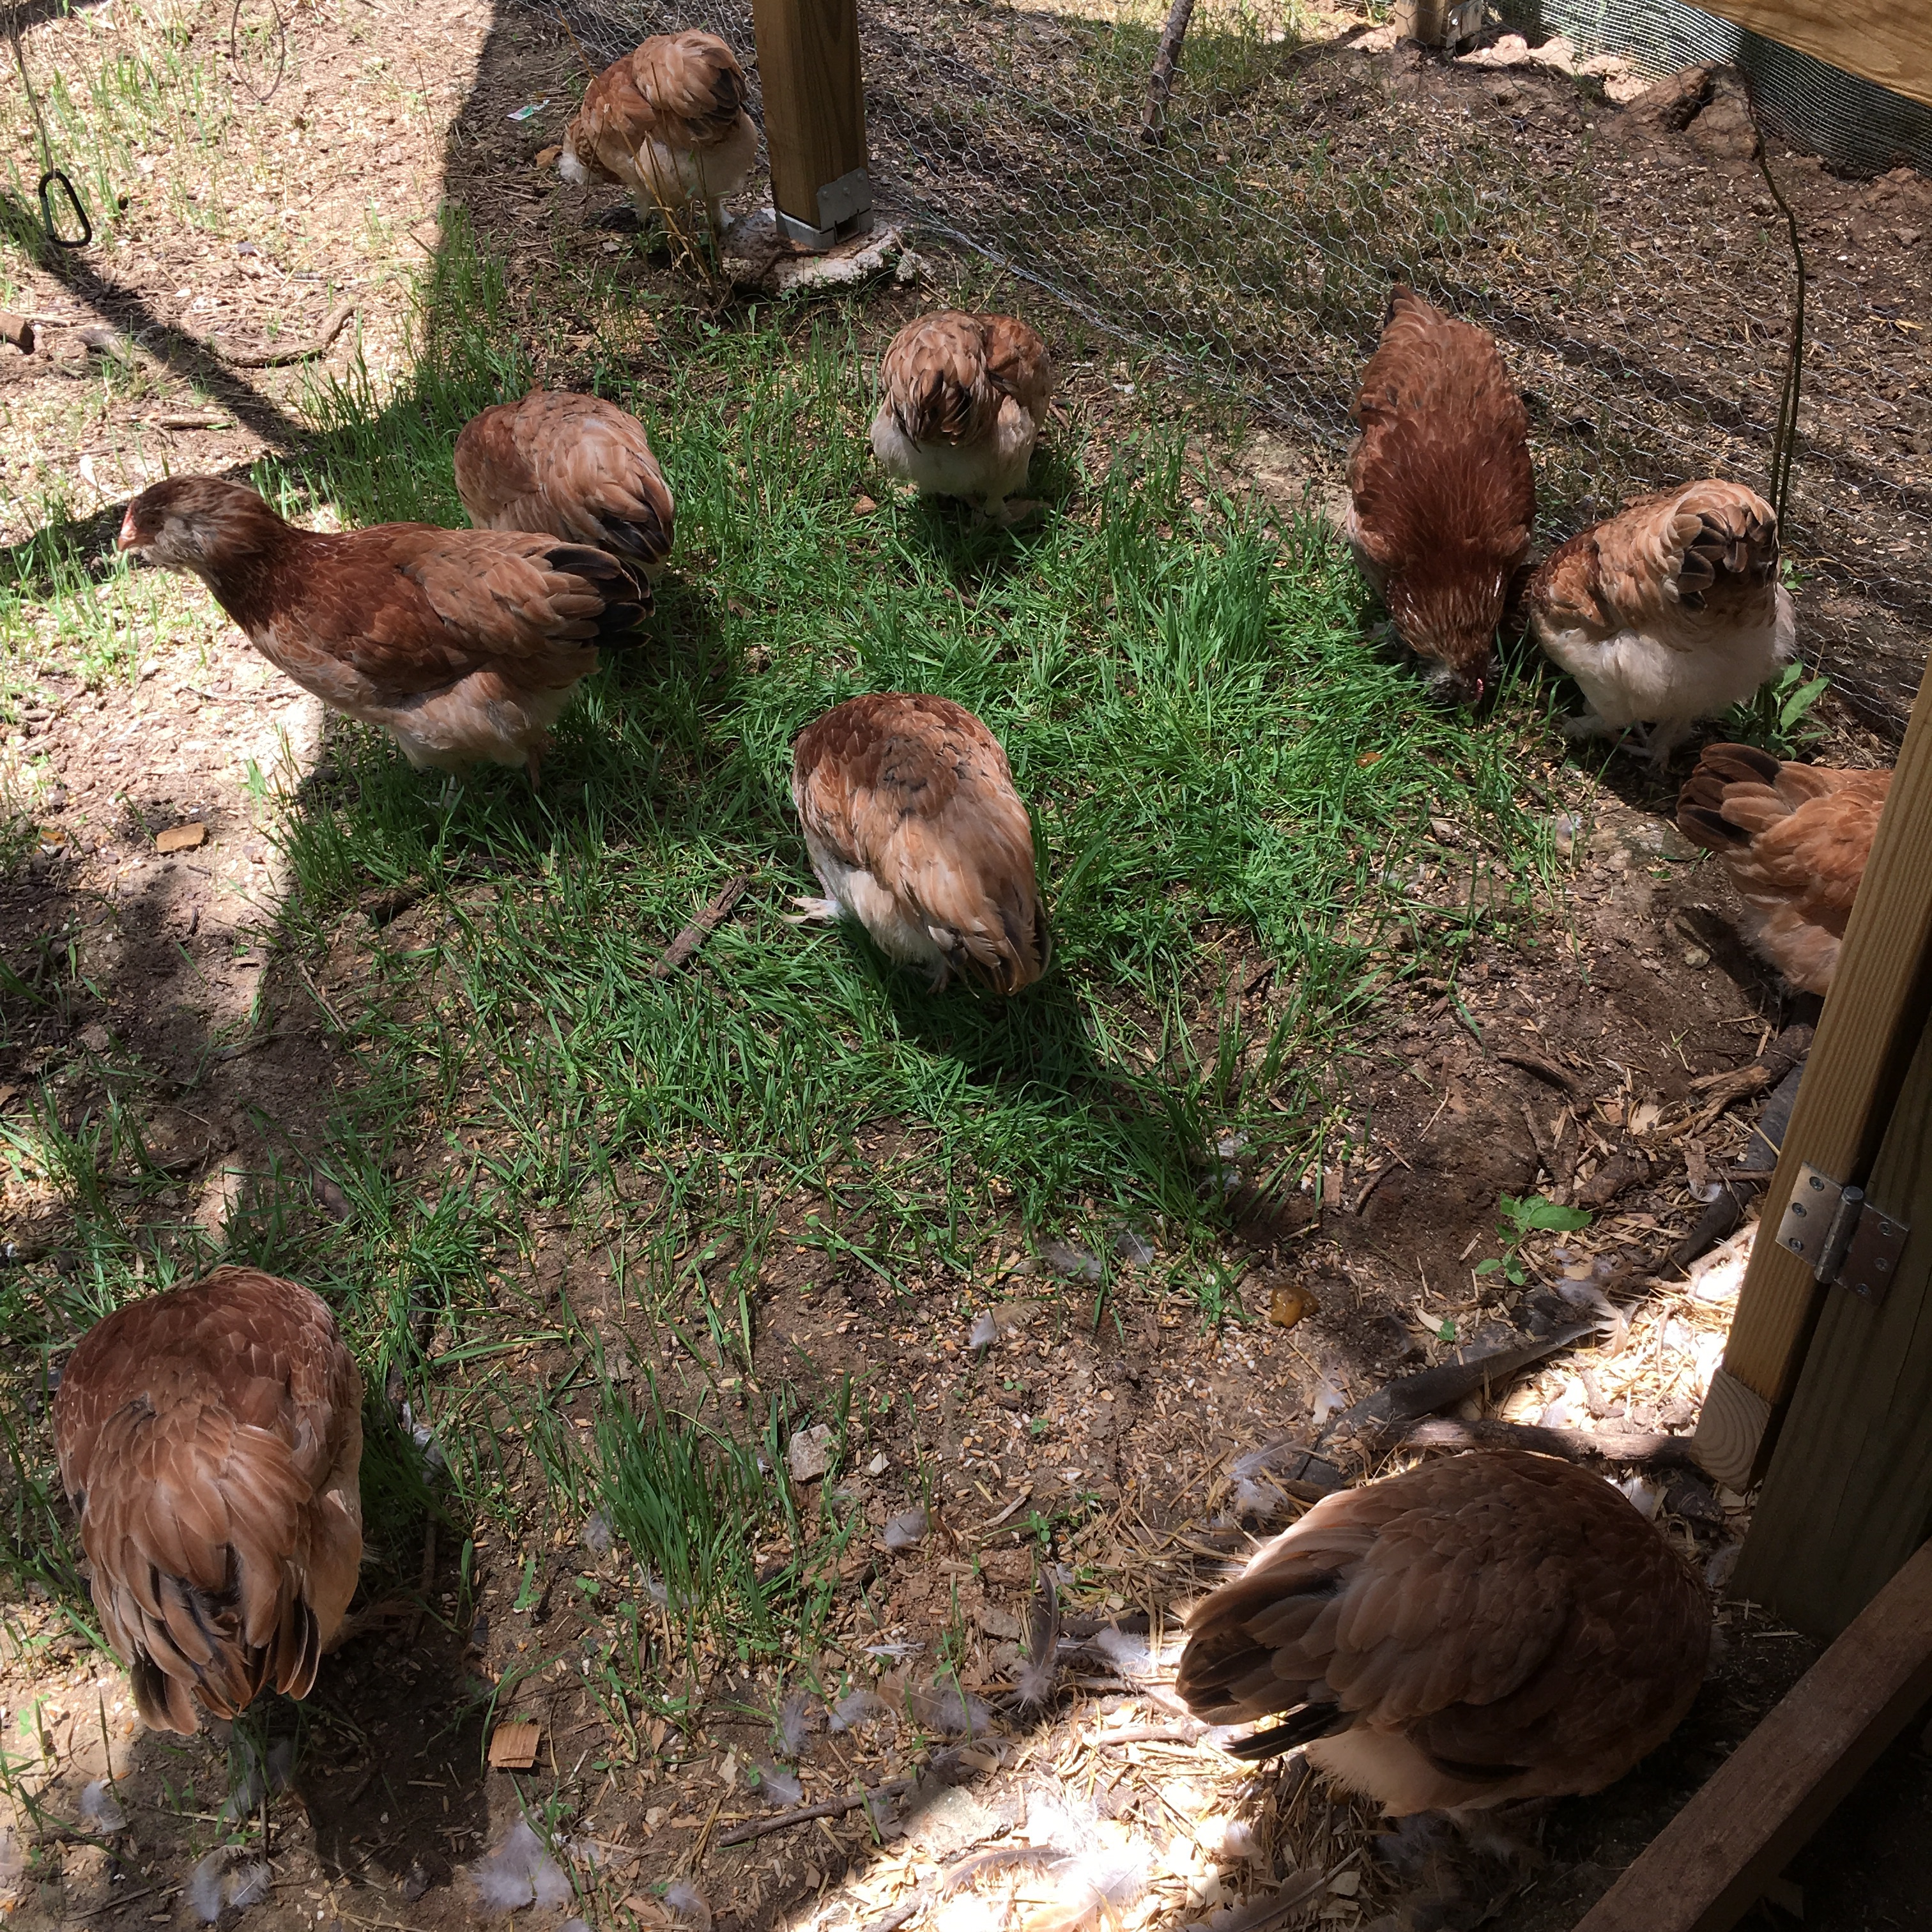
The chickens are over 16 weeks old now, and even though they are a large breed (adult female Faverolles can be 6+ pounds), so will probably lay later, and they have started to molt, so will probably lay later, I felt remiss about not having some kind of nesting box. Just in case.

Looking inside one nesting box

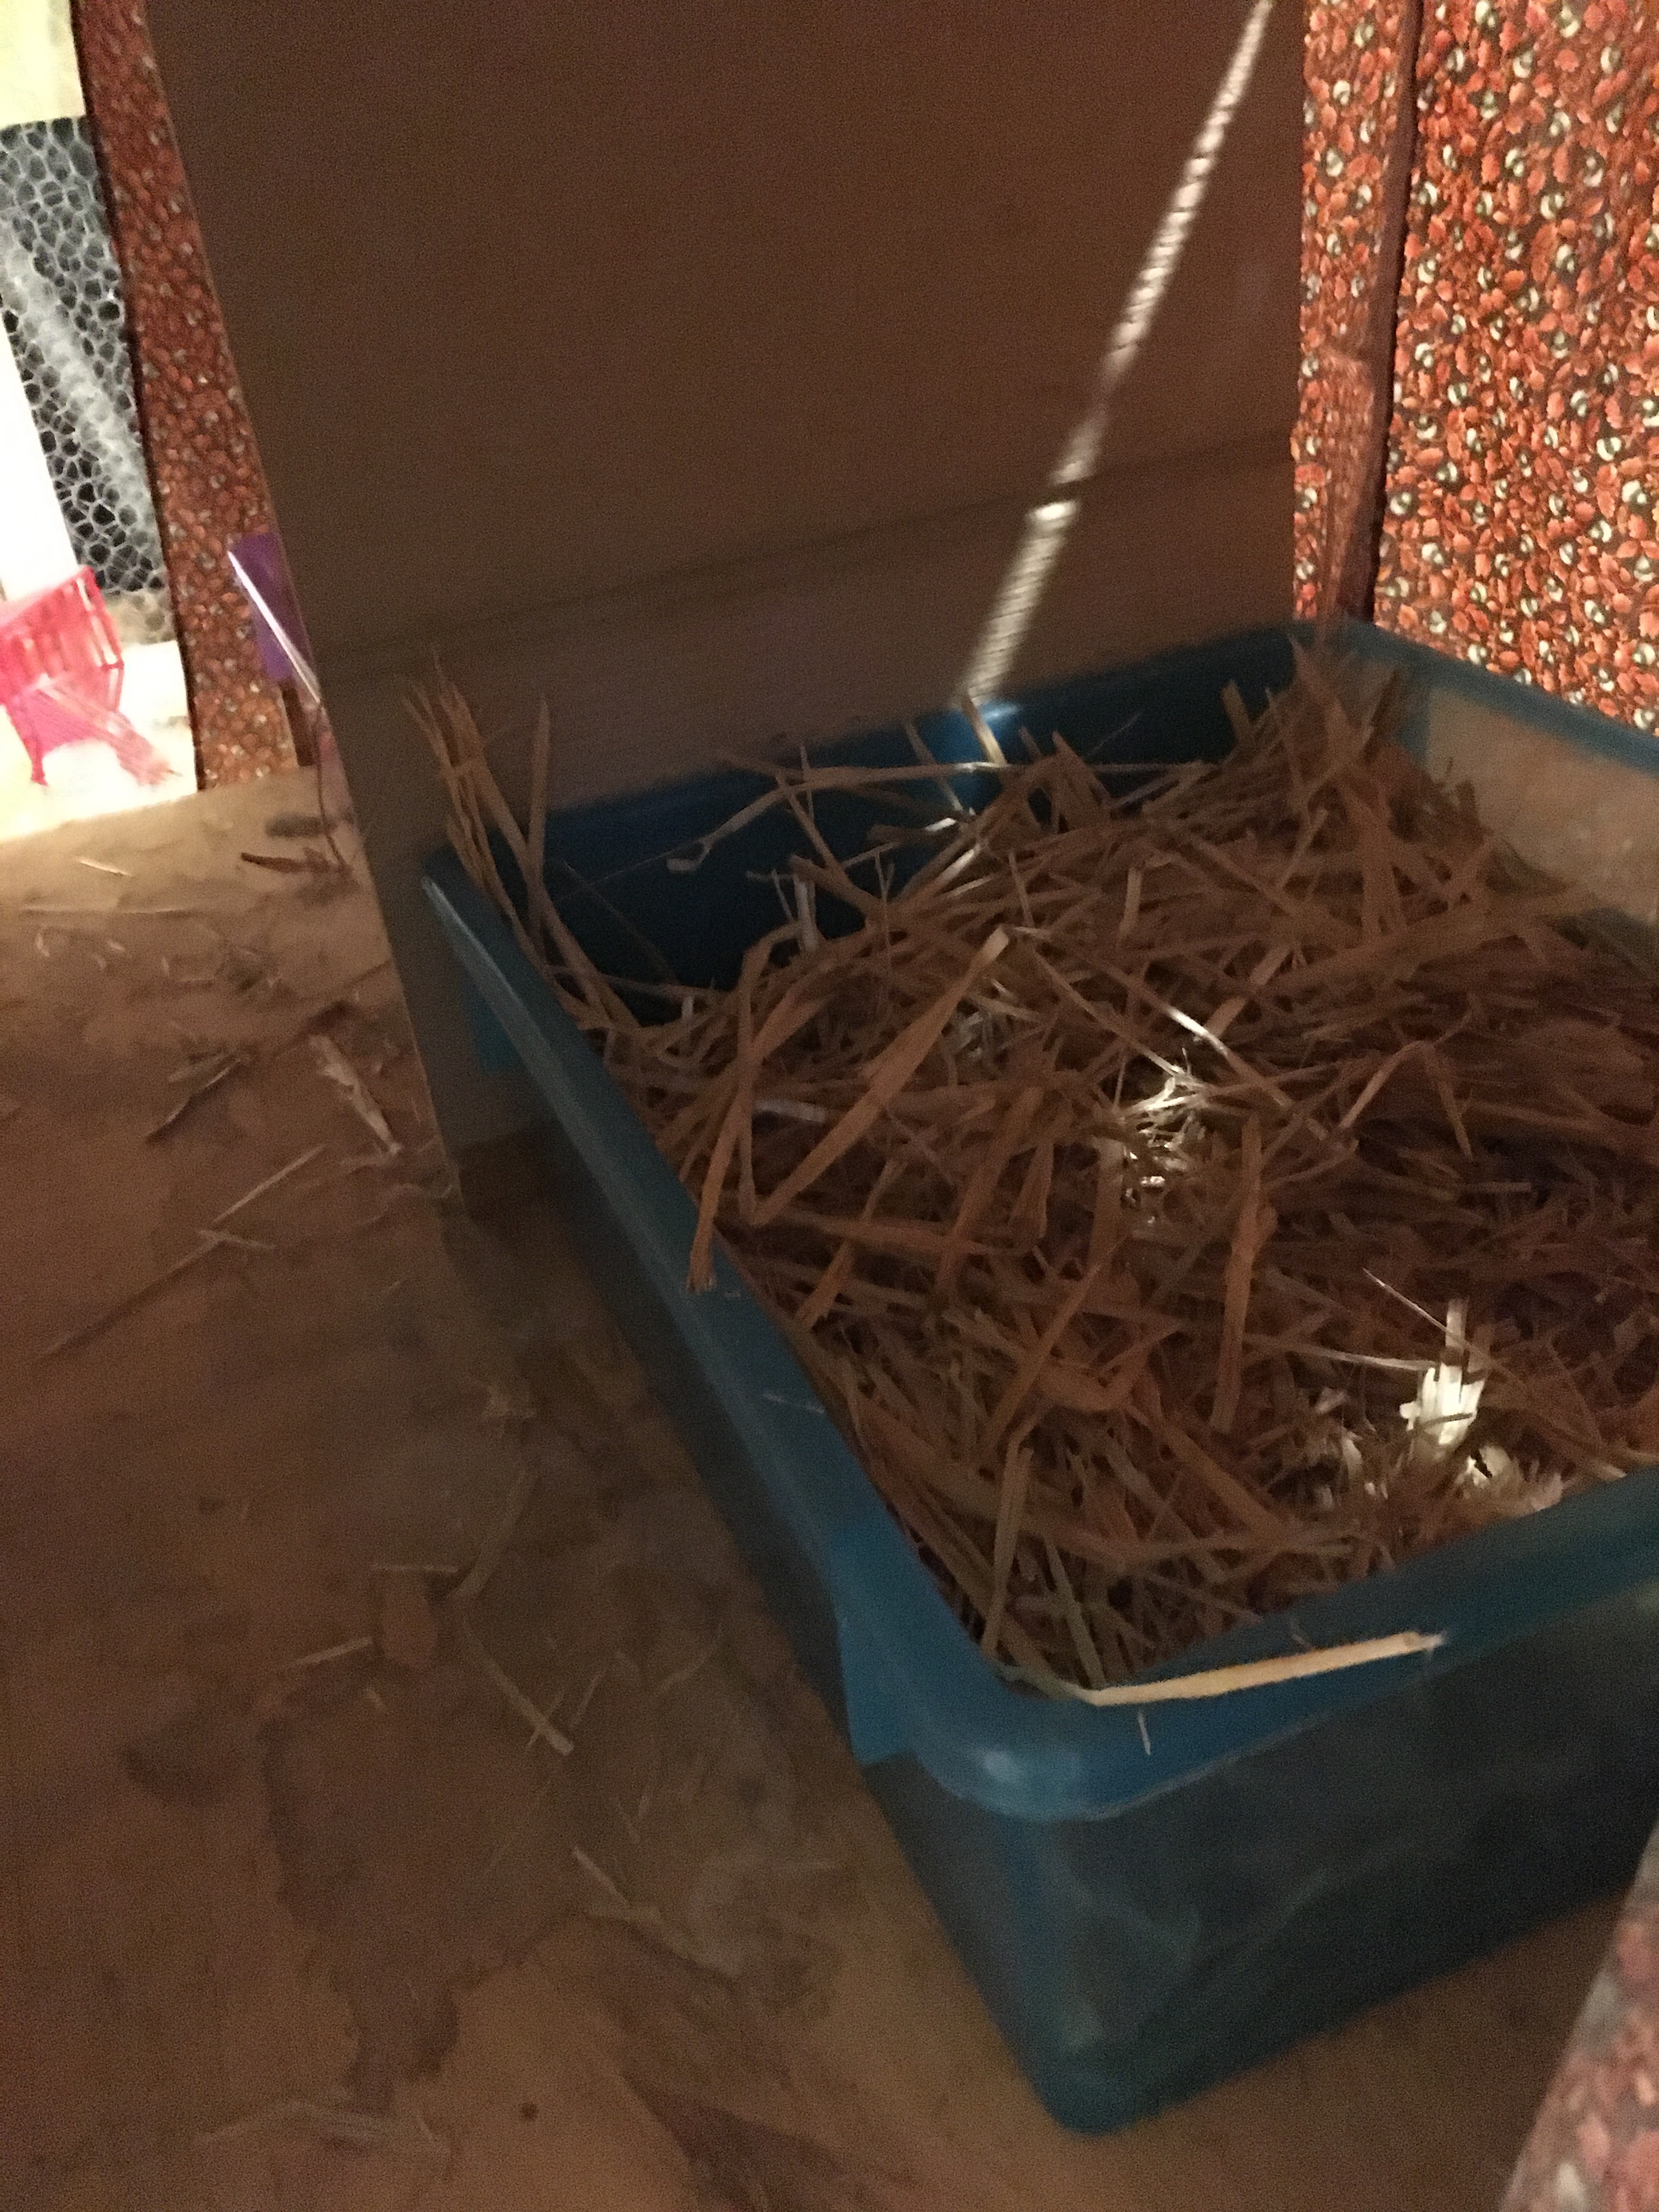
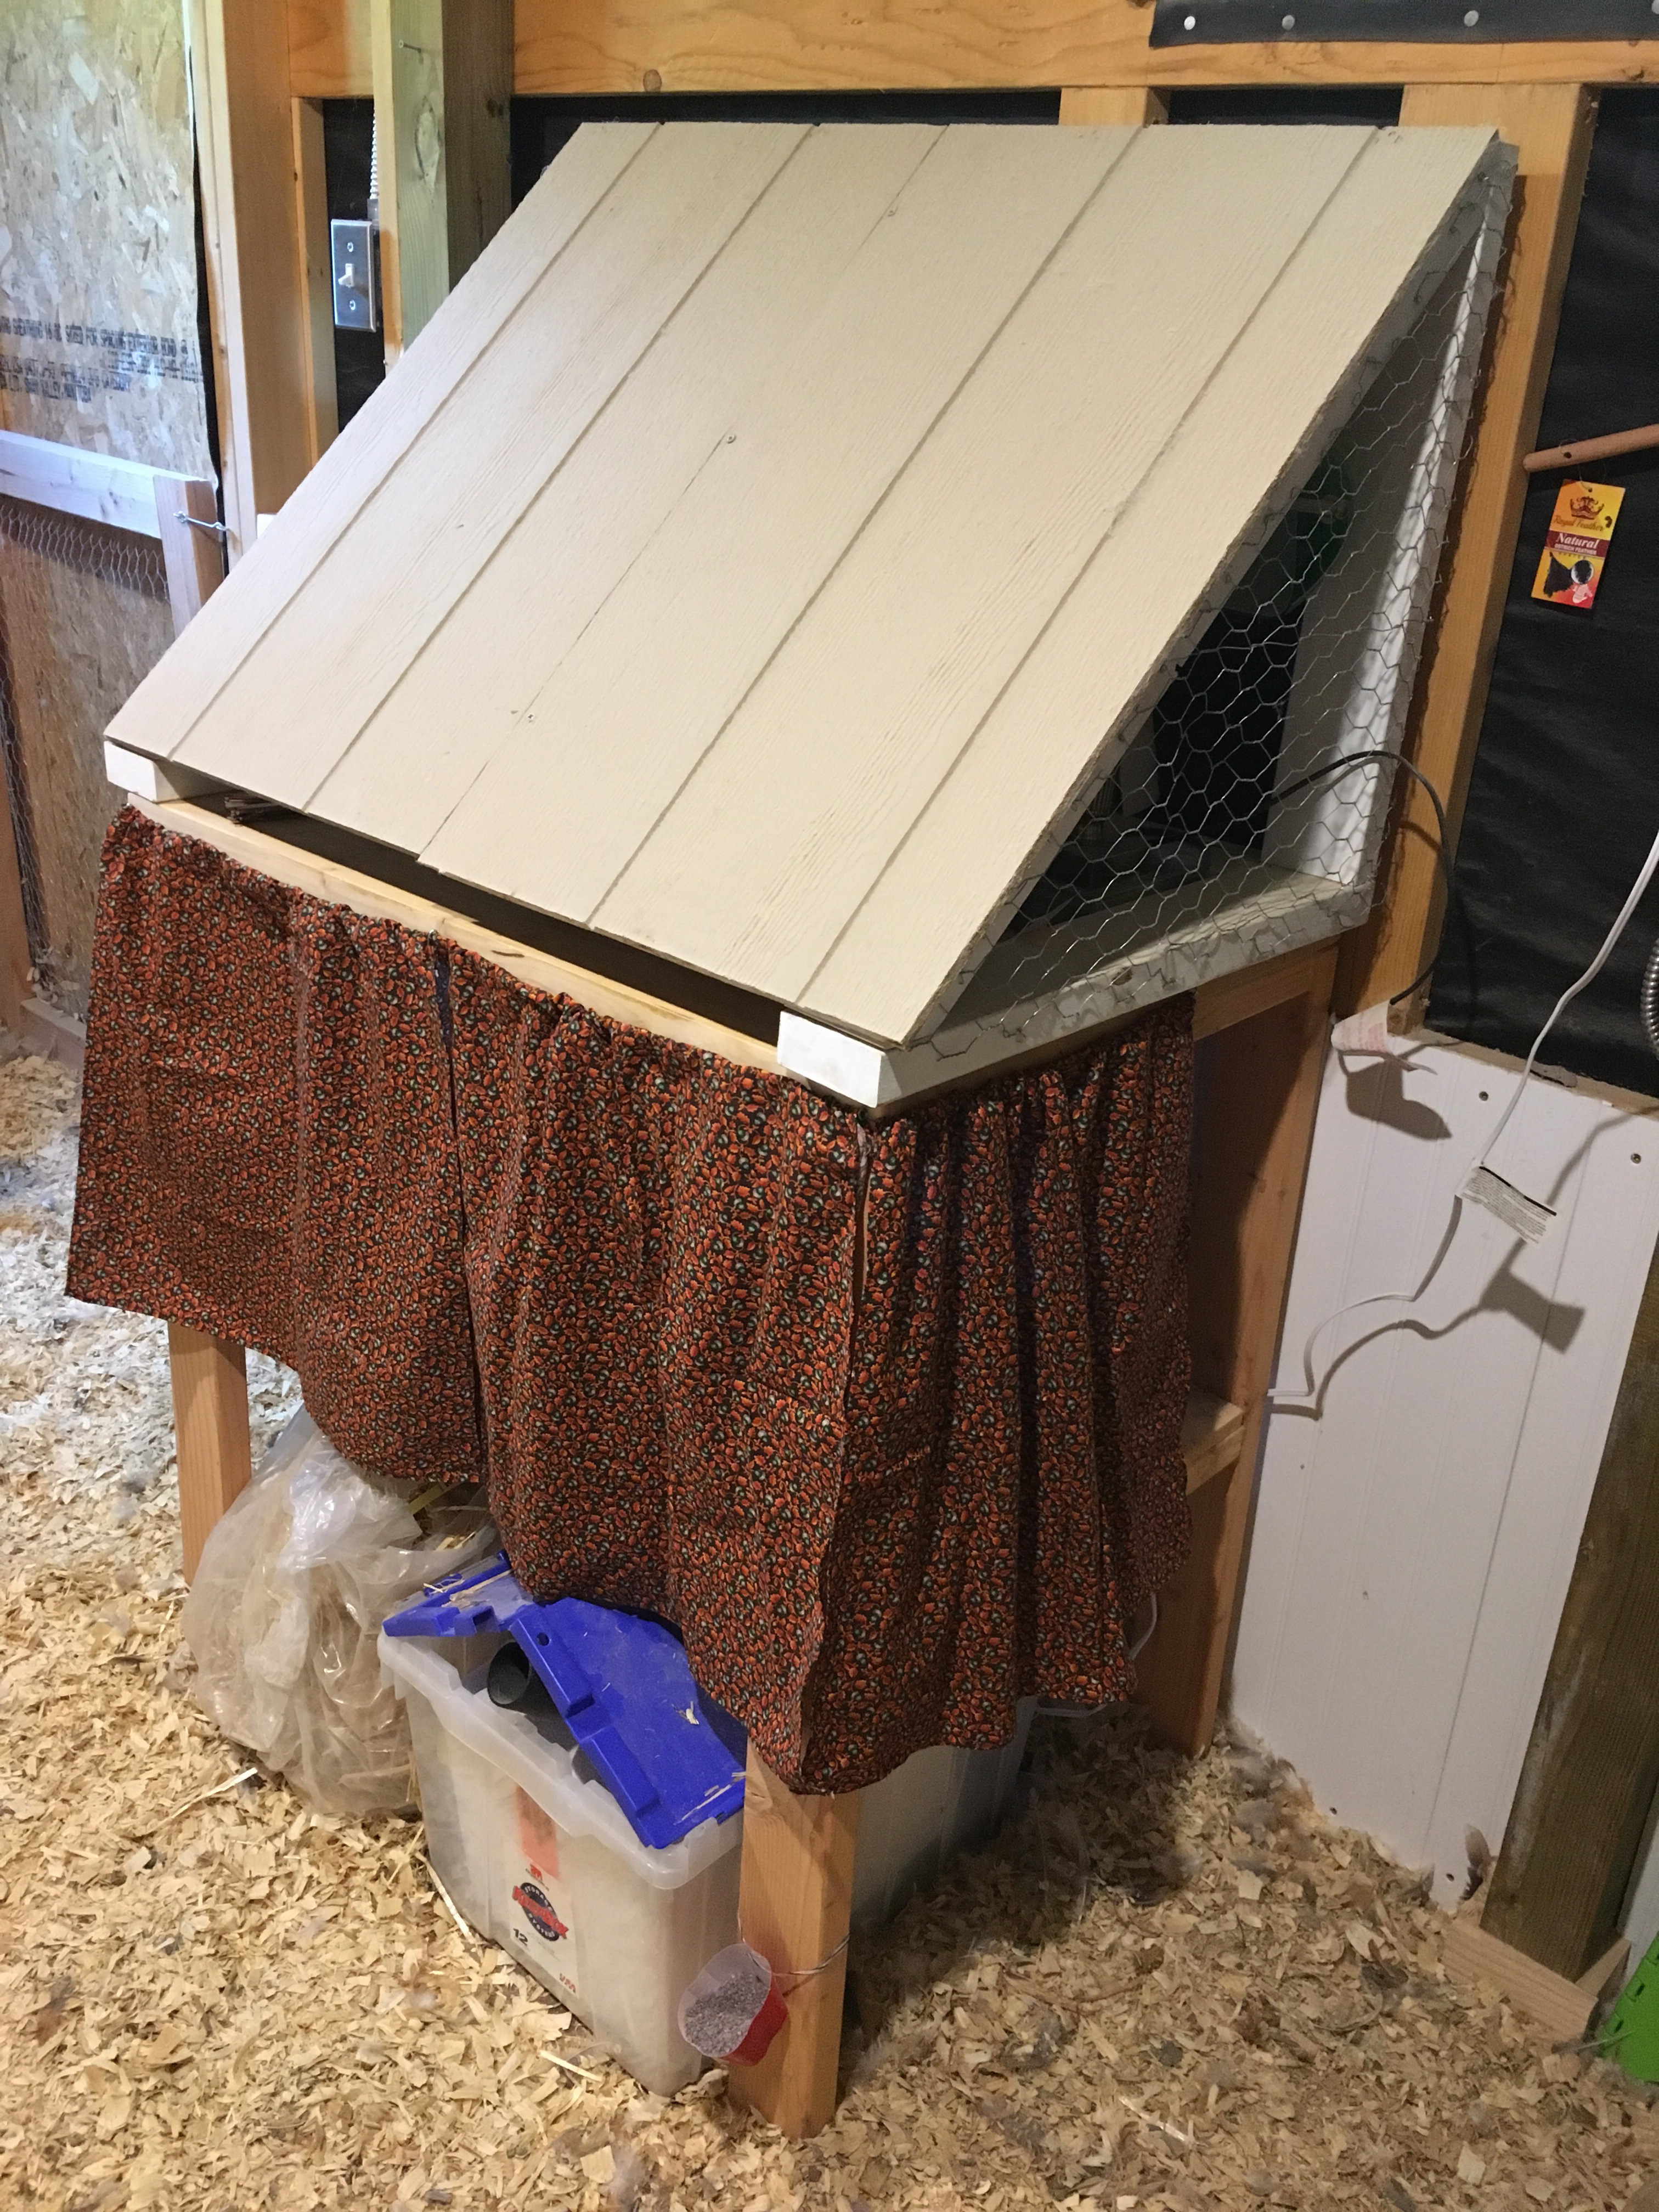
So I used the plastic bins from an old kid’s storage set (given to me by a friend!), and set them up on the shelf of my work table. It was always my plan to set up the nesting boxes here; I just modified the original plan slightly to make use of the plastic bins. I put some wooden ledges in to keep the boxes from accidentally getting knocked off the shelf, and added a hard divider made of scrap siding to separate the two nest boxes.

Hard divider between the nest boxes

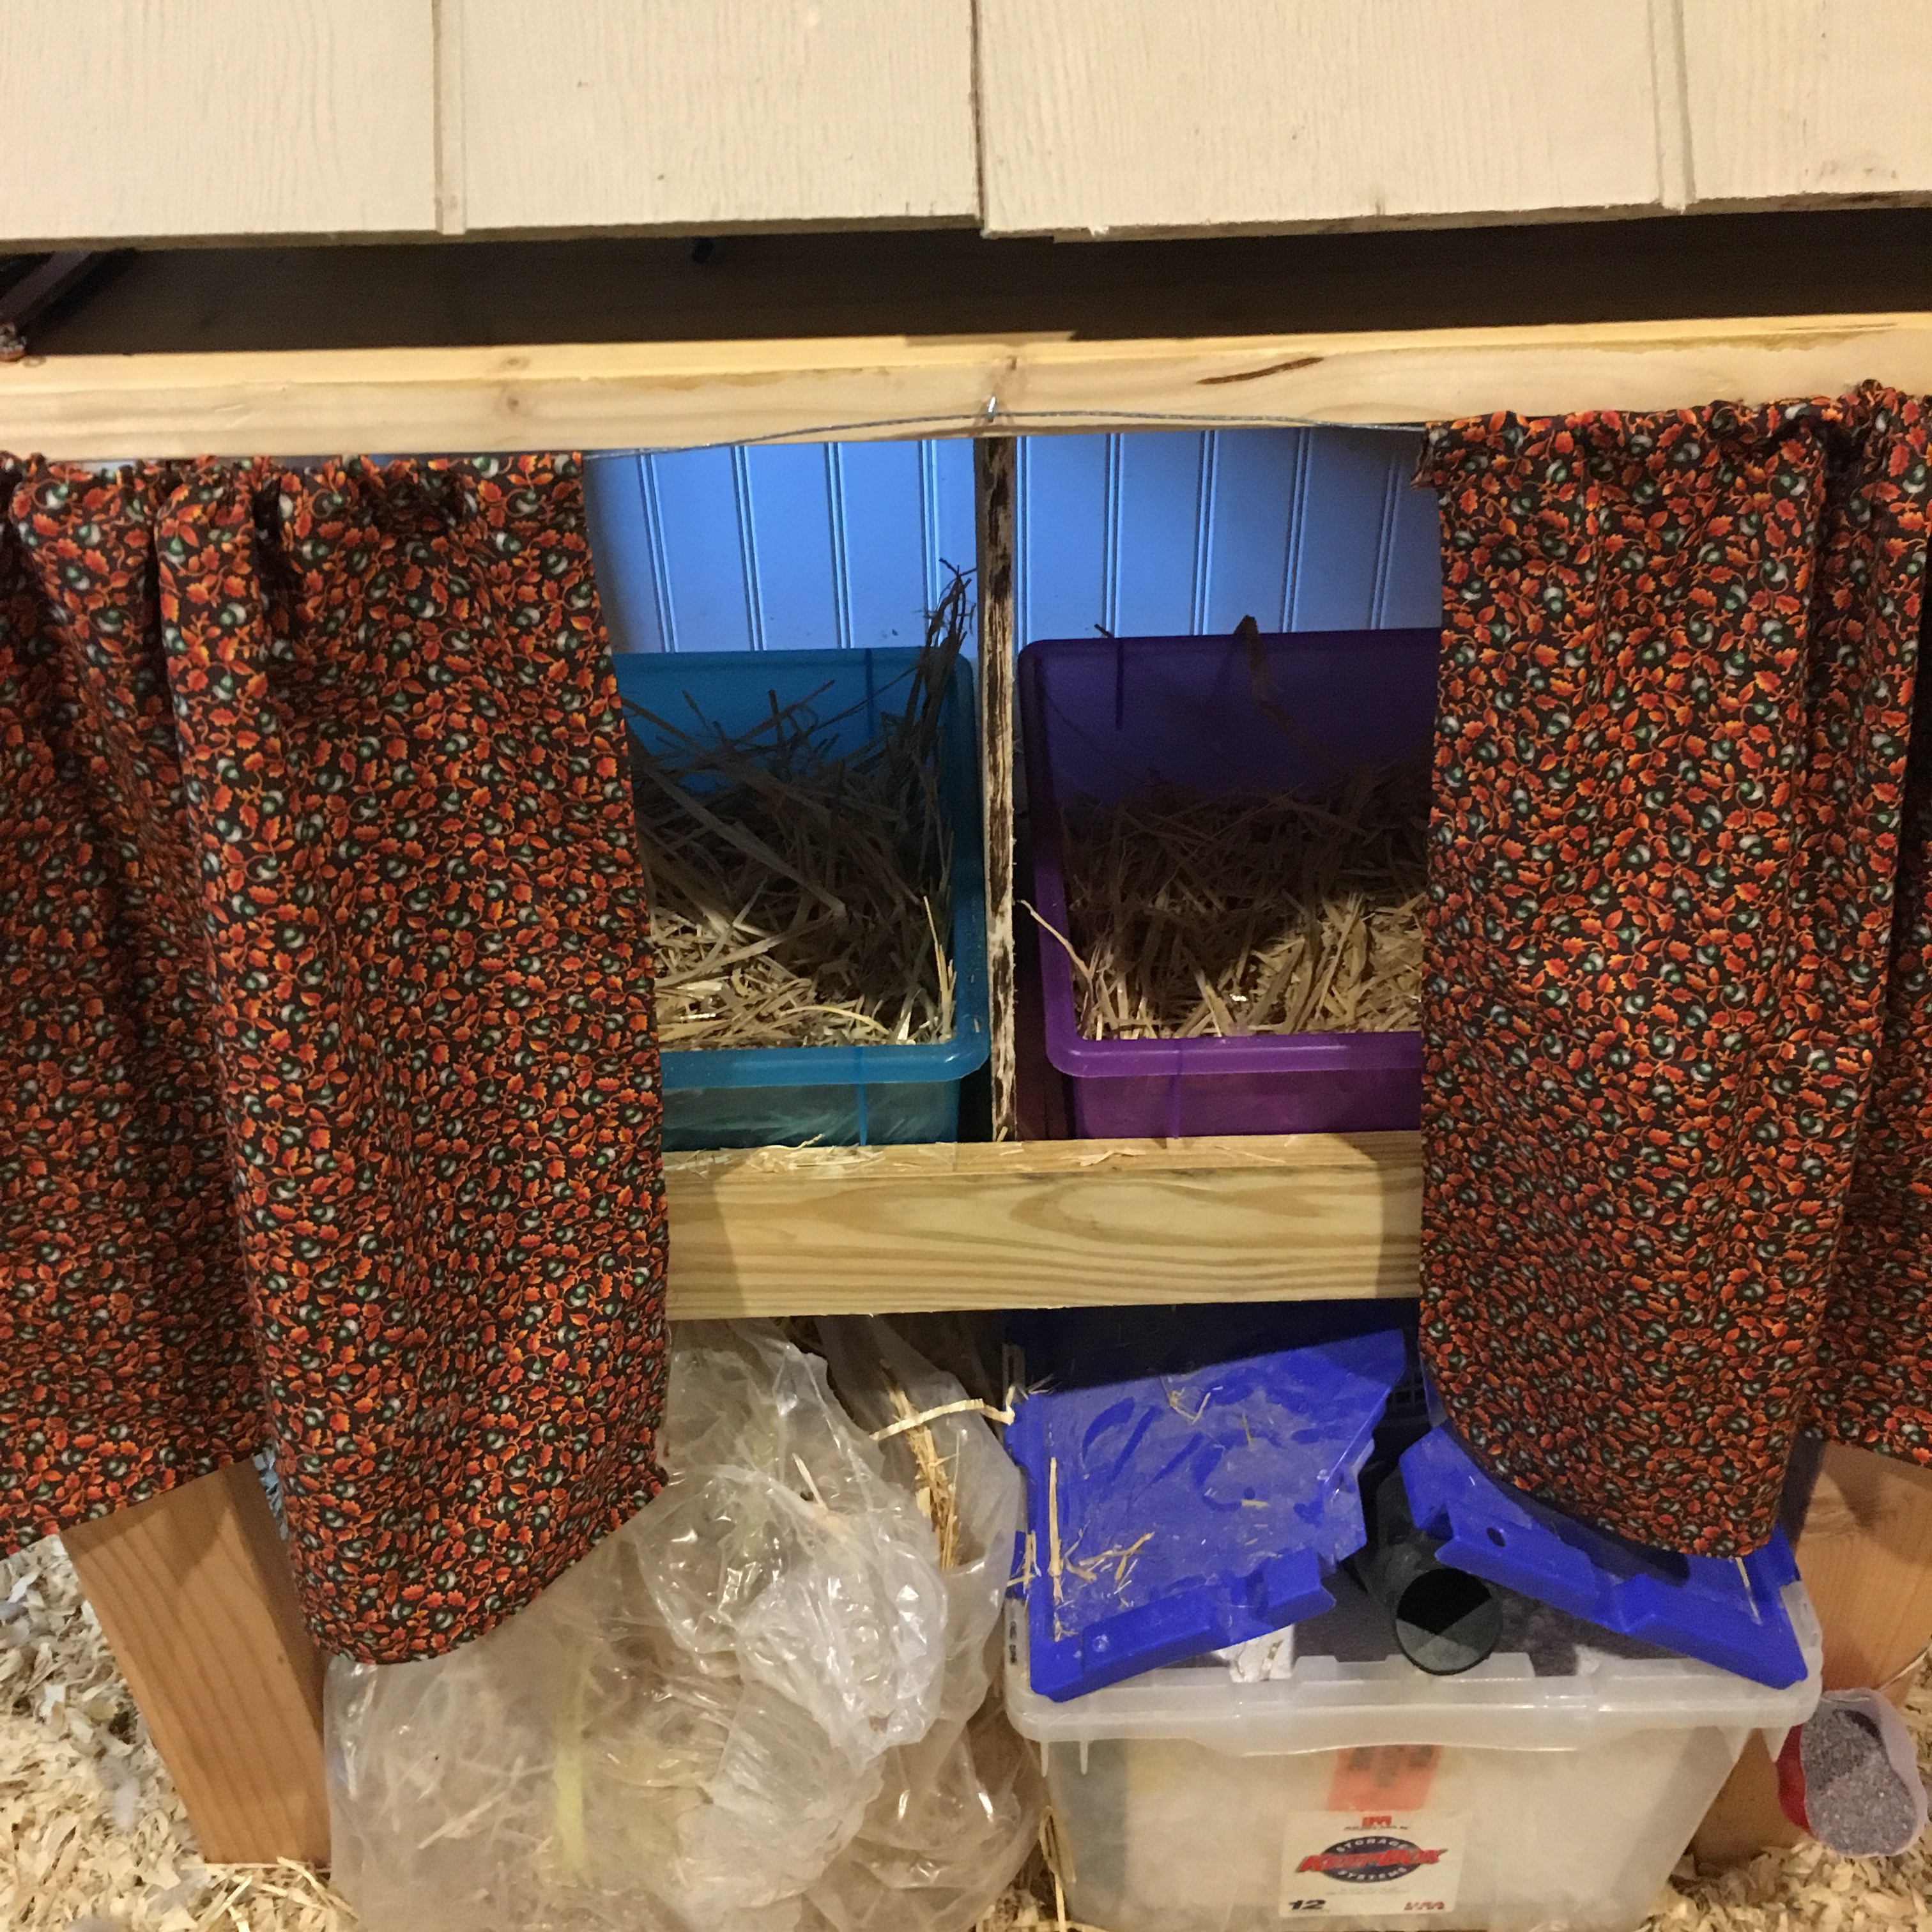
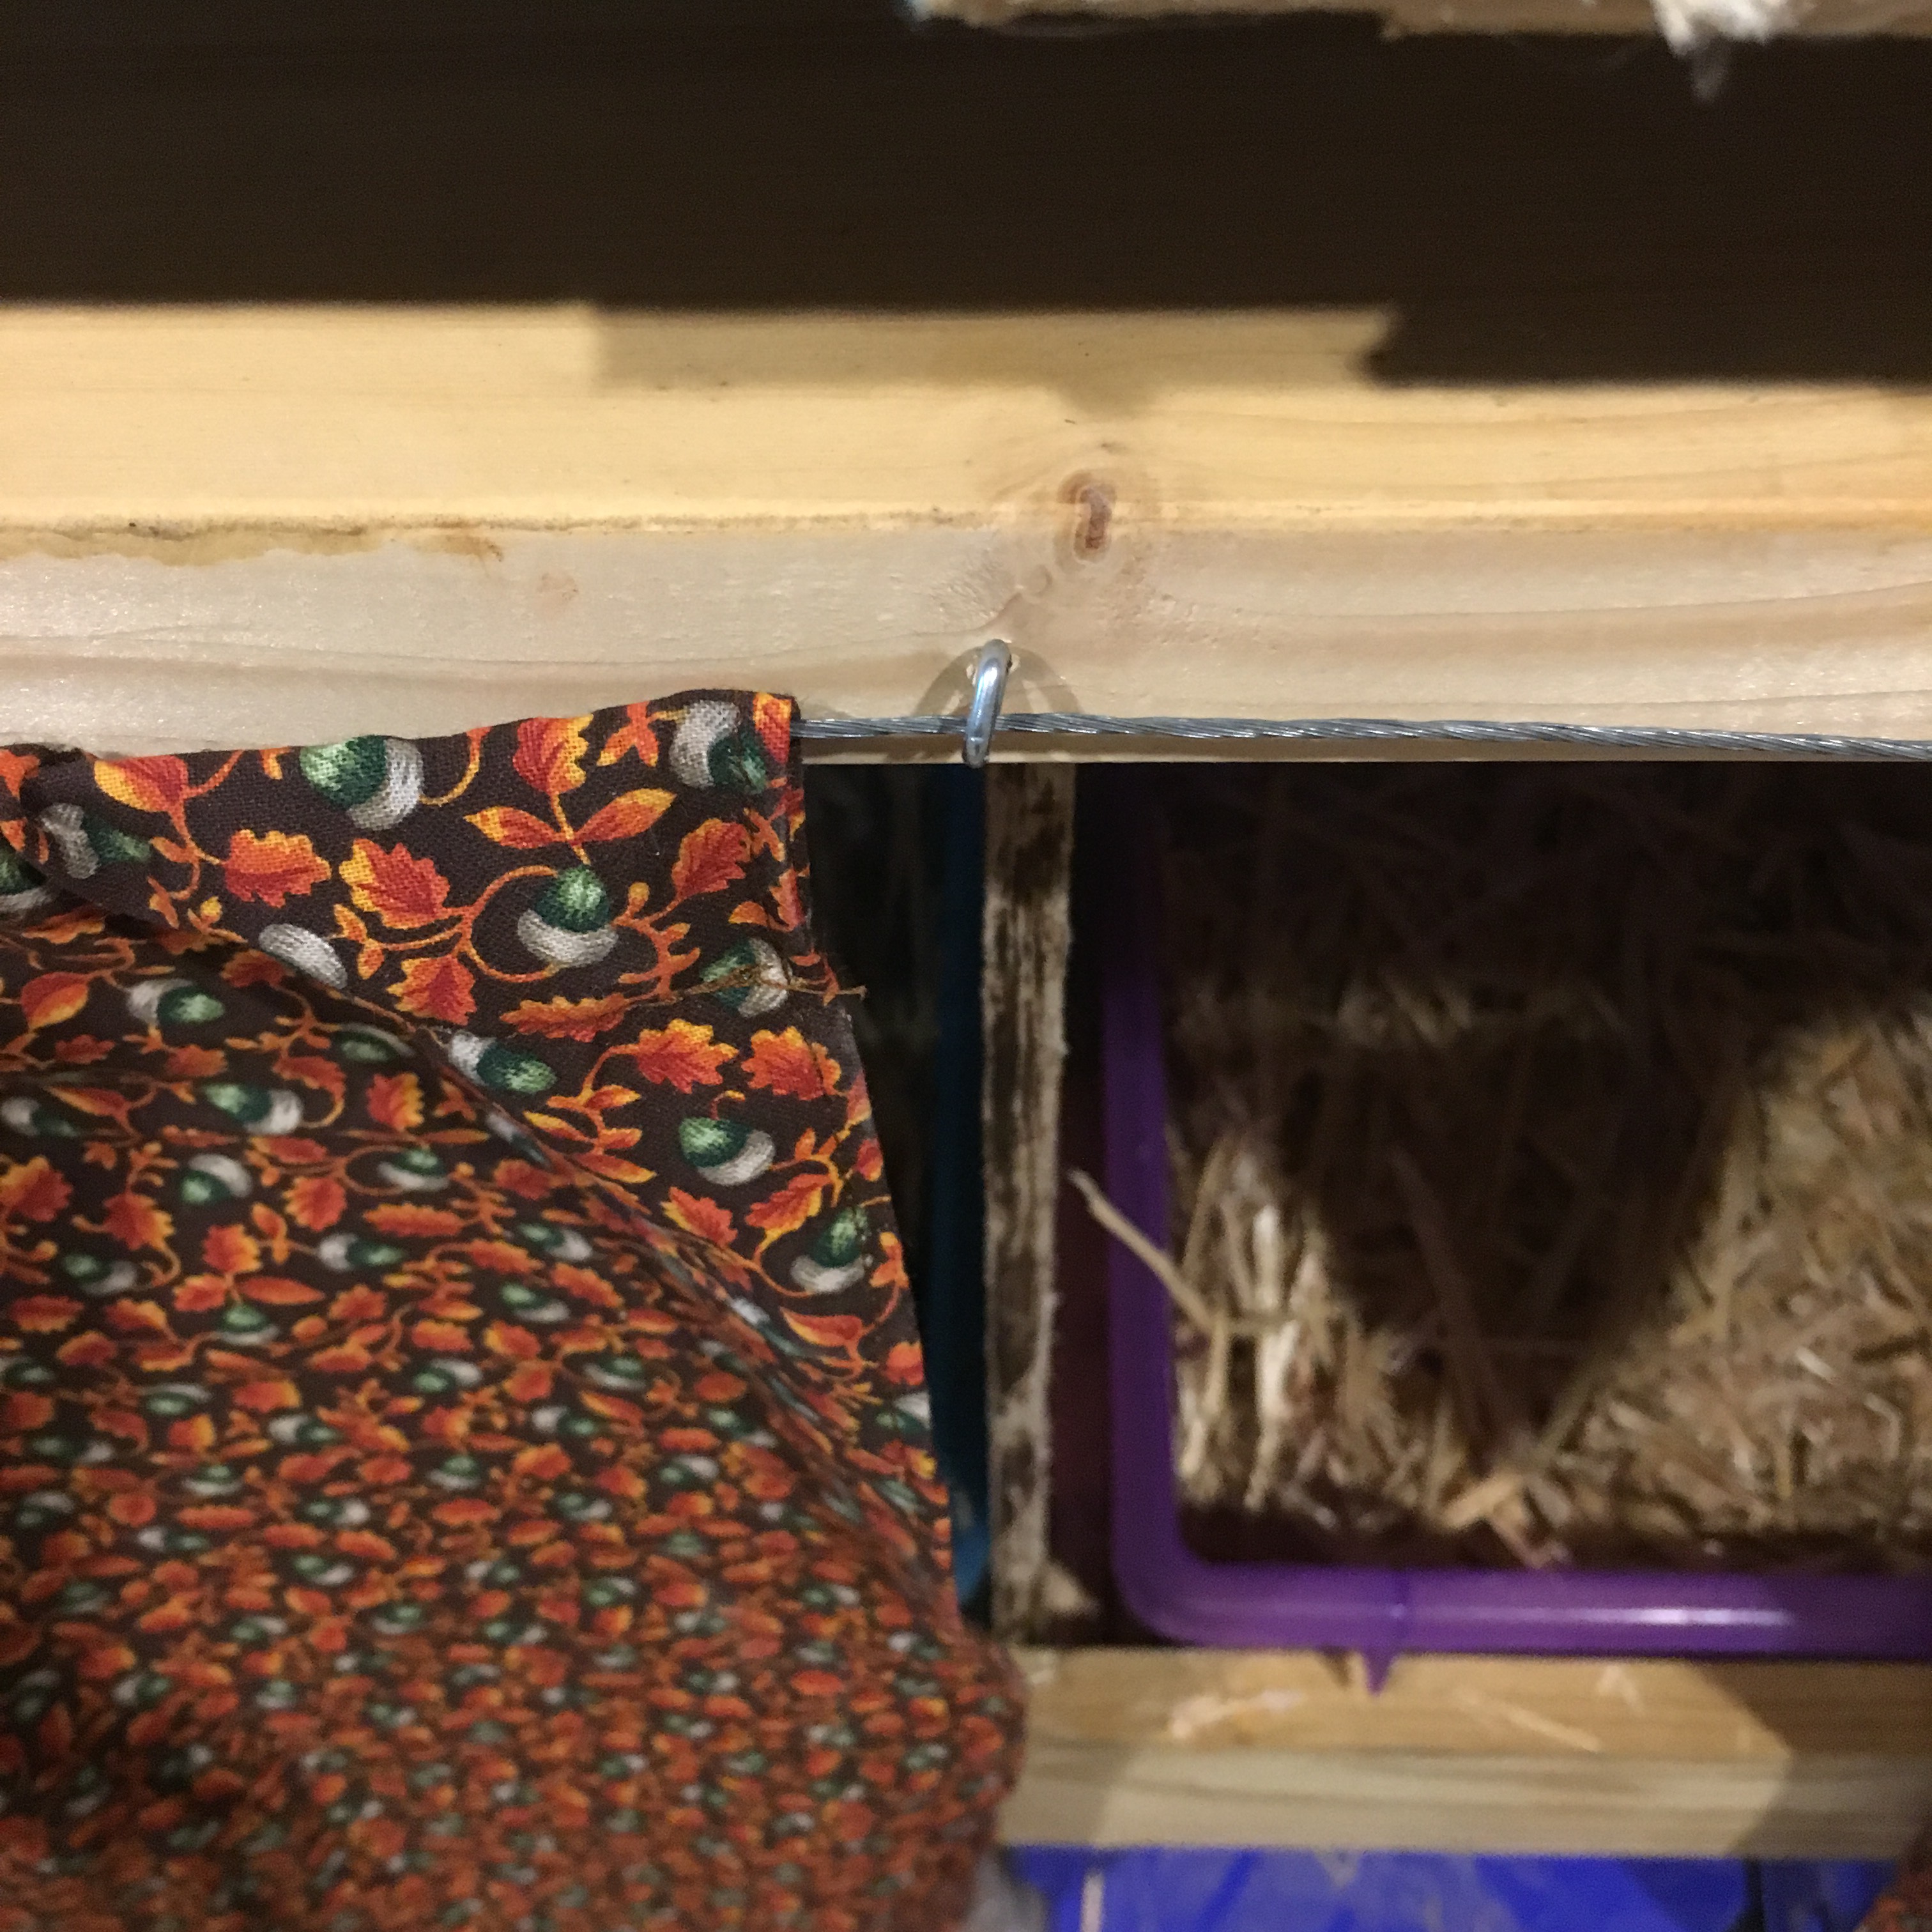
Because the weather gets hot here in Texas, I worry about hard-sided nesting boxes, especially as I wanted my nesting boxes to open to the wall, rather than into the room (as recommended in Storey’s Guide to Raising Chickens). So I sewed some curtains to go around the nest boxes. I used cotton with a dark print to keep the light out but still let the air circulate. I used picture frame wire (twisted steel cable) and screw eyes to hang the curtains. I am hoping this will make the area dark enough for the chickens, but easy for us to reach in and gather eggs.

Curtains hung on steel cable threaded through screw eyes
Outside view of nesting area, with access near the wall

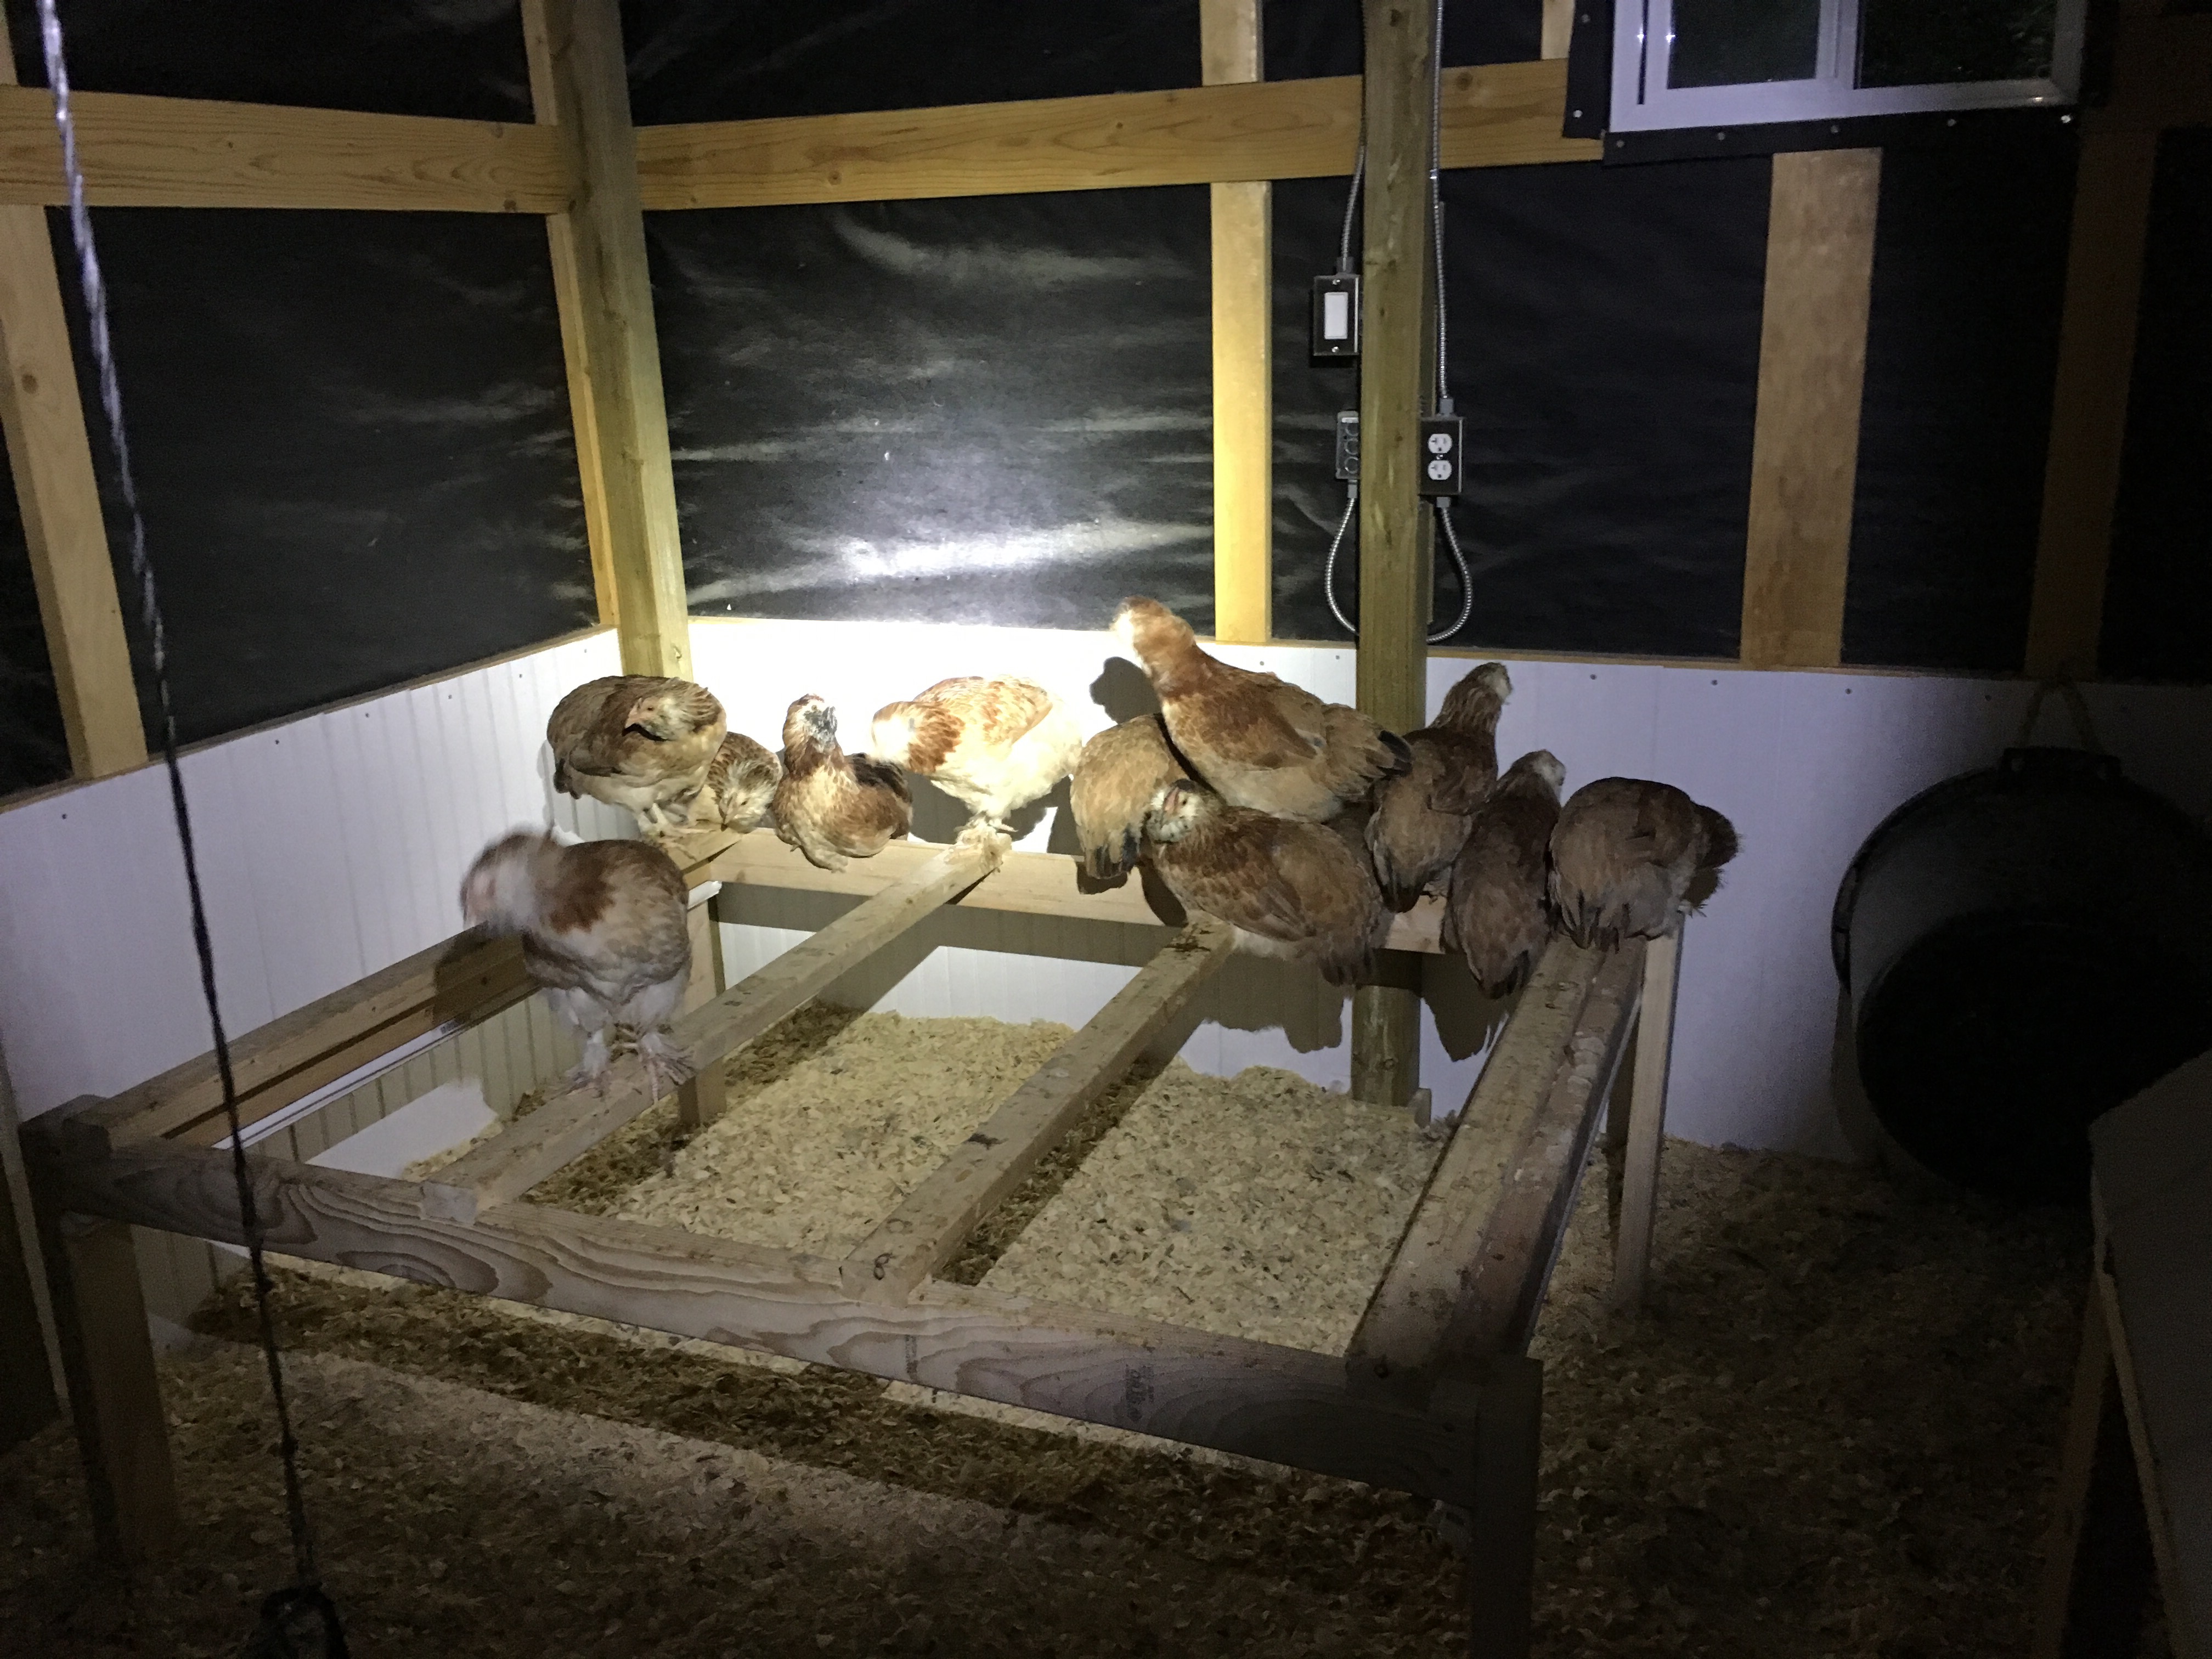
The chickens were eye-balling the area, but no one was actually getting up there, so I added small perches to the entrances.

Perches made of 1×2 and leftover dowels

Since it looks like I may have 11 or 12 hens, I should have one more nesting box. I’m thinking on what I will try next.

Grandpa’s Feeder

I bought a Grandpa’s Feeder awhile ago for the chickens, then found out they weren’t big enough to operate the opener yet. So it sat in its box for a couple months. Now at well over two pounds they are big enough! (They really only had to be 14 ounces. Oops.)

Grandpa’s Feeder set up on bricks outside the coop

There are three stages to train chickens to use the feeder. The first stage holds the lid of the feed area open with no movement. This stage lasts a week. We started this stage and Cloud was my brave chicken; the first to eat from the feeder! I put mealworms in there on top of the feed, so there was definite incentive.

Cloud investigating the new feeder

I noticed as the other chickens started to try it, that they were reaching in from the side and not standing on the treadle. The instructions say to block the sides with a box or something similar to keep this from happening. A box would block the coop door, but I have a bunch of temporary fence stakes, so I pounded one in on each side. Those long necked chickens could still reach around, so I added another stake. That did it! Now they all stand on the treadle to eat. I added some more bricks too so there is a step up.

Nice try, you have to stand on the treadle to eat.

The next stage is allowing some movement with the treadle and lid. I’ll see if I need to expand my brick area and how long it takes for the chickens to get used to the movement. But I have a few days before I worry about that! Then another week before we try full movement.

Water access

Hose hanger and sprayer holder

I realized I could thread the hose through the wire mesh and have access to the sprayer inside the chicken runs. It makes it much easier to rinse out and refill the foot baths. Eventually we may put a PVC pipe down to the runs, in which case this setup is still useful, but for now this works. I had an extra pull handle from the catio door rebuild, so put it in at an angle, which makes a great sprayer holder. I also have had hose holders for years that I’ve never installed, so I put one of those up to keep the hose from being a tripping hazard. I fully expect the chickens to try roost there, but the ease of water accessibility is worth it.

All roosting

All the chickens roosting in the glare of the flashlight.

Finally! When I did my last check on the chickens before bed, they were all roosting! None on the ground, hurray! I had to keep the light to a minimum, so they didn’t come ask for mealworms, so briefly shone enough light from the flashlight to get photographic evidence.

I will wait for awhile before trying the poop catcher, though. Deep litter method it will be for the time being. (I turn over the pine shavings to mix in the droppings every morning, rather than scooping them out.)

Run rotation

The run rotation is still working! I let the chickens into the middle run where the scratch grains had sprouted and were about 5 inches tall. The chickens loved it.

Chickens eating newly sprouted grains

The grain in the far run has just sprouted, and I seeded and watered the close run, which had been stripped nearly bare in a week.