In April of 2015 I was making crocheted mushrooms. They are cute little things, and can be made using yarn scraps.
Photo description: four crocheted mushrooms with a size F (3.75mm) crochet hook
I added some embroidered elements with more scrap yarn. I like the french knots most. The caps of the mushrooms are removable. They stand up better if something small and heavy is placed inside the stem.
Photo description: same four crocheted mushrooms with. The caps removed
These mushrooms use standard amigurumi stitches, basically a single crochet stitch with increases and decreases for shaping and done with a much smaller hook than recommended for the yarn.
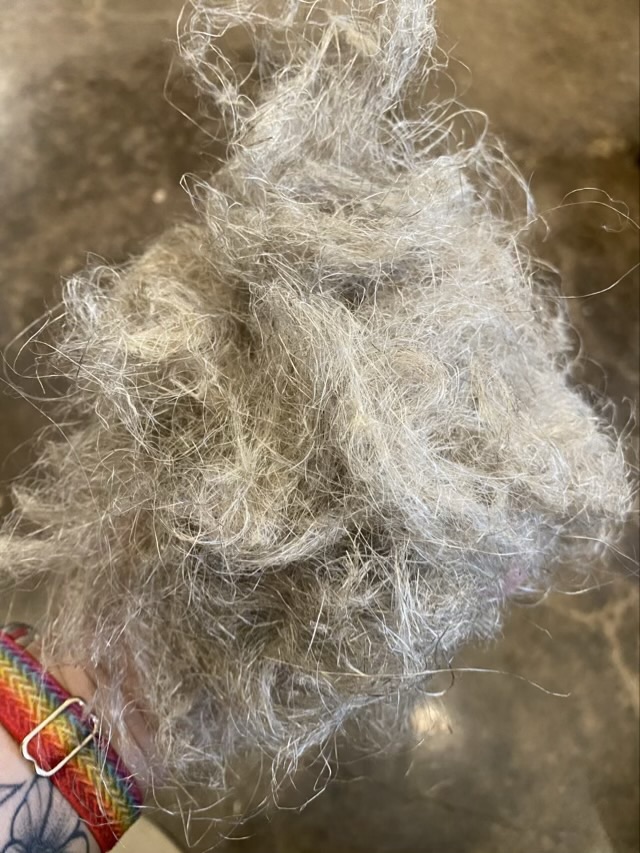
I am twining flax to make a loop and twist string bag. My source fiber was a strict of hackled flax: a bundle of long flax fibers. I should have spread the bundle out to make it easier to select a few fibers and pull them free without creating an unholy snarled mess. I’m learning.
Photo description: double handful of tangled flax fibers
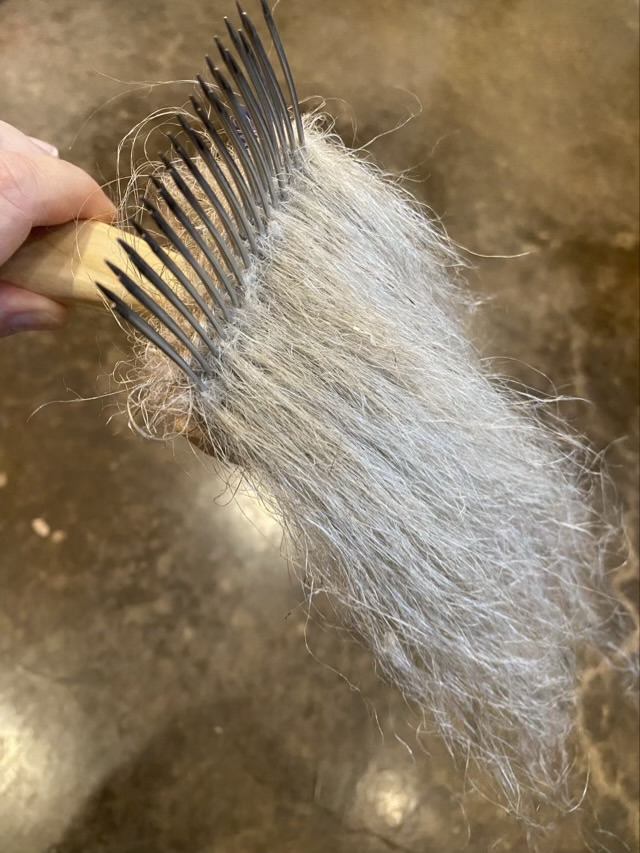
To recover what I could, I combed the tangle with my wool combs (I don’t have a hackle, yet.) This exposed the untangled fibers so I draw them from the comb and keep twining.
Photo description: flax fibers combed with wool combs
I found another bundle of flax in my fiber stash, and am going to continue making my bag bigger, but will be more careful pulling the long line flax from the next strict.
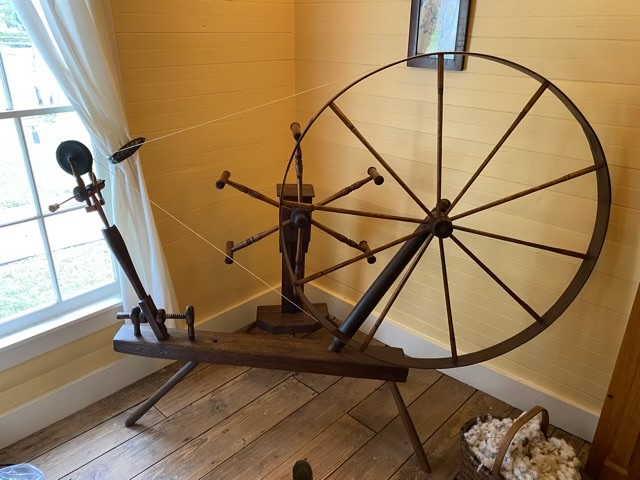
Photo description: 1800s Great Wheel at Man House in Mansfield, TX, yarn weasel in back corner, basket of raw cotton (bottom right)
Y’all, I get to demonstrate spinning on a great wheel, also known as a walking wheel, in October. I recently took a drive out to meet the wheel and see if I could spin with her. We are compatible. I took some Teeswater wool roving to give her a spin, and she has been kept in good working order. There is a little slip in her drive band, but I have permission from the museum to use beeswax if necessary. She has an accelerator head, so was probably used mostly to spin cotton, especially since they were growing cotton in that area in the 1800s. I will take two kinds of local grown cotton sliver to spin in the demonstration. I’m so excited.
Photo description: close up of the spindle head showing the cotton drive bands, accelerator head, and spindle with 15 minutes worth of spun Teeswater wool, and a cork on the spindle tip for safety
The wheel is potentially 200 years old, or at least approaching her 200th birthday. It is a humbling experience and an honor to spin with her.
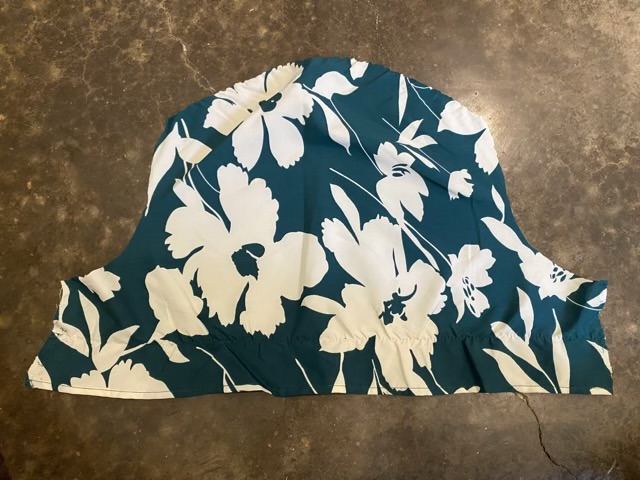
I love the colors of this dress, but detest cap sleeves.
Photo description: green and white floral dress with shirred bodice and elasticized cap sleeves
I cut off the sleeves and neckline just below the arm pit, removed one line of elastic, and sewed a hem at the top. The shirred bodice is now a stretchy waistline for a skirt.
Photo description: top hem in progress, showing folding the fabric over twice and whip stitching it with white thread to the top line of elastic
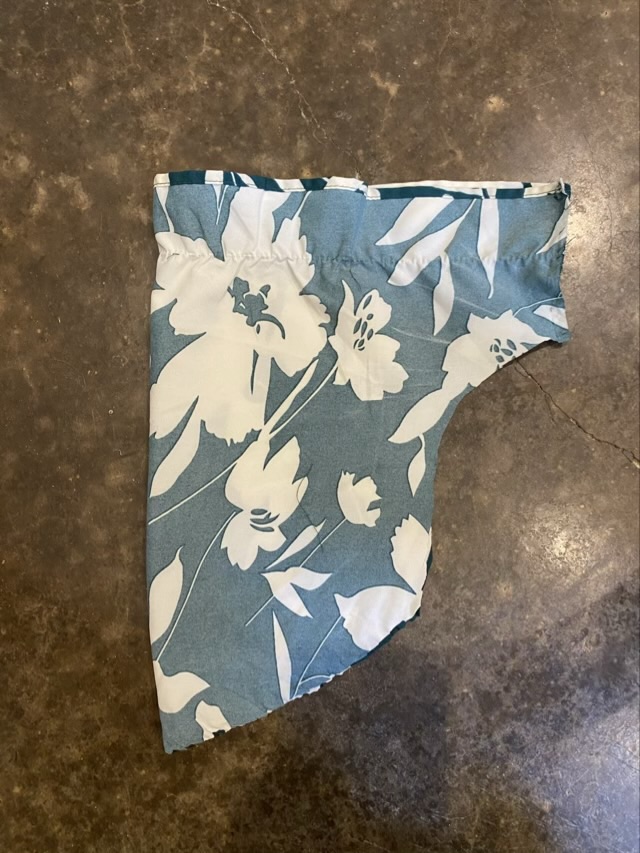
Although I don’t like wearing cap sleeves, the fabric cut from the sleeve made a decent sized pocket.
Photo description: sleeve fabric with elastic removed and seams cut awayPhoto description: sleeve fabric folded in half, right sides togetherPhoto description: folded sleeve fabric positioned on the dress in pocket position, later to be trimmed and sewn in
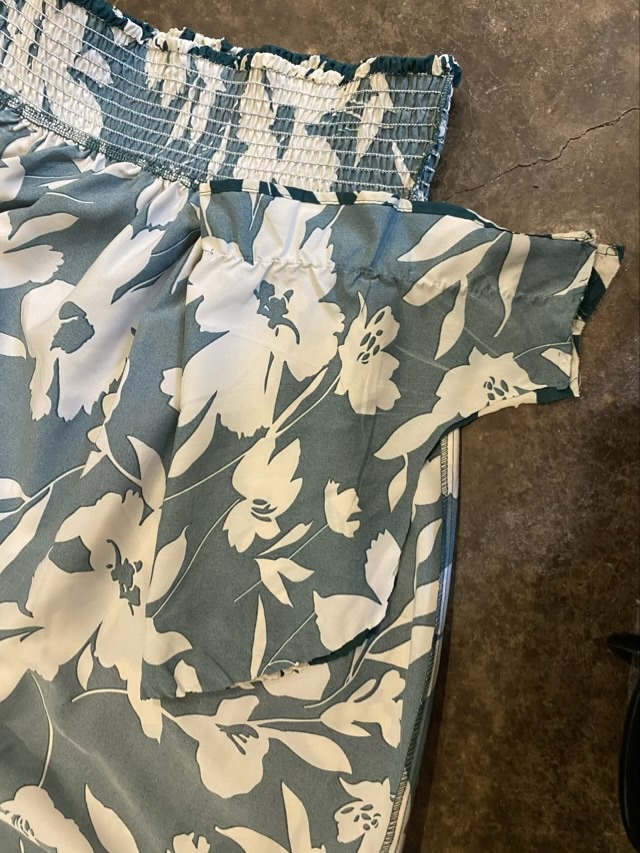
Picking out serger seams is not my favorite activity, but it is worth it to get pockets. I find it easier to cut the threads between the layers of fabric, rather than figure out which thread to cut on the surface. Once I had pocket holes in the side of the skirt, I sewed the pocket to the waistband, sewed the bottom seam, and sewed the pocket openings. I sewed reinforcement at the top and bottom of the pocket by sewing a stitch across the join of the four fabrics seven times.
Photo description: green and white floral skirt with pockets, phone showing the position of the pocket on the right
I now have a wearable maxi skirt with large pockets.
Pockets.
I will one hundred percent be showing off the pockets like the viral vulture pockets meme.
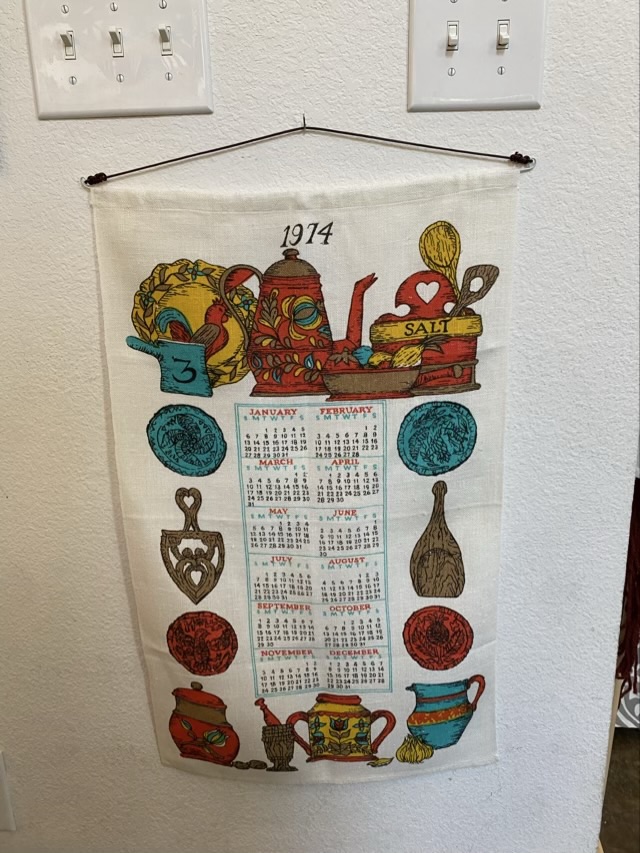
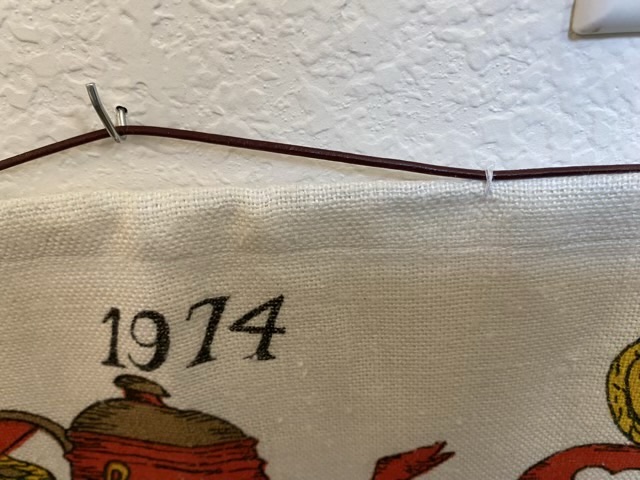
My sister brought me some linen towels from the 70s. I liked the prints on them, so decided to use them as decoration. They all had a narrow sleeve at the top, so I cut down wire hangers to make hanging rods.
Photo description: white wire hangers cut with lineman’s pliers and the ends looped with needle nose pliers
I took leather cordage and tied it to the wire loops.
Photo description: calendar towel from 1974 with wire and leather hanging hardware
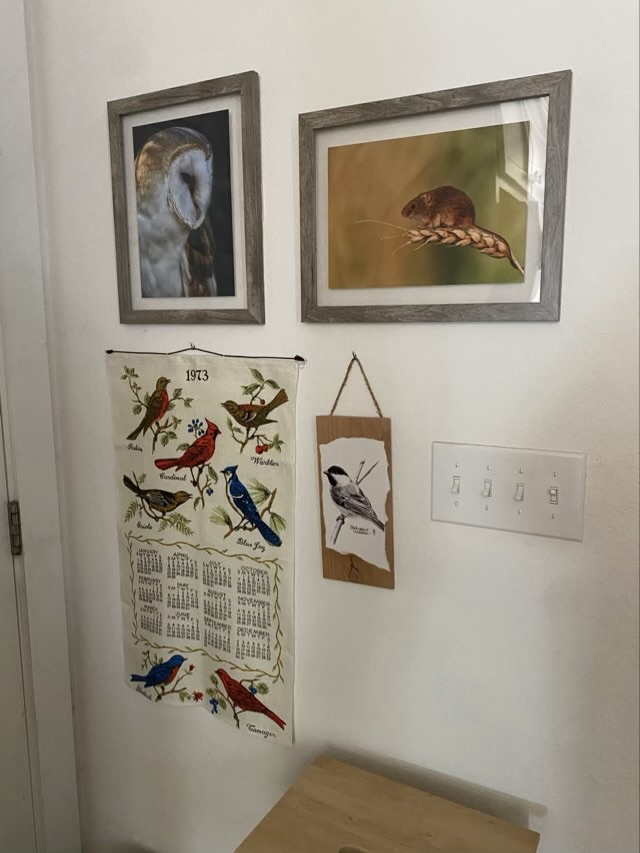
I didn’t like how the wire sagged, so I tacked the linen to the leather about a third of the way in with cotton thread.
Photo description: closeup of tacked sectionPhoto description: same towel hanging on the wall, but with thread tacks and no sagging, towel has drawings of kitchen implements Photo description: linen calendar towel from 1973 with birds hanging on the wall with new hardware along with chickadee art, and photos of a barn owl and field mouse by Oliver Hellowell
The production of calendar towels began in the 1950s and was an invention of Stevens Linen Works in Dudley, Massachusetts.