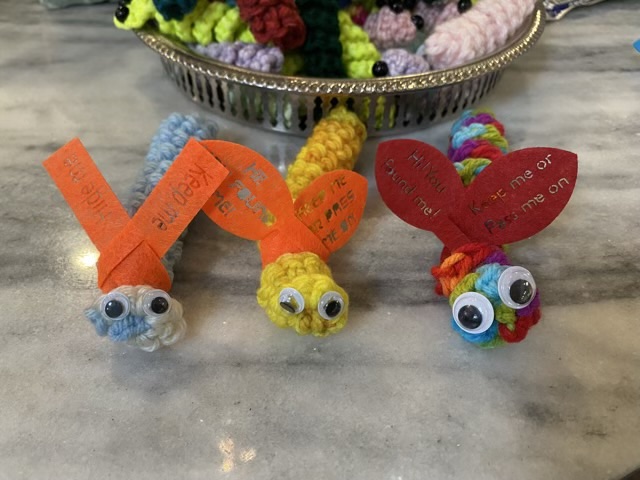
When we hide rocks for the Kindness Rocks project, we put some simple instructions on the back. I wanted to put something similar on my worry worms. I started with a scarf idea, with a simple slit for the attachment and words burned into man-made felt. After a couple tests, I thought the scarf looked more like wings, so changed my design in Adobe Illustrator, saved it as an SVG, and imported it in my laser cutter’s program.
Photo description: three worry worms with a scarf (left), wings with a bold font (middle), and wings with a thin stencil font (right)Photo description: yellow and orange felt in the laser cutter, there were definite cutting differences between colors, in this photo the orange cut much cleaner than the yellow with the same settingsPhoto description: purple glow worry worms with a with purple wings that say “Hi! You found me! Keep me or pass me on” with more worms and wings in the background
I just love their little wings! I did find it interesting that the thin stencil font was easier to read than a bold stencil.
I took these to my regional chorus competition and my chorus had a great time “hiding” them for other competitors to find.
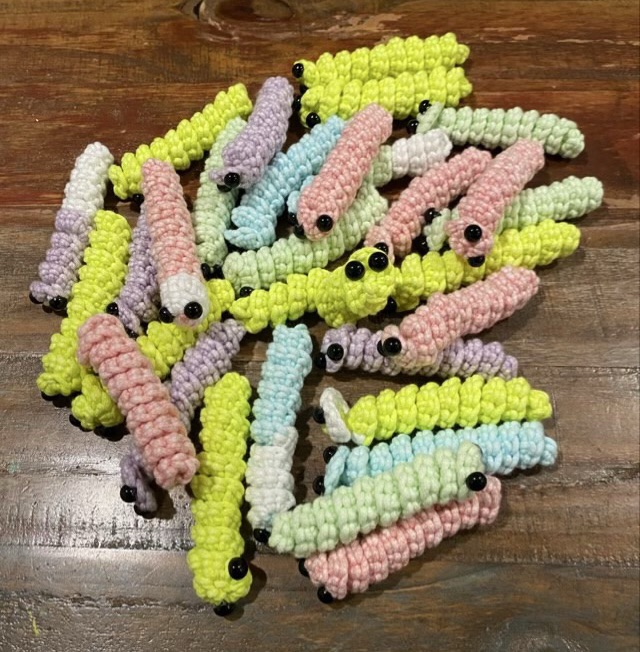
I had left over yarn from my glowing jellyfish hat, so I made glow worms! These are a glowing version of my worry worms.
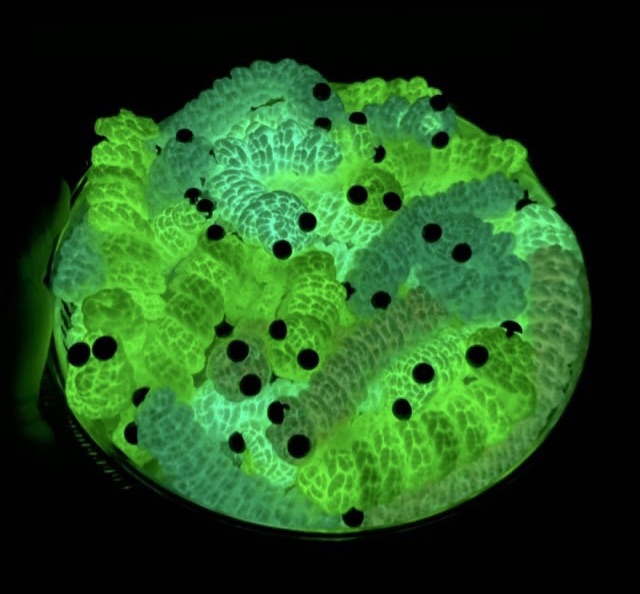
Photo description: worry worms crocheted with five colors of Lions brand DIY Glow Cozy yarn with black sew on eyesPhoto description: glow worms in a dish, in the dark, glowing shades of green
I did enter them in the Lion brand Show us your Glow contest by tagging the picture in Instagram, but did not do a social push because I wanted my friends and family to vote for the jellyfish. Neither made the top 10, but there were some spectacular entries with serious time investment and large social backing. I do have my patterns available for free for the worry worm, and the jellyfish hat!
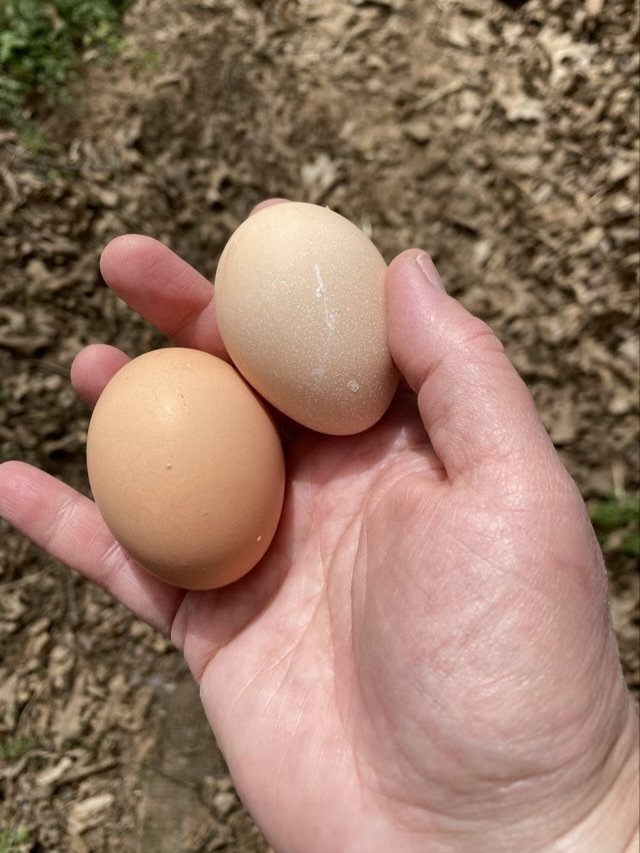
Photo description: hand holding two eggs, one darker brown, one almost pink
So I have at least one Faverolle hen laying eggs. I’m shocked because they stopped laying last June, 8 months ago. They are nearly 6 years old, and their window of “egg rest” gets longer every year. The almost pink colored egg on the right is a Faverolle egg. Well, it is a hatchery quality Faverolle egg. Better bred Faverolles lay eggs that can more easily be called pink. Wing Ding the Black Star hen is a good layer and the other darker egg is hers. Another clue that the eggs were laid by two different hens is the weight. Wing Ding seldom lays an egg under 60 grams, my Faverolles almost never lay an egg over 60 grams.
I’ve started a new-to-me fiber for my spinning walks: Black Welsh Mountain sheep. This is a threatened heritage breed developed in Wales and imported into the Americas in 1972. The sheep are naturally dark brown or black, which I love because there is no possibility of bleeding dye. I purchased roving from Camaj Fiber Arts, and have another Shave Em to Save Em sticker for my Livestock Conservancy Passport.
I’m spinning the fiber up with a top whorl drop spindle that I made, and holding the roving in an arm bag to keep it tidy. The fiber is enjoyable to spin, soft but not slippery with some elasticity and bounce. It spins thin well and I’m finding it easy to keep the yarn thickness even.
Photo description: day one of spinning Black Welsh Mountain fiber, showing a tapered cop of yarn on the drop spindlePhoto description: day two of spinning, the cop of yarn is filling out and developing a shoulder Photo description: day three of spinning, the yarn cop has filled out further and has a pleasant tear drop shape
Building an aesthetically pleasing cop of yarn is a skill, and one that I haven’t found talked about much. I build up several wraps at the bottom (the part farthest away from the whorl), then move up the cop in sections while wrapping. I don’t make an even single layer, but do several wraps at the same level. I find this stays better and looks nicer. It does mean that I unwind a little before wrapping, because before spinning I wrap the yarn down along the cop and back up to the hook to keep it from unraveling while I spin.
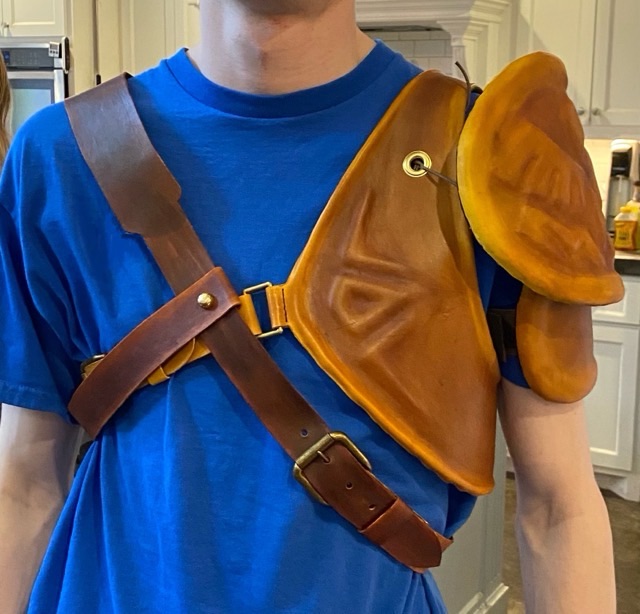
Reveal! Here is a picture of the two leather cosplay pieces I made for a Link costume.
Photo description: leather pauldron, vest, and cross-chest belt made from EVA foam sheet and 3/4 oz tanned leather
I think the pieces came out well, especially for cosplay. I hope that they hold up to use. The sewn areas should be fine, it is traditional construction for leather. It is the foam and hot glue that I worry about.
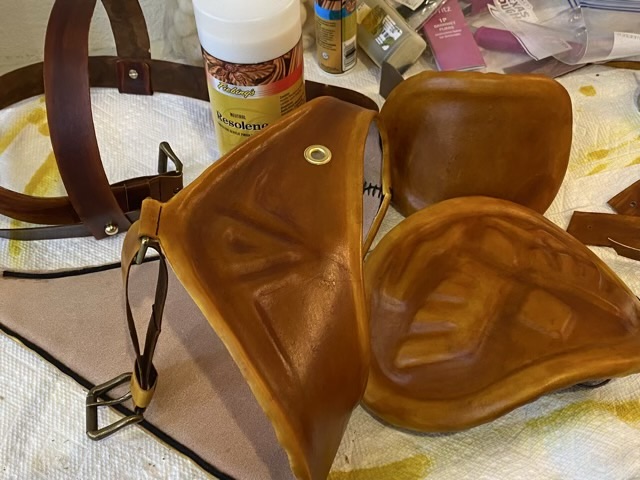
I did put a sealing coat on all the leather to help protect it from accidental spills. It put a nice shine on the leather as well.
Photo description: finished pieces coated with Fiebing’s Resolene