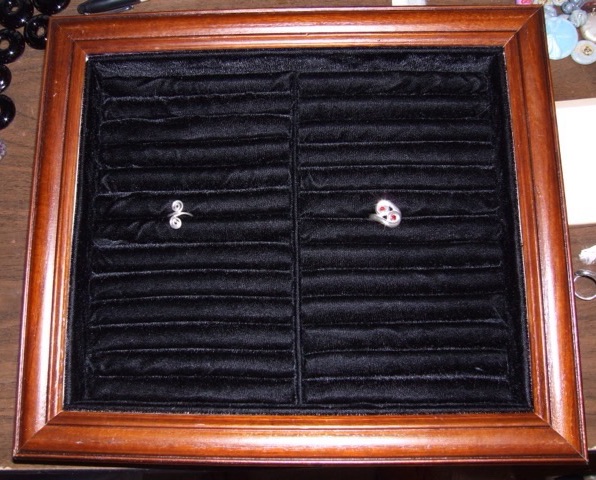
In March 2011 I made a shadow box into a ring holder for my sister. I sewed tubes of velvet and inserted foam rods, covered panels of paper board with velvet to line the sides, and bottom, then glued the velvet cushions tightly in place.
Photo description: velvet lined ring box built in a purchased shadow boxPhoto description: shadow box with frame reinstalled and two new silver rings added, one spiraled wire, the other made from silver clay
I designed it with the idea that it could hang on a wall and still keep the rings in place. I gave it to my sister with two new rings. I checked in with her and it is still in use over 13 years later!
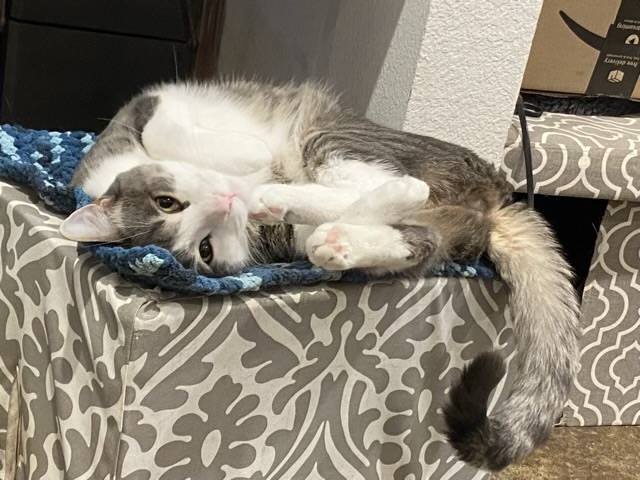
Today I present to you the toe beans of feetsies of the mighty Thor the gray tabby cat in two of his favorite spots.
Photo description: gray tabby cat with all four feet at the edge of a cat tunnel on top of a well loved cat treePhoto description: same tabby cat curled up on his side on a homemade cat box showing all four feet
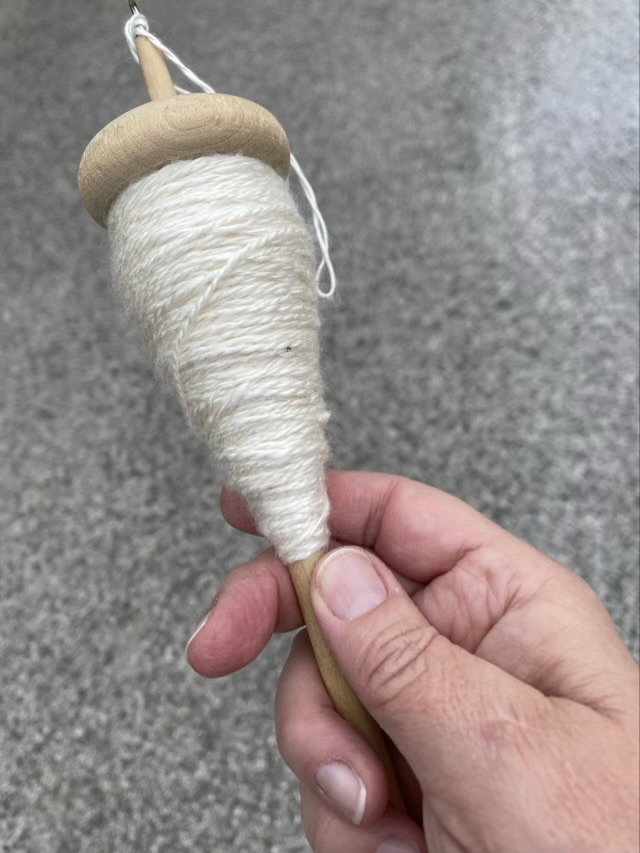
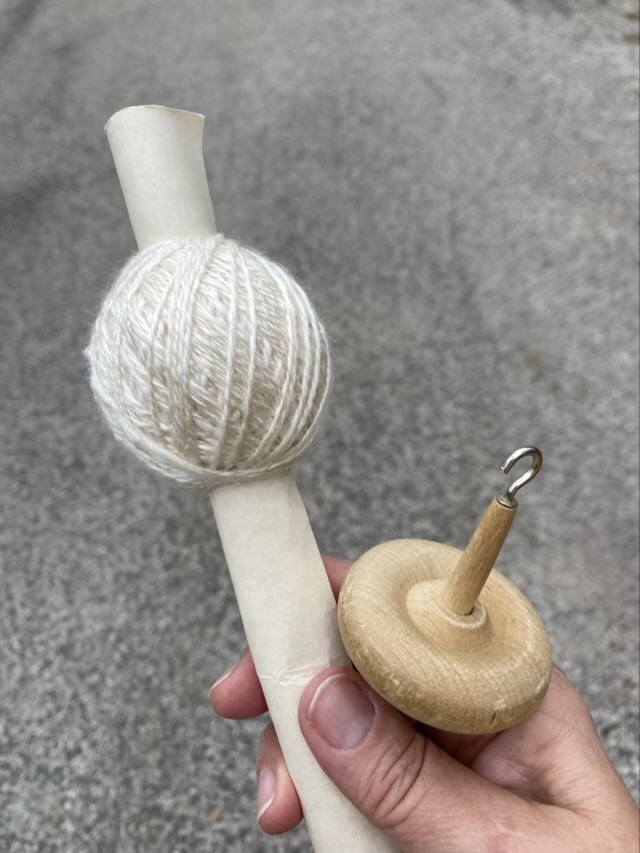
I have two plied my rose top. I spun the single a little thicker, so a two ply is sufficient to make a nice yarn. The rose fiber is harvested from the stems and leaves of the rose plant, processed in a similar way to Tencel, extracted from plant waste. I like the feel of the rose fiber and it spins up nicely. I plied from a center pull ball, then wrapped the plied yarn into a nostepinne style ball (my favorite kind of center pull ball).
Photo description: two ply rose fiber yarn on a drop spindle, asphalt in the backgroundPhoto description: nostepinne style ball wound on a roll of card stock, drop spindle empty, asphalt in the background
I’m not going to wet block this yarn. I have time to let it sit while I finish up other projects, which will set the twist.
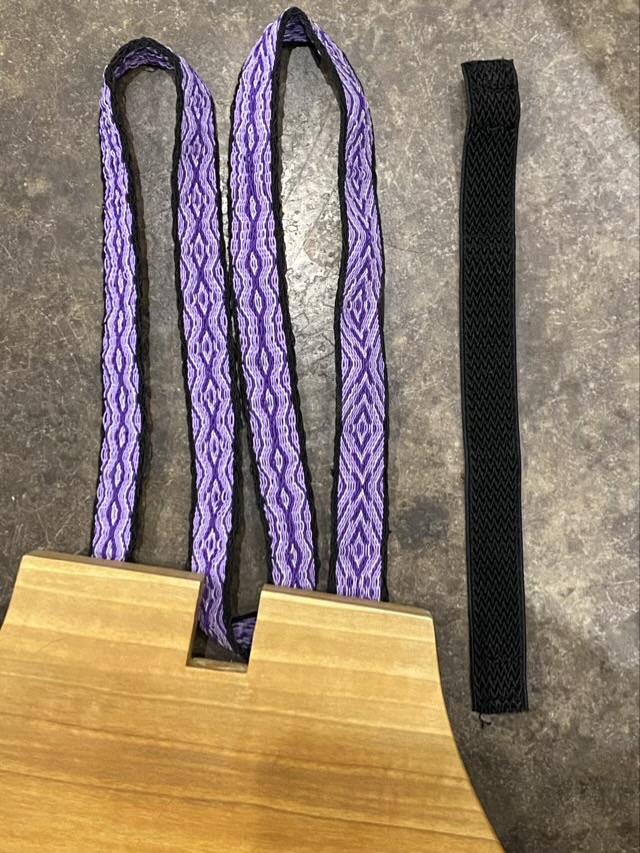
My Mom requested a stretchy woven watch band. I took one of the plain purchased bands she had so I had the hardware, and I purchased colored shirring elastic thread. I set up a 22 card tablet weave on my Inkle Loom using a pattern I found on Pinterest. An interesting thing about tablet weaving patterns is that the result changes depending on how the cards are turned. It took me a little time to figure out how the pattern worked, so I decided to make four different patterns on the same band, then cut them later. I also had quite a shock when I removed the band from the loom and the elastic contracted, creating different issues.
Photo description: shades of purple, gray, and black elastic thread woven into a band and laid out to show the different patterns next to the black purchased band
When I warped the loom, I didn’t pull the thread completely tight, it is quite elastic, but on hindsight could have loosened it up a little more. I did pull the weft thread taught. If someone is reading this to get hints on the how, I recommend trying a non elastic weft. On the final band three of the designs puckered strangely, one in the middle and the other two on the edges. I think this is due to the tension or uneven tension on the warp and the pattern. It was difficult to get an even pull on all 88 threads when it was so elastic.
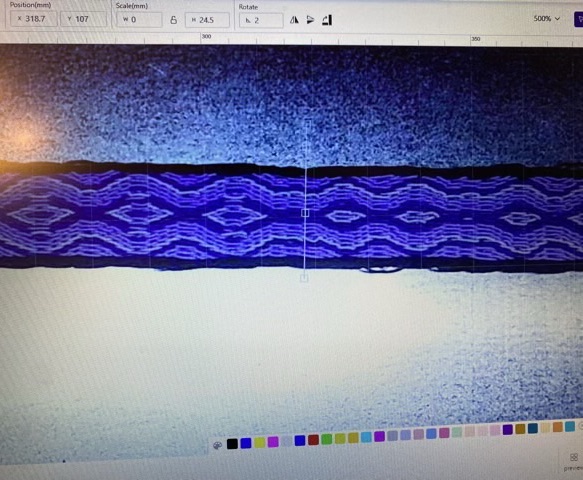
I had at least one decent section, so the next quandary was how to cut it. Ideally, it needed to be cut and sealed to prevent the elastic from unraveling. I happen to have a laser cutter. I couple experiments with settings, and I was able to cut and, in the same process, seal the band.
Photo description: picture of the computer screen focused on the woven band with a cut line positioned between patterns
I put the band on a sheet of steel, and used high power and a slow speed to cut the band. It look a couple of experiments with settings to get a cut with minimal burn.
Photo description: cut band with minimal unraveling
To protect the end while threading it through the hardware, I wrapped it in washi tape.
Photo description: washi tape wrapped end threaded through the slide
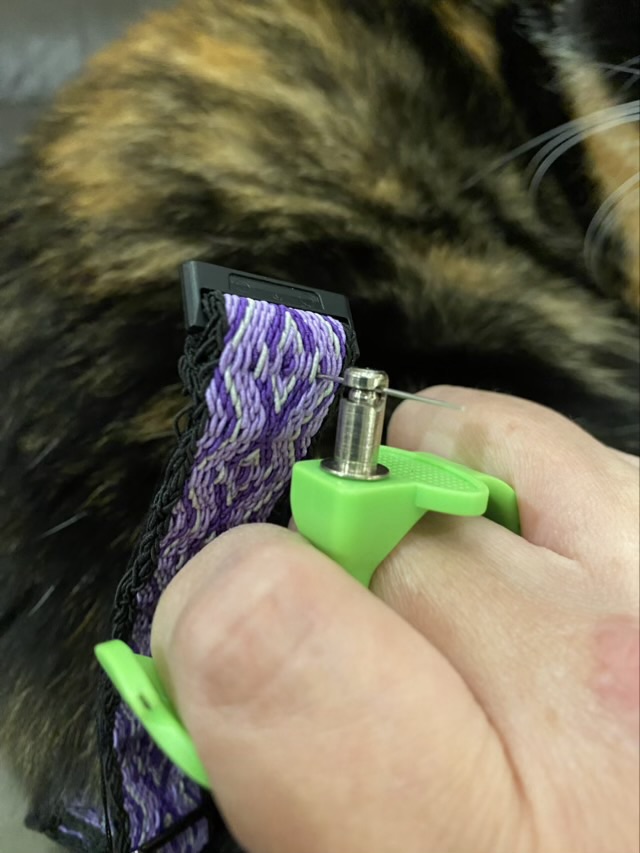
Sewing was a little challenging because of the thickness, but this little three-in-one sewing tool was a life saver.
Photo description: using a sewing tool to pull the needle through the bandPhoto description: finished band on a calico cat
The most unfortunate part of the whole project is that I didn’t realize the slides on the ends have an up and down. I installed them both upside down. Nuts.
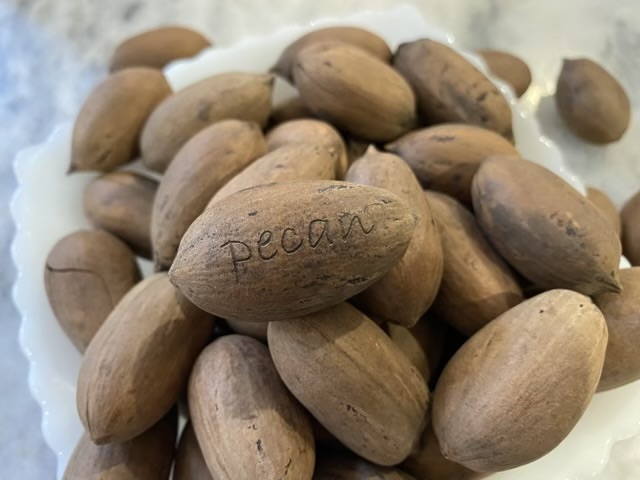
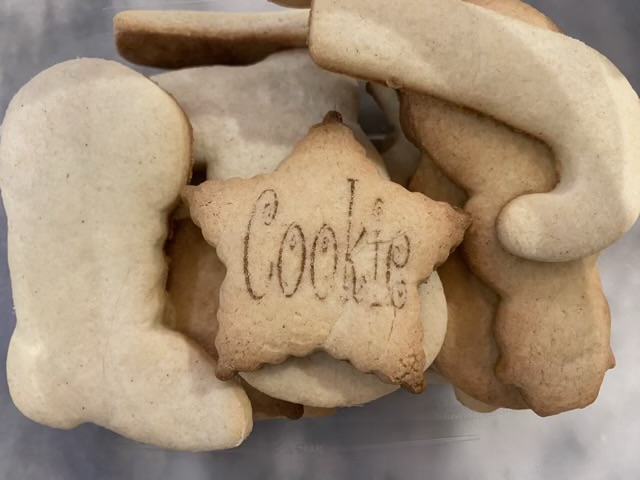
What can I engrave? Can I engrave an orange? A pecan? An acorn? A cookie? Yes, yes, yes, yes. Oh the possibilities.
Photo description: pile of mandarin oranges in a wire bowl, the top orange has the faint but readable word Orange engraved in scriptPhoto description: pile of pecans in the shell in a white glass bowl, the top pecan has the word pecan engraved in the shell with no dark burn marks in a handwritten serif fontPhoto description: pile of acorns in a white glass bowl, the top acorn has the word acorn burned on the shell in a handwritten serif fontPhoto description: pile of undecorated sugar cookies, the star cookie on the top has the word Cookie burned in a whimsical curly font
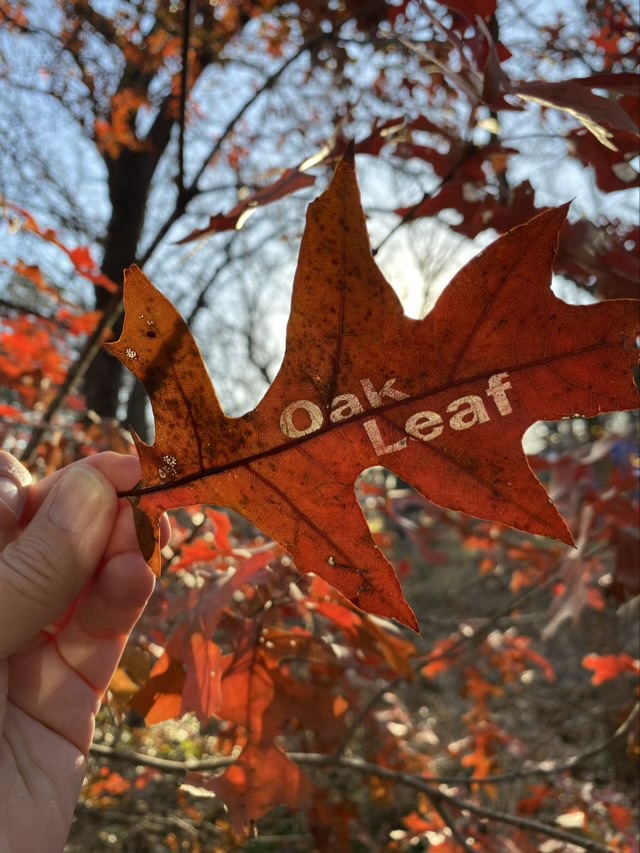
And the bonus for today’s post, a leaf. Leaves are actually a material choice in the software’s menu, so I knew I could engrave those, although I did find that the leaf engraves better when it still has some moisture in it, the very dry and curly post oak leaves would not hold still for the laser. Those I’d have to press flat when fresh, then engrave.
Photo description: red oak leaf held up to the morning sun to let the light shine through the engraved words “oak leaf” in a bold san serif font, red oak tree and woods in the background
Engraving words was an easy way to experiment. I can now move on to designing my own fills and cuts.