Lace beret

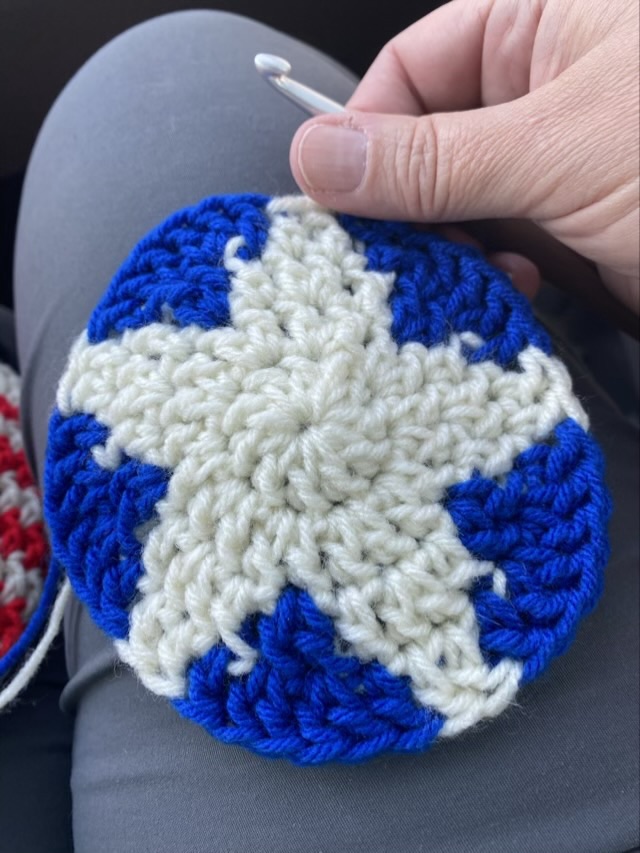
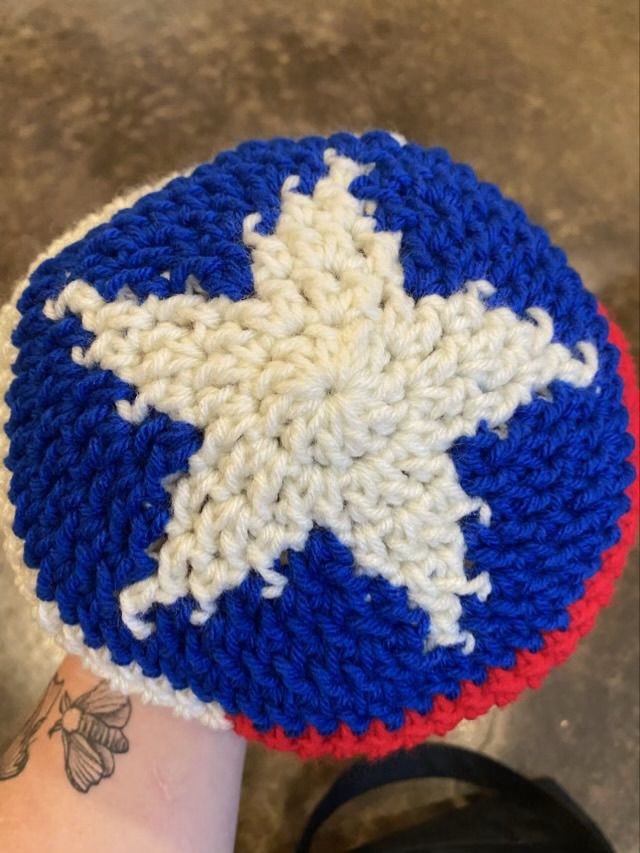
I’ve intentionally made a beret this time, rather than another beanie mishap. The idea was a lace beret with a solid band, like a head band with a lace topper. It is Texas and it just doesn’t stay cold for long, so this would be something to stylishly keep the ears warm. I started with my favorite crocheted lace coaster pattern, then instead of finishing it off with shell stitches, increased it using a mix of V stitches.

Photo description: top of the blue beret showing the radial lace pattern

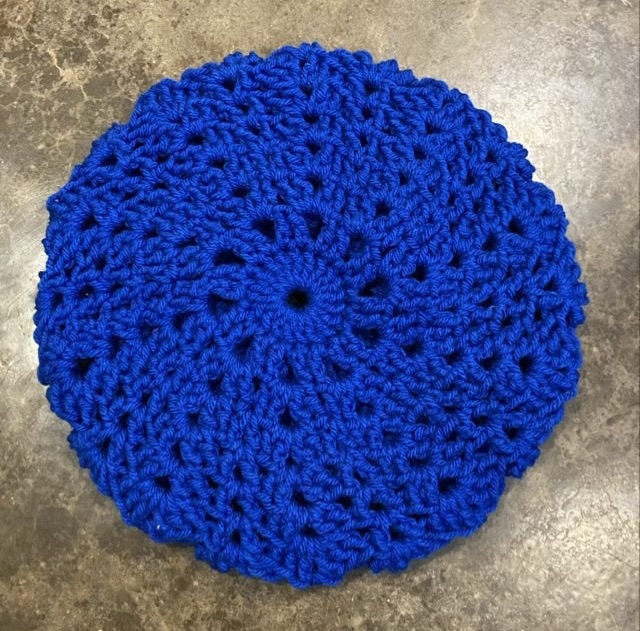
I finished the beret with a single crochet ribbed band.

Photo description: underside of the same beret showing the open lace against the solid ribbed band

This was a try-as-you-fly kind of project, so I’ll work on a written pattern with another go. I really am pleased with how it came out.

Macrame shaping

I’m slowly progressing on my macrame wall hanging. I finished the central design, now everything else will be storage pockets. The central design was my first attempt at making shapes with half hitch knots. The petals of the flower aren’t as even as the pictures in the tutorial (beware, the site is chock full of ads), but I was learning. Next time I’ll put a sketch behind the work to help keep the balance, rather than just eyeballing it.

Photo description: macrame wall hanging in progress with a six petal flower and leafed vines on each side made with cotton macrame cord

The side vines were an add-on from seeing variations of leafed vines, and I wanted to attempt them. I’m still having some left/right issues on my half hitches, and sometimes I get a full hitch and have to take it out. Here’s my tip: if you have a line of knots that need undoing, pull out the core cord so all the half hitches fall open. Much easier than untying each one.

Throwback Thursday: fused box

Sliding back to June of 2010, here is a fused glass box with lid that I did in my small Paragon kiln. The lid and base are made with separate molds, so I put strips of glass in the mold, put them in the kiln, and let it fuse together.

Photo description: fused glass box showing the outlines of the shards used to fill the mold

It is a cute little box, but I didn’t make many. (This is the first and might have been the last.) It took a large amount of shards.

Plug

It is a bit perplexing when you fill a watering can, feel the weight of the water, but when you tip it over to pour, nothing comes out.

Photo description: tree frog wedged in a watering can spigot

The tree frog was the right size to plug the watering can, and was quite panicked when its tiny front legs couldn’t find purchase to pull itself out. After I took its picture as proof, I offered assistance. It easily crawled on to my hand, and was not wedged forever in the plastic tube. I returned it to the garden and was able to water the plants without further incident.

Star beanie

I’ve made a star topped beanie that I’m pleased with. The star has some aesthetically pleasing sparks, and it definitely reads as a star.

Photo description: rows 1-3 of the crocheted star
  • American notation
  • Row 1: 10 double crochet (dc) in a magic circle, slip stitch (sl st) to first dc (count is important for these rounds)
  • Row 2: Chainless Double Crochet Start (CDCS, Moogly has the tutorial where I learned this stitch) Increase (inc: two dc) in each previous dc. 20 stitches.
  • Row 3: CDCS in white, inc in next sc, 1 dc add in blue on last move of the dc, *inc in blue add in white on last move of dc, 1 dc, inc, 1 dc add blue, * repeat from *, inc in blue, join to CDCS with blue. Carry off color around by stitching in.
Photo description: rows 1-4 of the crocheted white and blue star
  • Row 4: CDCS in blue add white, *dc in white, dc in white add blue, dc in blue, inc in blue, inc in blue, dc in blue add white* repeat from * sl st in CDCS in white
  • Row 5: CDCS in white add blue, *dc, inc, 3 dc, inc, dc add white, dc in white add blue*, repeat from * dc, inc, 3 dc, inc, dc, sl st in CDCS in blue.
  • Row 6: CDCS in blue, dc around, don’t carry the white, but don’t cut it. The diameter of the circle will be the size of the hat, add rows of blue, increasing as necessary.
  • Sides: no increase stitches, work half the stitches in white, switch to red, join the white at the other side, chain 2, turn the work, and do the red back to the white, pick up the white and stitch to the red.
Photo description: top of hat showing sparked star surrounded by blue
Photo description: finished hat showing red and white sides