I also visited Sweetgrass Farm in Michigan, met some of Peg’s Jacob sheep, fed them animals crackers, and picked up three colors of roving.
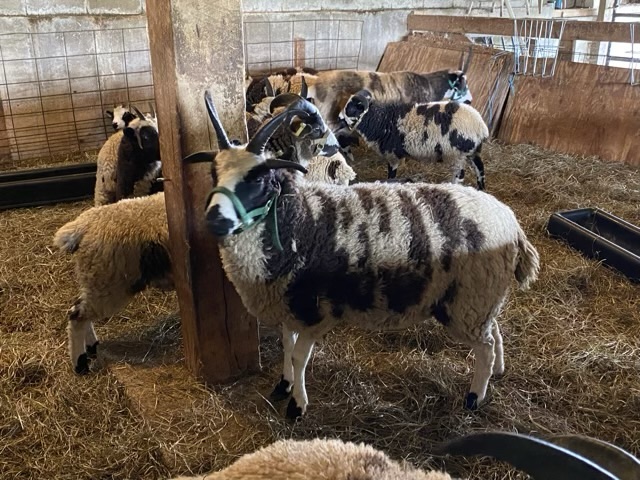
Photo description: two wound balls of dark gray and light gray roving, and a bump of white a gray separated color rovingPhoto description: Jacob ewes, the one in the middle showing four small horns and a beautiful multicolored fleece of white and black
Jacob sheep are in the Threatened category according to the Livestock Conservancy. They were “park sheep” in England in the 1700s and were bred for hardiness, four horns, and spots. I love the color variation in their wool and their eye catching horns. Here is more information from the Livestock Conservancy.
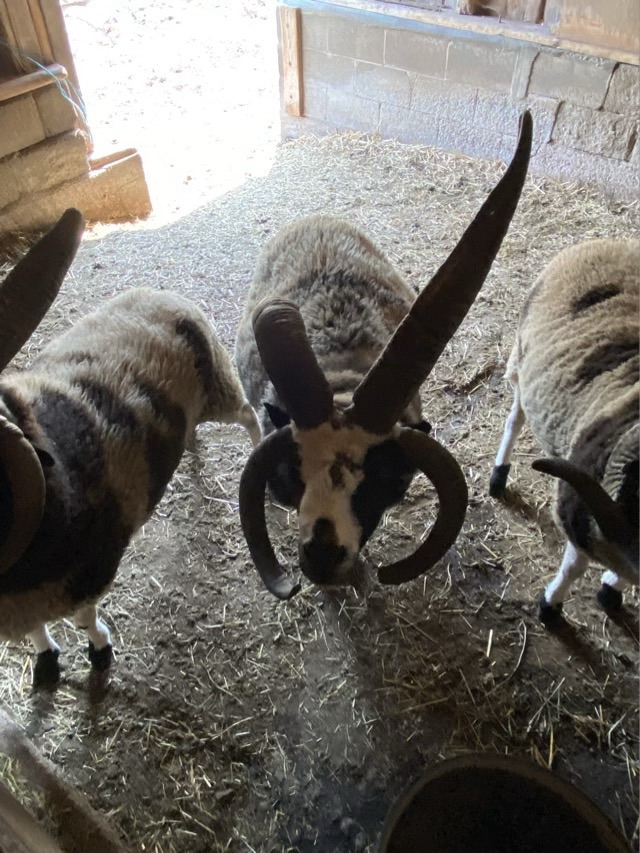
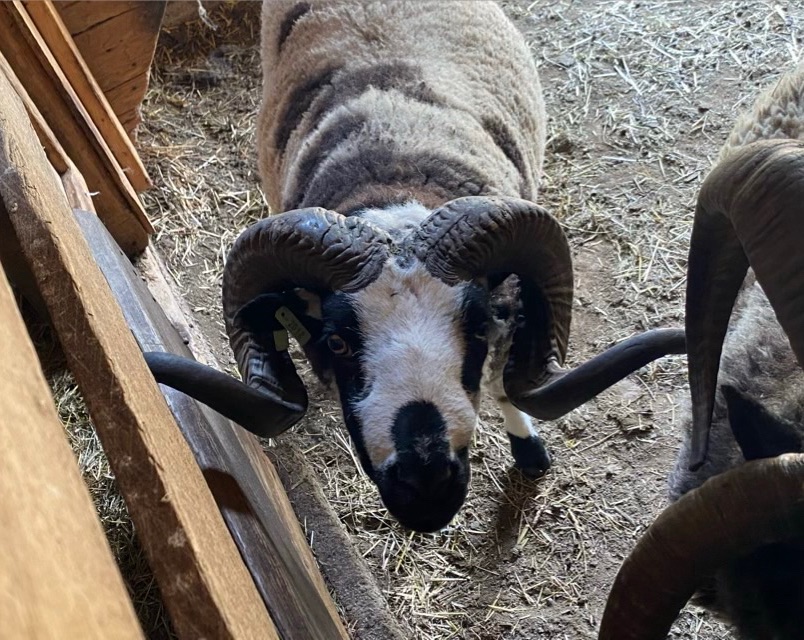
Photo description: Jacob ram with breed typical four impressive large hornsPhoto description: Jacob ram with recessive trait horns that look more like a Big Horn Sheep
I’m really looking forward to spinning this wool and am already playing with ideas on what I can do with the lovely variations of natural color.
When I was up in Michigan I had the opportunity to visit Pitchfork Ranch and pick up some Teeswater roving.
Photo description: one pound of Teeswater roving with Shave ‘Em to Save ‘Em sticker and Pitchfork Ranch business card
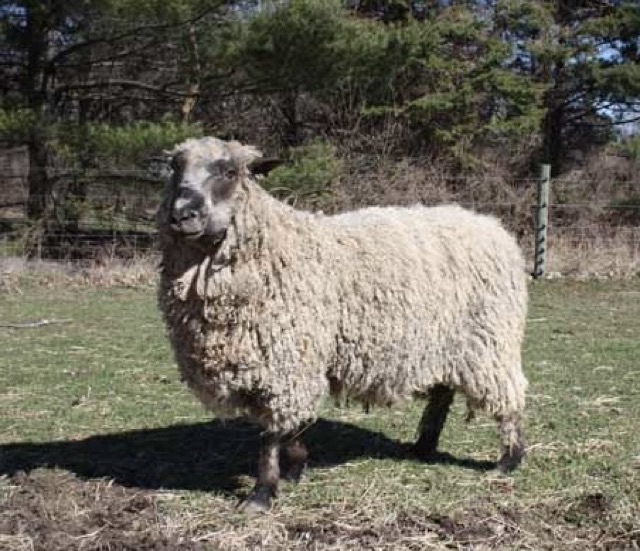
Teeswater sheep, according to the Livestock Conservancy, have a critical status. Because of preference for other longwool sheep, Teeswater nearly became extinct in the 1920s. The long lovely curly locks of Teeswater are often used in needle felting projects that retain the curl. I intended to spin most of the fiber, so was pleased that Pitchfork Ranch had roving available. To read more about this longwool sheep, here is the link to the Livestock Conservancy page, which has a detailed writeup.
Photo description: Teeswater Ram in a pasture with fence and woods in the background, photo credit to Pitchfork Ranch, used with permission
I saw another crafter post in my Wild Basketry group about making twined bracelets and wearing them as a durability test. Yes, please, and thank you Marijke!
Twining has become my go-to fidget when I’m waiting or wandering. The brown bracelet on my wrist is daylily leaf gathered from the ground where they were dead and dried, but still pliable. The green bracelet is dried and rehydrated leaf strips from corn that I gathered on a countryside road. The white bracelet was twined out of the paper packaging on restaurant straws while waiting for lunch.
Photo description: my wrist with three twined bracelets, daylily, corn leaf, and paper packaging
To connect the bracelet, I untwist the start, which is a loop, and slide it over the end knot. The twist in the twine keeps the loop locked behind the knot. I have been wearing the bracelets at all times, so unsurprisingly the paper bracelet did not survive the shower test. The paper soaked up the water and separated at the weakest point: the untwisted loop.
Photo description: twined paper bracelet broken at the connecting loop
The daylily leaves have shrunk some, leaving gaps in the twine. Since I gathered them when they weren’t completely dry, the separation is expected. When crafting with plant fiber, most crafters recommend letting the material dry completely, then rewet, but not soak, the material to make it pliable. This method reduces shrinkage in the finished product.
The corn leaf was completely dry, and I did gently rehydrate by wrapping it in a wet towel. The twine has held together without gaps.
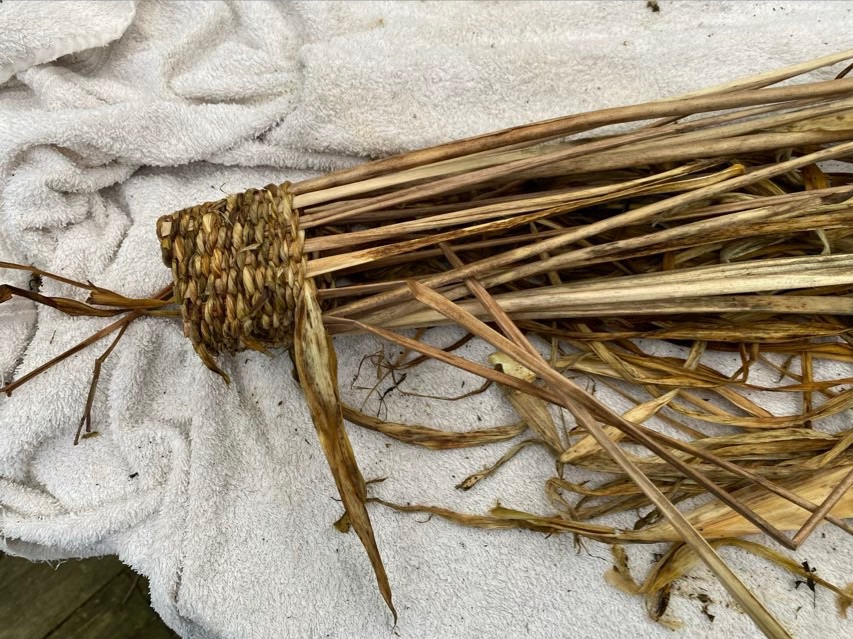
I gathered dead leaves from the base of several iris and daylily plants at my folk’s house, along with some daylily stems. To make them flexible I wet a large towel and wrapped the leaves and stems with it, leaving them in the towel for a few hours.
Photo description: gathered materials laid out in an old terry cloth towel
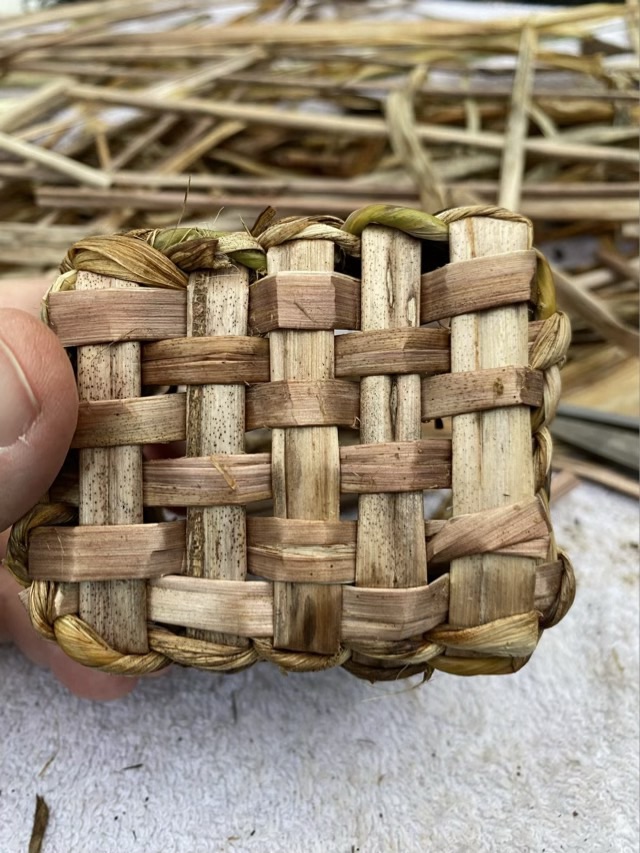
I chose ten daylily stems for my base stakes and did a plain weave 5×5. I then twined iris leaves around the stakes, creating a square basket. To add a new leaf, I folded the old leaf end into the new leaf end, twisting them together to lock it in.
Photo description: basket in progress showing very long stakes and several twined rows
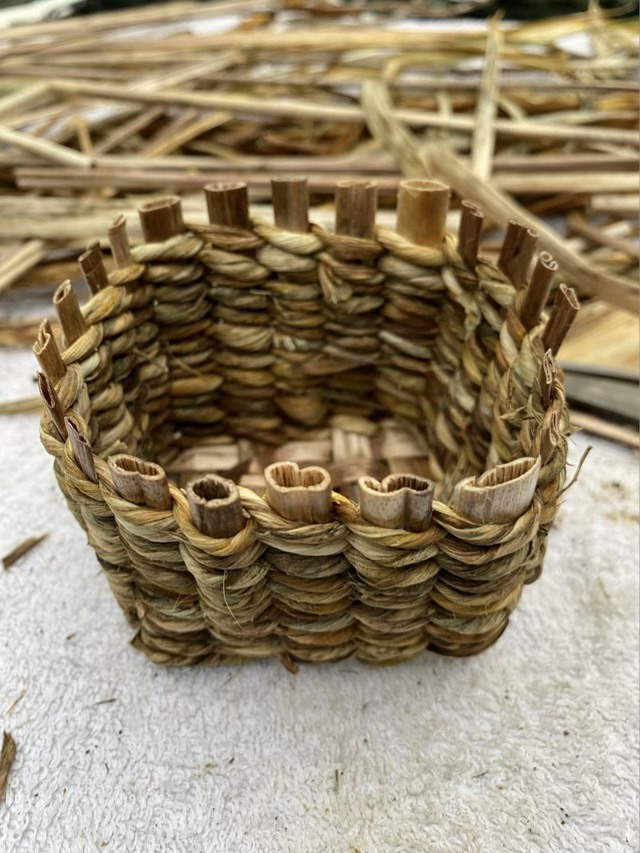
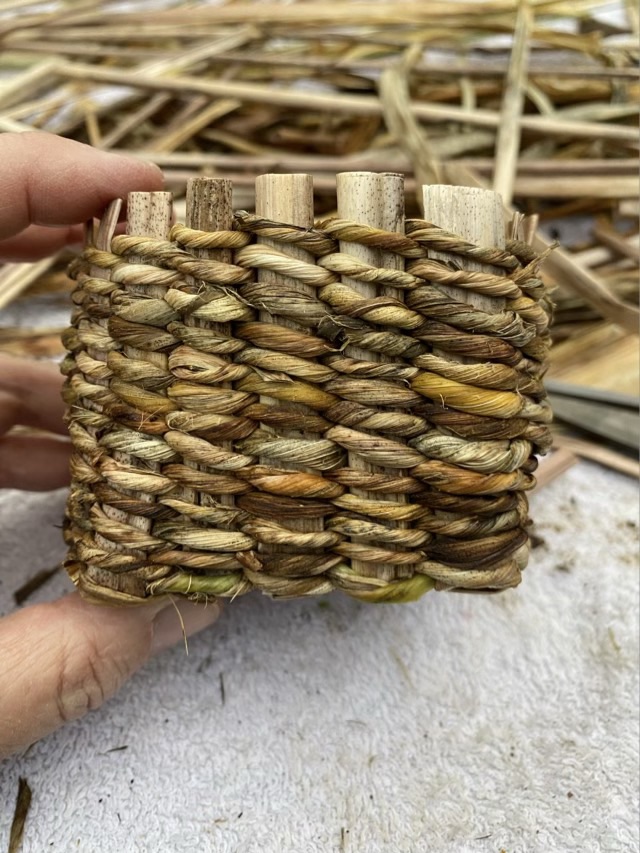
I still need to study how to do borders for the top. I ended up clipping the stakes short and tucking in the twined ends for this basket.
Photo description: twined basket with cut stakesPhoto description: side of twined basketPhoto description: bottom of twined basket
I left the basket at my folks’ place to dry. The leaves had spots of mold, so it shouldn’t be used for foodstuffs, but after a solid coat of sealer, it could be a desk basket.
I recently visited my folks, who have a new laser cutter, so I had to give it a go. I had sketched up a design before I visited of a new idea for a dishwasher magnet, then I got carried away filling the space with simple yarn shuttles, weaving needles, and even a drop spindle whorl.
Photo description: 1/8th inch plywood cutouts clockwise from top right: three yarn holders, two weaving needles, two 2-part dishwasher magnets, and a dragonfly spinning whorl on a wooden shaft (the shaft is from a different spindle)
The laser cutter is like a Cricut cutter, but on steroids. The cuts were smoother than I expected, and really don’t need clean up. The engraved dragonflies actually have some depth, which is neat. The dragonfly design is one of mine that I pulled from archives to test out (because I could). There is some learning curve, and experimentation with power and speed is necessary for the best results. It was overall a fun project. I do have some assembly and testing work ahead of me.