Many of the pictures of woven loop potholders are taken when the work is still on the loom. This makes it easy to see the order of the colored loops by looking at the colors on the pegs. For plain weave potholders, this is all the info needed to recreate the pattern.
Photo description: potholder on the loom in light green and dark green, the vertical loops have 9 alternating colors, which then repeat, giving two light green loops in the center and light green on the outside. The horizontal loops switch this, with the dark green doubled in the center and on the outside.
Since the loom was out, and there were still loops left, I had to give this neat directional pattern a go.
It bothered me that the cast off for my last potholder was so tight, so I did up another diagonal line weave and tried something different. I used the same method of weaving, working from one corner and hooking pairs of loops together at a ninety degree angles.
Photo description: potholder loom with purple loops on one side and the start of a rainbow on the other, showing how the loops wrap around each other in order to achieve a sharp return to the edge peg
To finish, I tied a new loop to a corner loop, by chaining them together, then threaded this longer strand through the loops on the side of the loom.
Photo description: finishing a potholder by running loops tied together through the loops on the pegs of the loom
This method of finishing does produce a softer edge, but it doesn’t have the neat, crisp look of a crocheted edge. It also makes the potholder one “row” bigger as it is essentially weaving an additional row on each side.
Photo description: two loop woven potholders using a diagonal method, left square finished off with traditional crochet chain, right square finished by threading tied loops through the edge
I did get my center twists all going the same way in my second attempt. Yay.
This is more of a craft Throwback, rather than a picture from the past. The potholder loom was a craft I did when I was young. All those loops! I bought two sets for my kids years ago, and they sat unused. I was recently scrolling Pinterest and saw a diagonal design that used a technique I had never seen. I had to try it. I dug out a kit from the craft closet and set to work figuring out how to do it.
Photo description: laying out brightly colored knit cotton loops on a standard potholder loom, laying on loose loops.Photo description: weaving started on the potholder loom with purple and red loops that twist around each other and are hooked at a 90 degree angle instead of straight across. Harrisville Design box as the background.Photo description: weaving finished and showing a strong diagonal line with green, blue, and purple on one side, and red, orange, and yellow on the otherPhoto description: same potholder with the edges finished and removed from the loom showing a definite cup effect from the extra tension added by the 90 degree twist. This potholder later relaxed and laid flat.
This is a neat technique. I did learn that I need to pay attention to which way I twist the two colors around each other and keep it consistent. I switched directions a couple times in the project and it can be seen in the final product as an inconsistent line.
So there are Turks head knots, and long Turks head knots. Yes, this is what I have been looking for. I found a video tutorial, dug some hemp string from my stash, a pencil from my side table, and dug into weaving. The learning curve on this knot was made easier since I’ve been working on Turks head knots. The most time consuming part is tightening the knot because it is made from a single strand that winds around and around (and around), and the loose loop needs to be traced all through the knot. These are not quick projects, but they are so rewarding.
Photo description: tripled long Turks head knot on a #2 pencil made from natural colored hemp string, sleeping calico cat as the background
I tripled the knot, meaning I wove three strands parallel to the first grid. (My nautical and knot tying terminology is rubbish.) The knot isn’t perfect, but is stable enough to remove and replace, so it can live on, even if the pencil is sharpened down. Pencils of the house, beware!
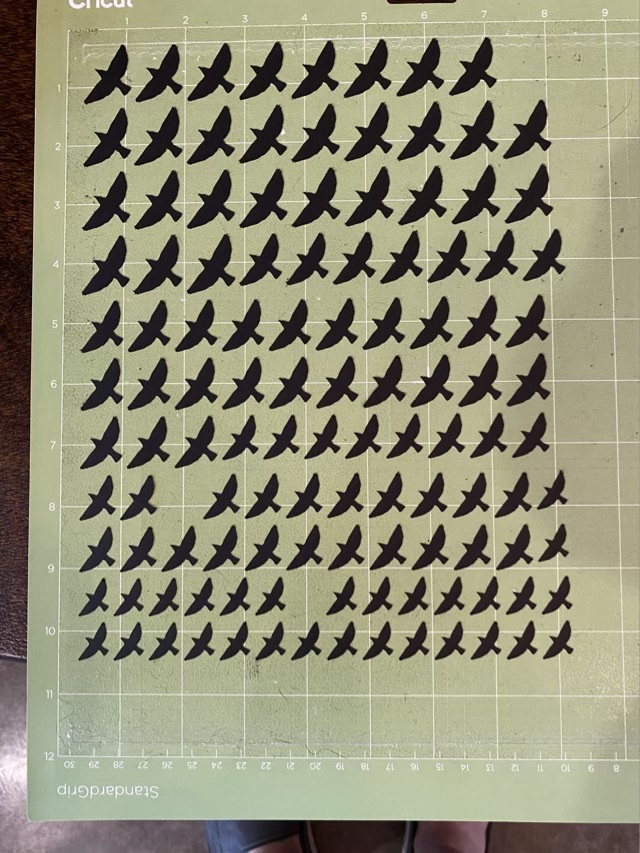
I love my little mossarium, and keep looking for tiny things to add: little plants from the yard, lichen, birds. Birds! I cut out flying bird silhouettes on my Cricut from black cardstock, and hung them from monofilament attached to a wire mobile.
Photo description: more card stock black bird cutouts than I needed in four sizes on a green Cricut mat
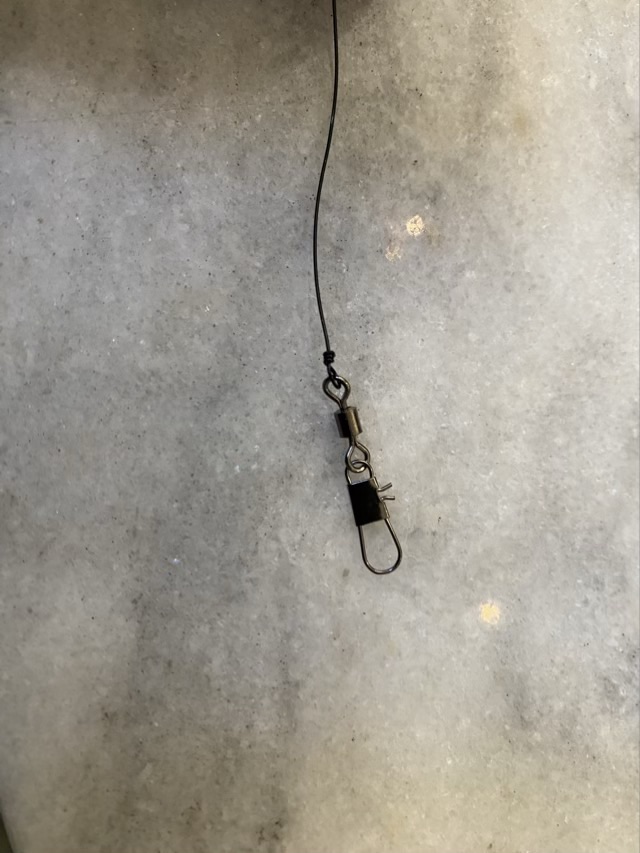
I used 22 gauge black coated copper wire to hang a fishing swivel on the inside of the terrarium.
Photo description: small fishing swivel connected to black wire with a closed loop
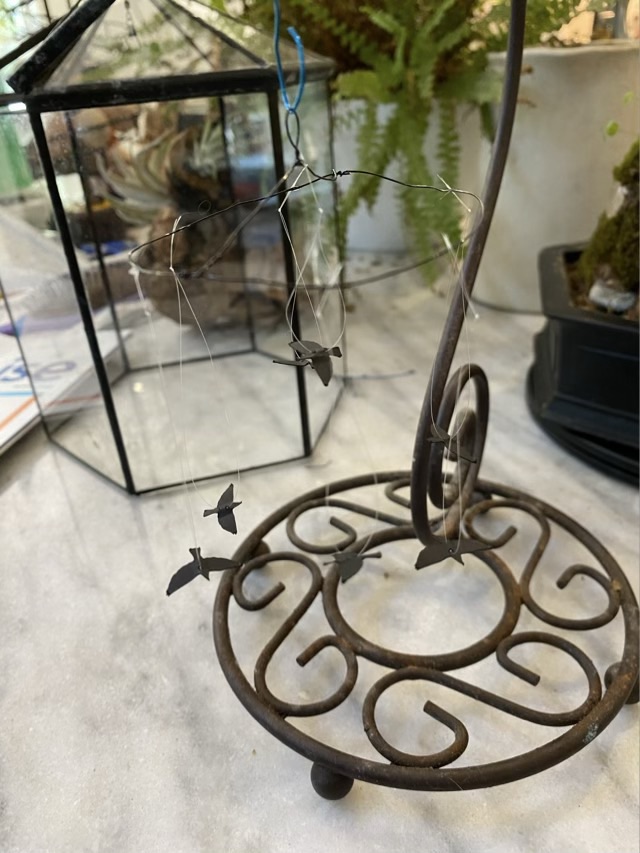
I made a circle of wire with a cross bar and loop, and hung it from a banana stand so I could balance it as I added the birds, which had monofilament strung through the body area. I only needed seven of the smallest birds I cut, the rest will be saved for other projects. I used super glue to tack the line onto the wire because I didn’t want the line to slide along the wire, and I didn’t want to add weight by making wire loops.
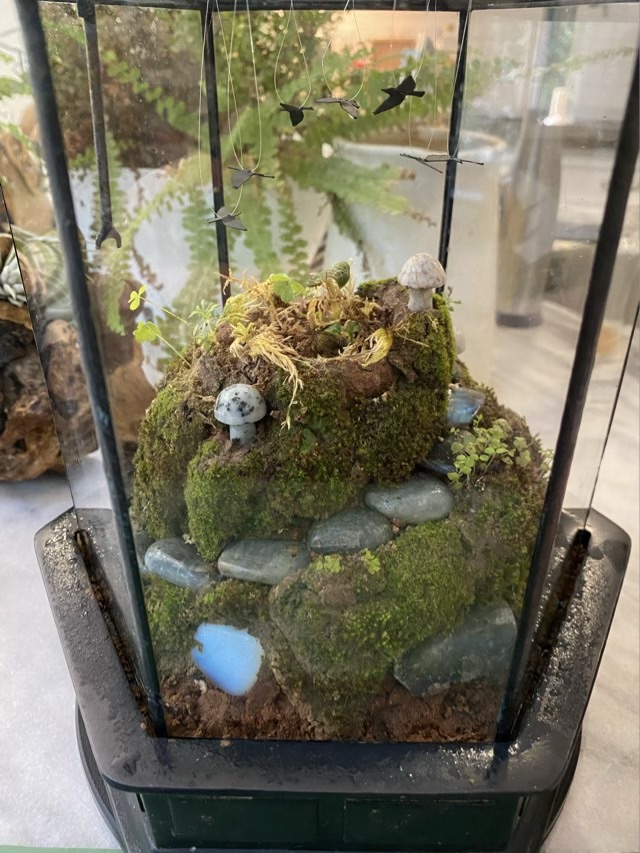
Photo description: tiny bird mobile hanging from a banana stand, terrarium lid in the background Photo description: mobile in place in the terrarium lid, showing the wire circle hanging from the fishing swivel attached to the peak of the lid and the birds hanging downPhoto description: terrarium lid in place over the moss covered mini landscape
Here is a 5 second video of the birds “flying”. I put the terrarium on a small lazy susan, so when I turn it, the birds turn at a different rate, and will continue to spin briefly when the turntable stops. The swivel doesn’t spin as freely as I would like, but this is a happy start.