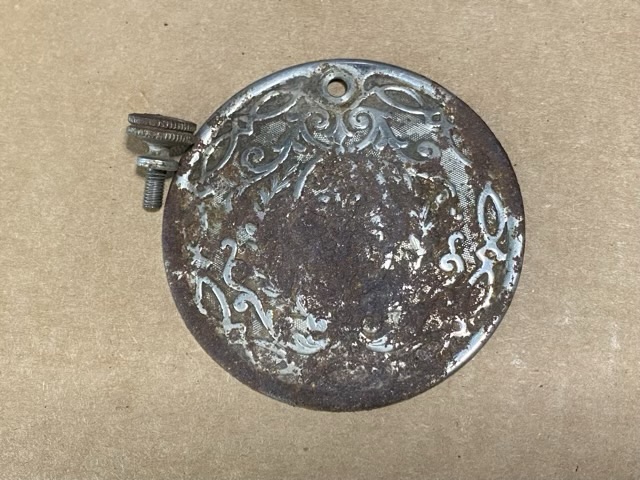
There was some rust on the family Singer model 66, even though it lived mostly indoors with some garage time. The worst area was the back access plate. Good news, the knurled knob unscrewed easily!
Photo description: Back access cover for a Singer model 66, embossed metal coated in spots of rust. Knurled knob laying on the side.
I washed the plate and knob with soap and water, then placed it in Evapo-rust for 24 hours.
Photo description: bottle of Evapo-rust next to a plastic storage container with about a half inch depth of yellow liquid covering the back plate, knob, and spool holder.
I rinsed and dried the plate, but it was still tarnished.
Photo description: back plate and knob after soaking in Evapo-rust showing black tarnish.
I used some Brasso, a tooth brush, 0000 steel wool, and a small rotary wire brush to remove as much of the black as I could (and still retain my sanity). When the rust and tarnish is removed, there are pits in the metal, and the surface is dull and needs to be burnished to regain the metallic shine. When I had enough, I did a final wipe with a silver polishing cloth.
Photo description: same back plate showing the pitting from the rust, but the rust is gone, most of the tarnish is gone, and more of the original design is visible.
Polishing to a high finish and shine is really not my thing. I do appreciate an artful patina, probably because I don’t care for polishing. On this part, at least I have removed the rust and protected it from further deterioration.
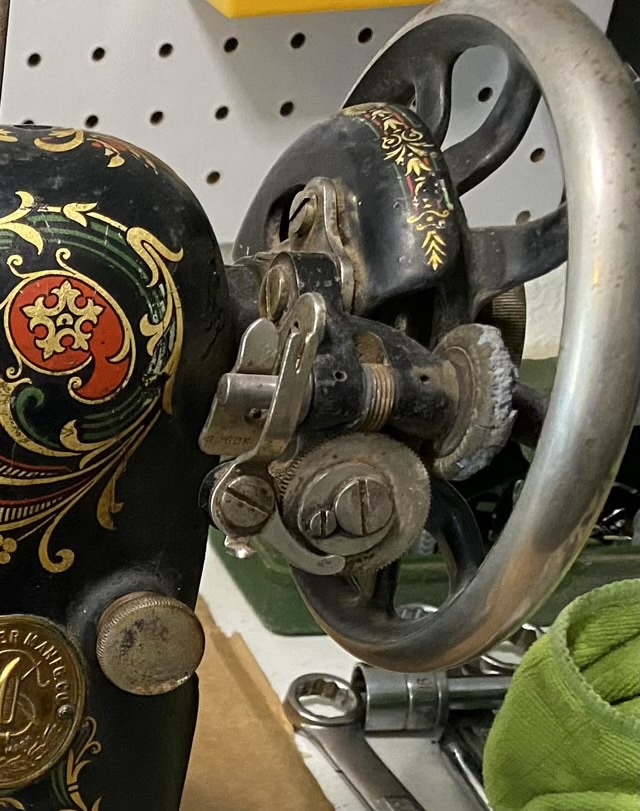
I took off and cleaned the bobbin winder from the family Singer Model 66. The rubber wheel had rotted, which happens with age, so I ordered new wheels. While I waited for those to ship, I cleaned off what I could without disassembly, since the mechanism works fine.
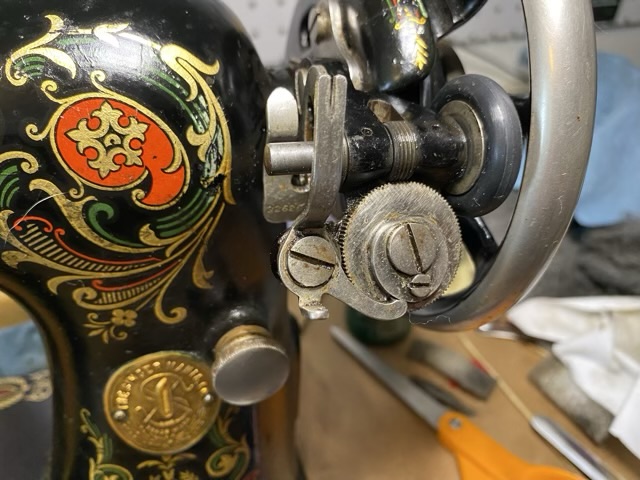
Photo description: Singer model 66 bobbin winding assembly attached to the balance wheel before cleaning.Photo description: same machine with a new rubber wheel and assembly cleaned up.
It isn’t super shiny, but my goal is not to restore to like new, but to get things working in reasonable order. I’m not big on polishing (I admit, I get bored and frustrated and it hurts my hands, I’m glad there are other people who enjoy it).
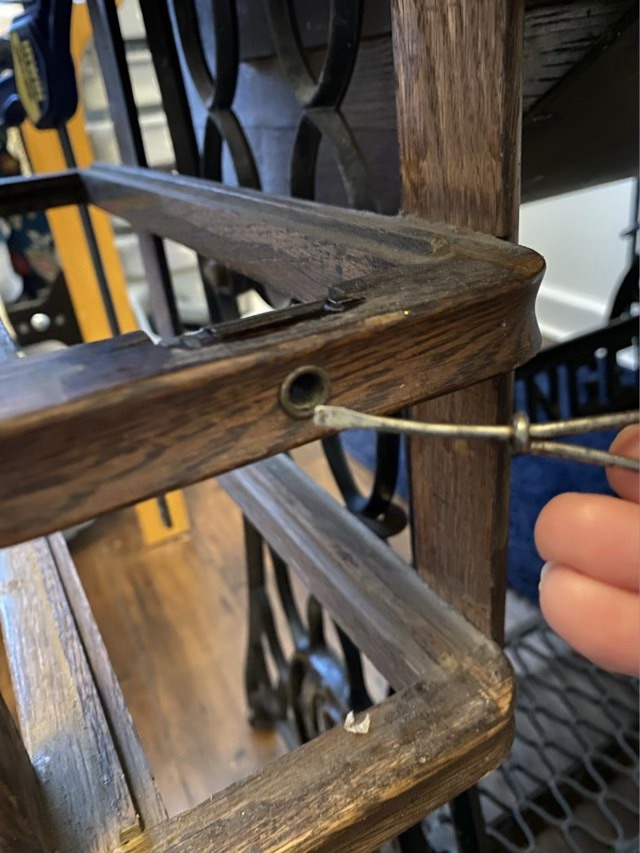
The Singer treadle cabinet that came with the Model 66 sewing machine has lockable drawers! And no key. Luckily it was not locked when it came to me, and a little peeking through the keyhole and some perusing the internet suggested that a small screwdriver would work. I happened to have an original Singer wire screwdriver that came with my Model 27. It worked!
Picture description: Treadle cabinet with drawers removed, showing the “key” hole and a wire screw driver.Photo description: Same drawer frame, but with the “key” inserted, turned, and the metal latch showing in the locked position.
Each drawer has corresponding grooves, so when the key is turned the lock engages both drawers. Each drawer has grooves on both the top and bottom edges, so they aren’t position specific (I love good planning). I did put some sewing machine oil on each latch to help them get moving. Though I probably won’t lock the drawers either.
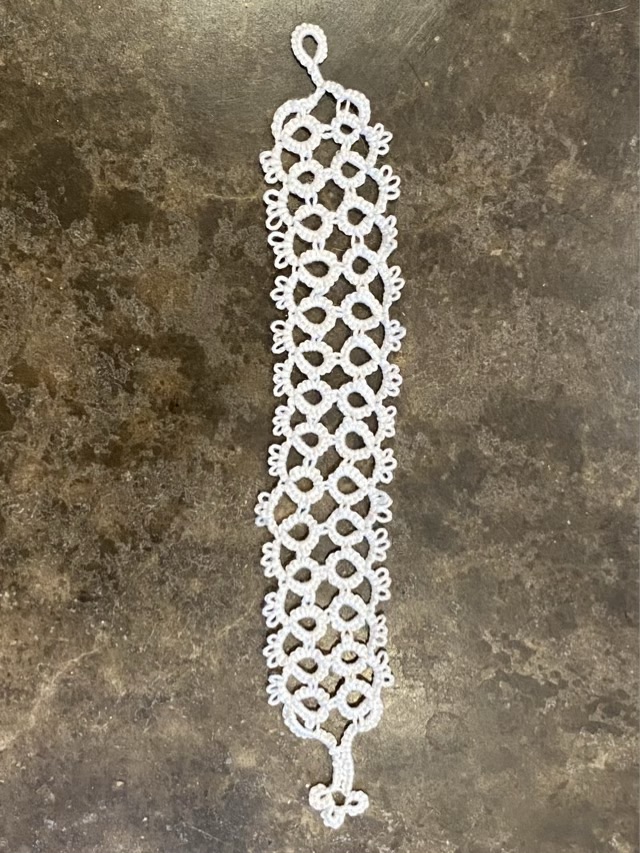
I saw a picture on Pinterest of a tatted bracelet that I recognized most of the elements used for construction. I’m having trouble interpreting written tatting instructions, but a picture is almost as good as a chart, and much easier for me to follow. I loaded up my tatting shuttle with #10 cotton, left it attached to the ball, and started with the ring part of the clasp. It took me a few hours to complete, and I carried it around in my purse for a while to work on when I was waiting. The bracelet is worked with the same series of a closed loop and a chain on both sides, and each connection used a picot.
Photo description: Tatted bracelet made of closed loops and chains with three picots. The clasp is made with a ring on one side and a cluster of closed rings on the other side.
I did have to join in more bobbin yarn, but the ends were easy to weave in with a needle. I joined the last chain to the opposite side with a square knot and wove in the ends. To block it, I soaked it in a solution of white glue and water, to give it some stiffness and protect it from staining. I need to experiment with the ratio of glue to water. The bracelet turned out stiff and itchy, and didn’t resist a tea stain when tea accidentally spilled across the counter.
Photo description: Blocking the bracelet on wax paper after soaking in a white glue and water solution.
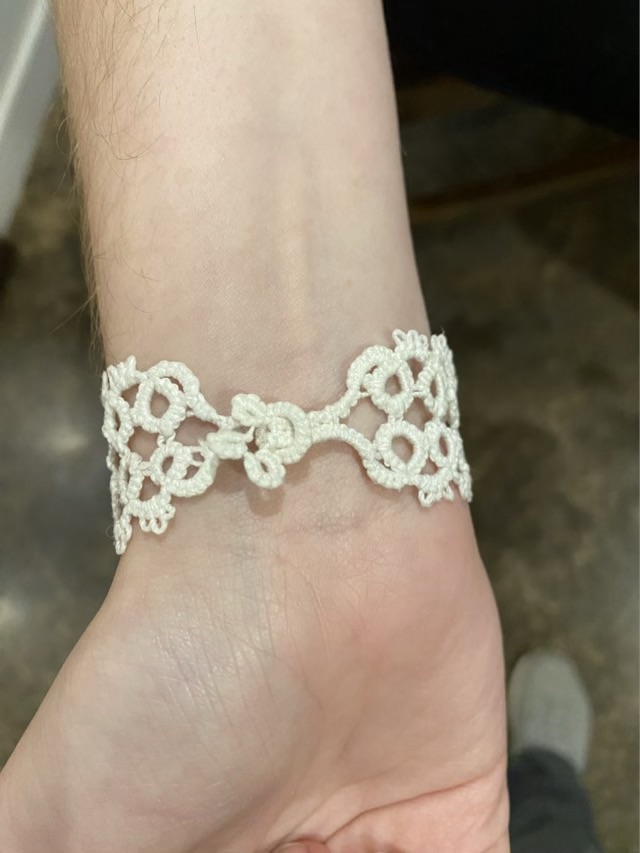
The clasp works reasonably well, although it takes a different set of hands to close.
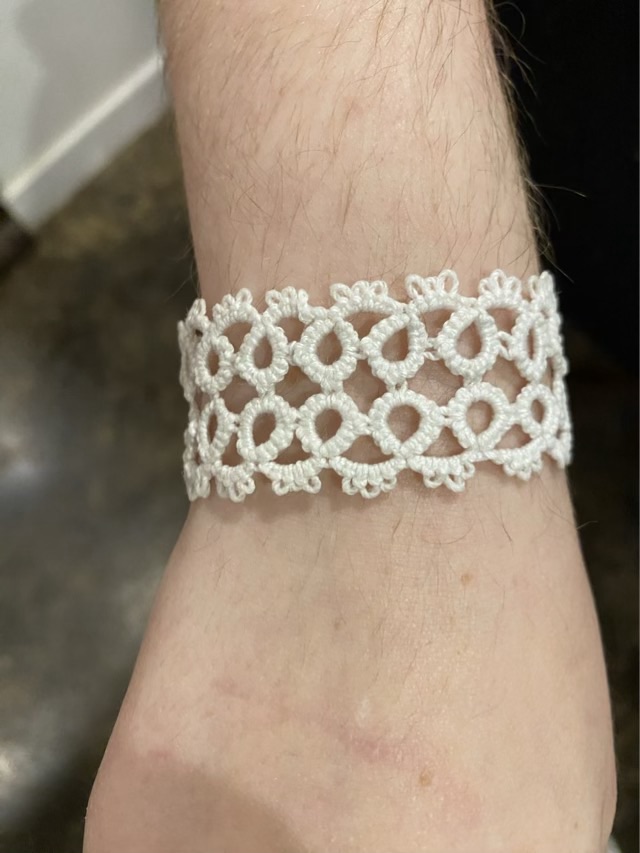
Photo description: Bracelet clasp shown closed with the loop cluster pulled through the opposite loop.Photo description: Finished bracelet on my daughter’s wrist.
I need to work on the tension of my knots, the consistency of picot size, and the consistency of the closed loop size. I may try another bracelet to get the basics down. The tatted lace is sturdier than crocheted lace, but the counting slows me down, and I need a different way to hold the shuttle so it doesn’t hurt my thumb. So, not my favorite craft, but could be useful in a future project on a small scale.