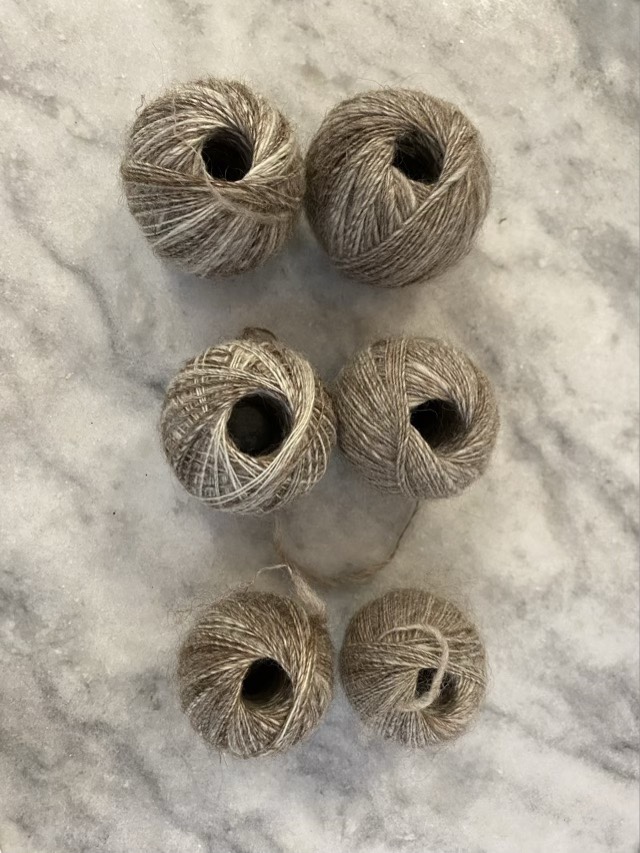
I have spun all my fiber blended by Anniewhere. I searched my fiber stash and didn’t find any more, so it is time to ply. I have six balls of singles, all slightly different colors. To even out the tone I decided to ply two balls together, so sorted the balls by weight.
Photo description: six nostepinne style wound balls of blended fiber, paired by size.
To control the balls while I plied, I decided to stretch the use of my rosewood distaff. The shaft of the distaff fits through the center of the yarn balls, so I put two on, and to keep the yarn from flying off, placed a spherical pencil eraser on top.
Photo description: On the left a rosewood ring distaff with two balls of yarn and a bright yellow heart-eyed emoji eraser on top. On the right my hand made drop spindle with wooden top whorl and metal hook.
This setup works great. I was able to complete my walk and complete the plying without tangling issues, which is huge for a spinner.
Photo description: Same distaff, same spindle, but now there is only one small ball on the distaff and a large cop of two ply yarn on the spindle.
I’ve been trying different ways to dress my distaff. A distaff is a way to hold fiber in preparation for spinning, and placing the fiber on the shaft is called “dressing” because it is very much like placing clothes on a doll.
My first method involved laying out parallel tufts of fiber on a handkerchief, making sure the ends went the same direction and stuck out the bottom. I would then roll up the fiber and fabric on the distaff and tie it loosely with a cord. This worked OK until the fiber was mostly gone, then it preferred to stick to the cloth instead of itself, which made drafting difficult.
The second method I tried didn’t use the handkerchief, rather just the fiber parallel to the distaff shaft, tied round with cord. As I drafted the fibers off, the cord slipped down and became a restricting collar at the base of the shaft, also making it hard to draft.
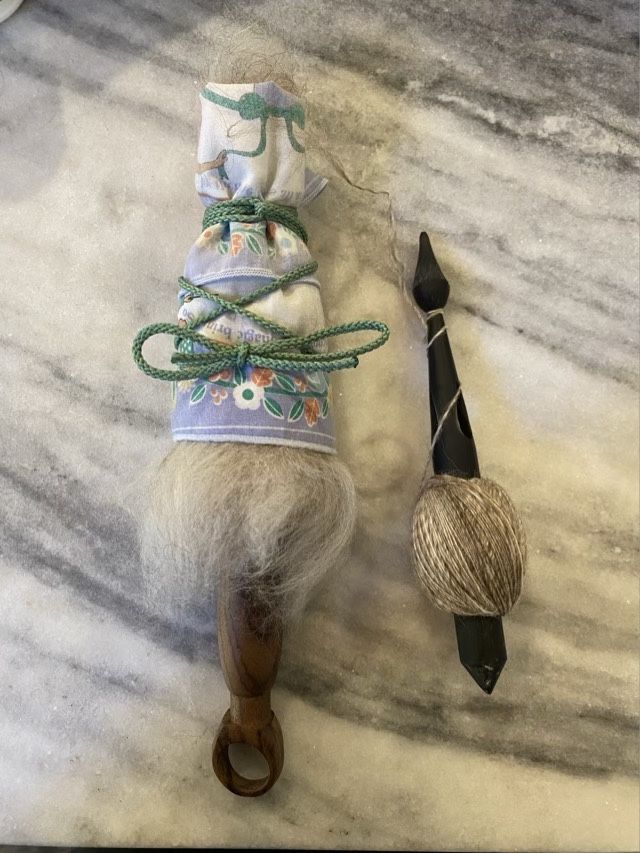
My third method involved rolling the fiber parallel to the shaft, then adding the handkerchief around the fibers in a layer, and tying the cord so that it was tightest at the top. This top secured trick is the key. It was much easier to draft the fibers off the distaff, the dressing behaved itself to the near end when I had enough fiber to hold in my hand without tangling.
Photo description: Rosewood ring distaff dressed with a blended carded fiber, handkerchief, and cord in a inverted cone shape (left). 3D printed Tough resin spindle with single spun yarn wound nostepinne style (right).
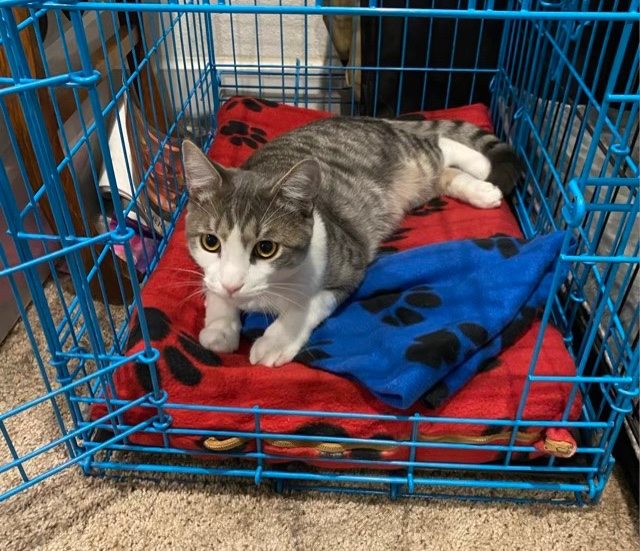
The weather is finally cooling somewhat (we’re still going to see some highs in the 90s, but mostly we’re in the 70s and 80s) and in a fit of optimism I setup the dog crates with the winter gear: fleece pad covers and soft fuzzy blankets. Thor the seven-month-old kitten decided this was done for his benefit and has claimed Missy’s crate. Poor Missy. I do kick the cat out whenever I find him in there.
Photo description: Gray Tabby cat laying in a blue dog crate, filling most of the 2×3 foot pad.
I did weigh him this week and he is 12.2 pounds. Big kitten.
So I thought a rolled brim knit cap was some kind of knitting voodoo. I was looking up patterns to see how to do it. Y’all, it is just knit. Stockinette stitch, which makes the familiar v shaped stitches that we associate with knitting, is unbalanced and curls without a stabilizing edge (like ribbing). So the rolled brim is the natural state of a knit tube. Hm. So I tried one, and sure enough the edge curls. I even managed to do the crown of the hat in knit using seven decreases, then ran the end of the yarn through the last seven stitches and pulled tight to form a nice little rosette in the center. I threw some embroidery on to see how that went.
Photo description: Green and white knit hat with vine embroidery.Photo description: Crown of the hat showing seven slightly spiraled sections neatly closed at the top.
I used superwash merino sock weight yarn. I would do things differently next time, so I’m not going to write up a pattern. For posterity sake I’ll write down details, though. I used two size 2 circular needles; a slip, slip, knit decrease on each of the seven sections, sometimes separated by a row of knit; and attempted a stem stitch for the embroidery. The stem stitch stretches with the fabric, but I don’t like how it doesn’t make a continuous line. That might just need practice, though. I was hoping for more of a spiral on the top of the hat too.
I added a rider to my meadow deer for Halloween. The deer was purchased as a holiday decoration a couple years ago, and I liked having it in the meadow so much I decided to make it a year-round ornament. I have a few more projects on my plate this year than last, so an ornate Halloween sculpture wasn’t going to happen. But a simple three foot plastic skeleton twist tied to the back of the deer, with a length of scrap white ribbon for a bridle, well that was very doable.
Photo description: Golden wire and plastic deer sculpture with a white plastic skeleton riding on its back standing on the edge of a dry meadow.