I’m still nursing my achilles tendon back to health. PT helped with the surrounding muscle strength, and I was approved to start taking walks again! My first walk I paid close attention to the road, so did not take my spinning. The second walk I grabbed my spindle and fiber! I still have quite a bit of build up to get through to take the long walks I used to, by at least I’m back on the road.
We have a large disparity in our hardy hibiscus plants in the front garden. The one on the left in the picture above was planted first, at the beginning of last season and is so happy to be here. The one on the right was planted at the end of the last season, and it struggling. They are different varieties of hardy hibiscus, but the difference in their appearance of health is vast. The one on the right I purchased because of the variegated leaves and dark red blooms. When I purchased it, it looked a little sad, but it was the end of the season, so I thought that explained it. Hm. Nope. I do want to plant another hibiscus in this area, something with a dark or true red bloom. I will have to be wary of sadness. I will not pull the sad plant, but give it another season to see if it can establish a healthy root system, and get grounded.
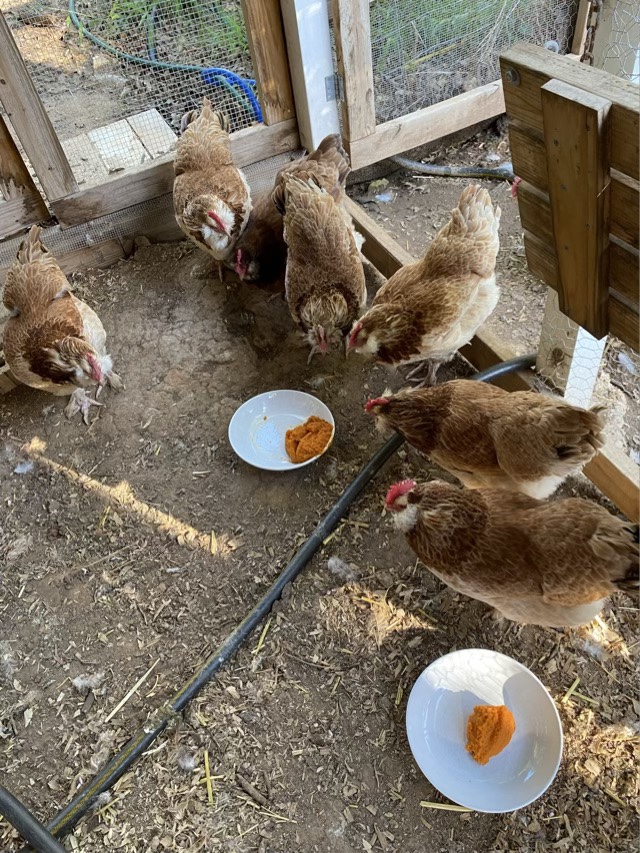
I put out some canned pumpkin for the chickens to see if it helps with the digestive issues that start up when they start laying. (They’ve been laying again for awhile, but a couple still have dirty tail feathers.) They love fresh pumpkin, but when presented with canned, they all but accused me of attempted poison.
Chickens warily observing canned pumpkin
I’ve noticed in the fall, when they have a steady supply of raw pumpkin, there are more fluffy butts, and less need for me to rinse them clean. But fresh pumpkin is hard to obtain in the spring and summer. Butternut squash doesn’t seem to have the appeal, though it really seems like it should be a good substitute. After a few hours I went back to check on the status of the canned pumpkin, and they did brave the new preparation and devoured it all. They can’t lick the plate because they’re chickens, but they did a good job trying. See? I’m not trying to poison you!
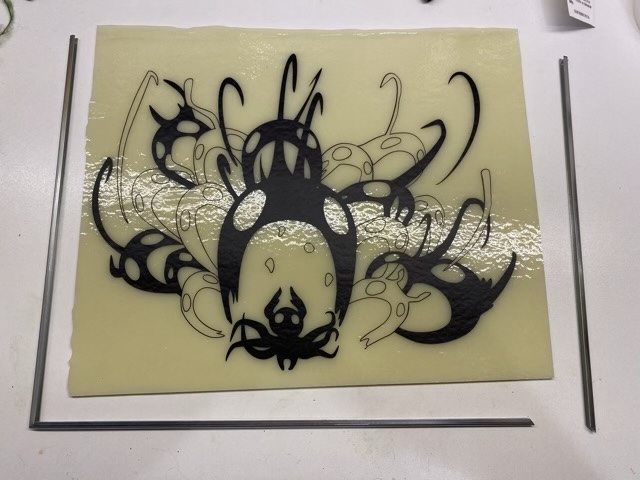
Several months ago my eldest designed a vector graphic of the Abyss Shriek, which is a spell in the game Hollow Knight. (Very very cool graphics in this game; it is a platformer, so I suck at it, but I love the texture and feel of the world.) She used the Cricut to cut out the image in permanent vinyl, then carefully (oh so carefully, so many teeny tiny lines) she weeded out the vinyl. I found a piece of glass in my stash that set off the image nicely and applied the vinyl to the glass. Then it sat. And sat. I had ordered the parts to make a hanging frame for it, the parts had arrived, but it required a bit of soldering. Soldering and I have been historically wary companions. So it sat some more. Finally, when I was avoiding cleaning where the art was sitting, I decided to give the frame a go.
Stain glass came cut to size
The glass had one rolled edge, which both my eldest and I liked, so the idea was to create a frame that left the top open. It was short work with a jeweler’s saw to cut the came to length, even with the angles, and also easy to drill small holes at the top for the chain. Then came the soldering.
Soldering the back first in case everything went pear shaped
I did a test solder first on some scrap came, and was pleasantly surprised when the soldering iron and solder did was it was supposed to do. The tip cleaned well on a bit of brass wool, the came heated up nicely, and the solder flowed well from the tip to the piece. Color me shocked. So I moved onto the actual piece, but the back, in case my usual soldering skills came to fore. They didn’t. I was able to solder the back two joints, then flip the piece and solder the front of the joints. I did use a small file to clean up the sharp edges, but the joints were holding! Huzzah!
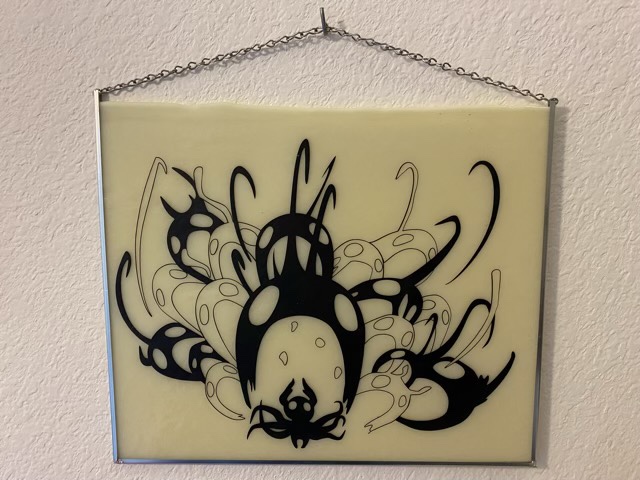
Abyss Shriek hanging (art work by my eldest, frame by me)
I did add a bit of super glue to the top of the frame. The chain holds everything in place nicely when it is hanging, but when it is not under tension there is a risk of separation, so a little insurance helped. It took hardly any time to put the frame together and get the art hung finally. Embarrassing really, that it sat so long, but I’m glad it is now done. And perhaps, perhaps, I may attempt more soldering in the future.
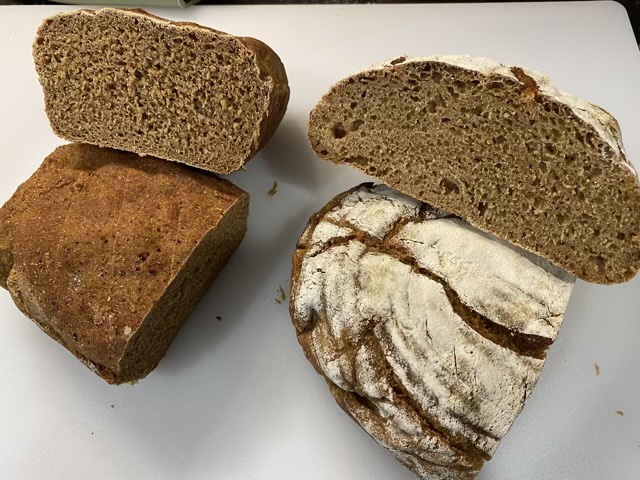
I decided to make two loaves of rye bread; one using a yeast recipe, one with sourdough starter. Shockingly, both loaves came out well (could it be that I am getting the hang of this?!?).
Rye loaves, yeast on left, sourdough on right
The sourdough rye won the test, hands down. The aeration was better, the taste was better, and it stayed fresher longer. (Both loaves were placed cut side down on the cutting board for storage.)
Cut loaves of rye, yeast on right, sourdough on left
The recipe for the sourdough rye came from the book Sourdough Cookbook for Beginners by Eric Rusch & Melissa Johnson. This is definitely a book I’ll keep!