Grubs

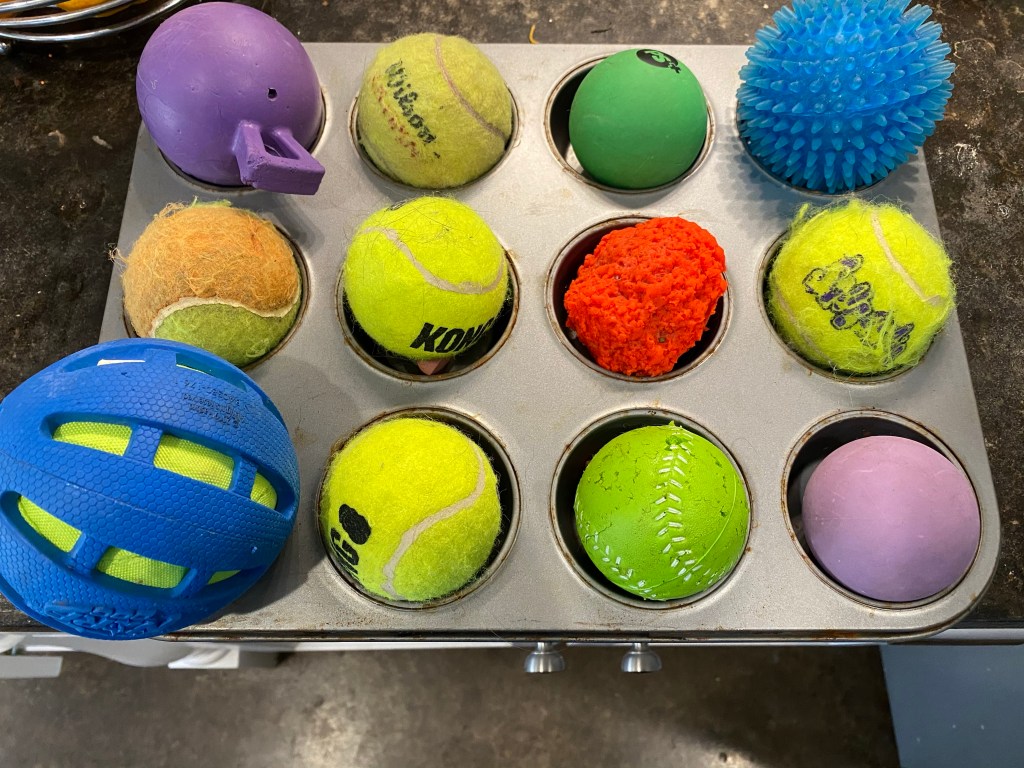
These are the oven dried grubs of the black soldier fly. They have more calcium than dried meal worms, so I switched when I noticed the hens’ eggs were getting thin (back when they were still laying, long, long ago). At first I mixed the grubs and mealworms, then slowly moved to all grubs. Most of the hens didn’t care, but I had two that gave me the stink eye for withholding the mealworms. Happily, after about two weeks, even the recalcitrant birds were chowing down.

Handful of dried grubs

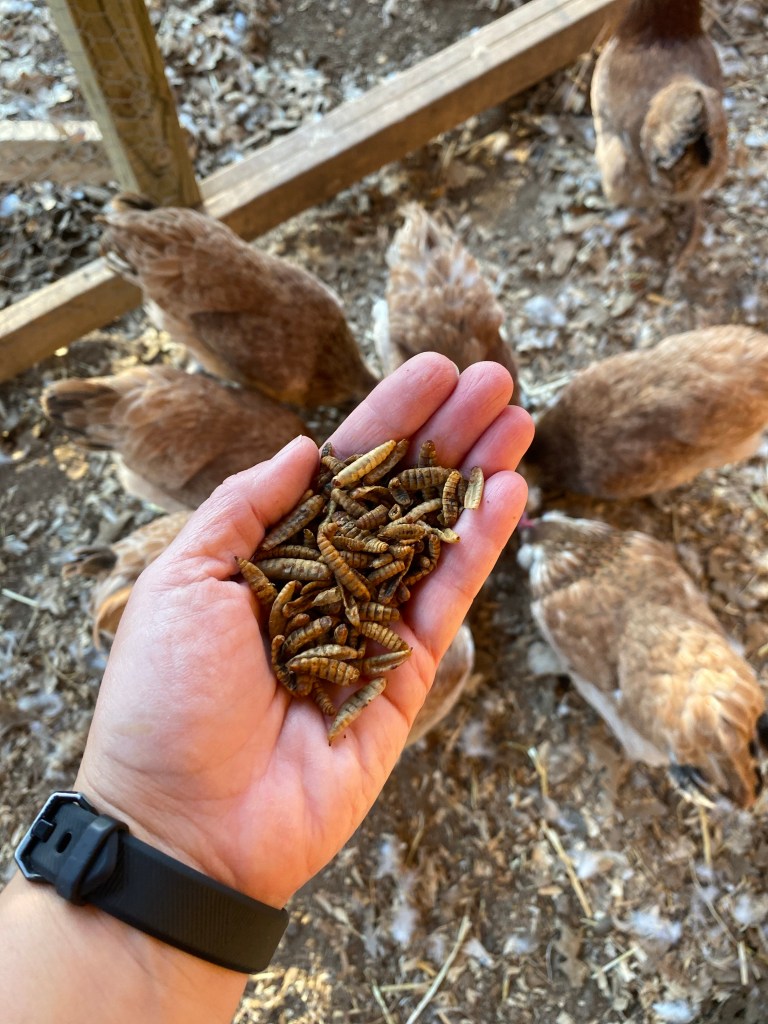
No, I will not be attempting to raise these grubs. Flies drive me bonkers.

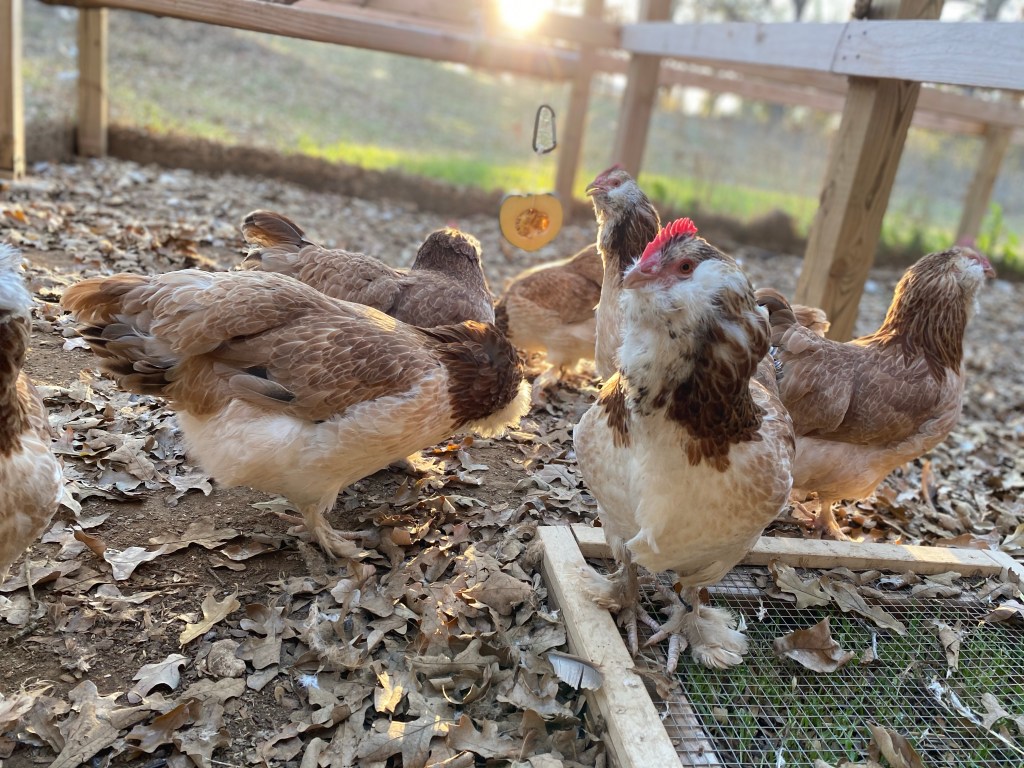
I have a hypothesis on the eggless condition of my hens. They have a large spacious coop, and although all the food is outside, they like to hang out inside frequently. I have windows in the coop, but they are north and west facing and don’t let in a huge amount of light. The chicken books says the hens need 12 hours of light to stimulate egg production. I don’t believe in keeping the light at 14-16 hours year round, but maybe I should install a timer in the coop so it is at least light in there when the sun is up.

Roll over

My strategy for training is to teach “sit”, “down”, then “roll over”, because then it is easier to wipe the mud off the dog’s feet. (Note, I am not a trainer, nor am I advocating any philosophy of training; muddy foot prints are just irritating.)

Missy demonstrating “roll over” so she can get her feet cleaned.

Portrait mode

I’ve been playing with the portrait mode on my phone as I take pictures of chickens.

I like this picture best. That is an acorn squash slice hanging up for snacking.
Magic the hen is trying to figure out what I’m doing and if it involves treats.
That is a long neck.

Muffin tin brain game

My sister shared the idea of putting treats in a muffin tin and the putting balls on top as a brain game for dogs, so I had to try it!

The first time I put it out for Missy (with bits of hot dog in the cups), it was a wonderful challenge for the puppy, and she spent a good 15 minutes rooting out the balls to get the treats (not grabbing the balls and removing them, which was my prediction). It was great for keeping her occupied without running and jumping since she just had surgery.

Missy and Izzy investigating the muffin tin

The next time, it took 15 seconds. Smart little thing.

Izzy the cat just complained loudly that the puppy got something she didn’t until I gave her a bit of hot dog too. Who has trained who?

Surgery wrap

Missy went in for her spay, and rather than a cone of shame or donut of doom, I made her a surgery wrap from knit fabric. The wrap keeps her from licking the incision site, and a little shaping keeps it clean and dry when she has to do her outside business.

Missy wearing her surgery wrap (I know, black fabric on a black dog!)

To make the wrap, I measured her back from neck to tail (16”) and around her chest (18”). I cut a rectangle from knit fabric that was 16” x 19” (the extra inch around makes it easier to pin). I measured between her front legs, across her chest (4”), and made 4 slits 4” apart at the top and bottom of the wrap for her legs. I cut a curve out between the back legs so the wrap wouldn’t get wet or dirty when she eliminated.

Knit wrap with slits and toiletry cut out

I tried a version with velcro, but it didn’t fit as well as when I just used three safety pins to pin along the back (and velcro is loud!) I put her legs in the four holes, pulled the fabric snug but not tight, and the pinned the fabrics at the back of the neck, mid back, and near the tail.

Wrap showing pin locations along the back

Missy is surprisingly OK about wearing her little vest! Is it as fancy as the surgery wraps you can buy? No, but I’ve made them out of old t-shirt material, so they can be free to make. For something that you only need for 10-14 days, free is good. They work for cats too! At least female ones. When Sophie had her spay, we used a similar surgery wrap.

Sophie in a surgery wrap made from an old T-shirt and safety pins