
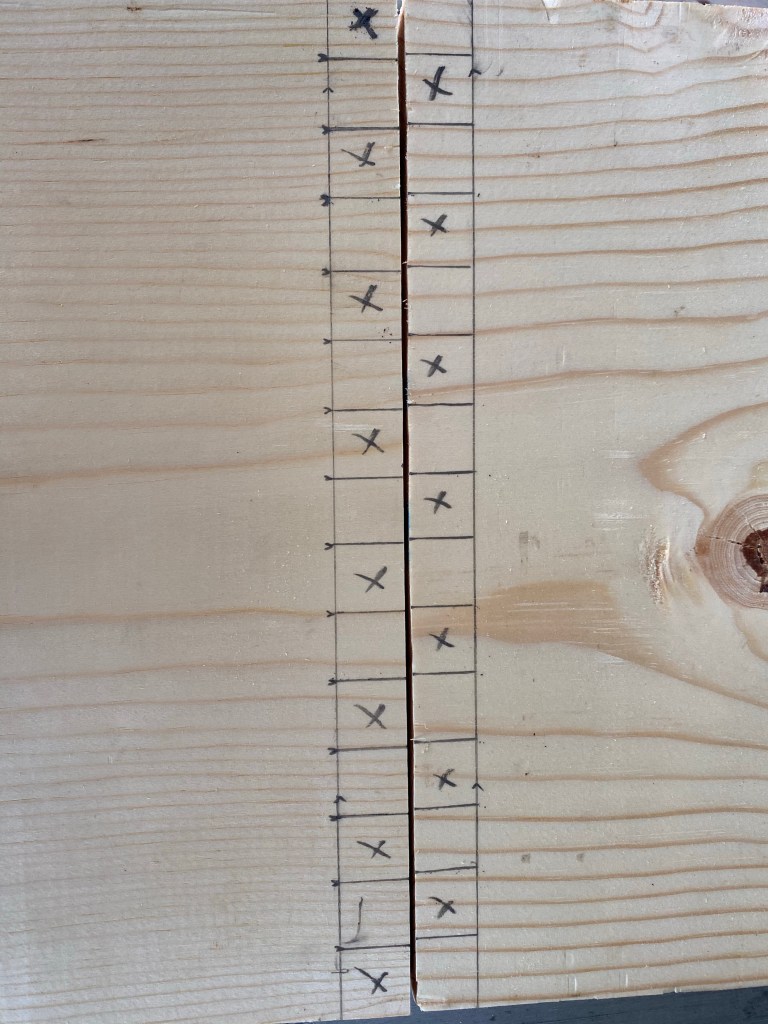
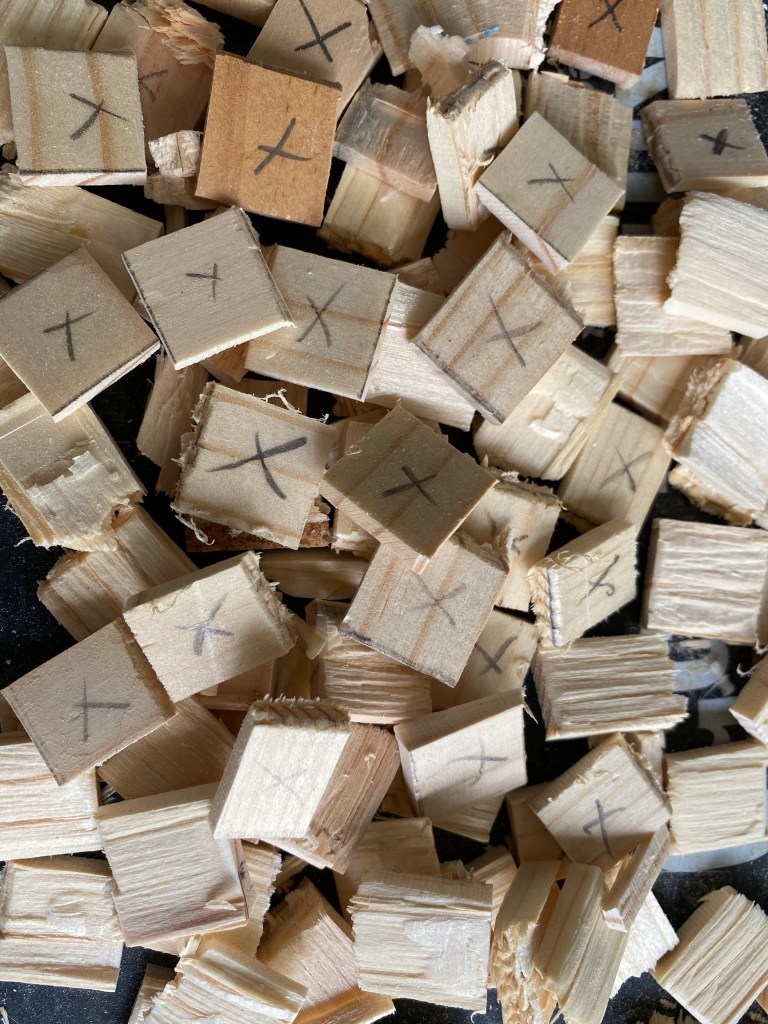
It started as a desire to practice making finger joints. It ended in an entirely scrap sourced organizer! The wood is pine from drops from the storage shelves my husband recently made. I marked the finger joints, cut the sides with a band saw, and excised the waste with a chisel. Sawing on the inside of the line (toward the X) gives a tighter fit.
After cutting and fitting all the joints, I used the table saw to cut the boards into thirds to make three boxes rather than one. It is a little strange to do it this way, but I was testing a technique. I do not recommend this method if you will be cutting dados for a base, because the dados will cut into your joints, making a gap. I filled the gaps with wood filler. I used peg board for the base because it was a good thickness and it was left over from other projects.
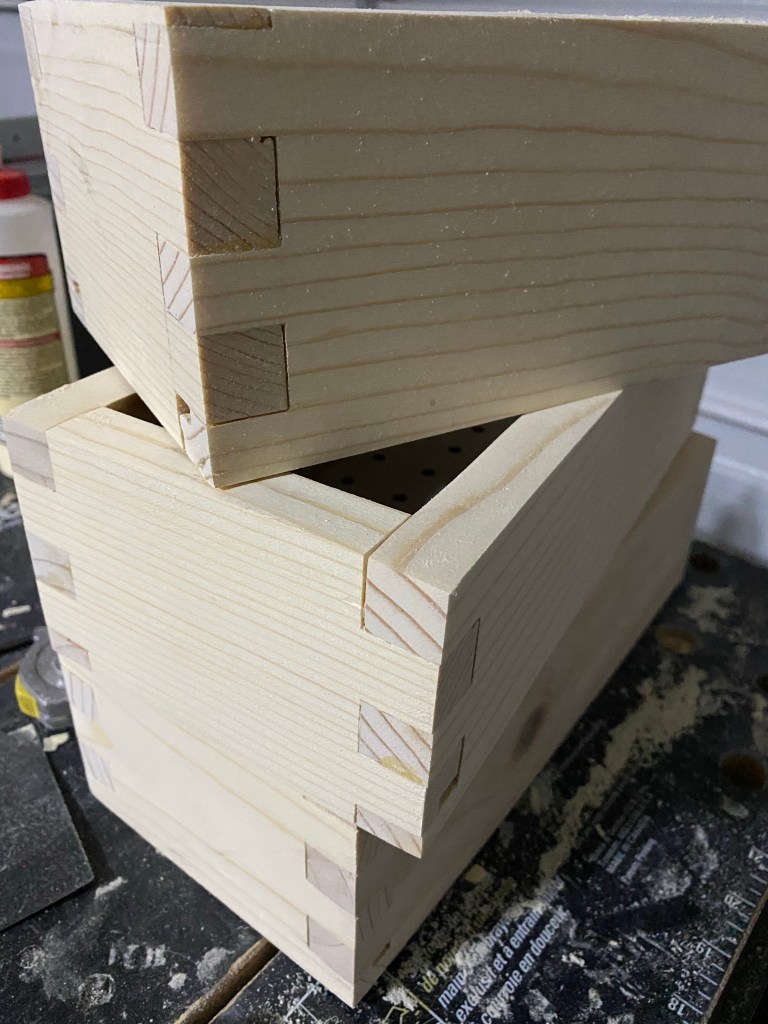
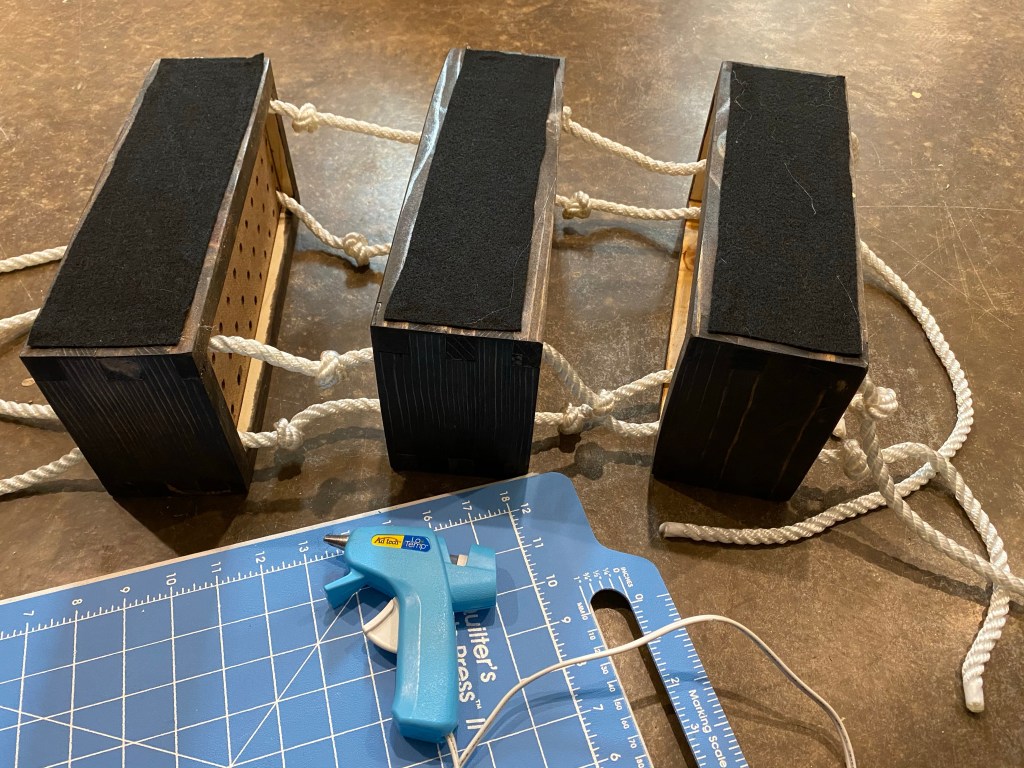
After sanding down the wood filler, I used the stain and sealer that was in the garage (again, left overs). I drilled 1/2” holes in the corners of the base, through the peg board to accommodate the 3/8” rope I found in my craft room, and knotted the rope to support the boxes. I hot glued felt (also from the craft room) onto the backs of the boxes to protect the wall.
The hook for the wall is a handrail support. I have no idea why we had just one in the garage, it is possible it has been hanging out with us for almost 20 years, and now it has a purpose!
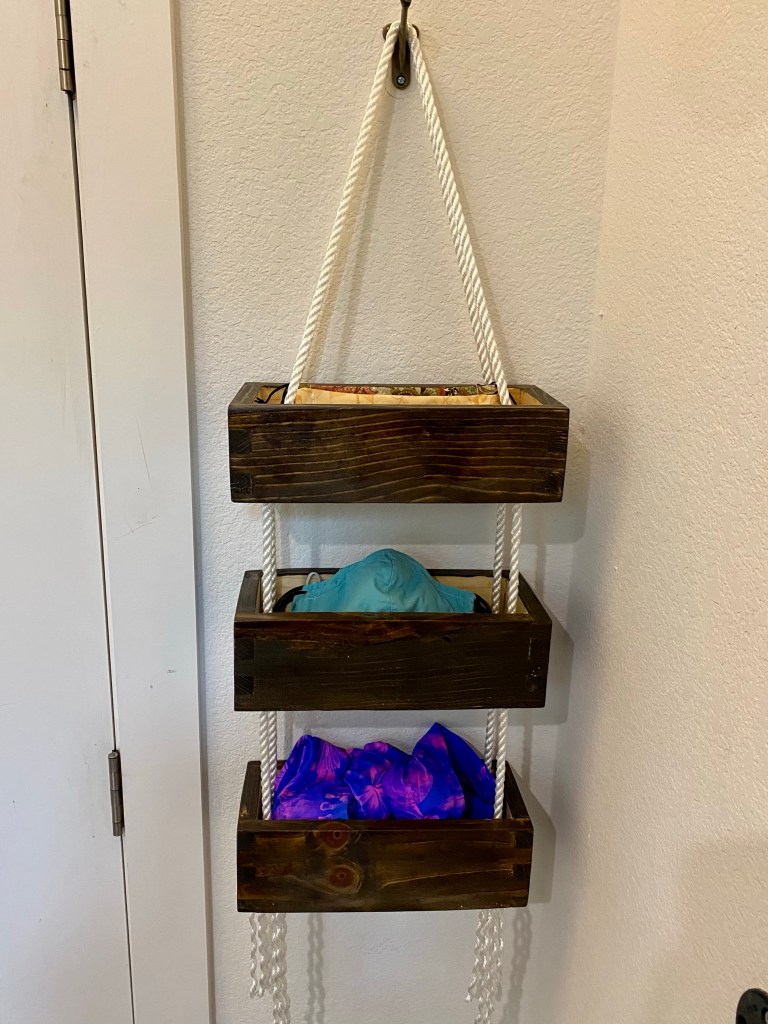
So there we go, a new organizer from left over bits. Nothing like stretching the creativity muscles to make it work with what you have!
