Making lucet cord

How to make a lucet cord, no turn method, splash screen from video

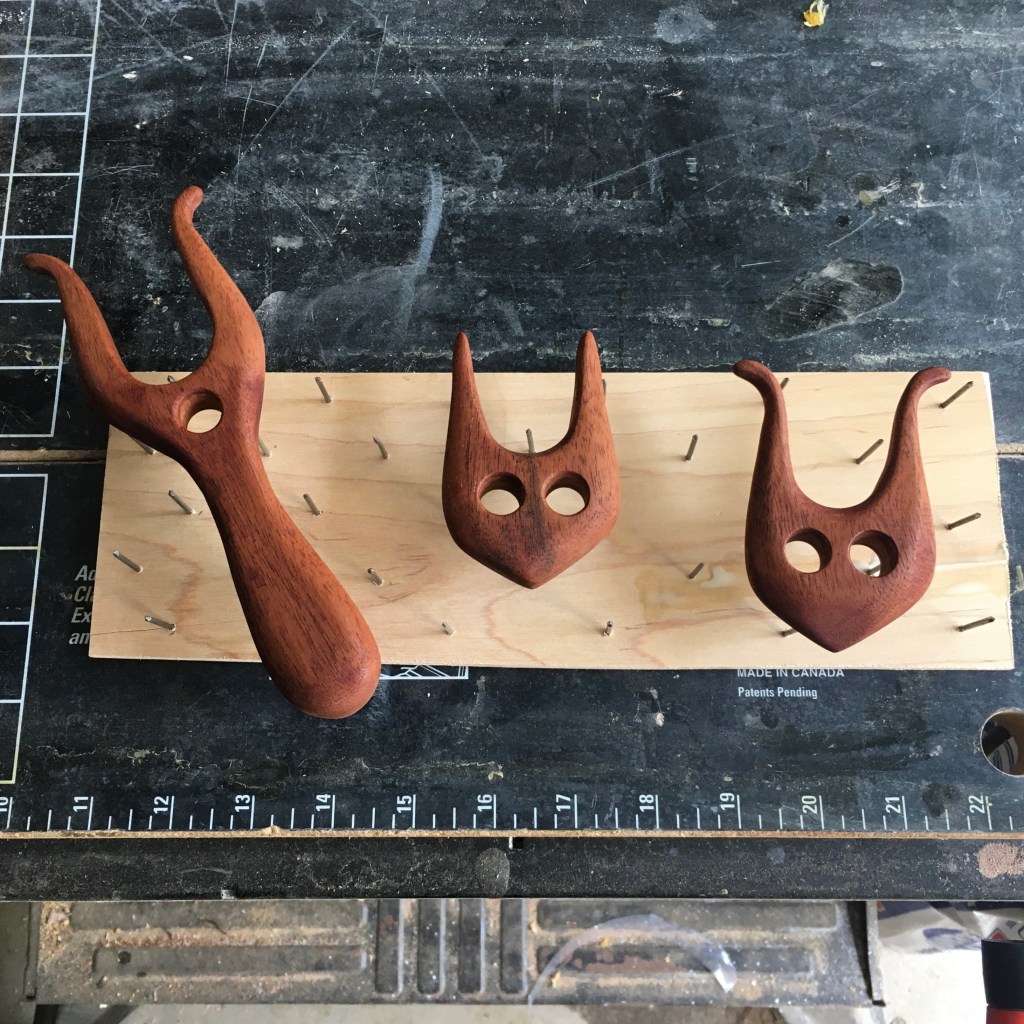
Since I’ve been making lucets, I thought it was appropriate that I make a video on how to use them! I marked my yarn with colored dots to help the viewer see how the yarn moves around the lucet and how the loops are tightened. I talk about starting, tension, lengthening, and finishing (and have marked the sections so it is easy to skip through the video).

Lucet cord showing loose, nice, and too tight tension and loop size

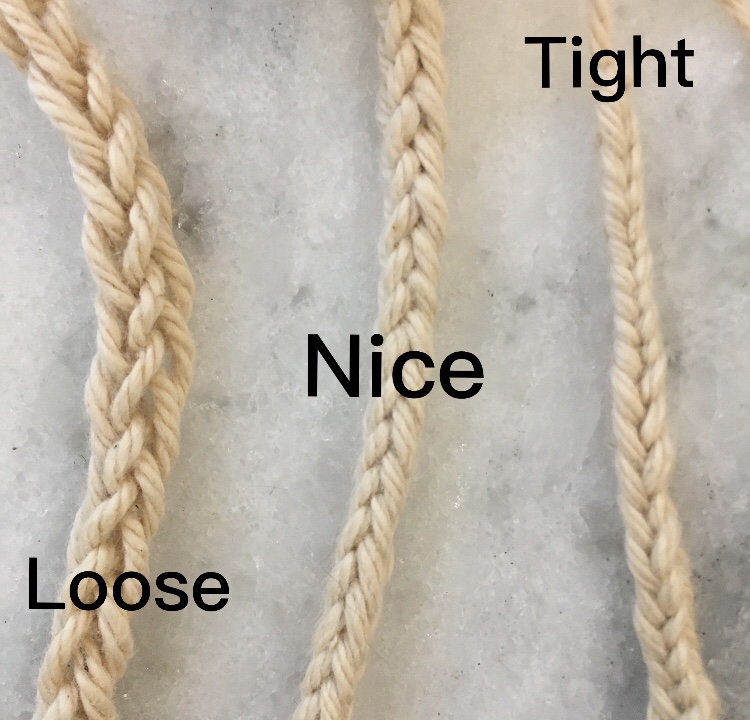
Above is an image of how the lucet cord looks with different tension issues. If you pull the loops too tight, it is very difficult to make new loops because it is harder to pull the yarn through. Too loose and the cord doesn’t have the classic look. A classic lucet cord is square and even. Making the cord is also relaxing and a little addictive once you have the moves down. I’m thinking of keeping a ball of yarn and a lucet in my bag for moments I need to fidget!

Happy National Honey Bee day!

Bee butt on a button bush

So this is a bumblebee, not a honey bee, but still cute and going about its pollinating business. I took this photo while fishing at a nearby lake (the button bush likes to grow in wet conditions).

DIY drying rack

When I am applying finish on small items, such as lucets or painted rocks, I like to coat all surfaces then place them on a drying rack. The drying rack uses nails to minimize contact and keep the finish nice on the bottom of the piece. I had the idea after seeing how potters prop up their pieces for firing after coating with glaze.

Lucets with one coat of tung oil sitting on the drying rack (left lucet is a commissioned piece, the other two are available on my Etsy site)

I start with a thin rectangle of wood, and mark out the hole pattern with a pencil. The hole pattern doesn’t need to be precise, in fact, having areas of different sizes helps for pieces of different shapes.

1/4” birch plank with pencil marks for hole pattern

I pre-drill the holes with a bit that is slightly smaller than my finish nails. Pre-drilling reduces the likelihood of splitting the board (it still can happen though, so go slow, watch carefully).

Drill bit slightly smaller in diameter than the finish nail

Using a clamp work bench, I support the sides of the board and drive the nails in on the back side of the piece. The open space insures that I don’t nail the board to the workbench.

Hammering the nails through the board supported on a split work bench

After I made my new drying rack, I spotted the one I thought I lost. Sigh. It had fallen under the work bench and was hiding. I pulled it out, dusted it off, and used it for putting a clear coat on painted rocks. But hey, I was able to do a post about making one, with pictures! And now I have two.

Painted rocks with a thick coat of clear urethane on a drying rack. Wax paper is for accidental seepage.

Salad bar update

Wheat grass under hardware cloth frame

I really thought that putting down the “salad bars” (hardware cloth covered frames), would allow a lush patch of grass to grow and the chickens would keep it trimmed, but not be able to dig up the roots. They can’t scratch up the roots, but I think they pull the sprouts up with the roots. The wheat grass slowly disappears, and I’ve had to add seed about once a week. Now, there are definitely positives. The chickens can’t get to the sprouts until they are a few inches high, and the wild birds don’t come in and steal seed (and potentially infect my chickens with birdie diseases). My chickens are definitely interested in the bars, and regularly check them for available sprouts.

101.6 degrees in the coop in the afternoon

It could be that the wheat grass is not growing well because it is hot here. So very hot. It has been 100 degrees in the coop on several occasions. I water, but it is just hot. The girls gather in the deepest shade of the side run and enjoy the breeze way and iced foot baths in the late afternoons. Egg production is very low, but not, at least, at zero. Did I mention that it is hot?

Different style headband

I have never been able to wear the loop style headbands. They just slip off the back of my head. Ironically, buttoning a mask to the headband keeps my mask on and my headband on. The things we learn. The physics are all proper with the opposing forces and all that, it is just funny. I like that with the ear loops snug to the buttons, the elastic doesn’t push my glasses forward. I trialed a thinner headband, so thought I would try some waistband elastic and a wider tube of fabric. It works just fine.

Woven cotton headband with wide elastic