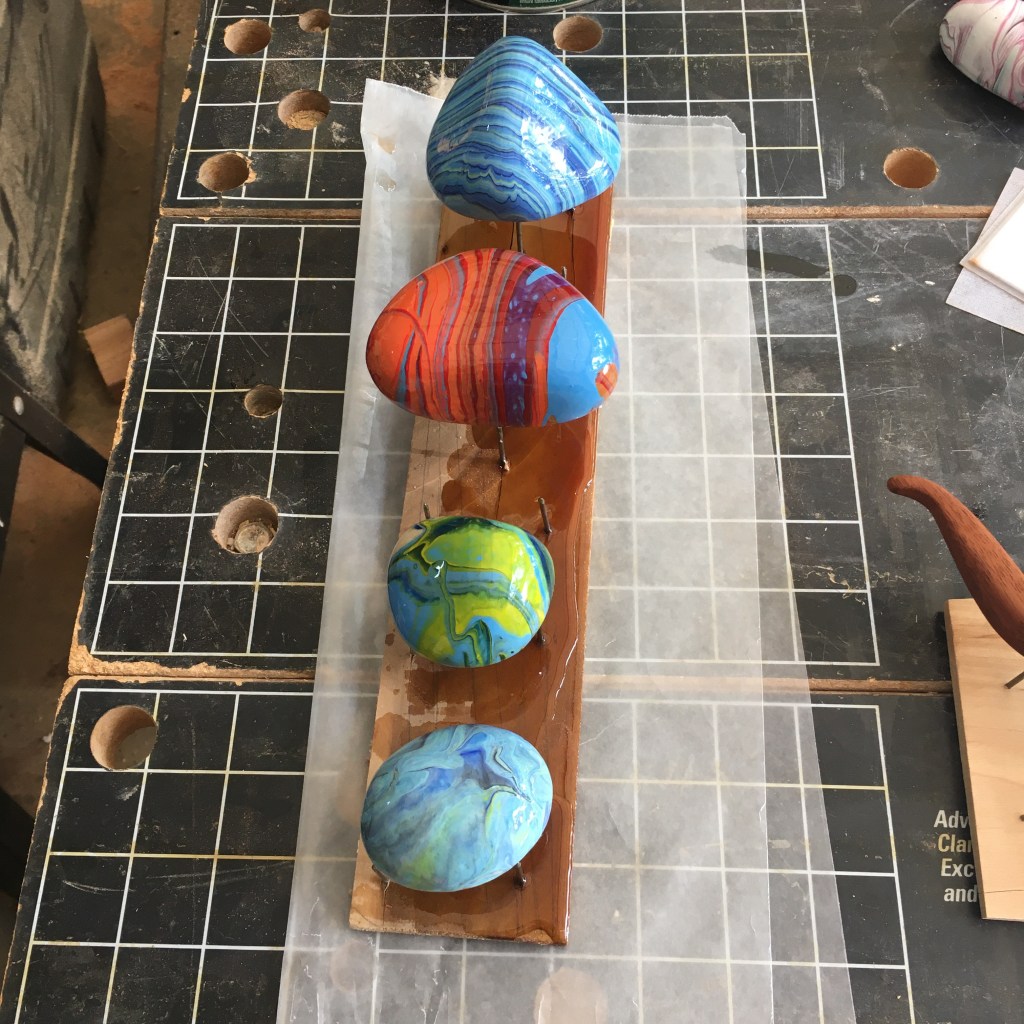
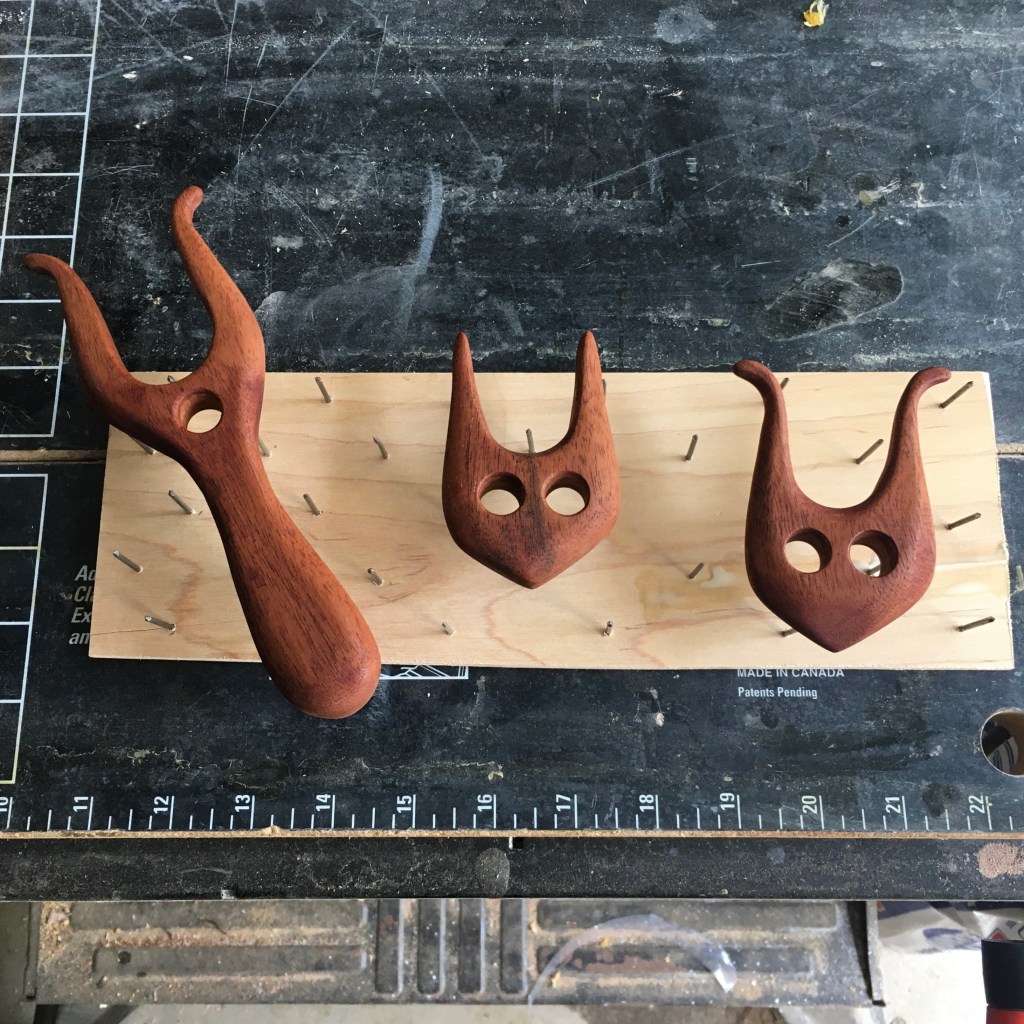
When I am applying finish on small items, such as lucets or painted rocks, I like to coat all surfaces then place them on a drying rack. The drying rack uses nails to minimize contact and keep the finish nice on the bottom of the piece. I had the idea after seeing how potters prop up their pieces for firing after coating with glaze.
I start with a thin rectangle of wood, and mark out the hole pattern with a pencil. The hole pattern doesn’t need to be precise, in fact, having areas of different sizes helps for pieces of different shapes.
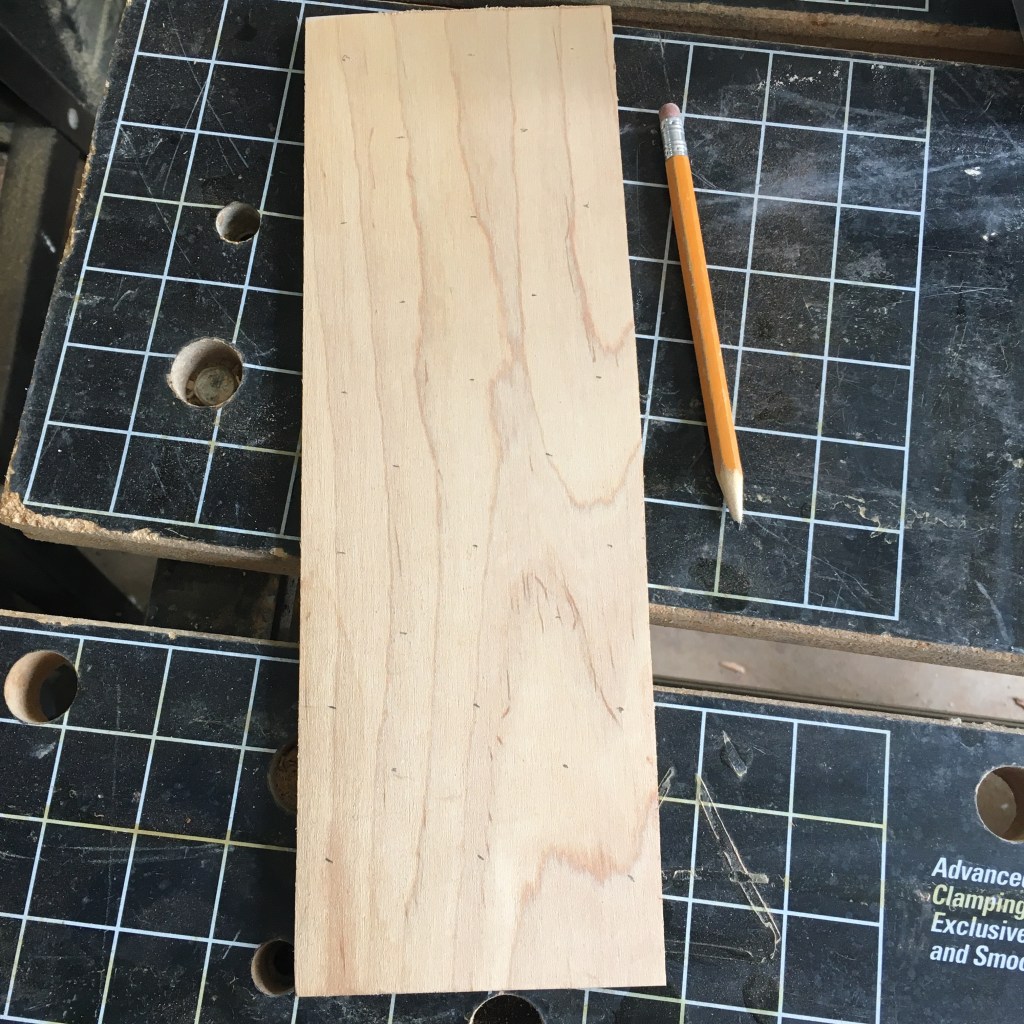
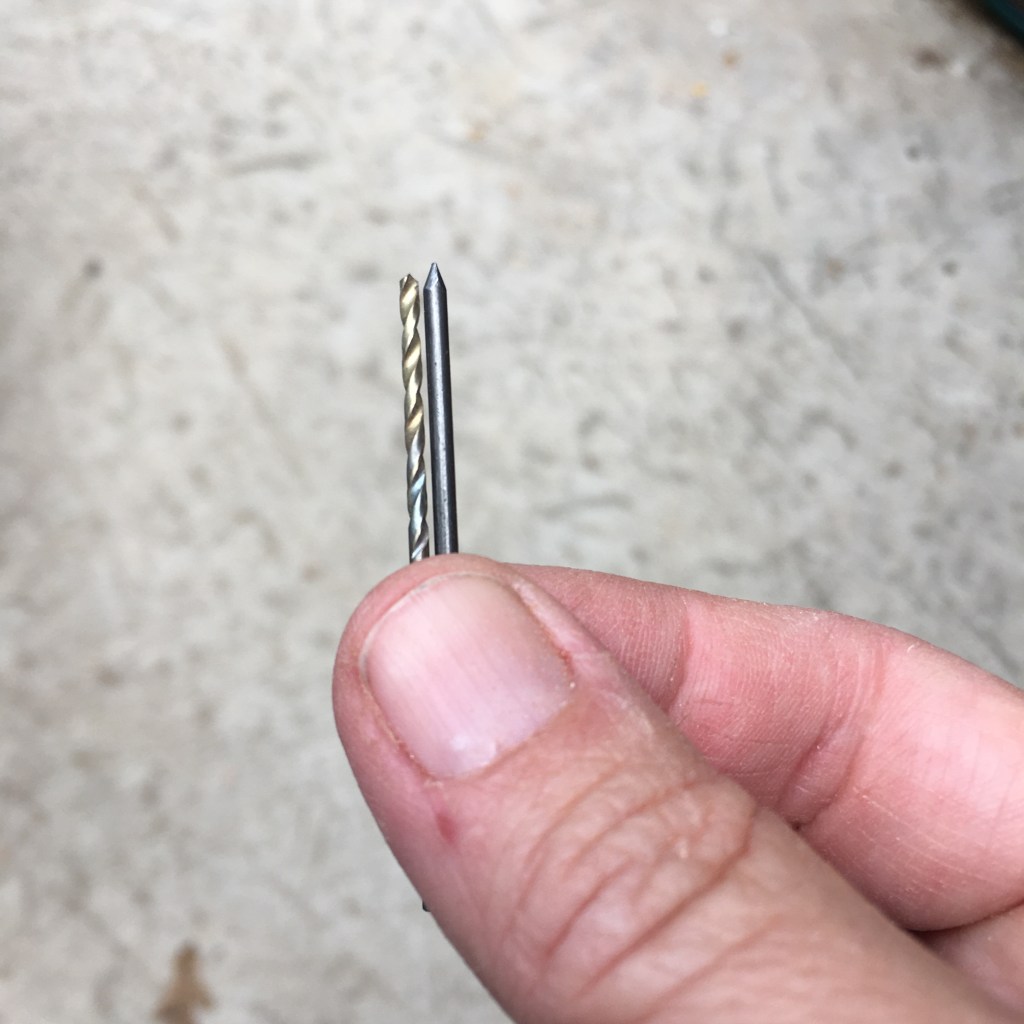
I pre-drill the holes with a bit that is slightly smaller than my finish nails. Pre-drilling reduces the likelihood of splitting the board (it still can happen though, so go slow, watch carefully).
Using a clamp work bench, I support the sides of the board and drive the nails in on the back side of the piece. The open space insures that I don’t nail the board to the workbench.

After I made my new drying rack, I spotted the one I thought I lost. Sigh. It had fallen under the work bench and was hiding. I pulled it out, dusted it off, and used it for putting a clear coat on painted rocks. But hey, I was able to do a post about making one, with pictures! And now I have two.