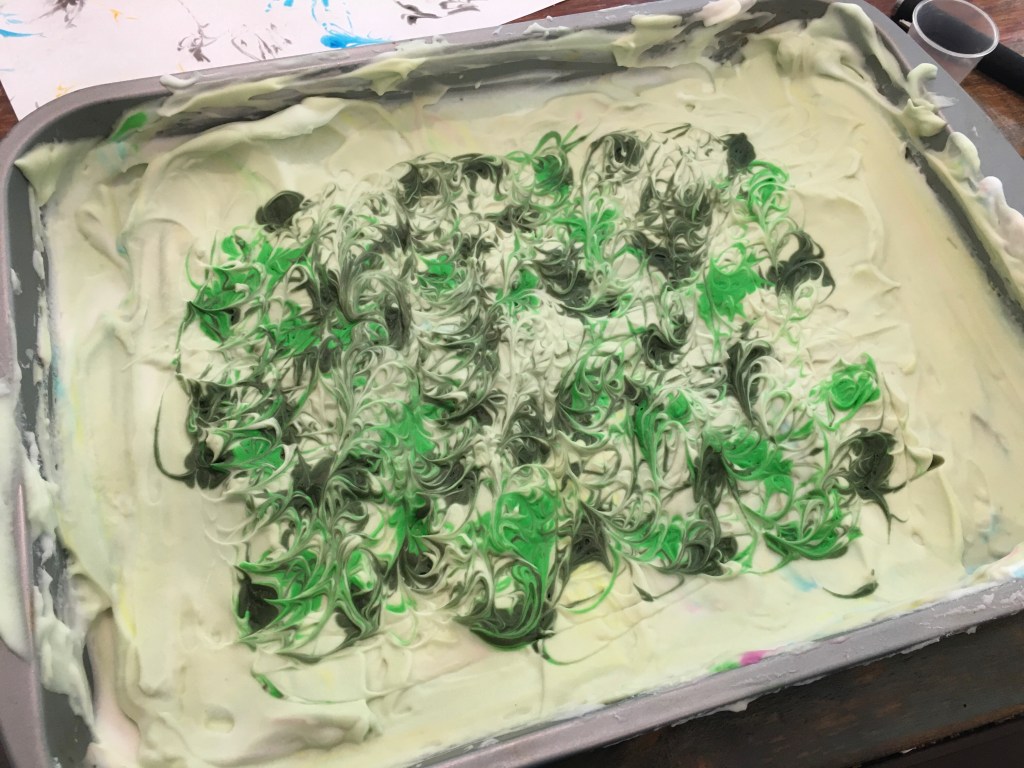
Today’s crafty thing comes from my kids. I bought shaving cream to test the anti-fogging properties on glasses (it doesn’t work). When my kids saw the shaving cream they wanted to get their hands in it! Ok? I gave them each a baking pan and they emptied the little can. They asked for color, so I pulled out the soap colorants I had in the cupboard (food coloring stains skin, so we avoided that). My eldest learned a marbling technique in art class and showed me how that works. So cool!
Pan of shaving cream with liquid color
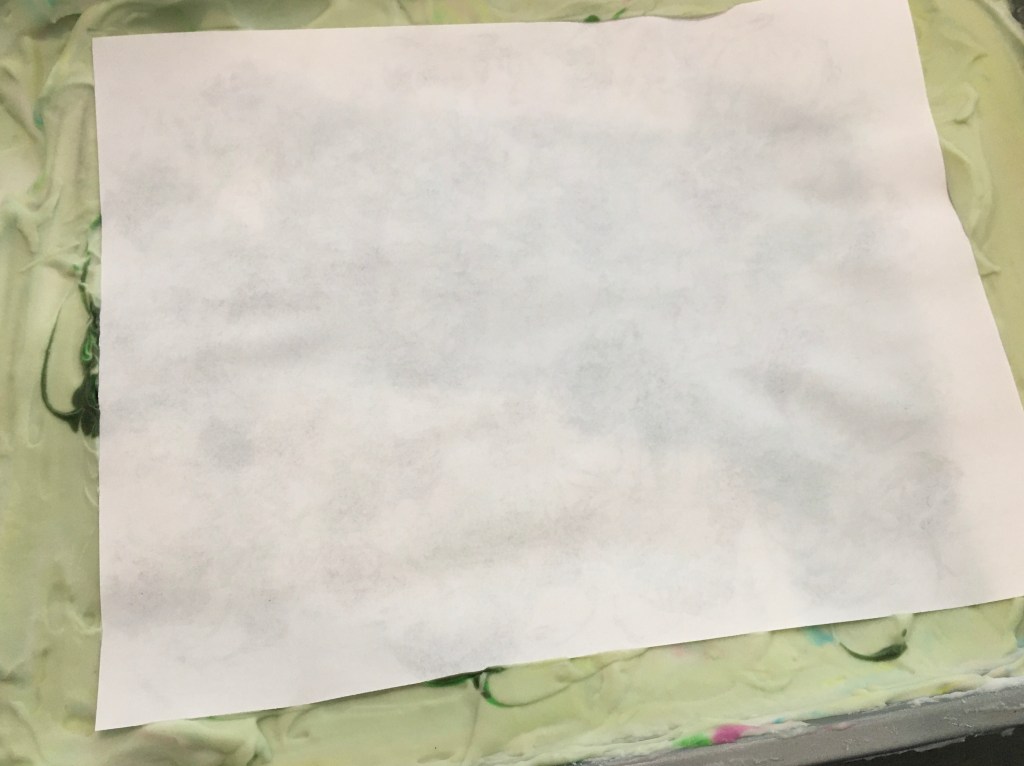
When the kids were done, I played a little. I mixed up their colored foam, added more color, and swirled it with a tooth pick. Then I pressed a piece of paper down gently on the top.
Paper pressed on shaving cream
I made three prints, added some blue, and did three more prints. I ran out of room on the table at that point, but I think I could have continued to print!
Shaving cream prints
If you do an image search on “shaving cream marbling” people have achieved some really gorgeous results.
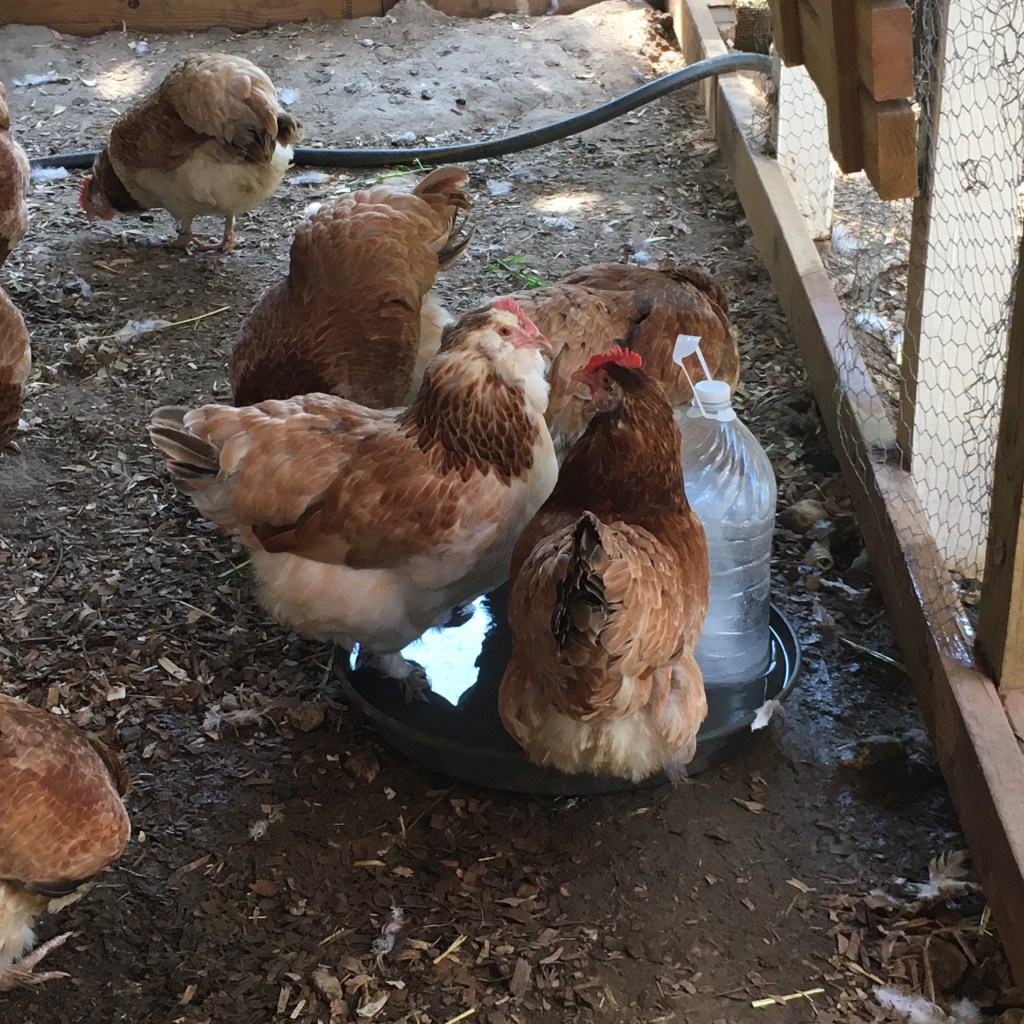
It is hot. Feels like temperatures over 100 F in the afternoons. This time last year I was in a panic trying to keep the chickens cool. I’m a little more calm this year, as I know they use the foot baths to cool down when they are hot! I put gallon containers of water in our freezer, then when it is frozen, take it out before noon to put in the foot baths. By about 3pm, the ice is melted, but not yet hot, so I clean out the yucky water and fill the foot bath (which is a plant drip catcher) with the cool water. When it is exceptionally hot, I’ll put a 16oz frozen water bottle in later in the afternoon. They all look like they’ve gained weight because their feathers are all fluffed out to circulate the air near their skin. Egg production is also down. Hot.
Rest in Peace, Pooh. Yesterday we went to check on the chickens, and Pooh the hen had passed away. She is in the picture above, top left. We figure it was something with her oviduct (an exam of her cloaca revealed a full egg, but it seemed caught in a thick membrane), or it was the heat. My eldest and I are not up for a necropsy, and since Pooh was a healthy weight, my Mom thinks it wasn’t a disease. It was hot that night too.
I am not a fan of ironing, but my steamer makes me happy. That and neat stacks of in-process masks.
Neatly pressed in-process masks (adult and kid sizes)
I also enjoy seeing the steamer do its work on the masks after they come out of the wash. I straighten out the wire, then steam the mask mostly flat. I’m sure there are wizards of ironing out there that could make them as crisp as new; I don’t have that patience, but I do appreciate storing mostly flat masks. Yes, these masks follow the first pattern I made in bulk. For the kid size, instead of starting with a 10”x14” piece of fabric, I downsized to 8”x14”. This pattern stores nicely, fits nicely, and is easy to make in an assembly line method, which means I can make more a little faster!
I have learned something new. This in itself is not new; I enjoy learning new things and strive to do so often. What I learned about cucumbers surprised me, and made me realize how little I know about horticulture (this is also not new, the things I don’t know about are a vast expanse). I have learned that there are male and female flowers on a single cucumber plant. And, I learned how to tell them apart.
Male and female cucumber flowers
I have learned about this because I have three mounds of nice healthy cucumber plants, and no cucumbers. Nada. Zip. I thought a cucumber was developing, but then it withered away. It turns out that what I saw was the unfertilized stem of a female flower. The female flower has what looks like a tiny cucumber behind the bloom, the male flower does not. My plants have many, many blooms, but the usual pollinators are not visiting, maybe because they were all in the meadow with the wildflowers and these are closer to the house. Yes, we do have an exterminator come and treat the outside of the house, but not the yard or woods. I have seen bees in the meadow and in the front yard, but mostly just dragonflies and ground wasps around the cucumbers. So now I have a soft artist’s paint brush tucked in my egg apron so that I can pretend to be a bee and transfer pollen from flower to flower. Maybe we’ll see cucumbers before the vines die.
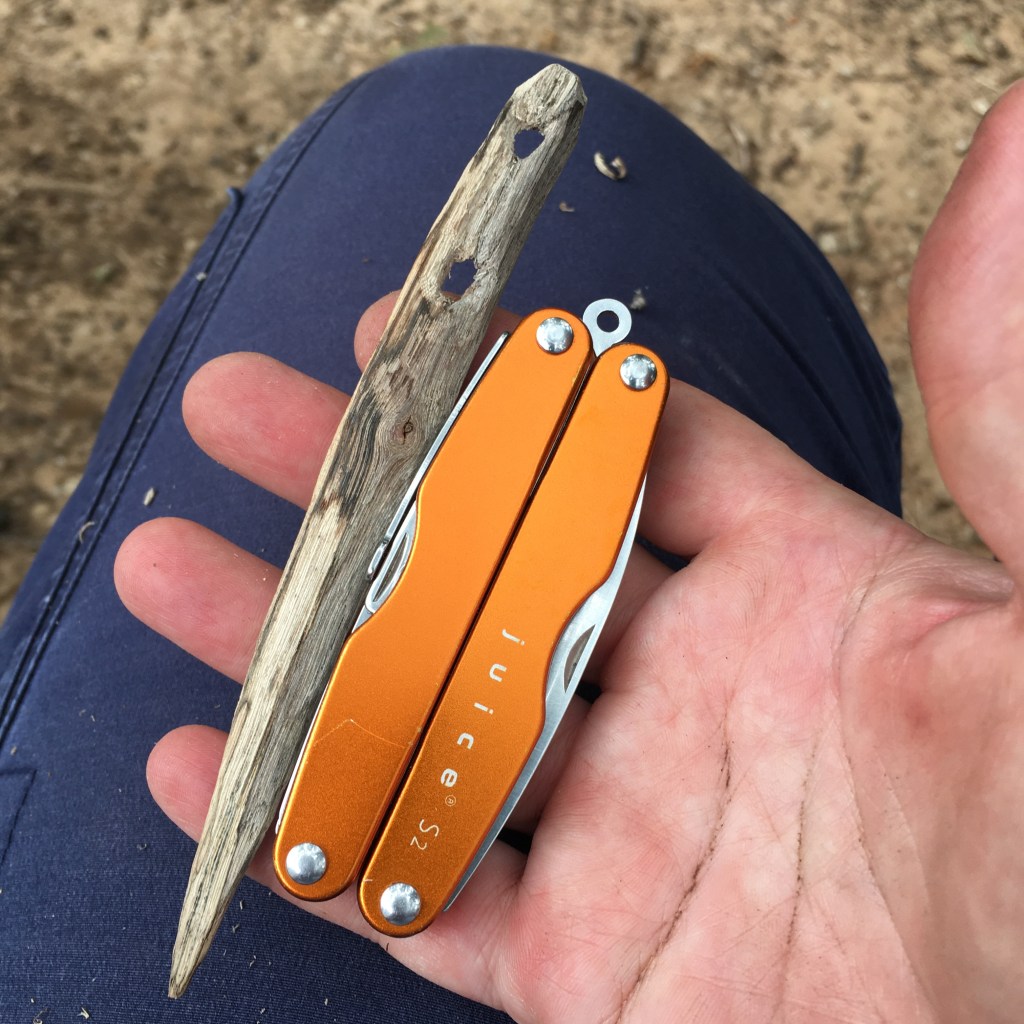
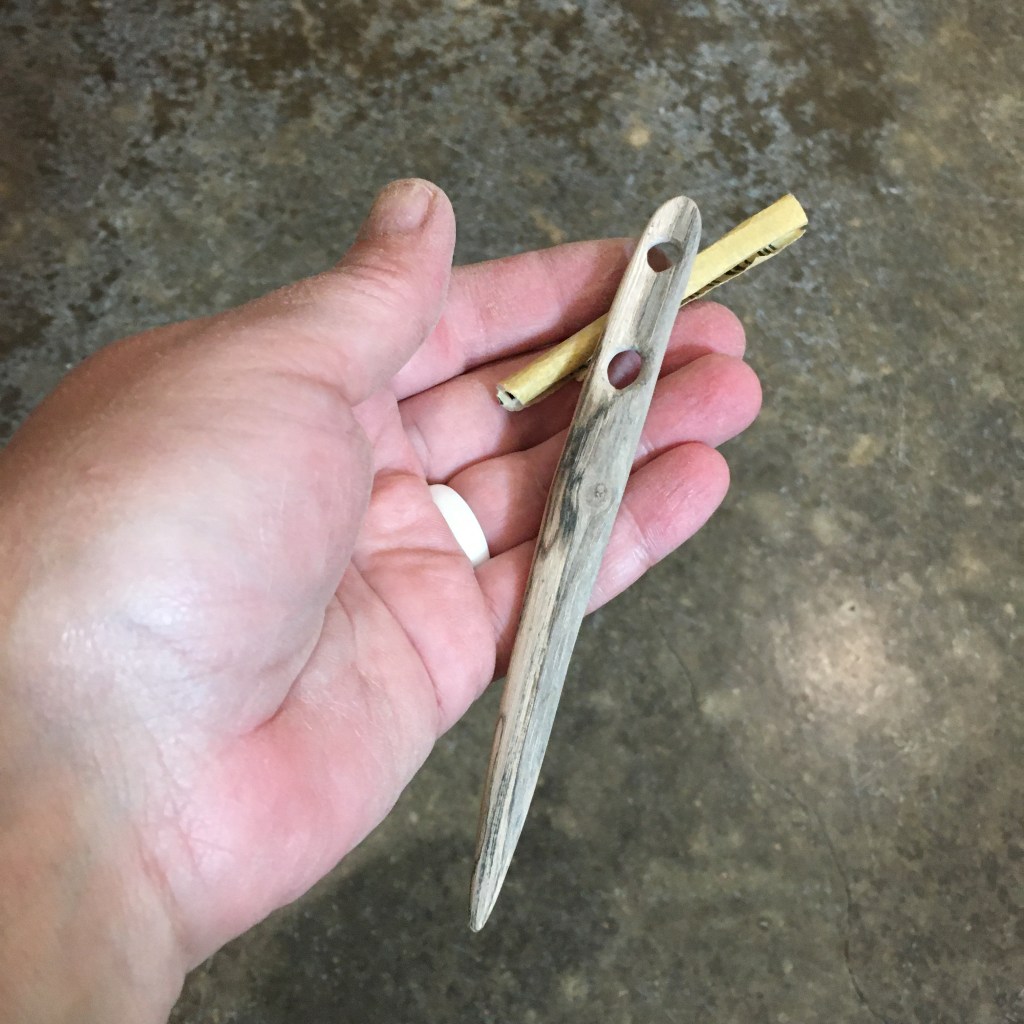
As we sat and watched the fire around the artist’s charcoal (see yesterday’s blog entry for more on that), I had extra lengths of grape vine stick, which happened to be a good length for a nålbinding nal. I had my pocket knife and decided to give carving a nal entirely by hand a try. Previously, I used a drill press for the holes, and a band sander for shaping. It was quite easy to carve the grape vine, and although it does have some flex, it is sturdy. I was able to carve out the eyes of the nal, which was the trickiest bit. I also added a channel along the eyes, which helps the loops of yarn pass through easily with the needle.
Grape vine nal, initial carving
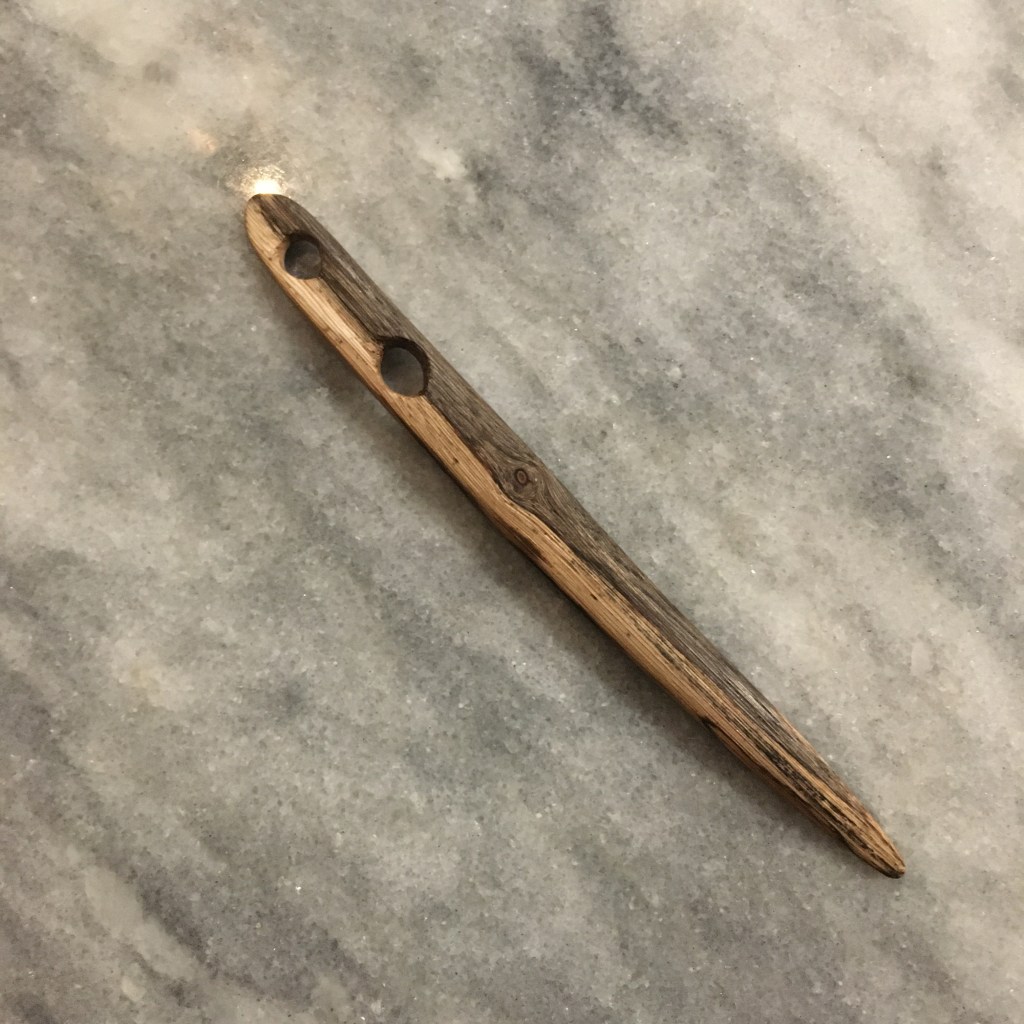
After roughing out the shape with my knife, I took 120 grit sandpaper and refined the shape and the eyes. Then I used 220, 320, and finally 400 grit to smooth the wood. Rolling the sandpaper into a tight tube helped sand out the holes.
Nal sanded smooth
At this point I tested the nal with some scrap yarn and found that it had an unpleasant bump in the middle. I went back with the 120 grit and sanded out the lump, then smoothed it out again. To be sure I had all the wood fibers smooth, I ran the nal under water. This raises the fibers that want to raise, and is an important step in wood finishing, especially for hand tools. If this step is skipped, those fibers still raise, but do so when the sealant is applied. It is much easier to use water first. When the nal dried, I sanded again with 400 grit. It needed it! I repeated the water treatment, then I had a nice smooth nal.
Raised wood fibers after rinsing with water
I usually leave my nals uncoated, letting the natural oils of the yarn and my hands condition the wood. Since the grape vine had so much raised fiber after the water treatment, I decided to apply a couple coats of teak oil to seal the nal.
Finished nal
The love the light and dark color of the wood and the slight curve!
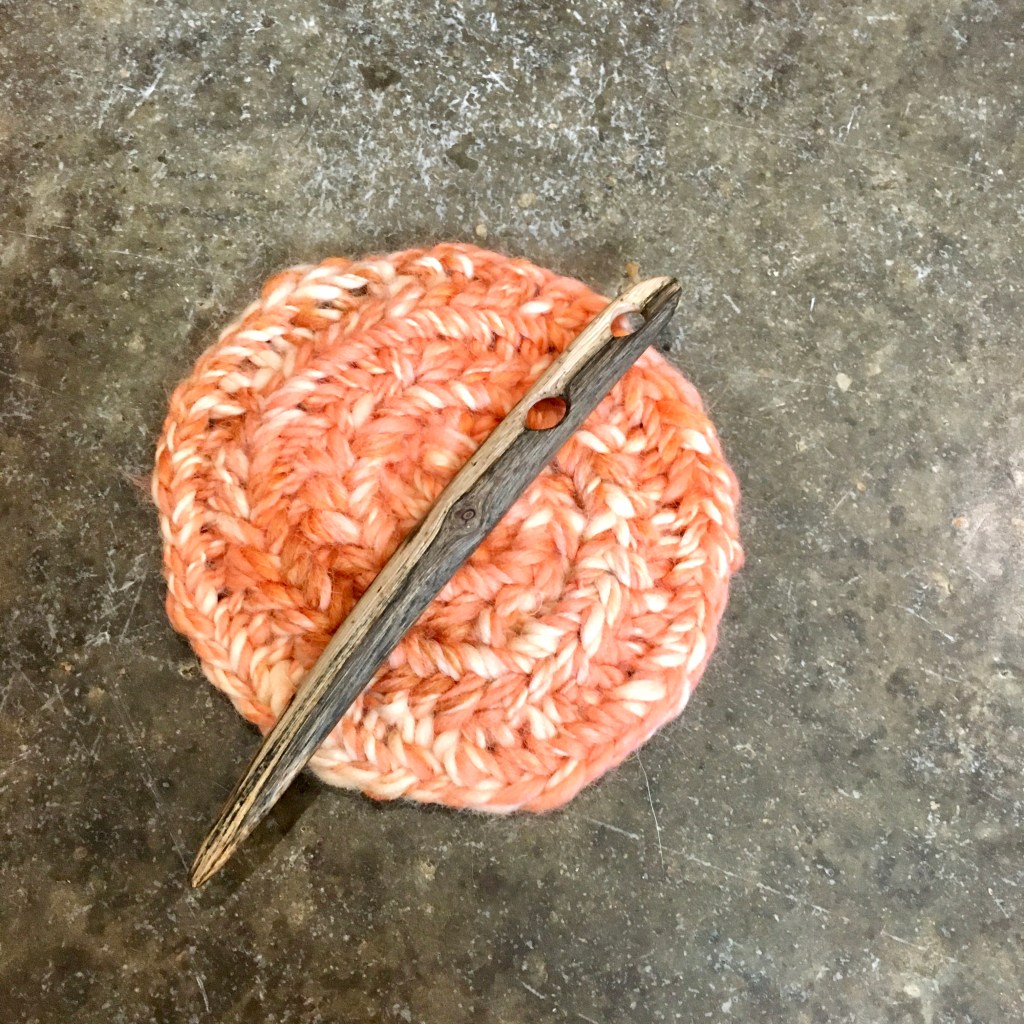
Test round with hand spun merino wool and grape vine nal, Mammen stitch