Sprout experiments

Since I have my handy kitchen sprouter, and it works well to sprout alfalfa (which also tastes good on tacos, by the way), I thought I would try some other sprouting seeds.

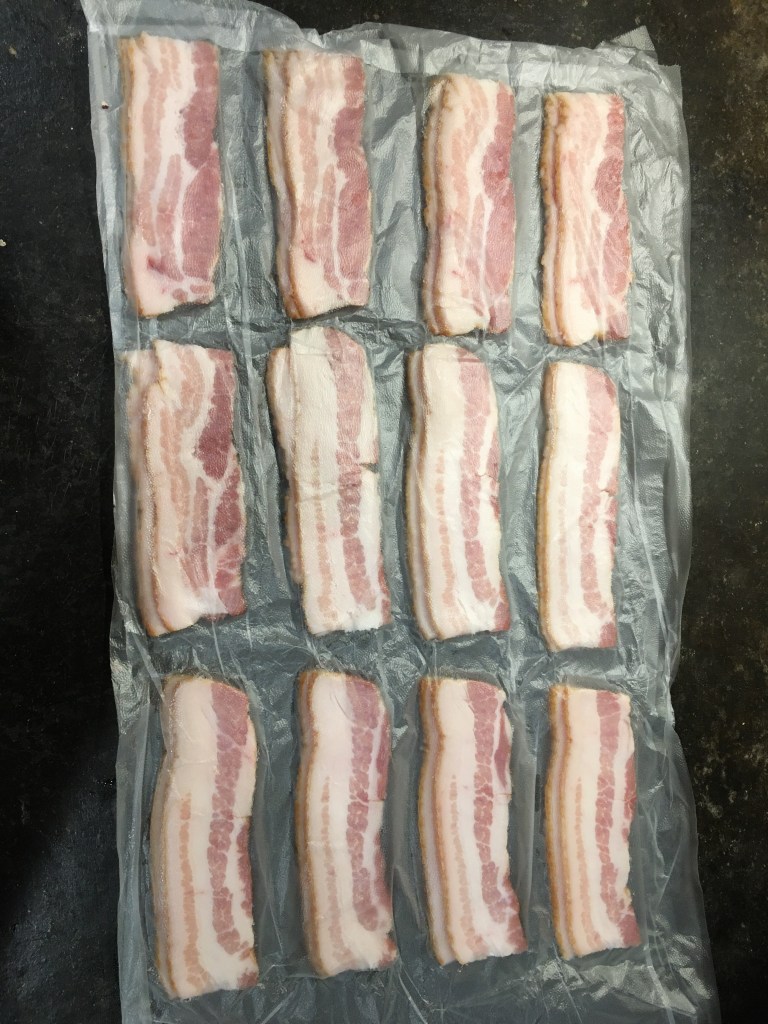
Sprouting seed assortment

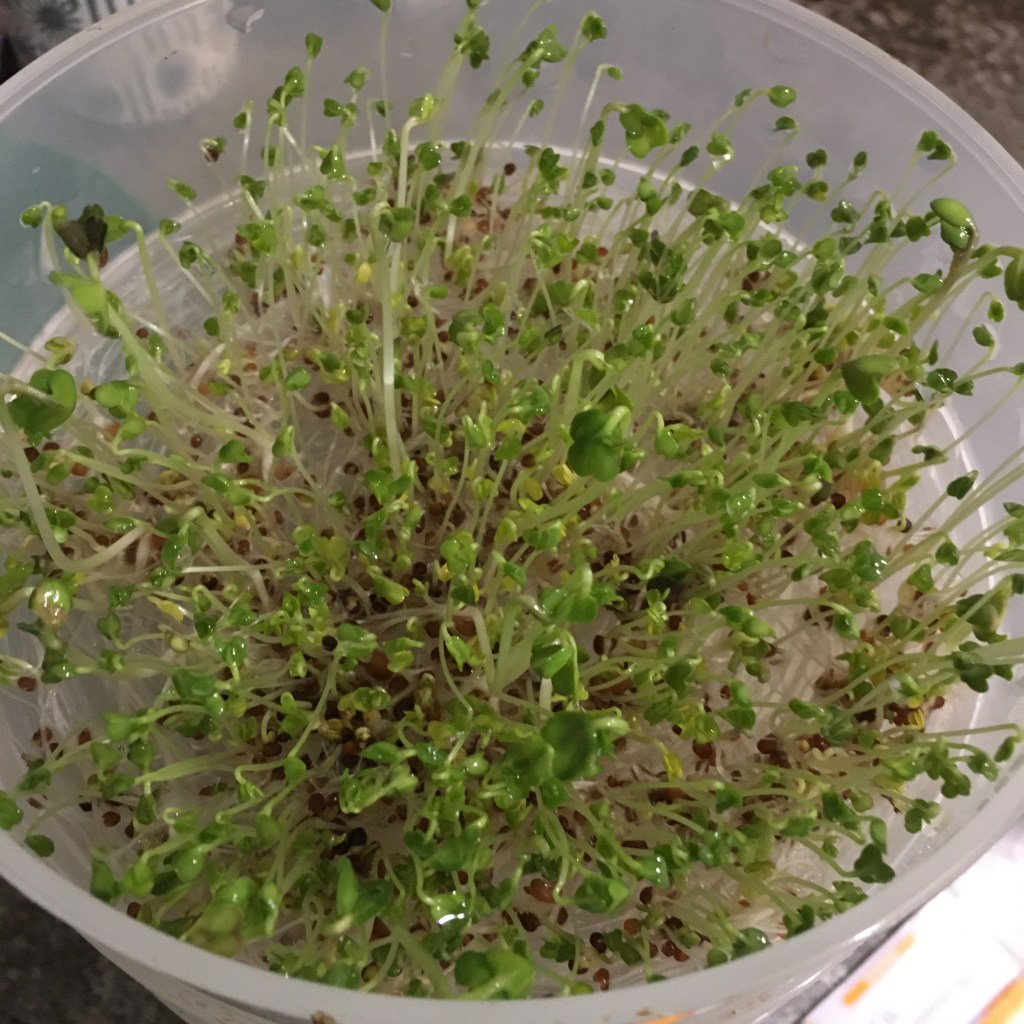
I found a variety pack of six kinds of sprouting seed mixes. I only have four sprouting trays, so I labeled the trays and rotated which seeds went in the trays. Since I was writing things down, I also recorded when the seeds were started and when the sprouts were ready to eat. (For me, that usually means the sprouts are nearing the top of the tray and there is only one set of leaves.) The trays are near an LED grow light, the house is around 72 degrees, and I change out the water twice a day (data provided for research purposes).

Crimson Lentil sprouts

The crimson lentil sprouts took 6 days to sprout. We were not impressed with the taste of these raw, the aftertaste was strong. The chickens loved them.

Mung bean sprouts

The mung beans took 6 days to sprout. The sprouts are larger, but we didn’t like the taste raw. The chickens loved them.

Broccoli blend sprouts

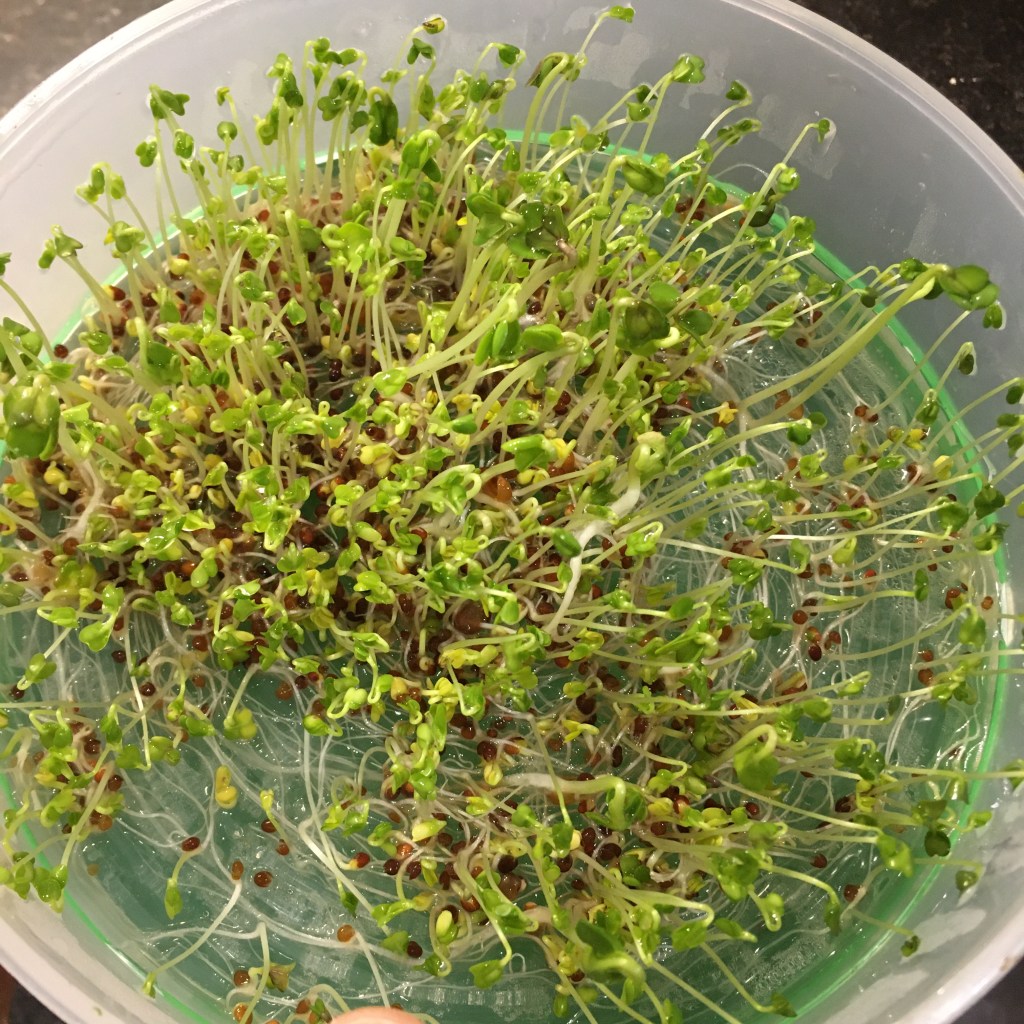
The broccoli blend sprouts took 5 days. I really liked these sprouts raw; the flavor is very mild. The chickens loved them.

Spring salad sprouts

The Spring salad mix took 5 days to sprout. This has some zing! The radish sprouts in the mix pack a punch. The chickens loved them.

Ancient Eastern sprouts

The ancient eastern blend sprouts took 6 days to sprout. I don’t care for the taste raw, the after taste isn’t as strong as the mung beans, but still not to my taste. The chickens loved them.

Alfalfa takes 6 days to sprout. These are my favorite (although that broccoli mix makes a very close second). The chickens love them too, but usually only get what is left over after tacos! No, there is no picture of the alfalfa sprouts because we ate them before I remembered to take a picture. Maybe I’ll remember to snap a shot on the next batch. Maybe.

Back to spinning!

Yay! Yarn stash busted and I’ve picked up my spinning again! But oof. Taking a month off to reduce the yarn backlog definitely took the edge off the skills I had built up. It is taking a bit for my fingers to remember the magic.

I have motivation though! My sister bought me a beautiful rosewood ring distaff, and I’m figuring out how to use it.

Rosewood ring distaff by Enid Ashcroft

The purpose of a distaff is to provide a way to keep the source fiber organized while spinning. It is quite frustrating to have the wrong bit of roving wrap itself in the yarn twist as you spin the spindle. A distaff keeps the excess fiber up and out of the way.

Too much fiber to start

The first thing I did was load up the distaff with lots of roving. Oops. Nope. I read some more, then pre drafted my roving (thinned it out), and tried again with much less.

Trying again with a smaller amount of roving on the distaff

As I am learning, starting off with smaller amounts of fiber is much easier. In the picture above, I am holding the spindle the way I think it was designed to be held. When I wasn’t paying attention, my grip would switch and my finger would come out of the ring, as pictured below.

Grasping the distaff in the middle

The distaff definitely helps with fiber management, and as I became more comfortable with it, I was able to load more fiber. There are many different kinds of distaffs as well as other methods of fiber management. So exciting! More experiments!

Engineer castle

My husband wanted an Army Corp of Engineers castle on his truck, but subtle. So I ordered some matt black outdoor vinyl, converted the public domain svg (scalable vector graphic) file to a Cricut cut file, and used my Cricut cutter to cut the sticky vinyl.

Engineer castle in vinyl

To transfer the cut image to a permanent location you need to use transfer tape. Take time to line up the image with the guidelines on the transfer tape. I had to take a couple tries on this, which means I had to cut and weed (take out all the vinyl I didn’t want) twice. Please learn from my error! And when lining up the image in the final location, soapy water doesn’t work with intricately cut out vinyl, so go slow and use your guidelines. (By the way, soapy water works great for solid vinyl. It allows some wiggle room to set the design, then you squeegee out the water and the vinyl will stick. The soapy water with this cut out just nestled cozy in the openings and wouldn’t go away.) You know what? If you do intend to do this, just cut two or three images to start with, or maybe tape an image to the inside of the window so you have more guides. Hindsight is 20/20.

Subtle castle sticker

The result was awesome. Really hard to photograph because the window is reflective and the castle is not, but very cool to walk up to the truck and see the castle because of the difference in sheen.

Freezing bacon

This is my favorite method for freezing bacon. I hardly ever cook up a whole package of bacon, and freezing it means I can cook just a couple pieces whenever I need it.

Cut bacon between layers of Press and Seal

I cut the package open, then cut the bacon in half with kitchen scissors. I take two halves at a time and lay them on one sheet of Press and Seal wrap (tacky side up). When I have all the bacon placed, I put a second sheet of Press and Seal on top (tacky side down) and run my fingers along the edges and between the sets of bacon to seal.

Bacon ready for the freezer

I can fold up the sheet so the bacon freezes flat, but doesn’t take up as much room, then pop it in the freezer. When I need to cook a piece of bacon, I take it out of the Press and Seal and put it directly into a hot skillet. Because it is cut in half, it fits well, and when it is thawed enough, I can separate the two halves and finish cooking the bacon. I also use a cast iron bacon press which helps me get super crispy bacon!