Stash busting hats: beanie

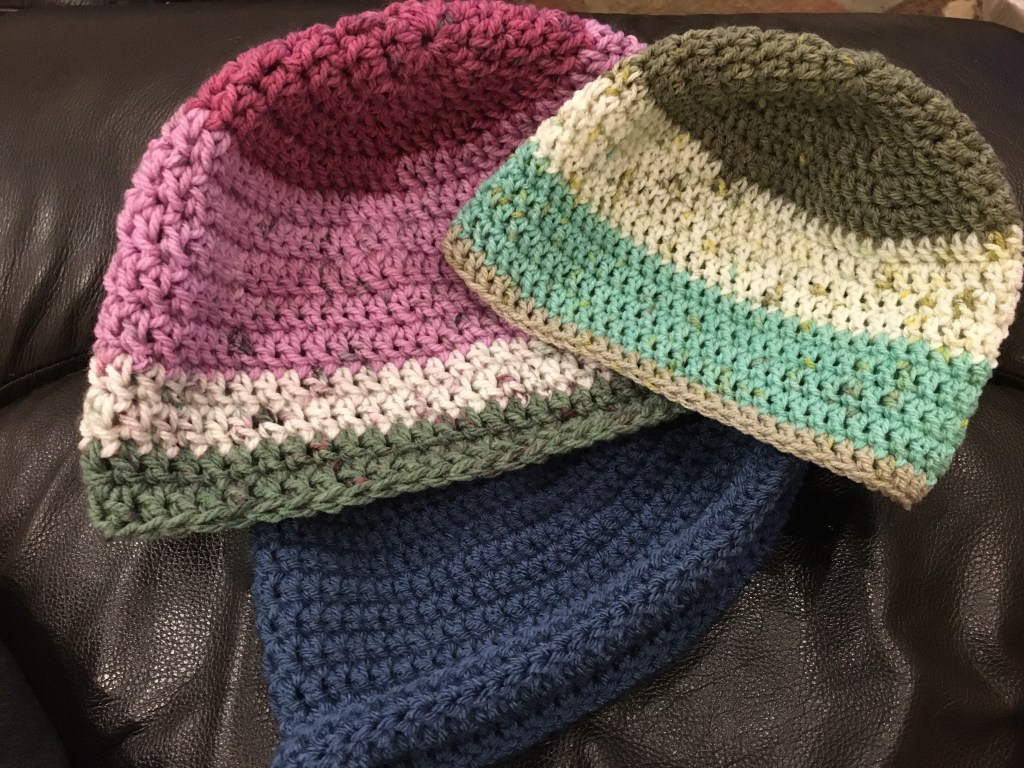
I’m using up all my acrylic yarn by making hats. I like making hats; they are useful and crochet up quick. My go-to pattern is easily adjustable to any hat size. I’ve had it memorized for so long that I don’t remember where I first learned it, and now there are thousands of variations. So here is what I do (American notation):

Crocheted beanies

Use a hook size recommended for the yarn you are using.

Row 1: Chain (ch) 2, 10 double crochet (dc) in a magic circle. Slip stitch (sl) in first dc.

Row 2: ch 2, dc in same stitch, 2 dc in each stitch around, sl in end of chain. 20 stitches in round.

Row 3: ch 2, dc in same stitch, dc in next stitch, 2 dc in following stitch, repeat, sl in end of chain. 30 stitches in round.

Row 4: ch 2, dc in same stitch, dc in next X (X=2) stitches, 2dc in following stitch, repeat, sl in end of chain. 40 stitches in round.

Repeat Row 4, increasing the X number each round. Make rows until the diameter of the circle is the hat size. (A size 7 hat has a 7” diameter. For hats for me, I found that my handspan is also my hat size.)

For the remaining rows, dc in each stitch, joining at the end of each round. You can make the hat as long as you like: to stop above the ears, over the ears, or roll up. Bind off.

Nälbinding

I made that pretty red wool that I spun into a cloche style hat using the York stitch!

Merino wool cloche, York stitch, before blocking

Because of the intensity of color in this wool, and because I wanted to block this hat (blocking is the process of getting a piece wet and laying it out nicely to dry), I gave this hat a gentle wash with Euclan no rinse soap.

Red hat soaking in the wash bowl

I let the hat soak for 15 minutes in tepid water (I didn’t want to felt it), then gently squeezed out the pink water and rolled it up in a towel to squeeze out more water before laying it out to dry.

The white towel turned ever so slightly pink

I’m glad I decided to give it a wash, not only to remove some of the extra dye, but laying it out to dry evened out the stitching making it look even nicer.

Blocked hat

I really do like the way the York stitch goes with a Z plied yarn (S and Z indicate direction of spin). I also really like spinning and nålbinding an entire piece. There is peace in taking time to enjoy the process. But it is not a fast craft. This hat took me a month to finish, working on it about an hour a day.

Looped wire basket

I’ve been exploring other looping methods, since nälbinding has caught my attention. I found reference to sculpture artist Ruth Asawa who did amazing installations with wire. I love working with wire, so decided to try to make a basket using a similar technique. What attracted me to the method is there is no welding, it uses only wire, and it makes a very attractive, and surprisingly sturdy vessel. Ruth Asawa suspended her sculptures from the ceiling (it really is worth doing an image search, the amount of work that went into her sculptures is amazing), but I wanted a free standing basket.

First basket experiment, with the final loops folded over

I started with a coil of round cooper wire that I found in my stash. I was able to verify that the technique would work by making a small curved form. I was a little stymied about how to finish the edge so just folded over the last loops. This technique works from the bottom up.

Square copper wire worked from the spool

I then moved on to my intended basket. Using a roll of square copper wire and a dowel, I built up the basket in rounds, similar to how crocheted hats are made.

Finished basket

When the basket was the size I wished, I changed my finish method so the final loops angled out to be a decorative element. I held these last loops in place by weaving wire through above and below the last row. Overall I am very pleased with the outcome! I sent this to my Mom for her birthday since Dad just installed a copper backsplash in their kitchen.

Knitted lace scarf

I’m stash busting: going through my yarn stash and using it up (so I can spin more yarn). I had a skein of machine lace in red metallic with a pattern on the label. I thought, hey! this will be a quick project.

Knitting with machine lace

I have crocheted a scarf from machine lace before, and I forgot that I said never again. Which is why the skein was unused in my stash. The idea is that you crochet or knit just the top two strands of lace, and the rest ruffles out. I’m not usually a ruffle person, but it really does make a striking scarf. But oh is that lace fiddly! I decided to pick up 10 stitches and was very careful to pick up the next loop on the lace for each stitch. Wrong. I wasn’t getting any ruffles and it was taking forever. So I took a breath, beat my OCD down with a stick, and stuck my needle in just any ol’ where. (Yes, I exaggerate, I did pick up lace at measured intervals, but because they were not always in the next loop, the ruffle effect happened.) Because I was doing a 10 stitch repeat (and turning the work in the same direction each time), I ended up with a sort of flat spiral. To maximize ruffle, I gave the whole thing a couple of twists and connected the ends to make an infinity scarf. I was much more pleased with the final result than I expected!

Ruffle infinity scarf

It was on sale

And it was the last one. I went in for chicken feed and pine shavings and came out with an extra chicken. At least I don’t have to figure out how to integrate this one into the flock. She is a stand alone bird.

Crystal Splendor Chicken light up decoration
Night view of chicken holiday decoration