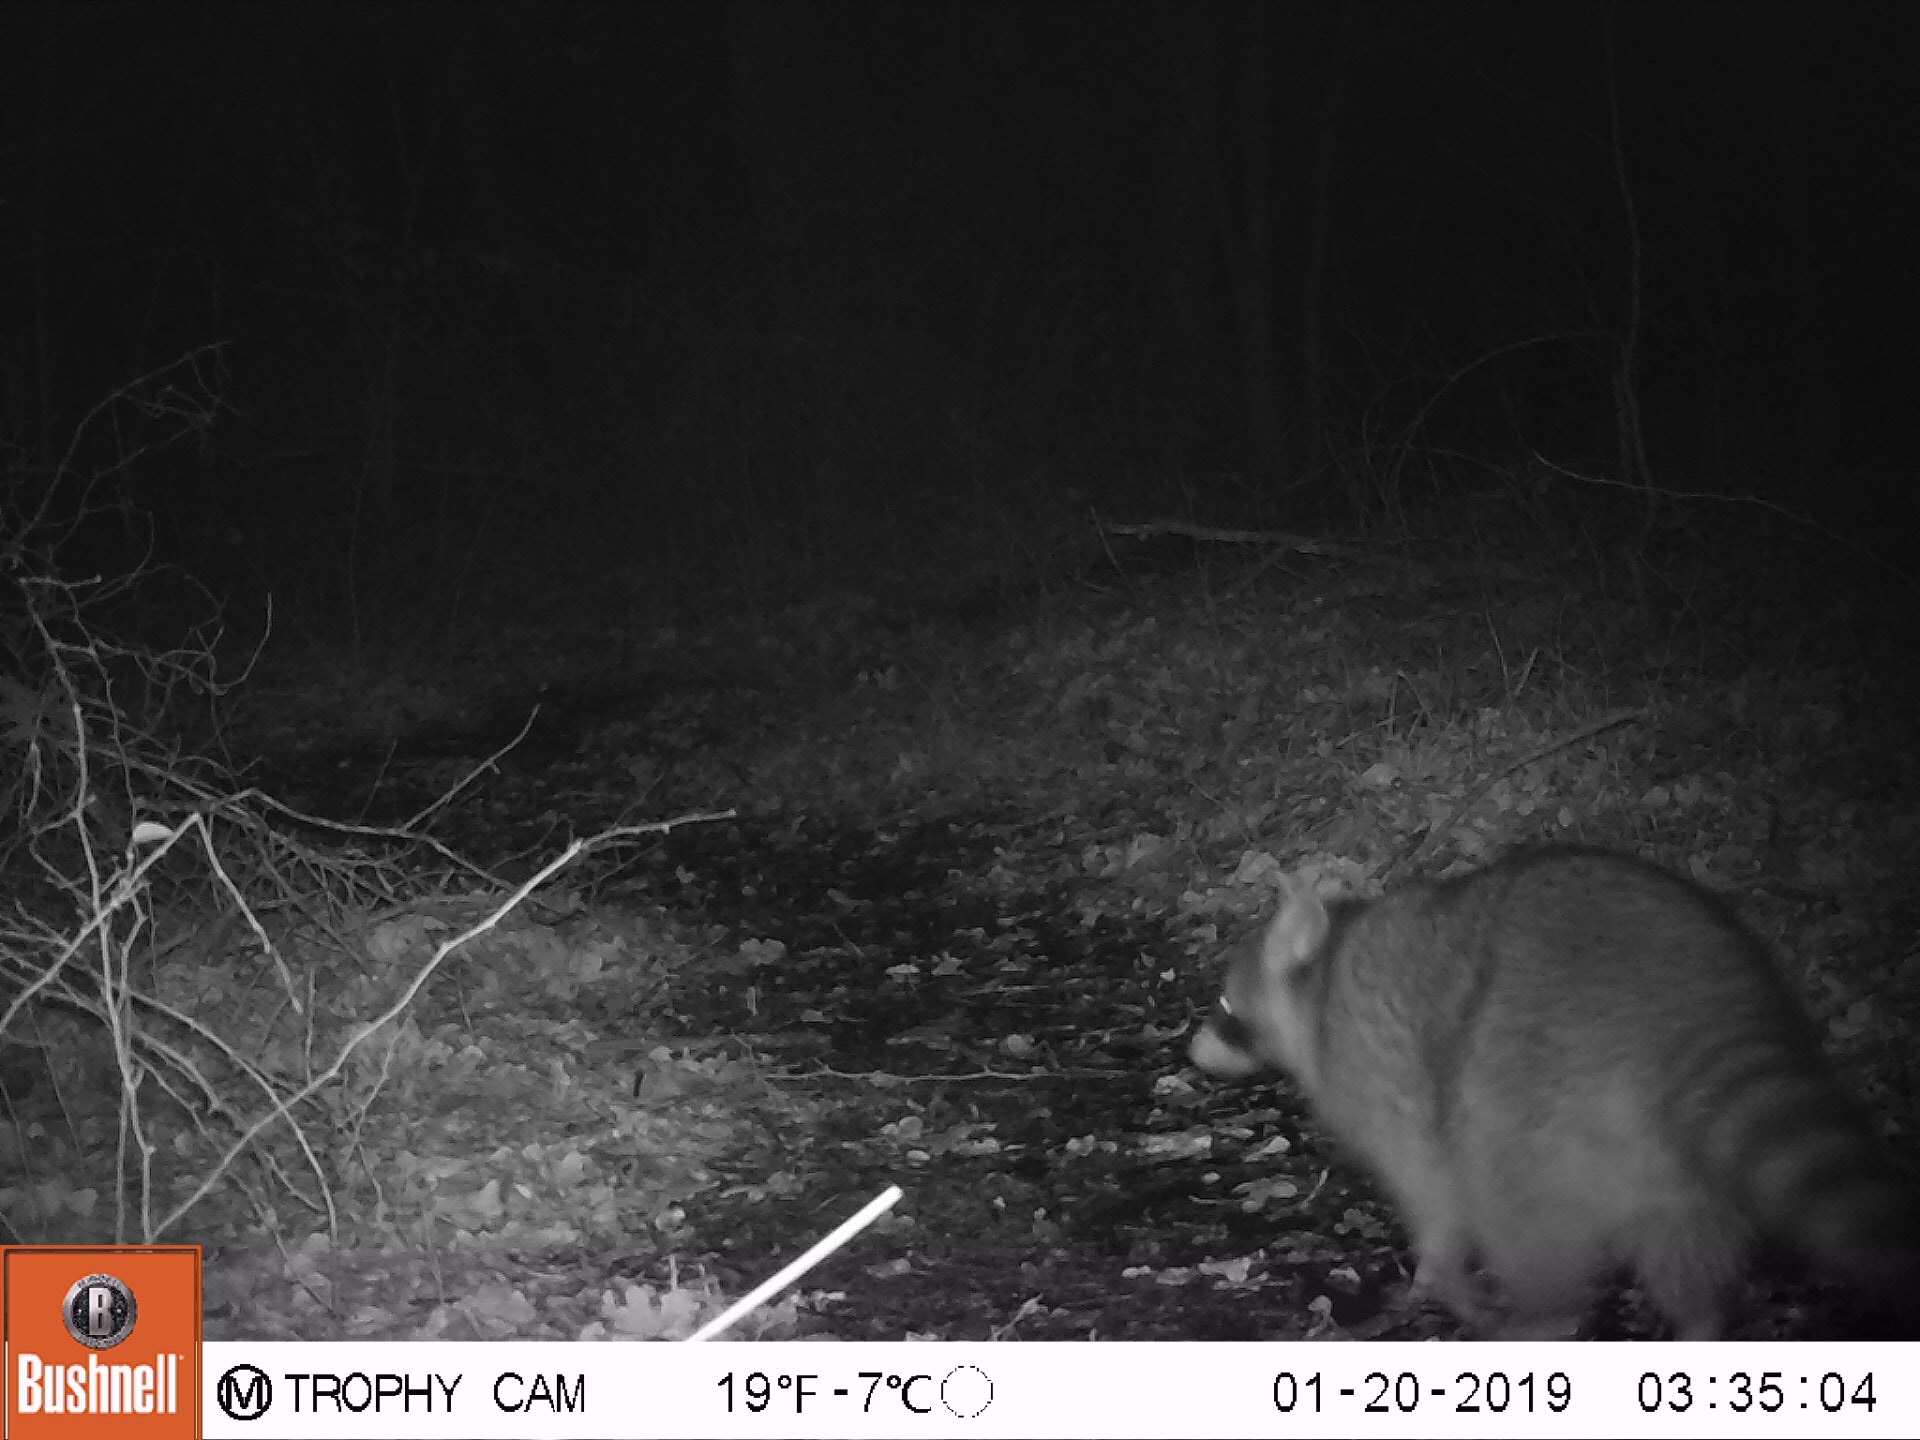
You know what else likes to eat chickens? Raccoons. And we have a whole family of raccoons that live on the property, and they regularly show up on the trail cam.
So I know raccoons are smart (I did read Ranger Rick as a kid, and even recently with my own kids), but I didn’t know until recently that raccoons can undo latches. And raccoons can tear through chicken wire (chicken wire is really just effective against chickens, everything else can rip it open or crawl through), so we will be using hardware cloth to cover any openings in the coop and will bury it around the base of the coop and runs to keep these critters out. And use complex latches that need two or three steps to open. Phew!
I have winter garlic sprouting up! It is very exciting to see the shoots of green coming up from where I planted them. They won’t be ready to harvest until late spring or early summer, when the green wilts and turns yellow, but so encouraging.
Apparently nothing eats garlic leaves either, so I planted them outside the chicken runs. Once the coop is done, we will set up three runs, with the middle section as my garden. My plants will be protected from rabbits and deer, and have natural bug exterminators roaming the perimeter! (Chickens love bugs, but also garden plants, so they will only be let into the garden when harvest is over.)
So we check the trail cam periodically, and on this last check found a picture of this cutie.
We believe this is a common gray fox, and the trail cam has picked up a few pictures of her (him?), but never straight on like this one. This is one of the biggest reasons for building Chicken Fort Knox. The photo was taken less than a 100 yards from the coop. Not only do we have foxes (and coyotes, and bobcat), the neighborhood dogs tend to slip through their electric fences and go for a stroll through our property. Dogs and chickens don’t go together either, so we need to anticipate trouble. Everything likes to eat chickens.
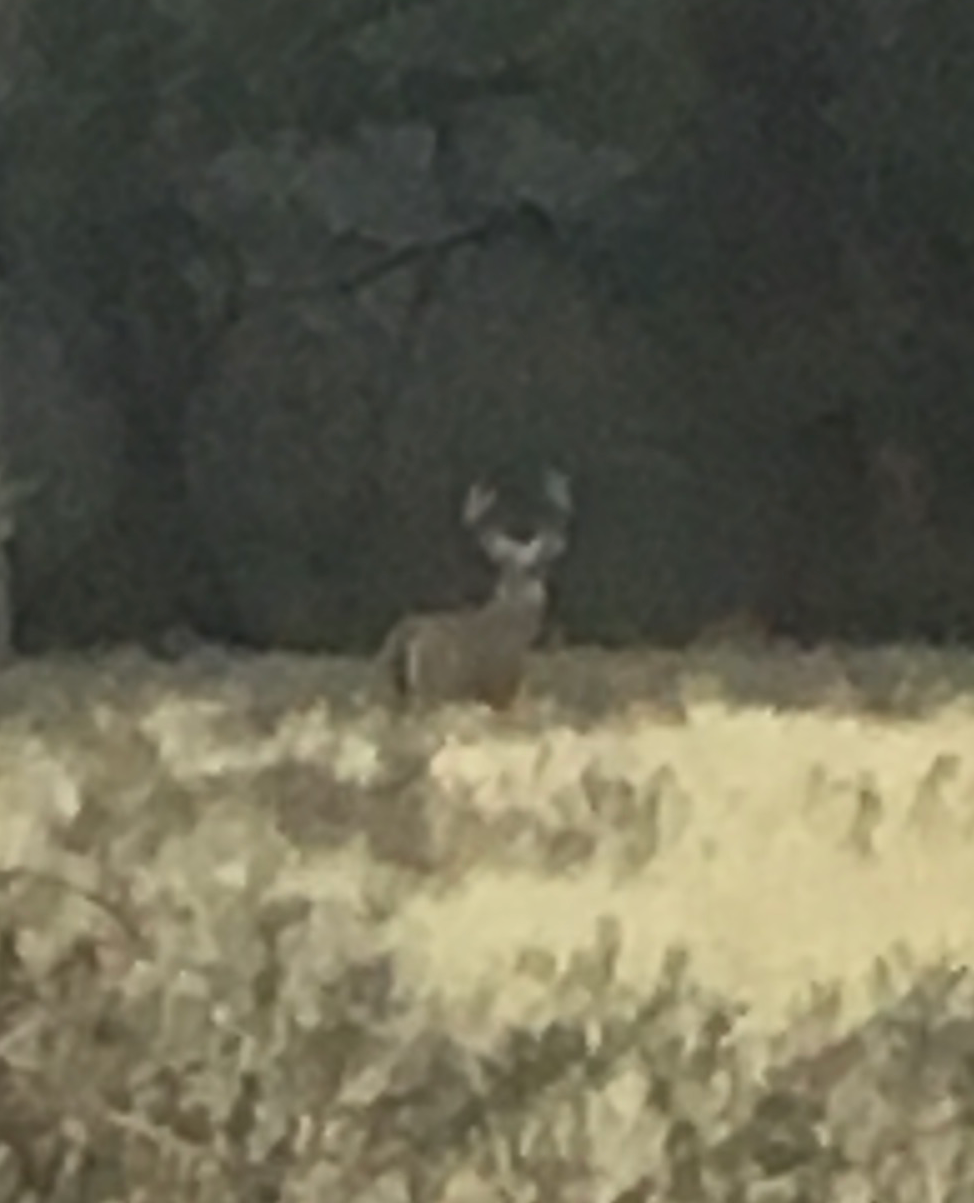
picture, that is. Our town has some nice walking paths, and there is a herd (or two) of deer that hang out near the paths. Last week I saw two bucks amongst the does. I see the does quite often, but spotting the bucks is more rare. I tried to take a photo with my phone, epic fail.
Epic phone picture fail
So I have started to carry my good digital SLR camera on my walks. It takes a little longer to get through my walks, because not only am I walking farther to see if I can find more picture opportunities, I stop a lot. Oh well, fresh air and sunshine is good for the soul. I also have taken some nice pictures of the does as well. Maybe I will even spot that older buck again one of these days, with camera ready.
I love the pantry in our house, but there wasn’t an area to put spices that made them easy to find. I recently sorted the spices and discovered three containers of garlic salt. Apparently I thought I was out because I couldn’t find any so bought more. Three times.
I decided to make my own spice rack for the pantry door. I’ve tried the wire racks screwed to the door, but they tend to fall off when accidentally bumped. (And I often forget my edges and bump into things! Ugh.) Not to mention cleaning up glass and wasted spice from the floor is not a preferred activity. So I measured my space and my largest containers and made my plan.
I went to the lumber store and picked out 1x4x8 select pine, and found some beautiful embossed pine trim. There are several ways to construct spice racks; I could use rabbet and dado joints, biscuit joints, or mortis and tenon joints. I decided to work on my chisel and hand saw skills and do mortis and tenon joints. It took me a while, but the last mortis was much cleaner than my first! Here is a picture of the side boards with all the mortises cut.
The saw I used is a Marples hand saw, fine cut double blade pull saw, which I absolutely love for fine cuts. (Especially when my band saw is buried at the back of the garage. Cleaning out the garage will take a couple stages and the chicken coop comes first!) I also used a 1/2″ straight chisel that I made sure was nice and sharp before I started.
I was pleased when I glued everything together how well it came out! I was planning on painting it white, but the wood looked so pretty I changed my mind and put on a couple coats of clear. After filling the nail holes and a few gaps with wood filler. (Have you tried the color changing wood filler? I haven’t used it before, but it worked well. A little shocking to spread bright pink paste on my project, but when it was dry it faded to a nice natural color, and sanded well.)
So here is the final project all ready for my spices! I’ve made the mistake of putting items on a finished shelf before the recommended 24 hours, and have had things stick to the shelf. So I’ll give it a good 48 hours then load it up! Yay for pantry reorganization!