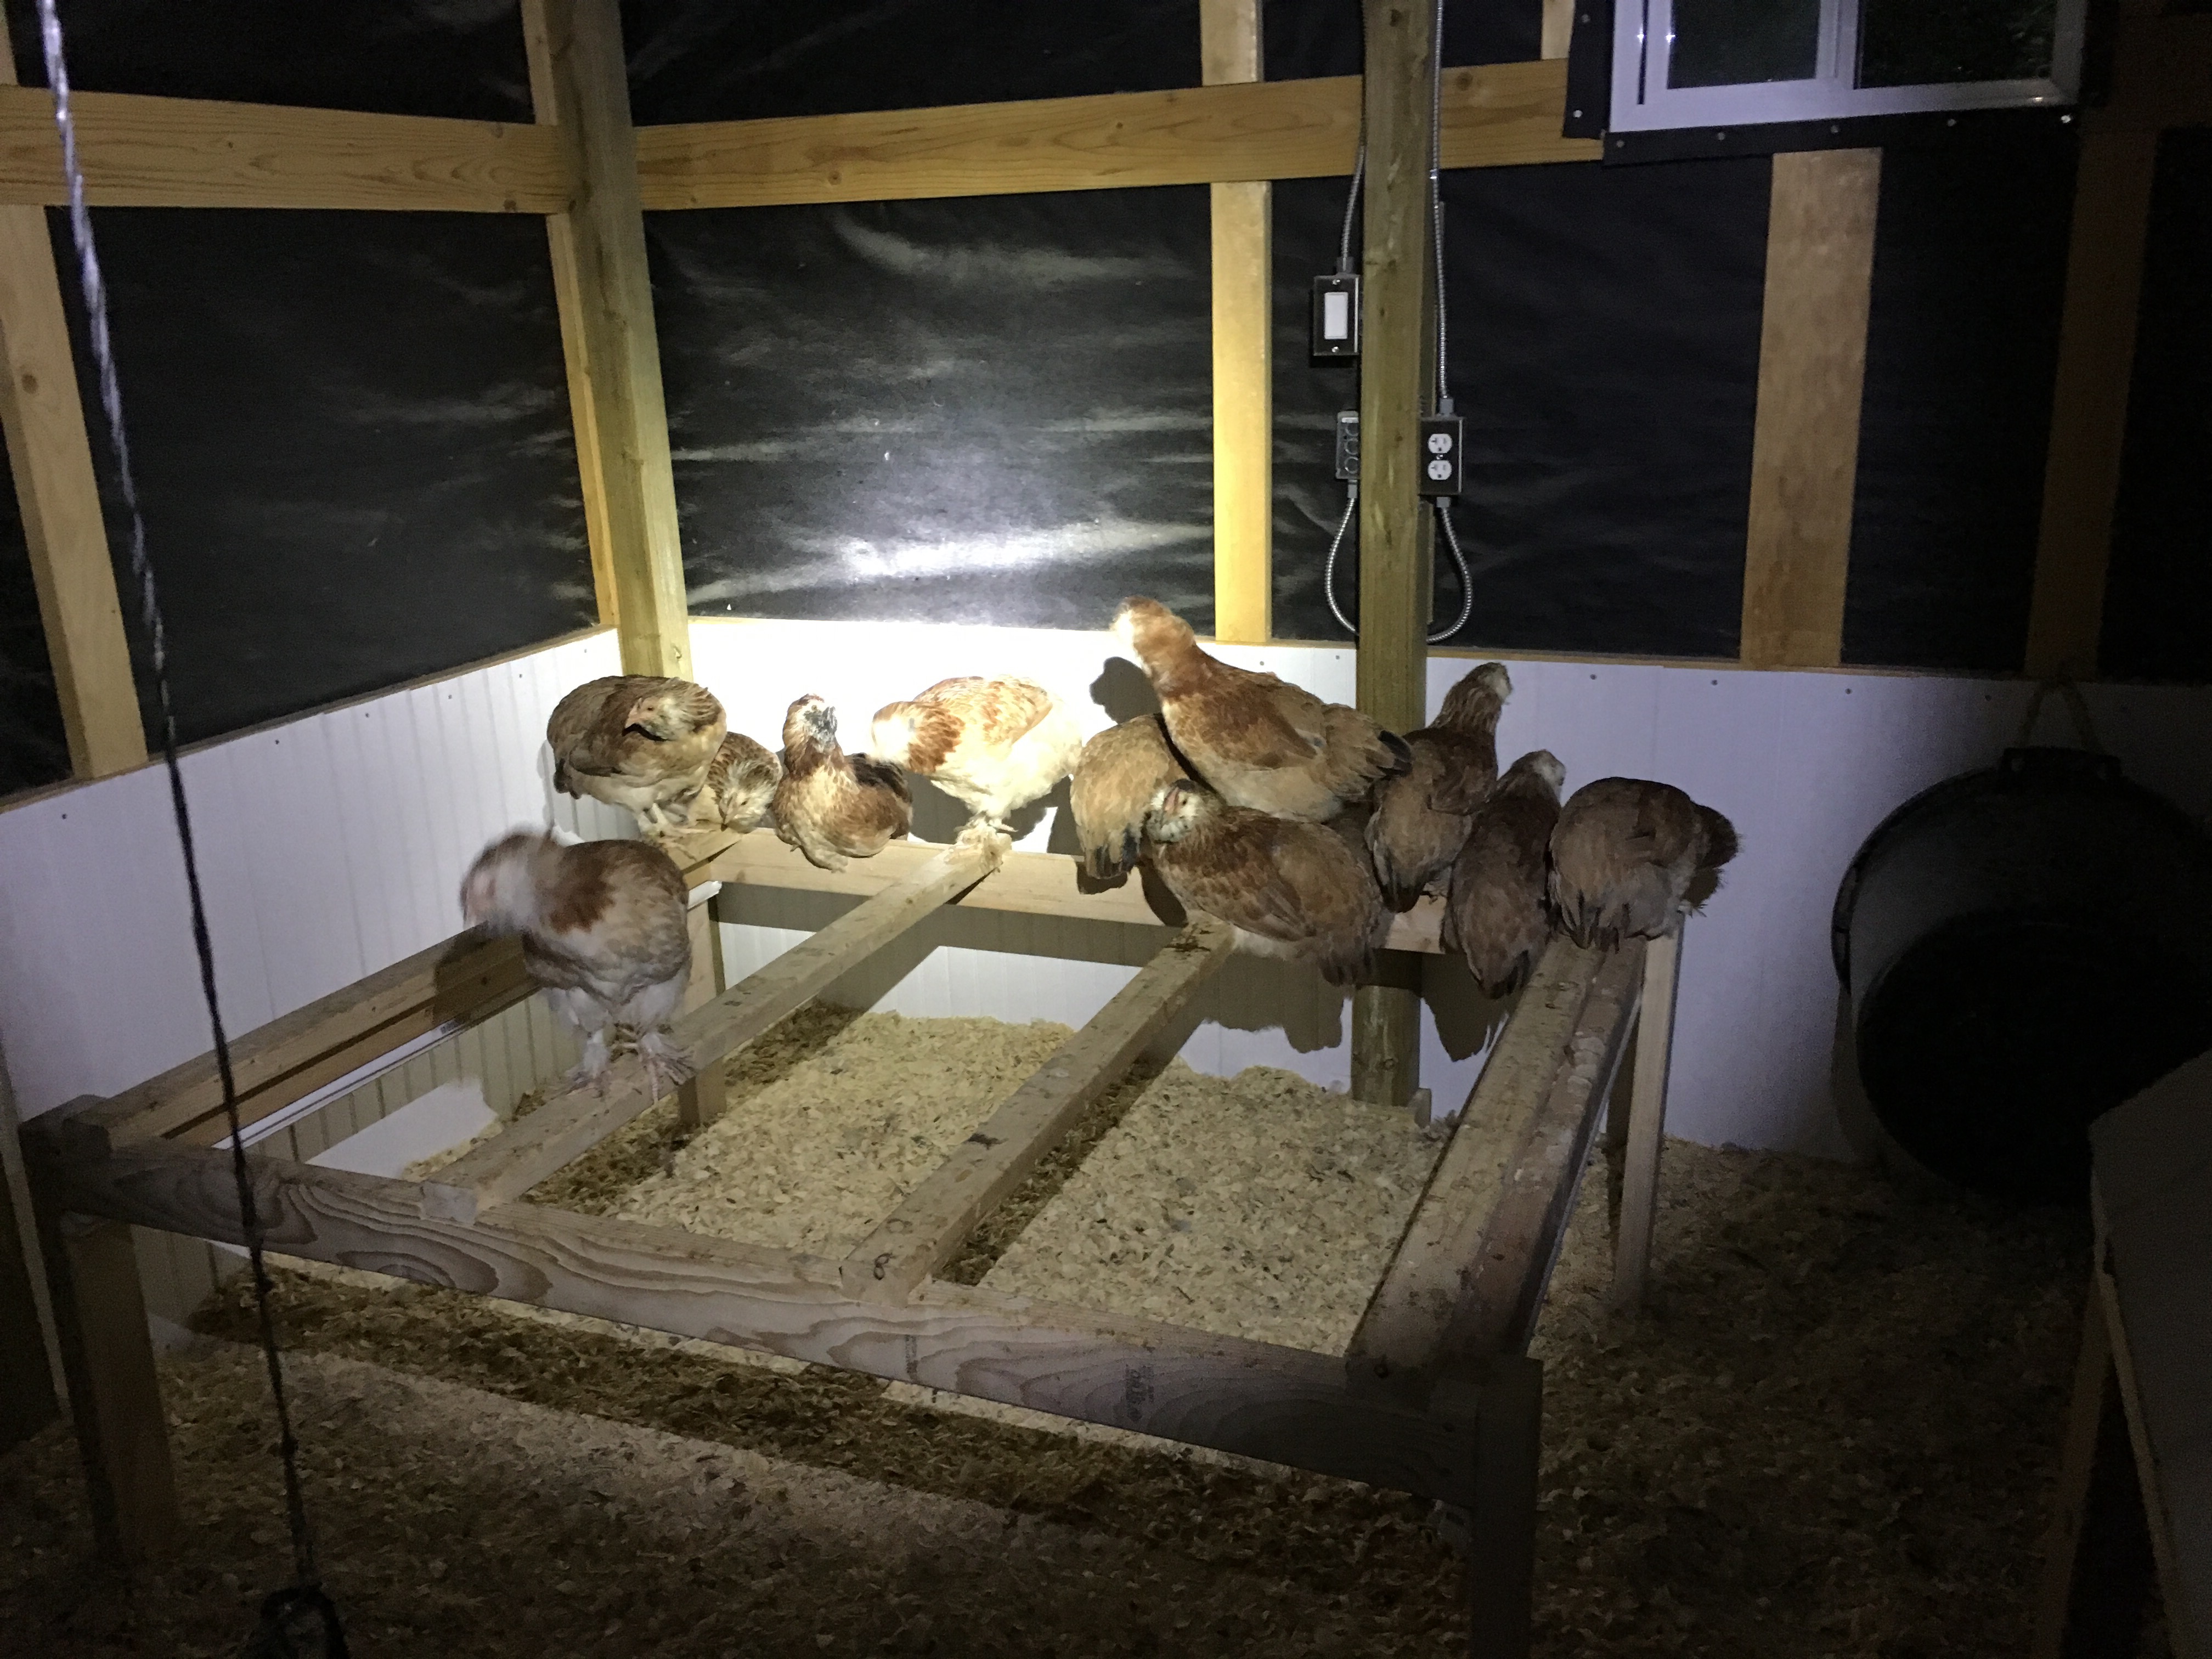
All the chickens roosting in the glare of the flashlight.
Finally! When I did my last check on the chickens before bed, they were all roosting! None on the ground, hurray! I had to keep the light to a minimum, so they didn’t come ask for mealworms, so briefly shone enough light from the flashlight to get photographic evidence.
I will wait for awhile before trying the poop catcher, though. Deep litter method it will be for the time being. (I turn over the pine shavings to mix in the droppings every morning, rather than scooping them out.)
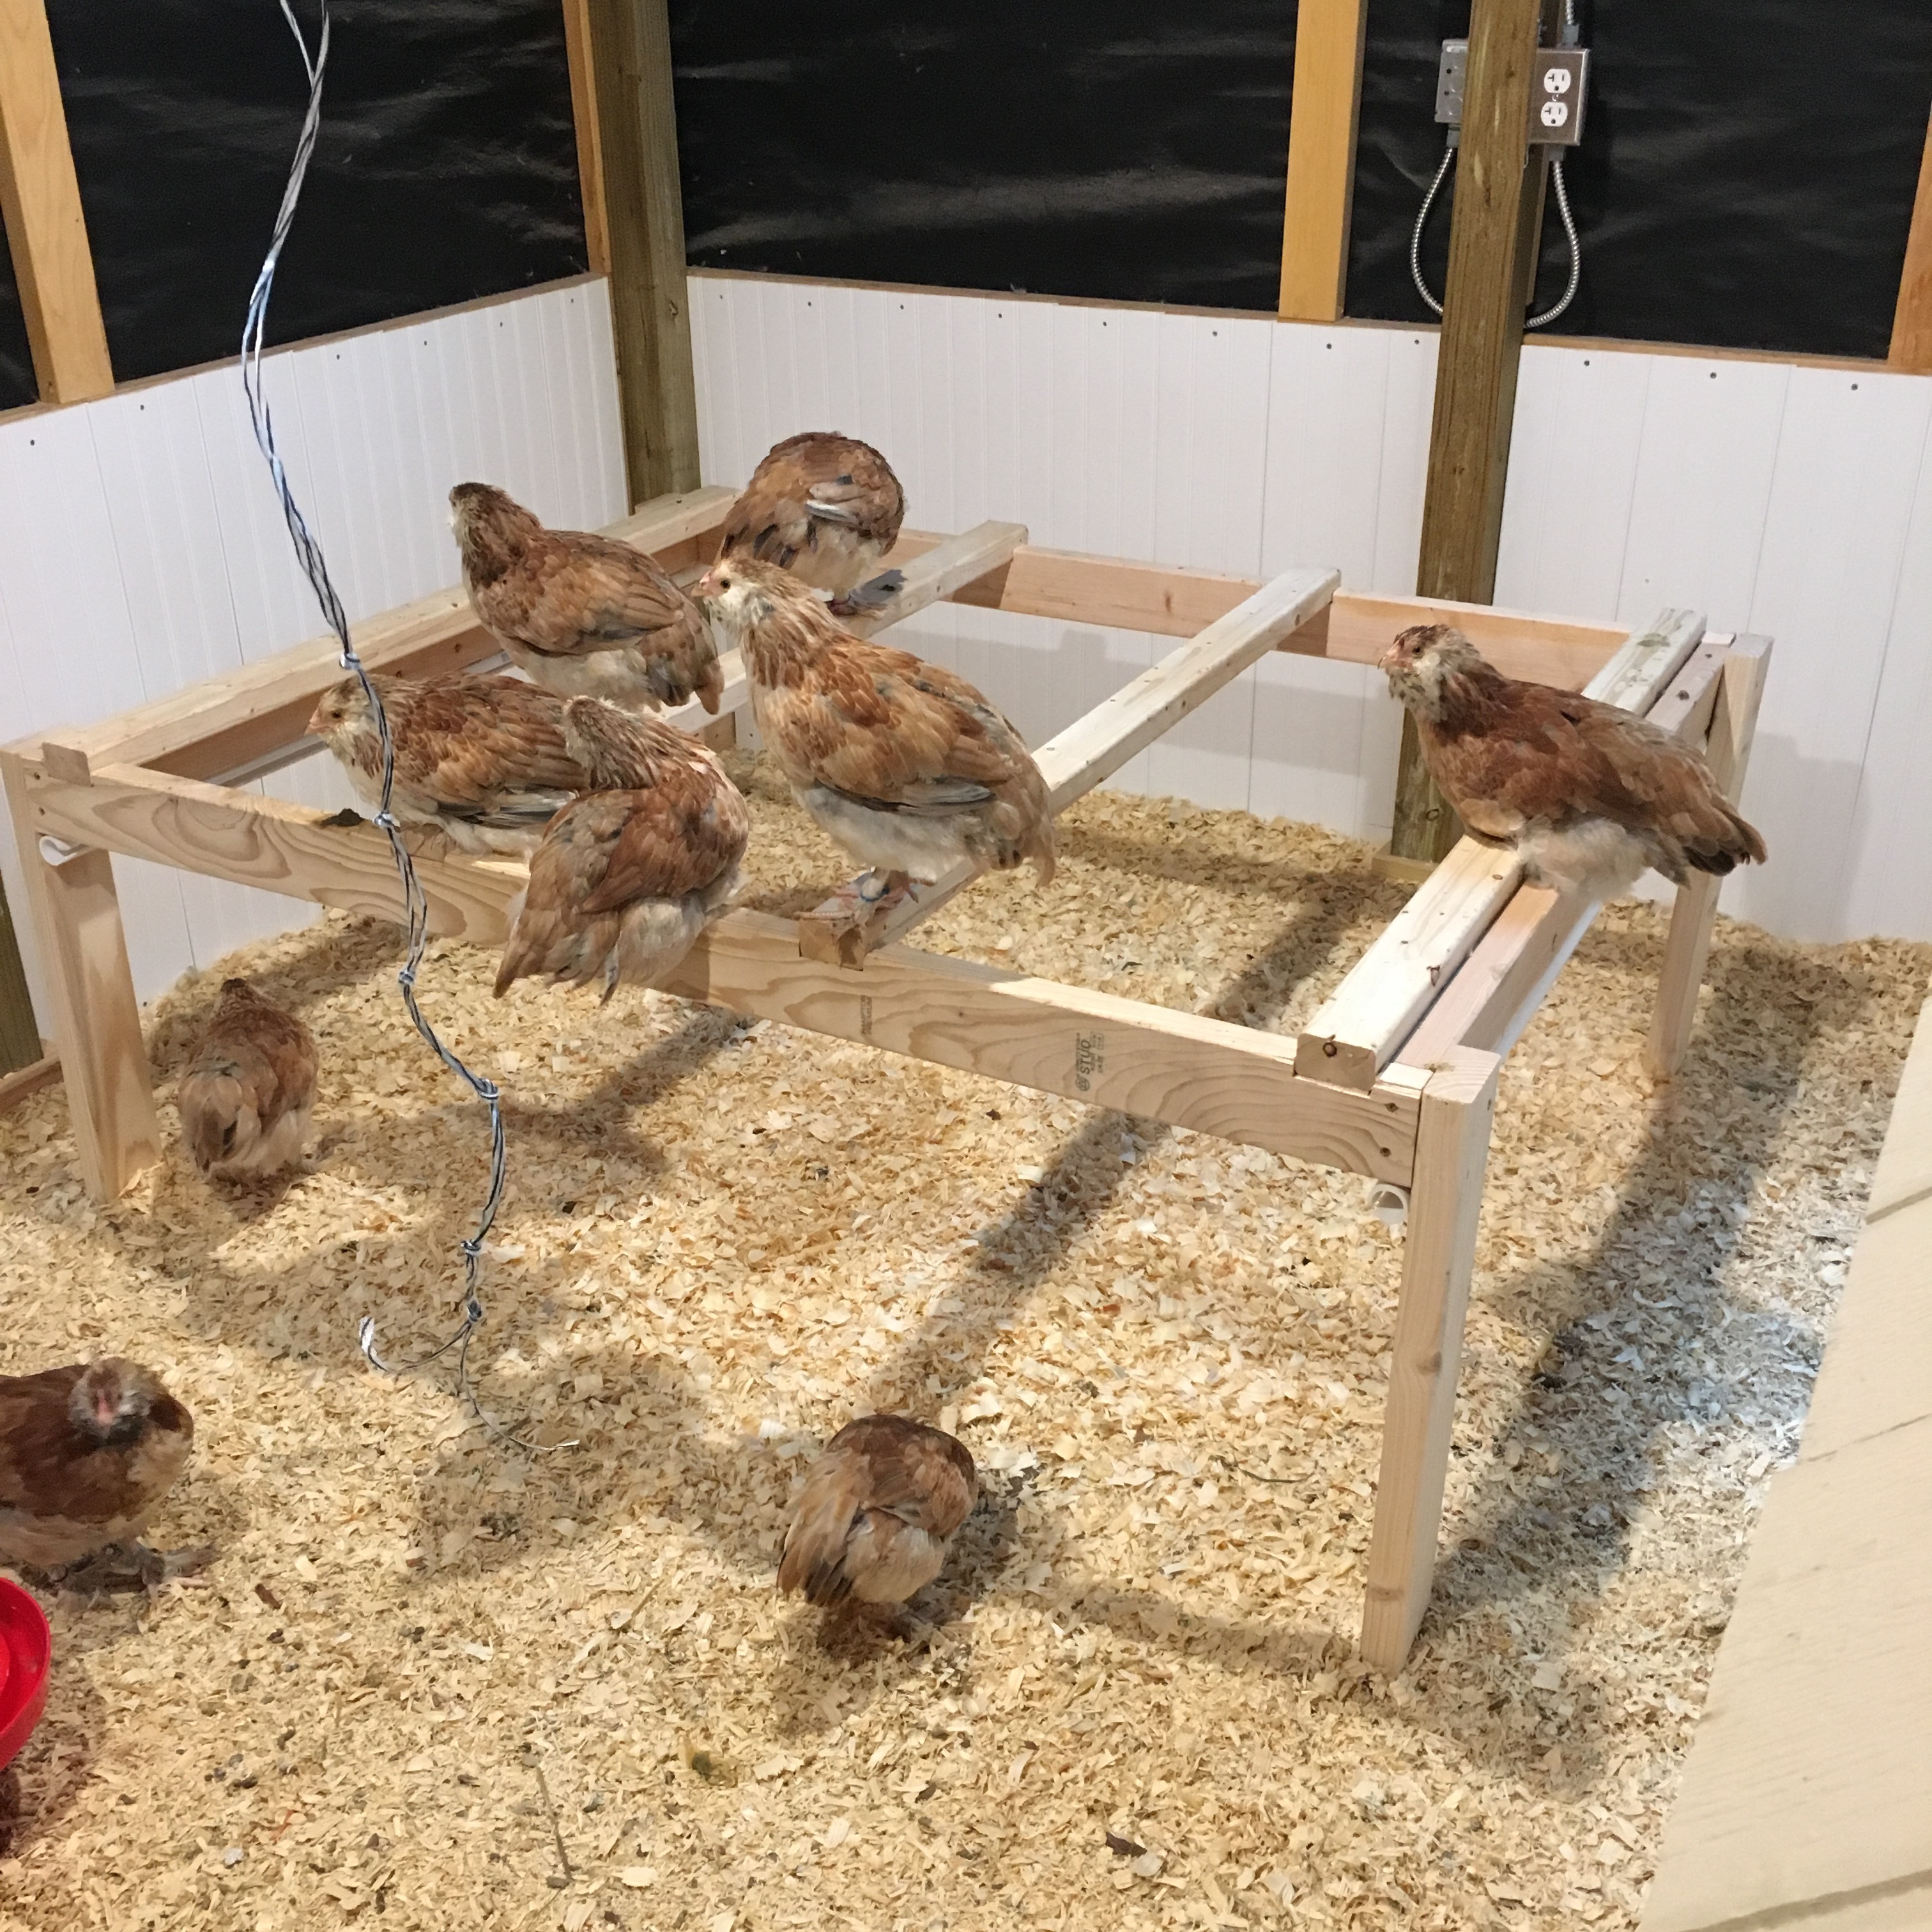
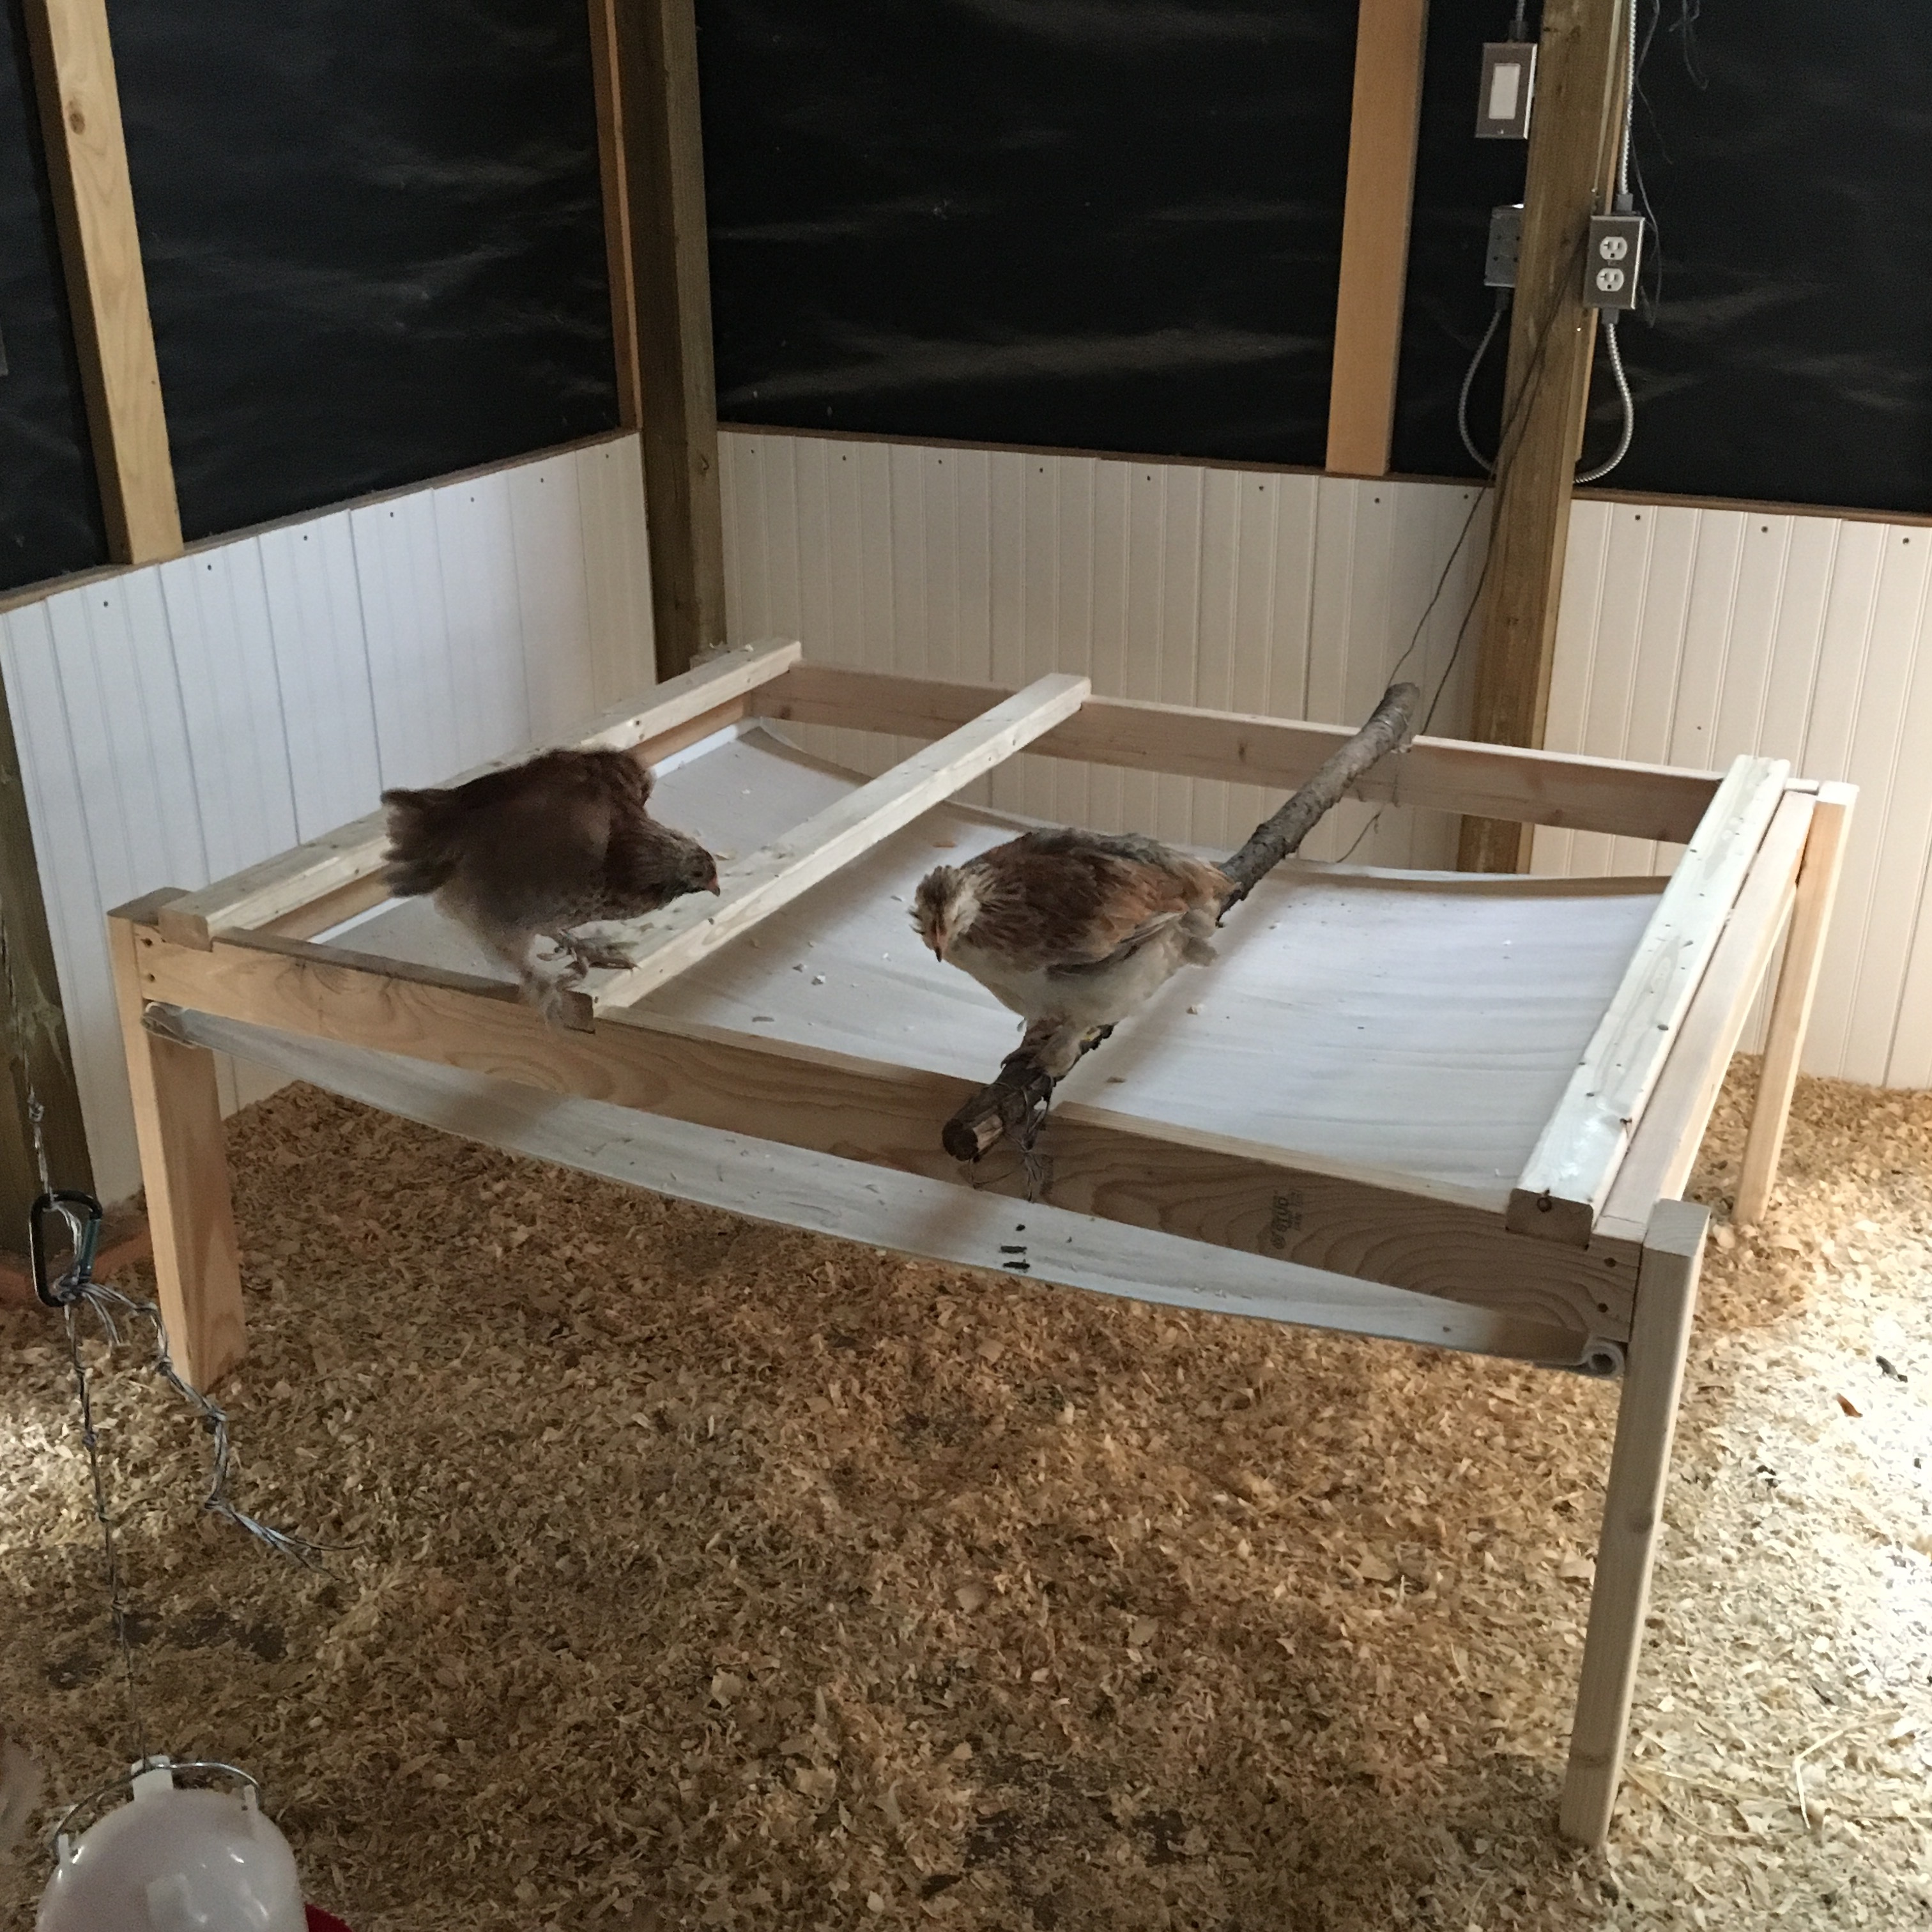
Apparently the poop catcher under the roost is also scary. I noticed that the chickens had stopped even playing on the roost, so I took out the poop catcher, changed out the wobbly branch and put the 2×3 back in. The chickens appreciate the change.
Chickens using the roost… without the poop catcher. Sigh.
I’ll try to put it back once they start actually sleeping up there. They still huddle in the corner together now.
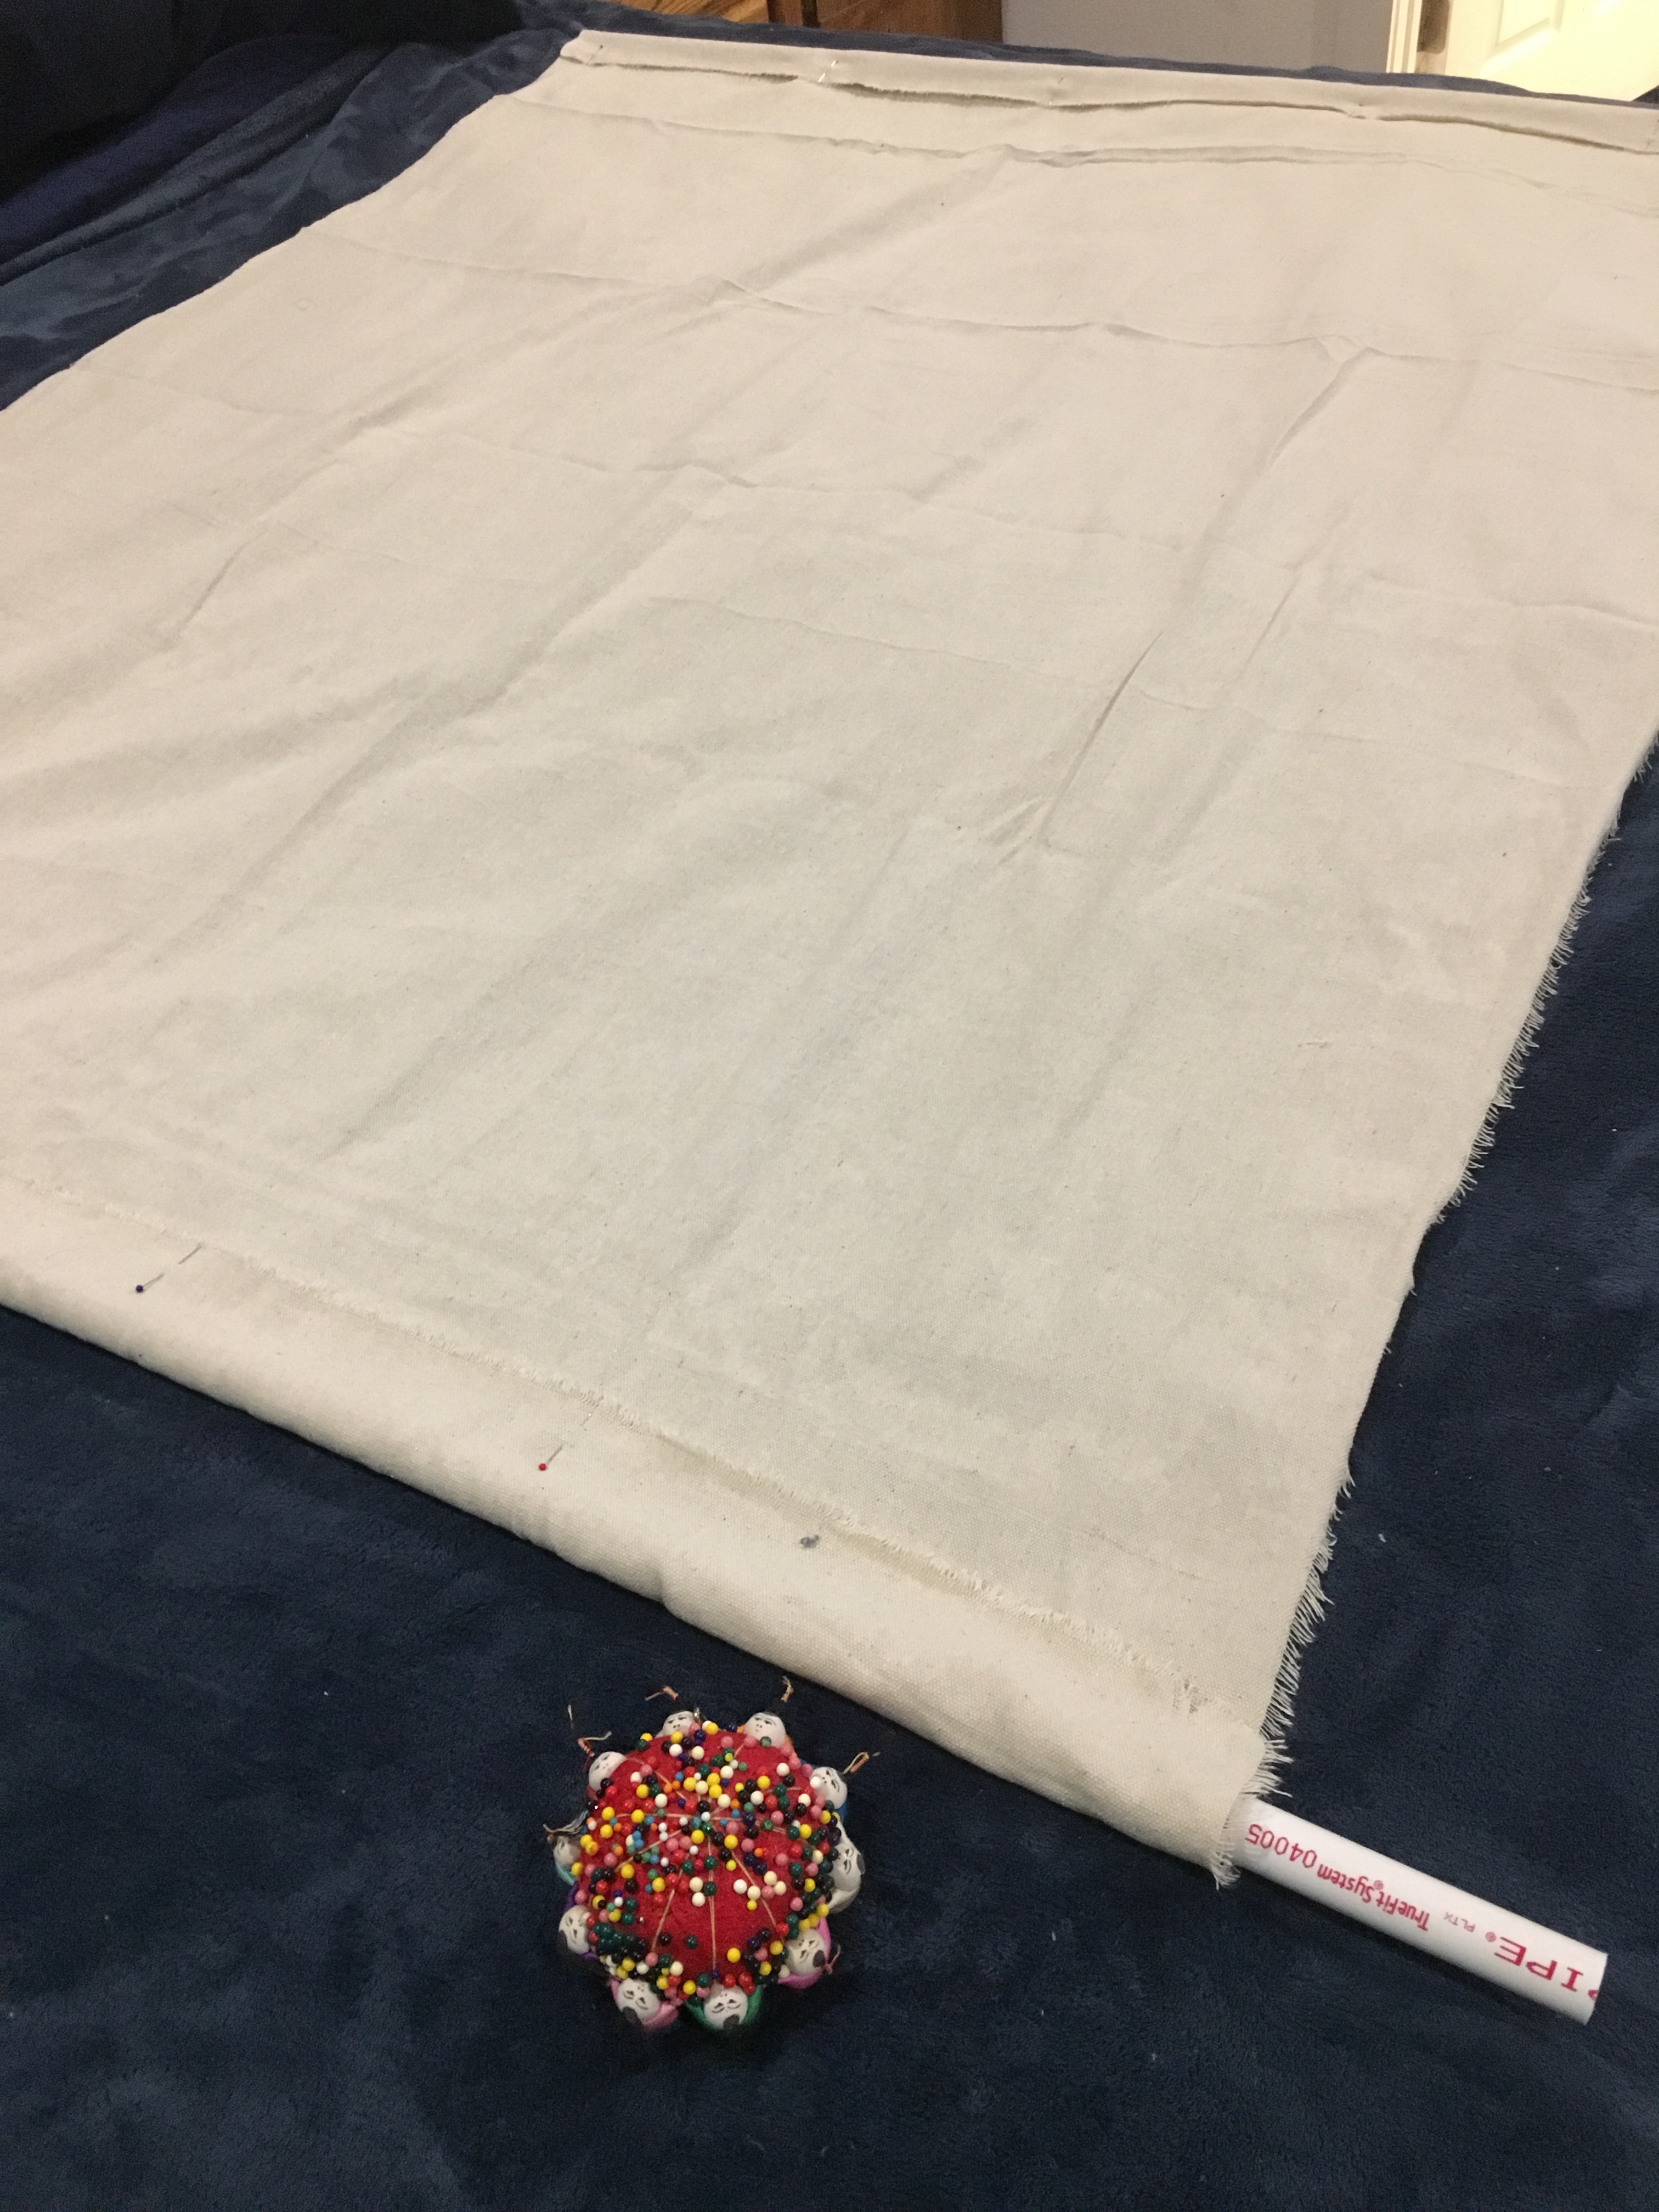
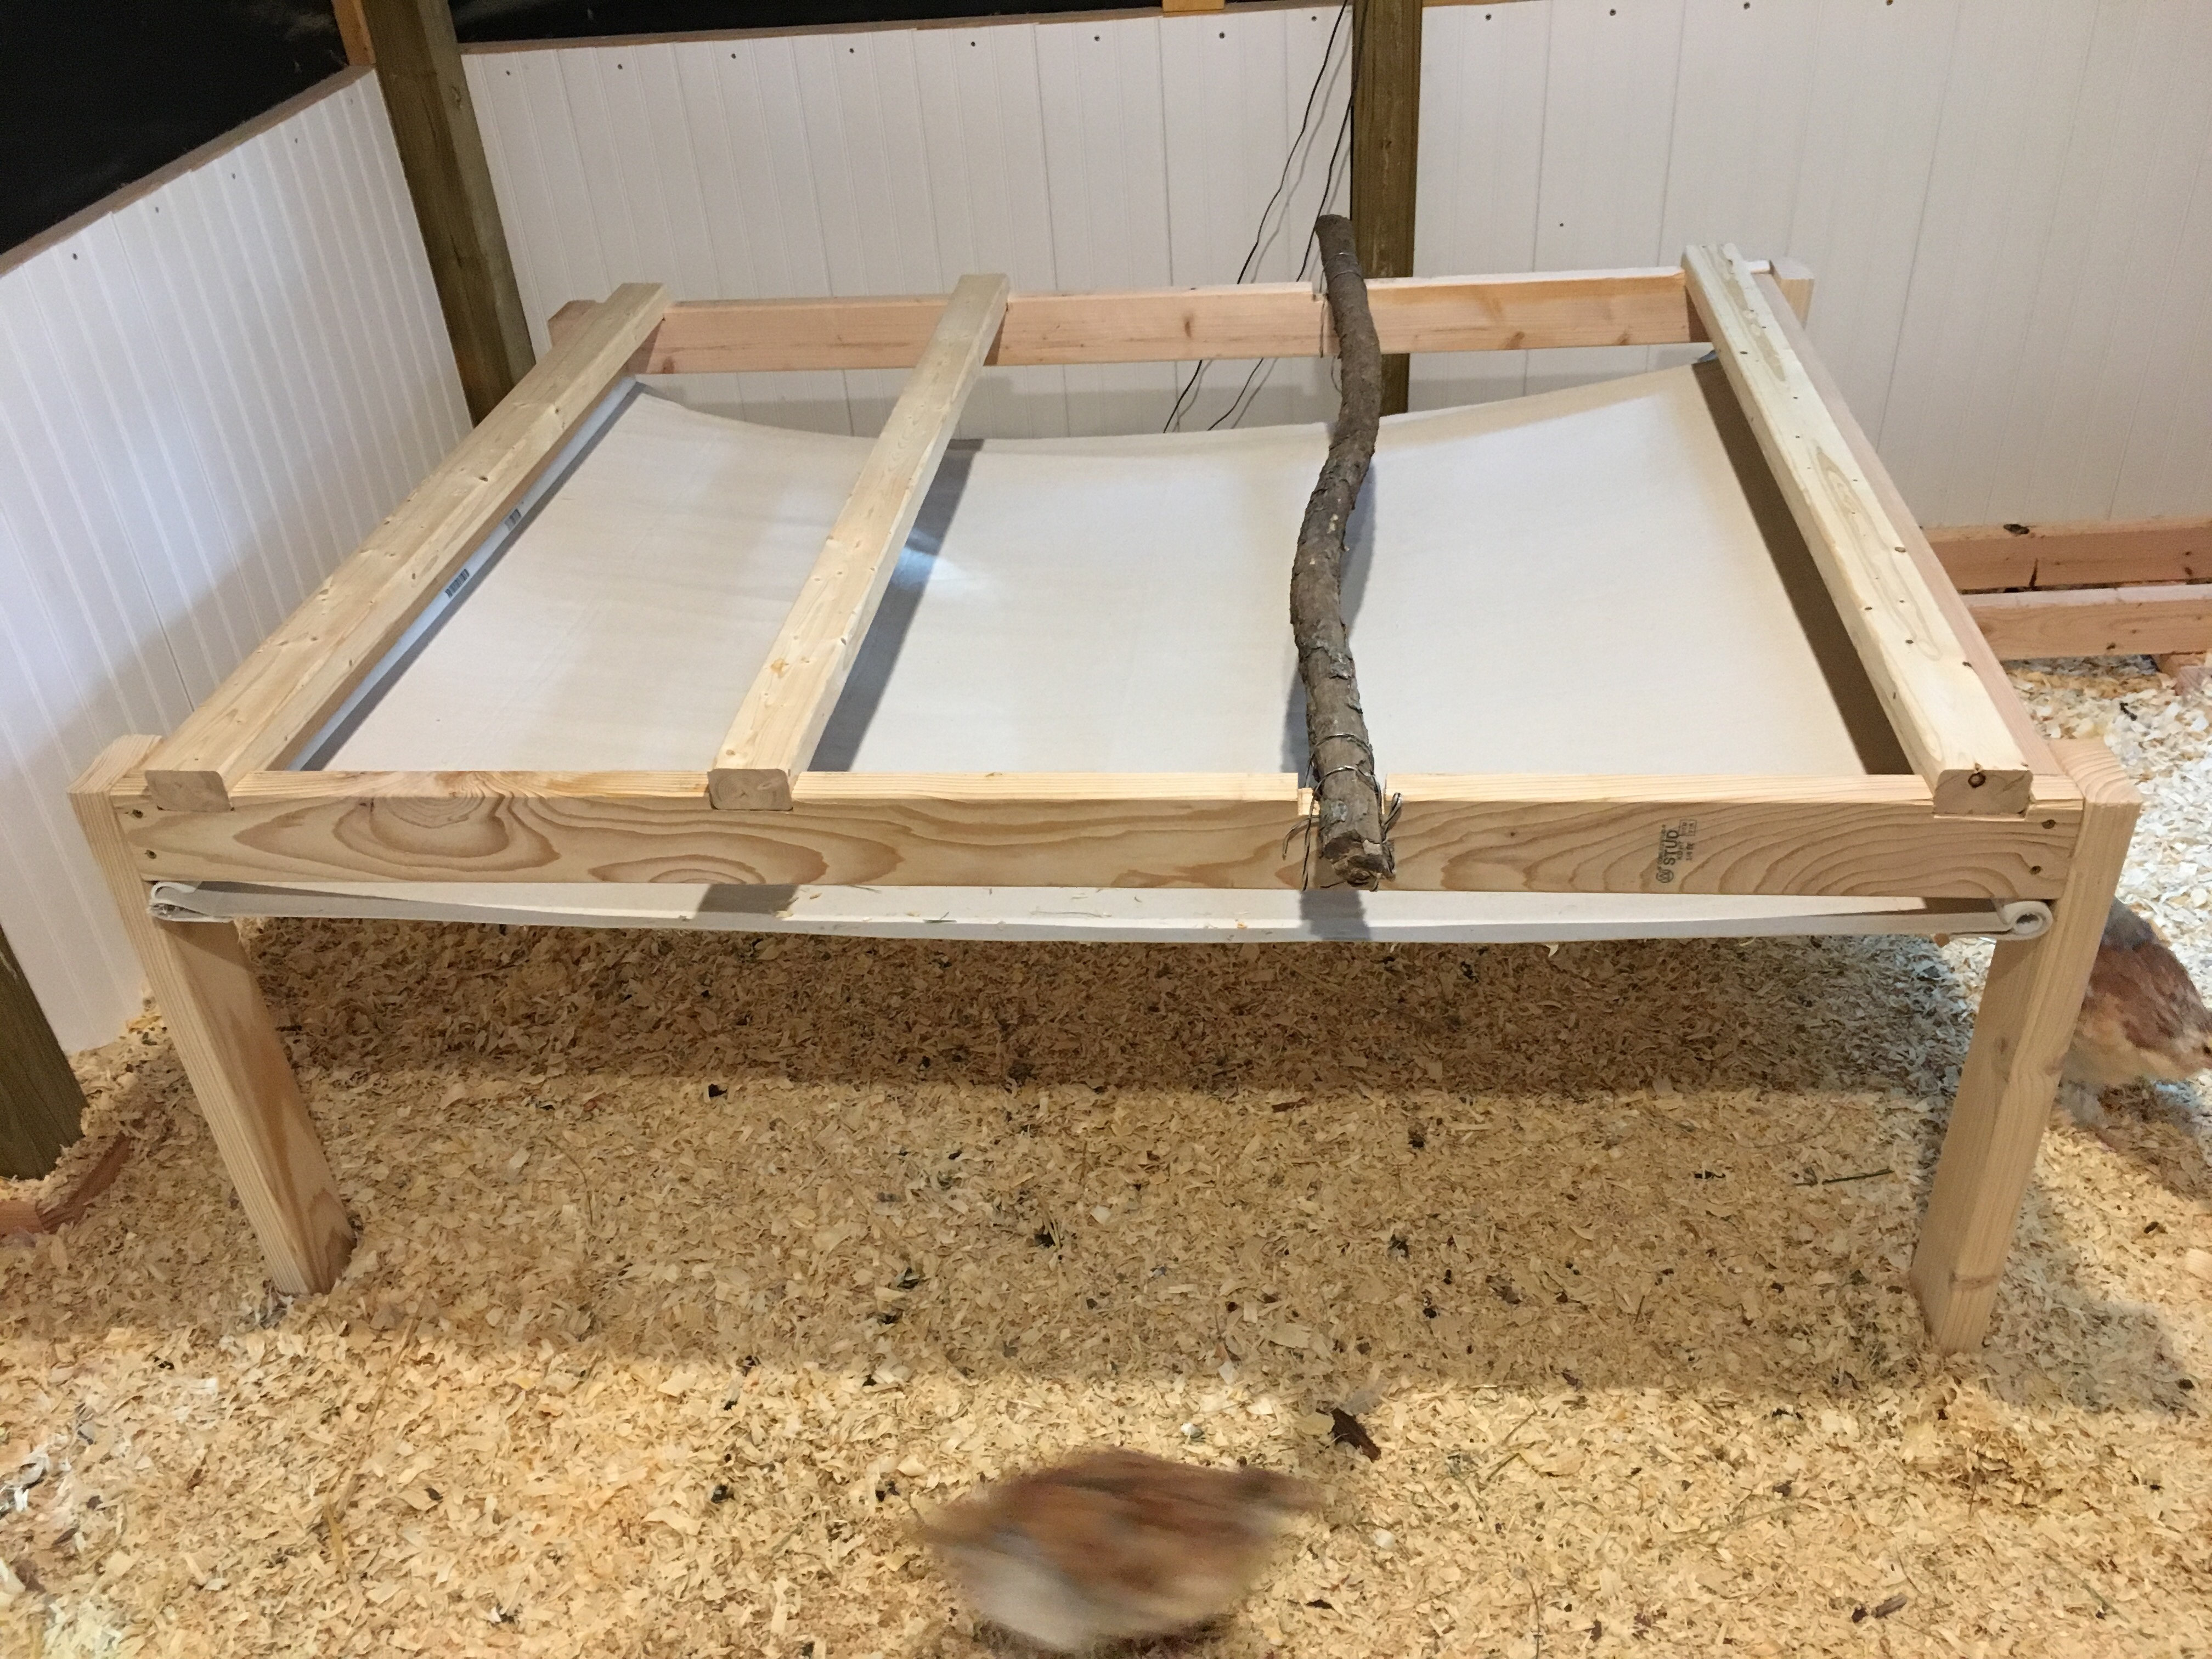
Here is the rest of the new roost! My local hardware store had heavy-duty cotton drop cloths on clearance, so I cut up one to make the poop catcher underneath the new roost. I have read that the most droppings occur when they roost, so the idea is that this will make it easier to clean the coop. We’ll see!
I sewed pockets on each side for the small diameter PVC pipe, and one hem (I used the salvage edge on the other side).
Laying out the canvas
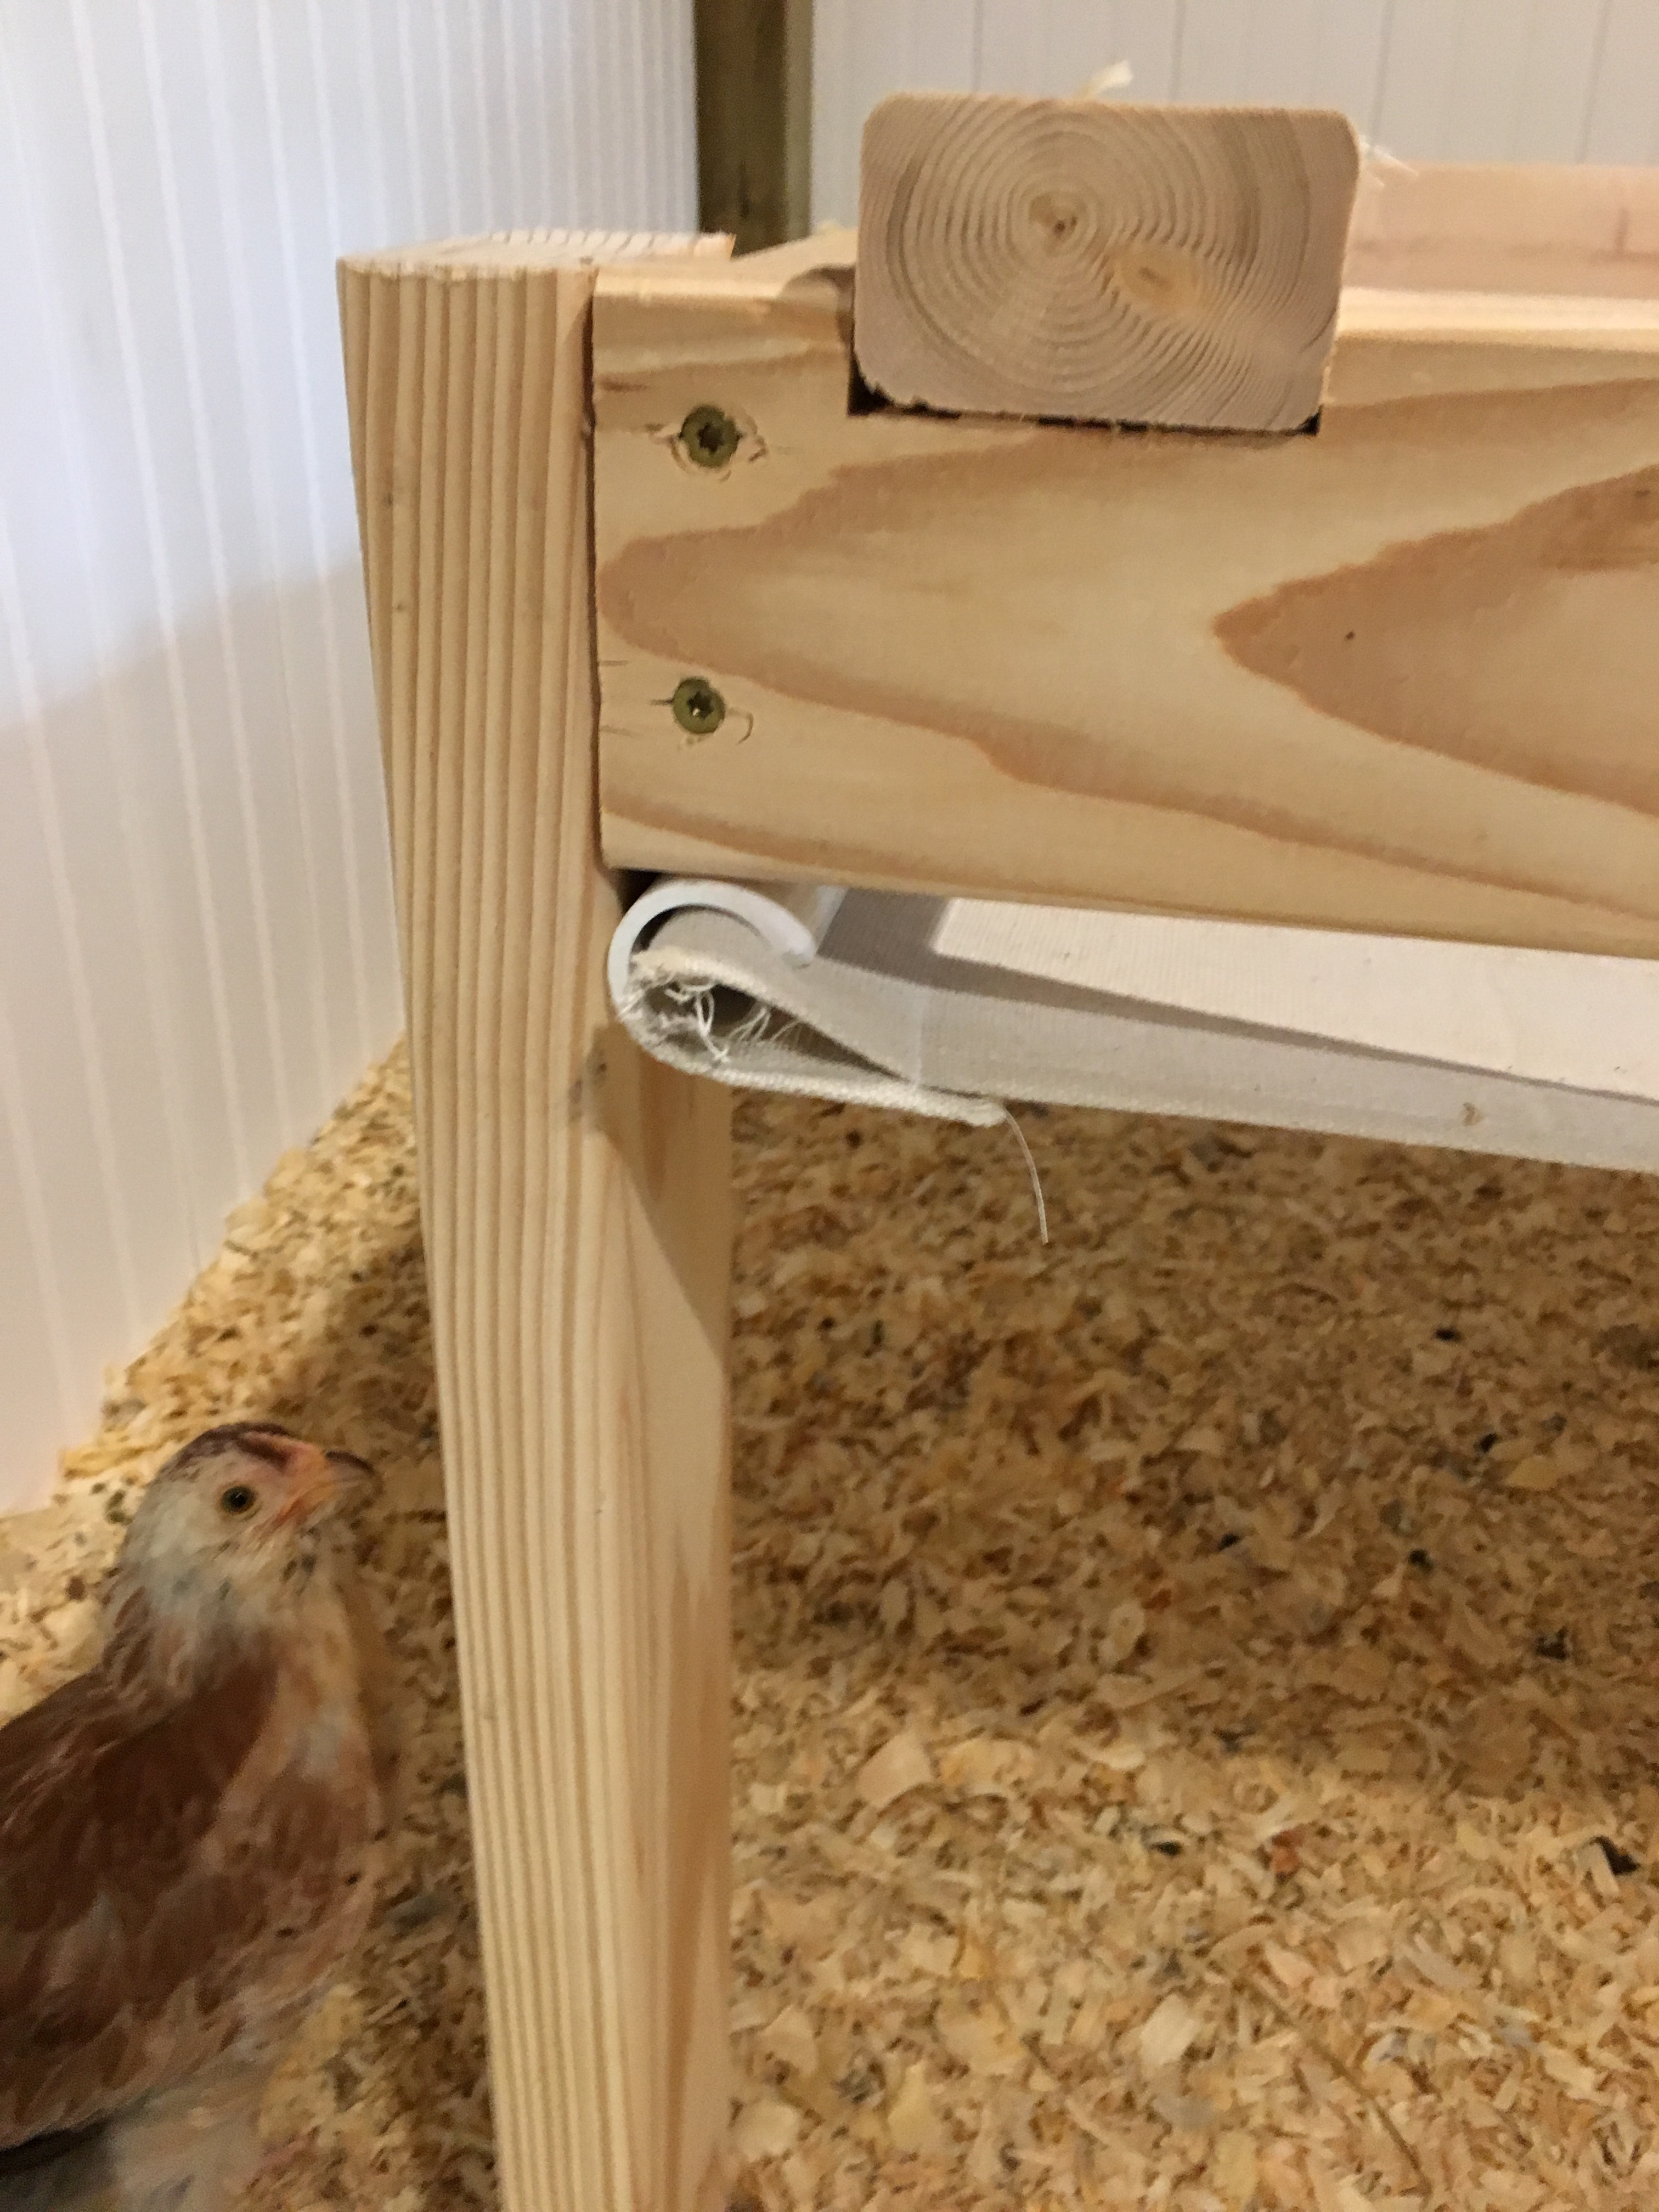
Getting the PVC pipe and cloth through the channels that I made with larger PVC pipe was a little more difficult than I hoped, but not unworkable. And if the cotton turns out too absorbent, it will be easy to change material.
PVC pipe mounting
The chicks have not yet gone back up on the roost, so we’ll see how long it takes them to adjust.
New roost with poop catcher system
P.S. It took a few days before the chicks were willing to jump back up on the roost, but they eventually did it!
Chicks eventually venturing back up
And there was poop in the poop catcher! As an added bonus, my muck bucket fits under perfectly, so I can just scrape the droppings straight into the bucket. Win.
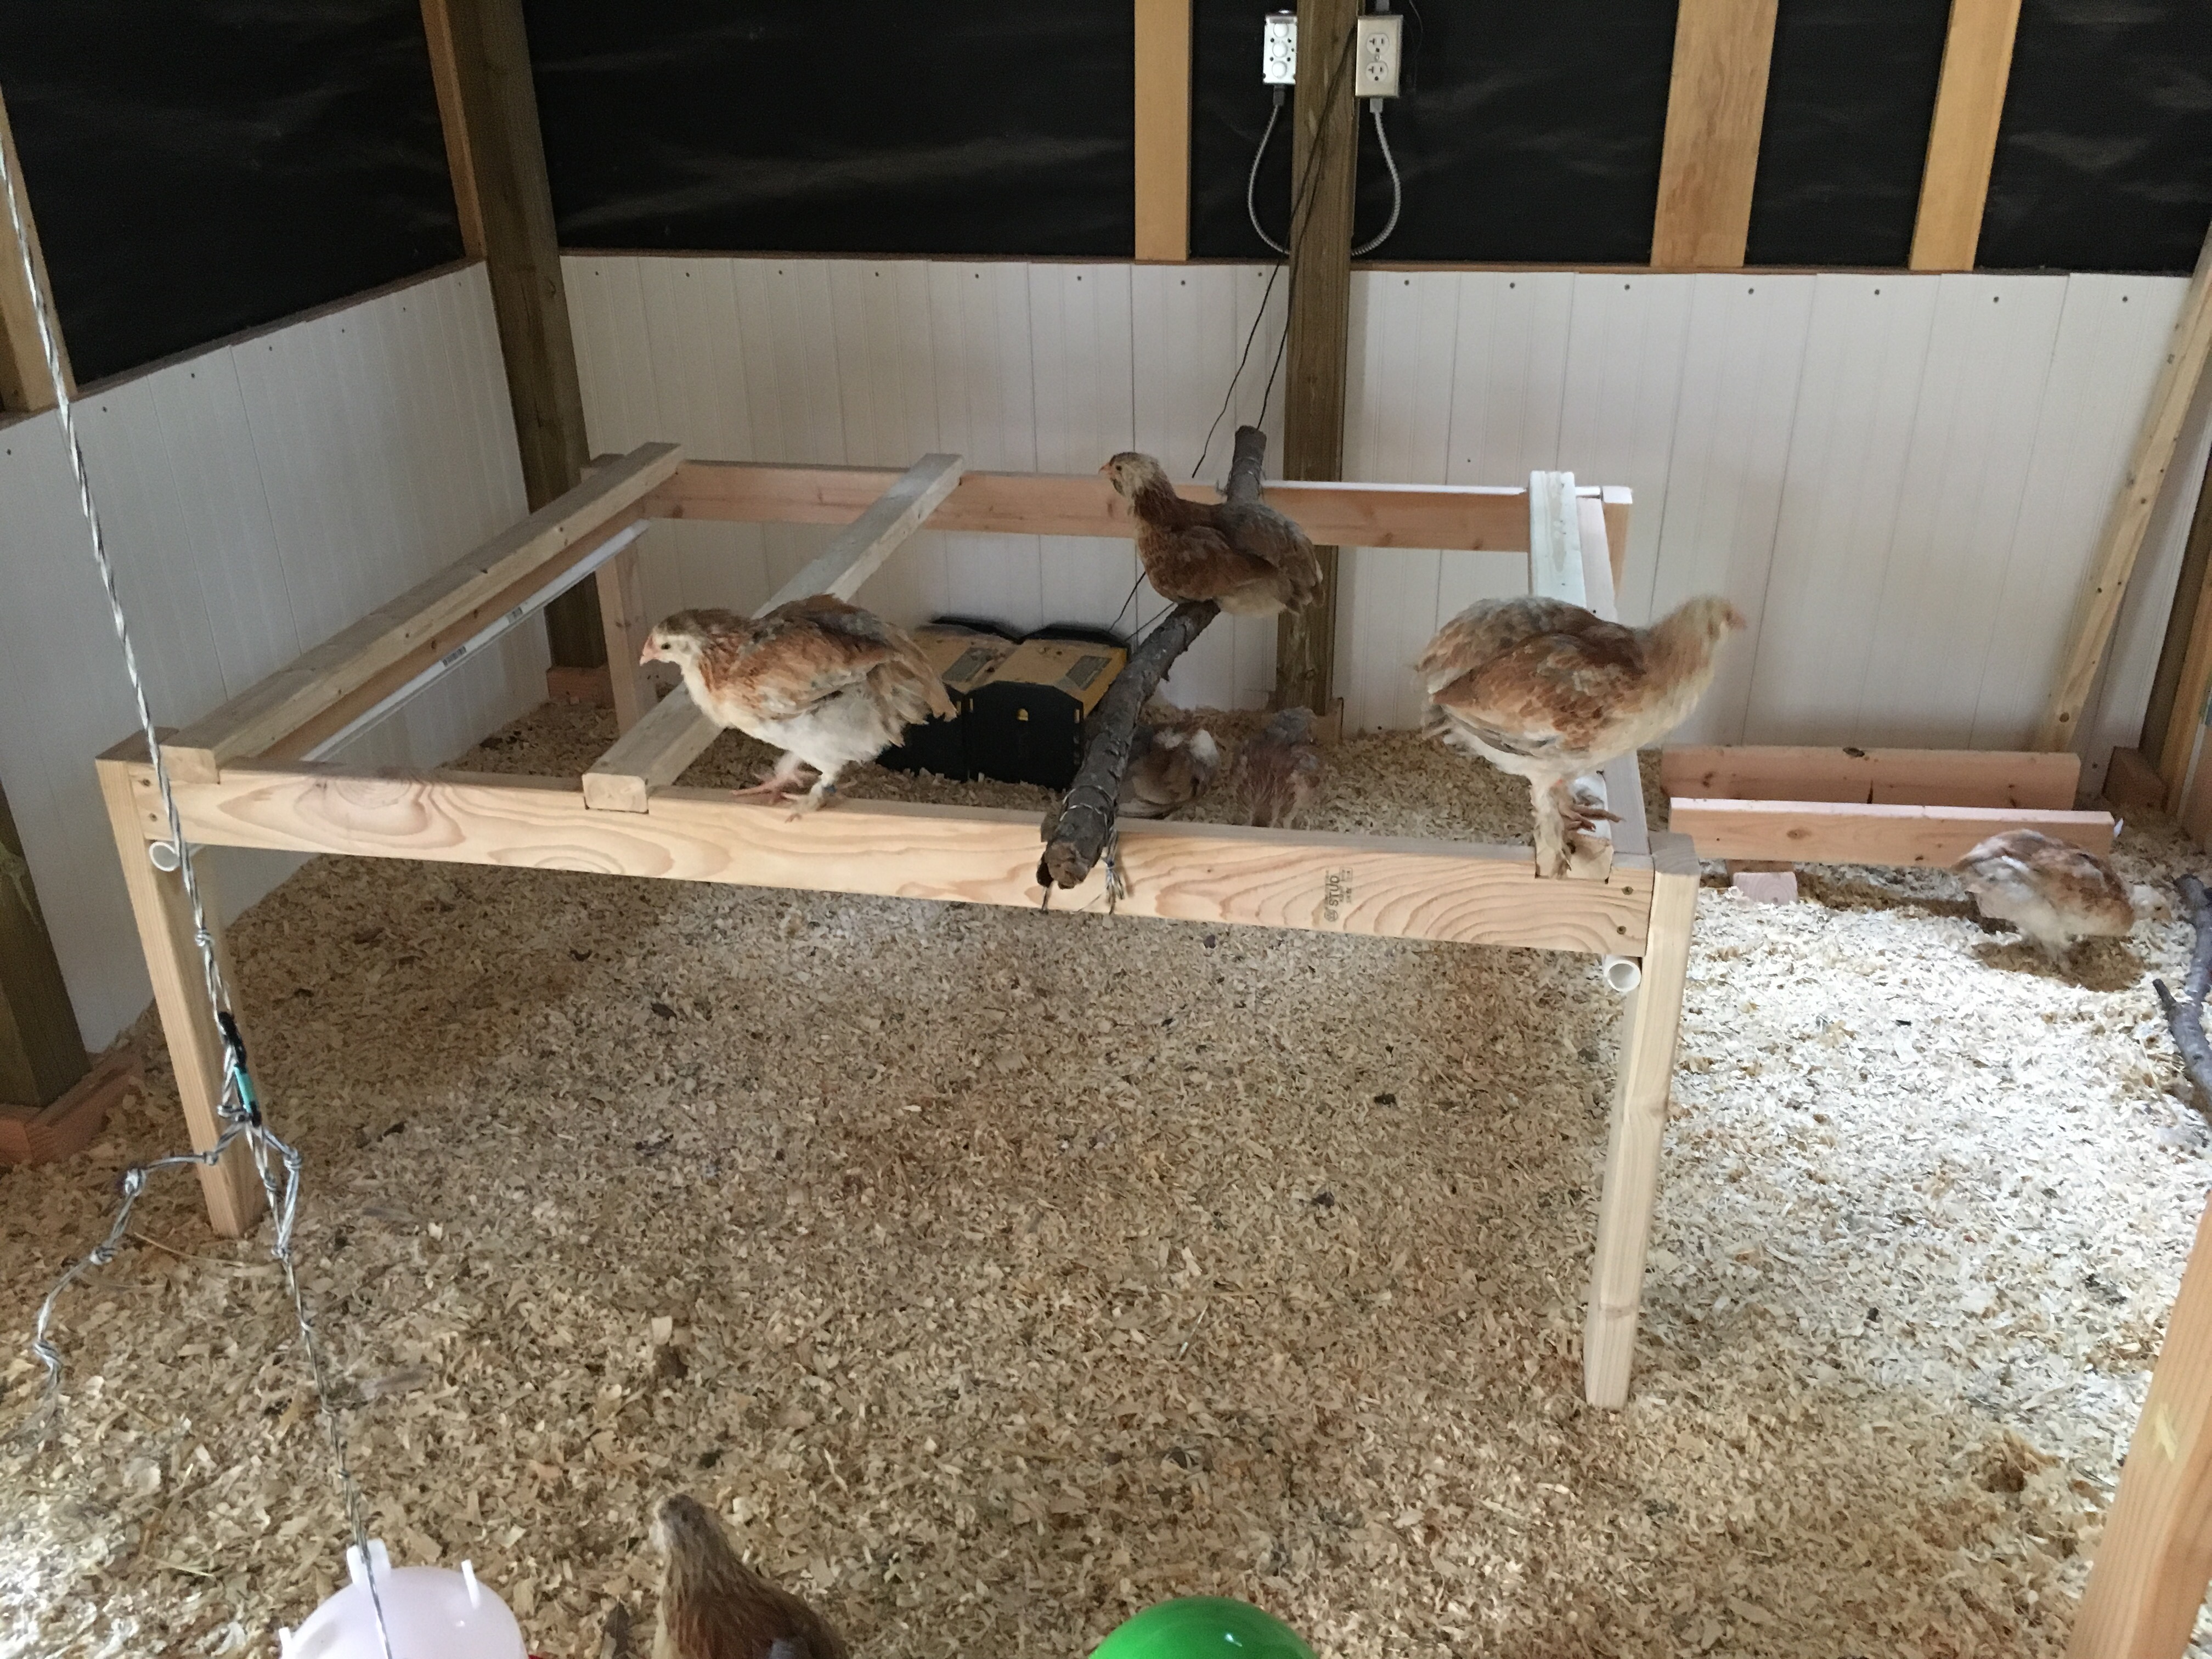
I made the chicks a new roost. I really made it for when they are older and roosting to sleep. Right now they still all huddle into one corner of the coop. So like human kids bouncing on the bed, this is more of just a jungle gym right now!
New roost
The roost is 24″ tall, which is what my chicken book recommended. The roosts are 18″ center to center and made of 2×3″ pine. Except the branch. I’m pretty sure that is post oak or cedar elm, because that is what is in the yard, but it fit so nicely I said they could keep it.
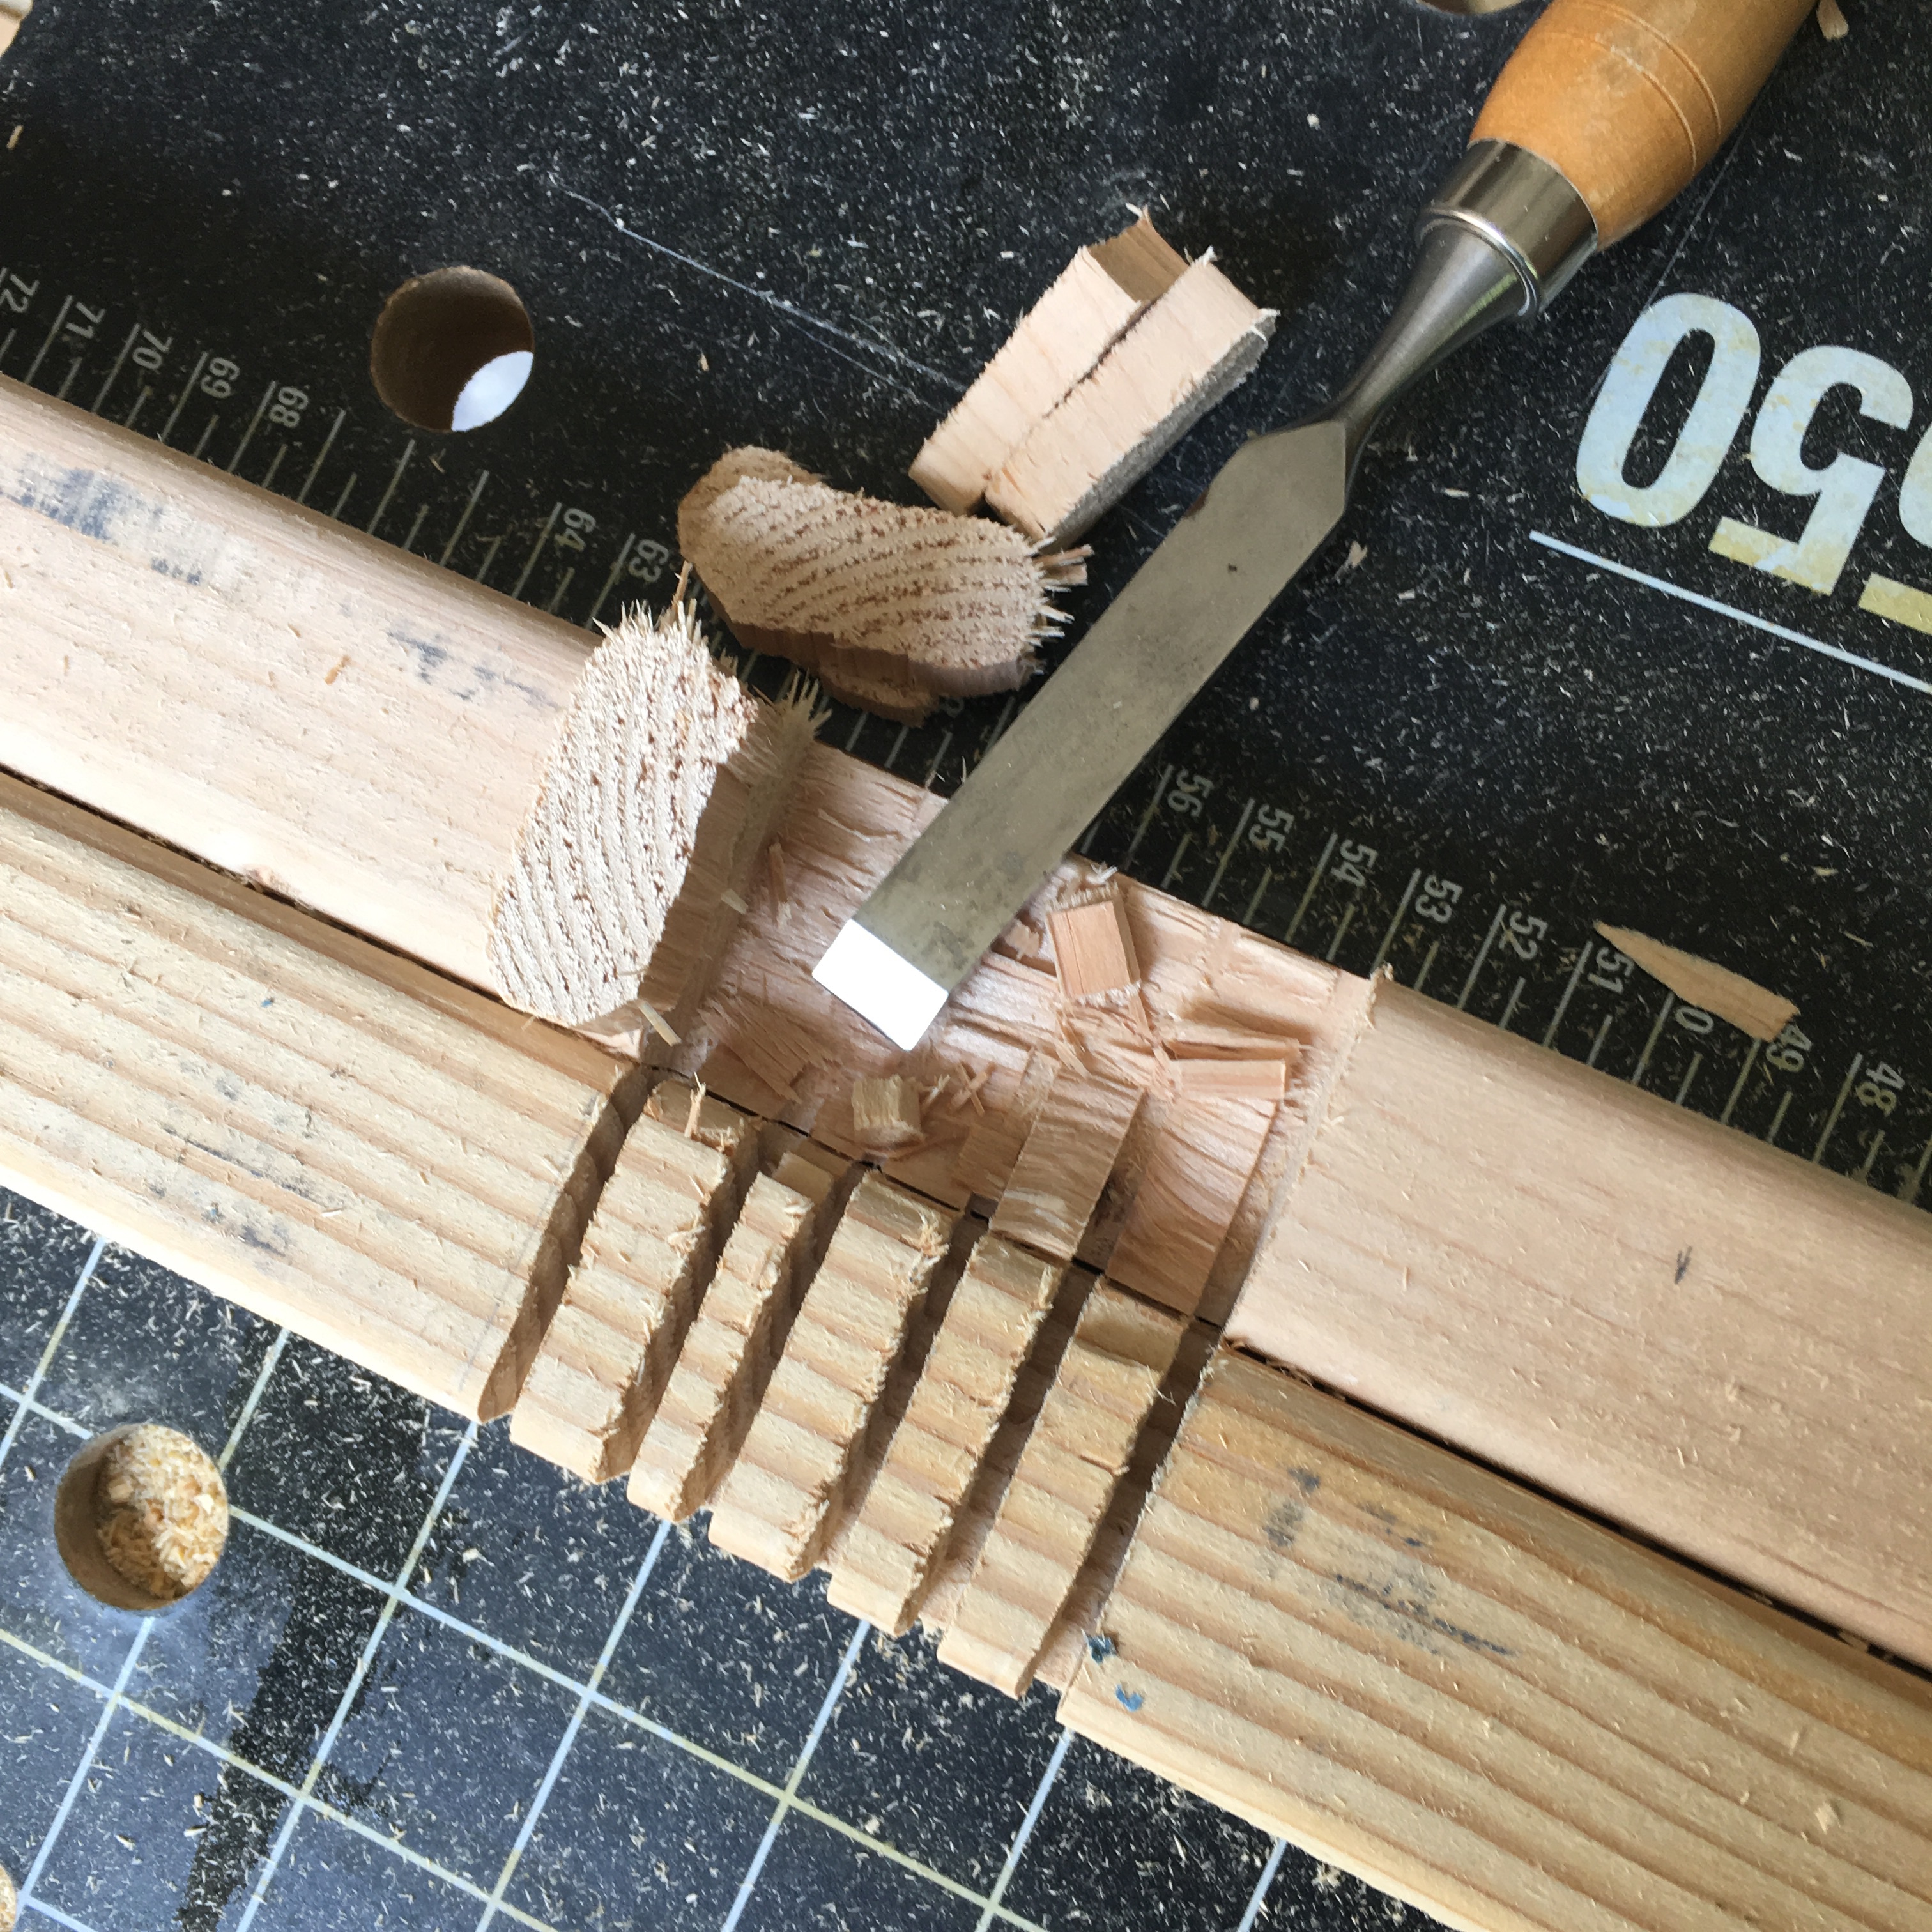
Parallel cuts with skill saw, then excess removed with a chisel
I cut the rabbets using a skill saw to make several parallel cuts, then removed the excess with a hammer and chisel. I did both 2×4 sides together so they would match.
Cleaned out rabbet
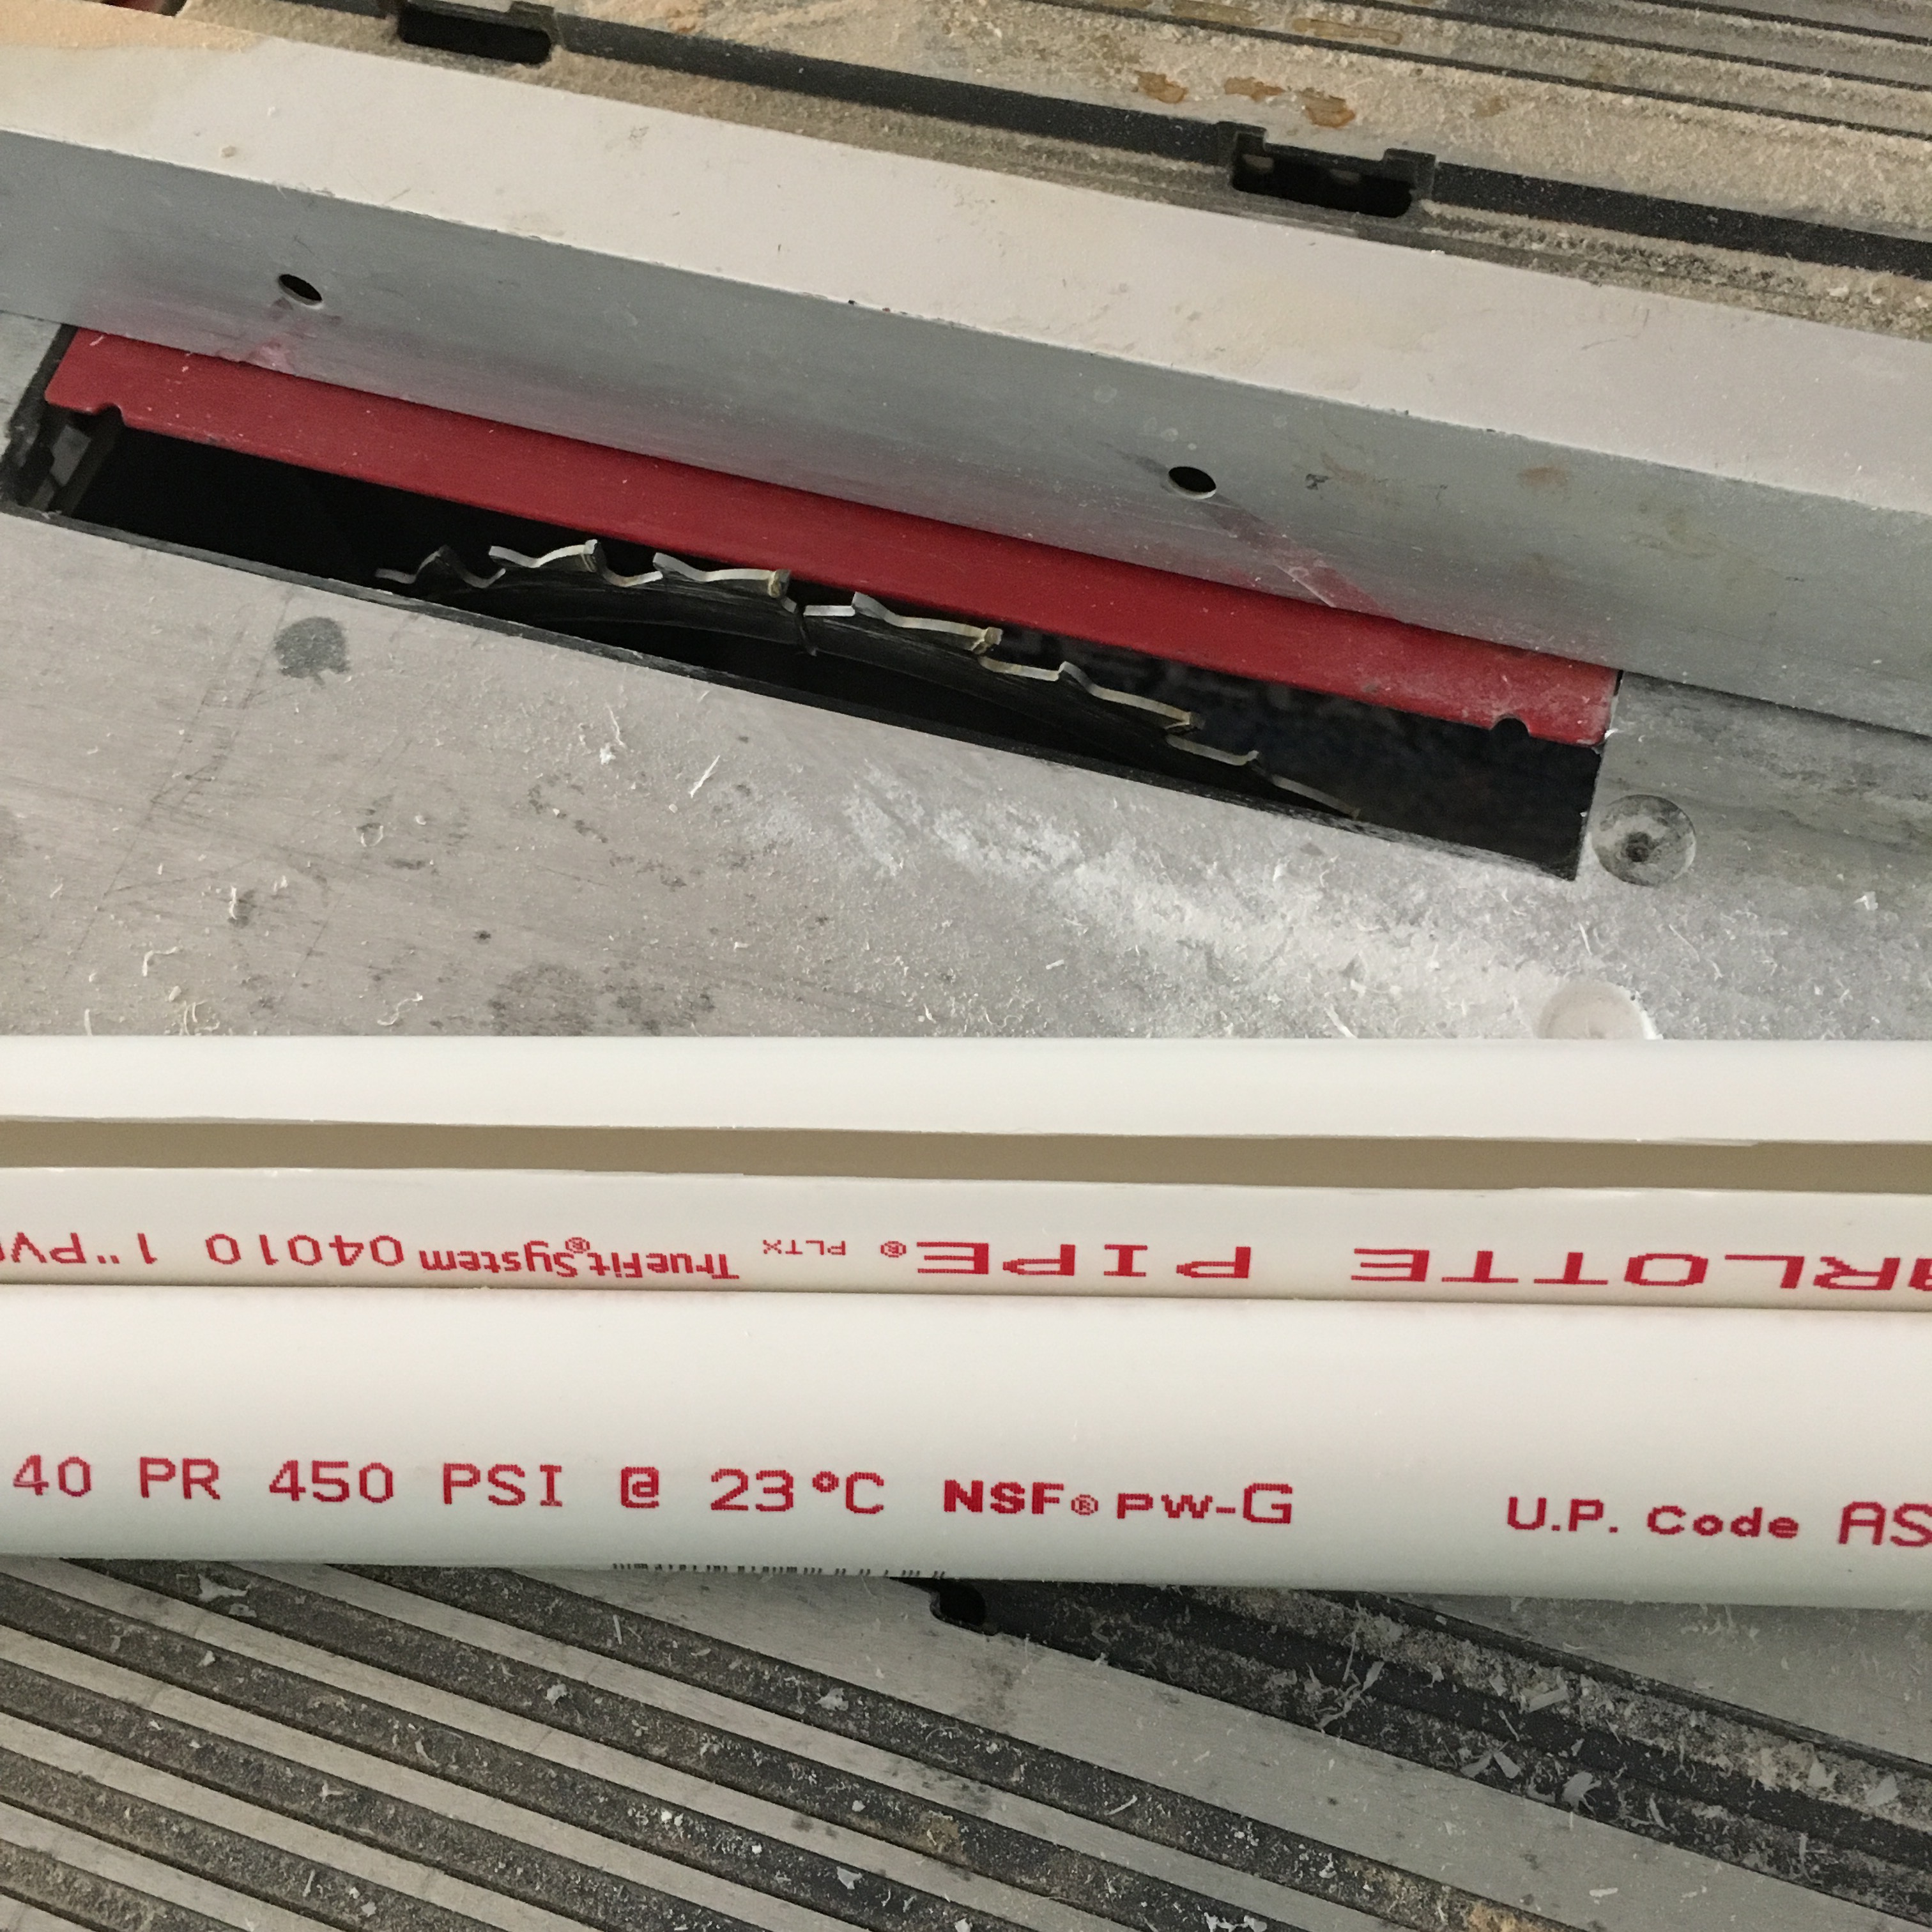
Channel cut in PVC using a table saw
I also made a channel in 1″ PVC pipe and installed these pipes under the roosts, along the sides. I have some smaller PVC pipe that slides into these channels and some canvas that will make a poop catcher. More on that in another post (mainly because it isn’t done yet)!
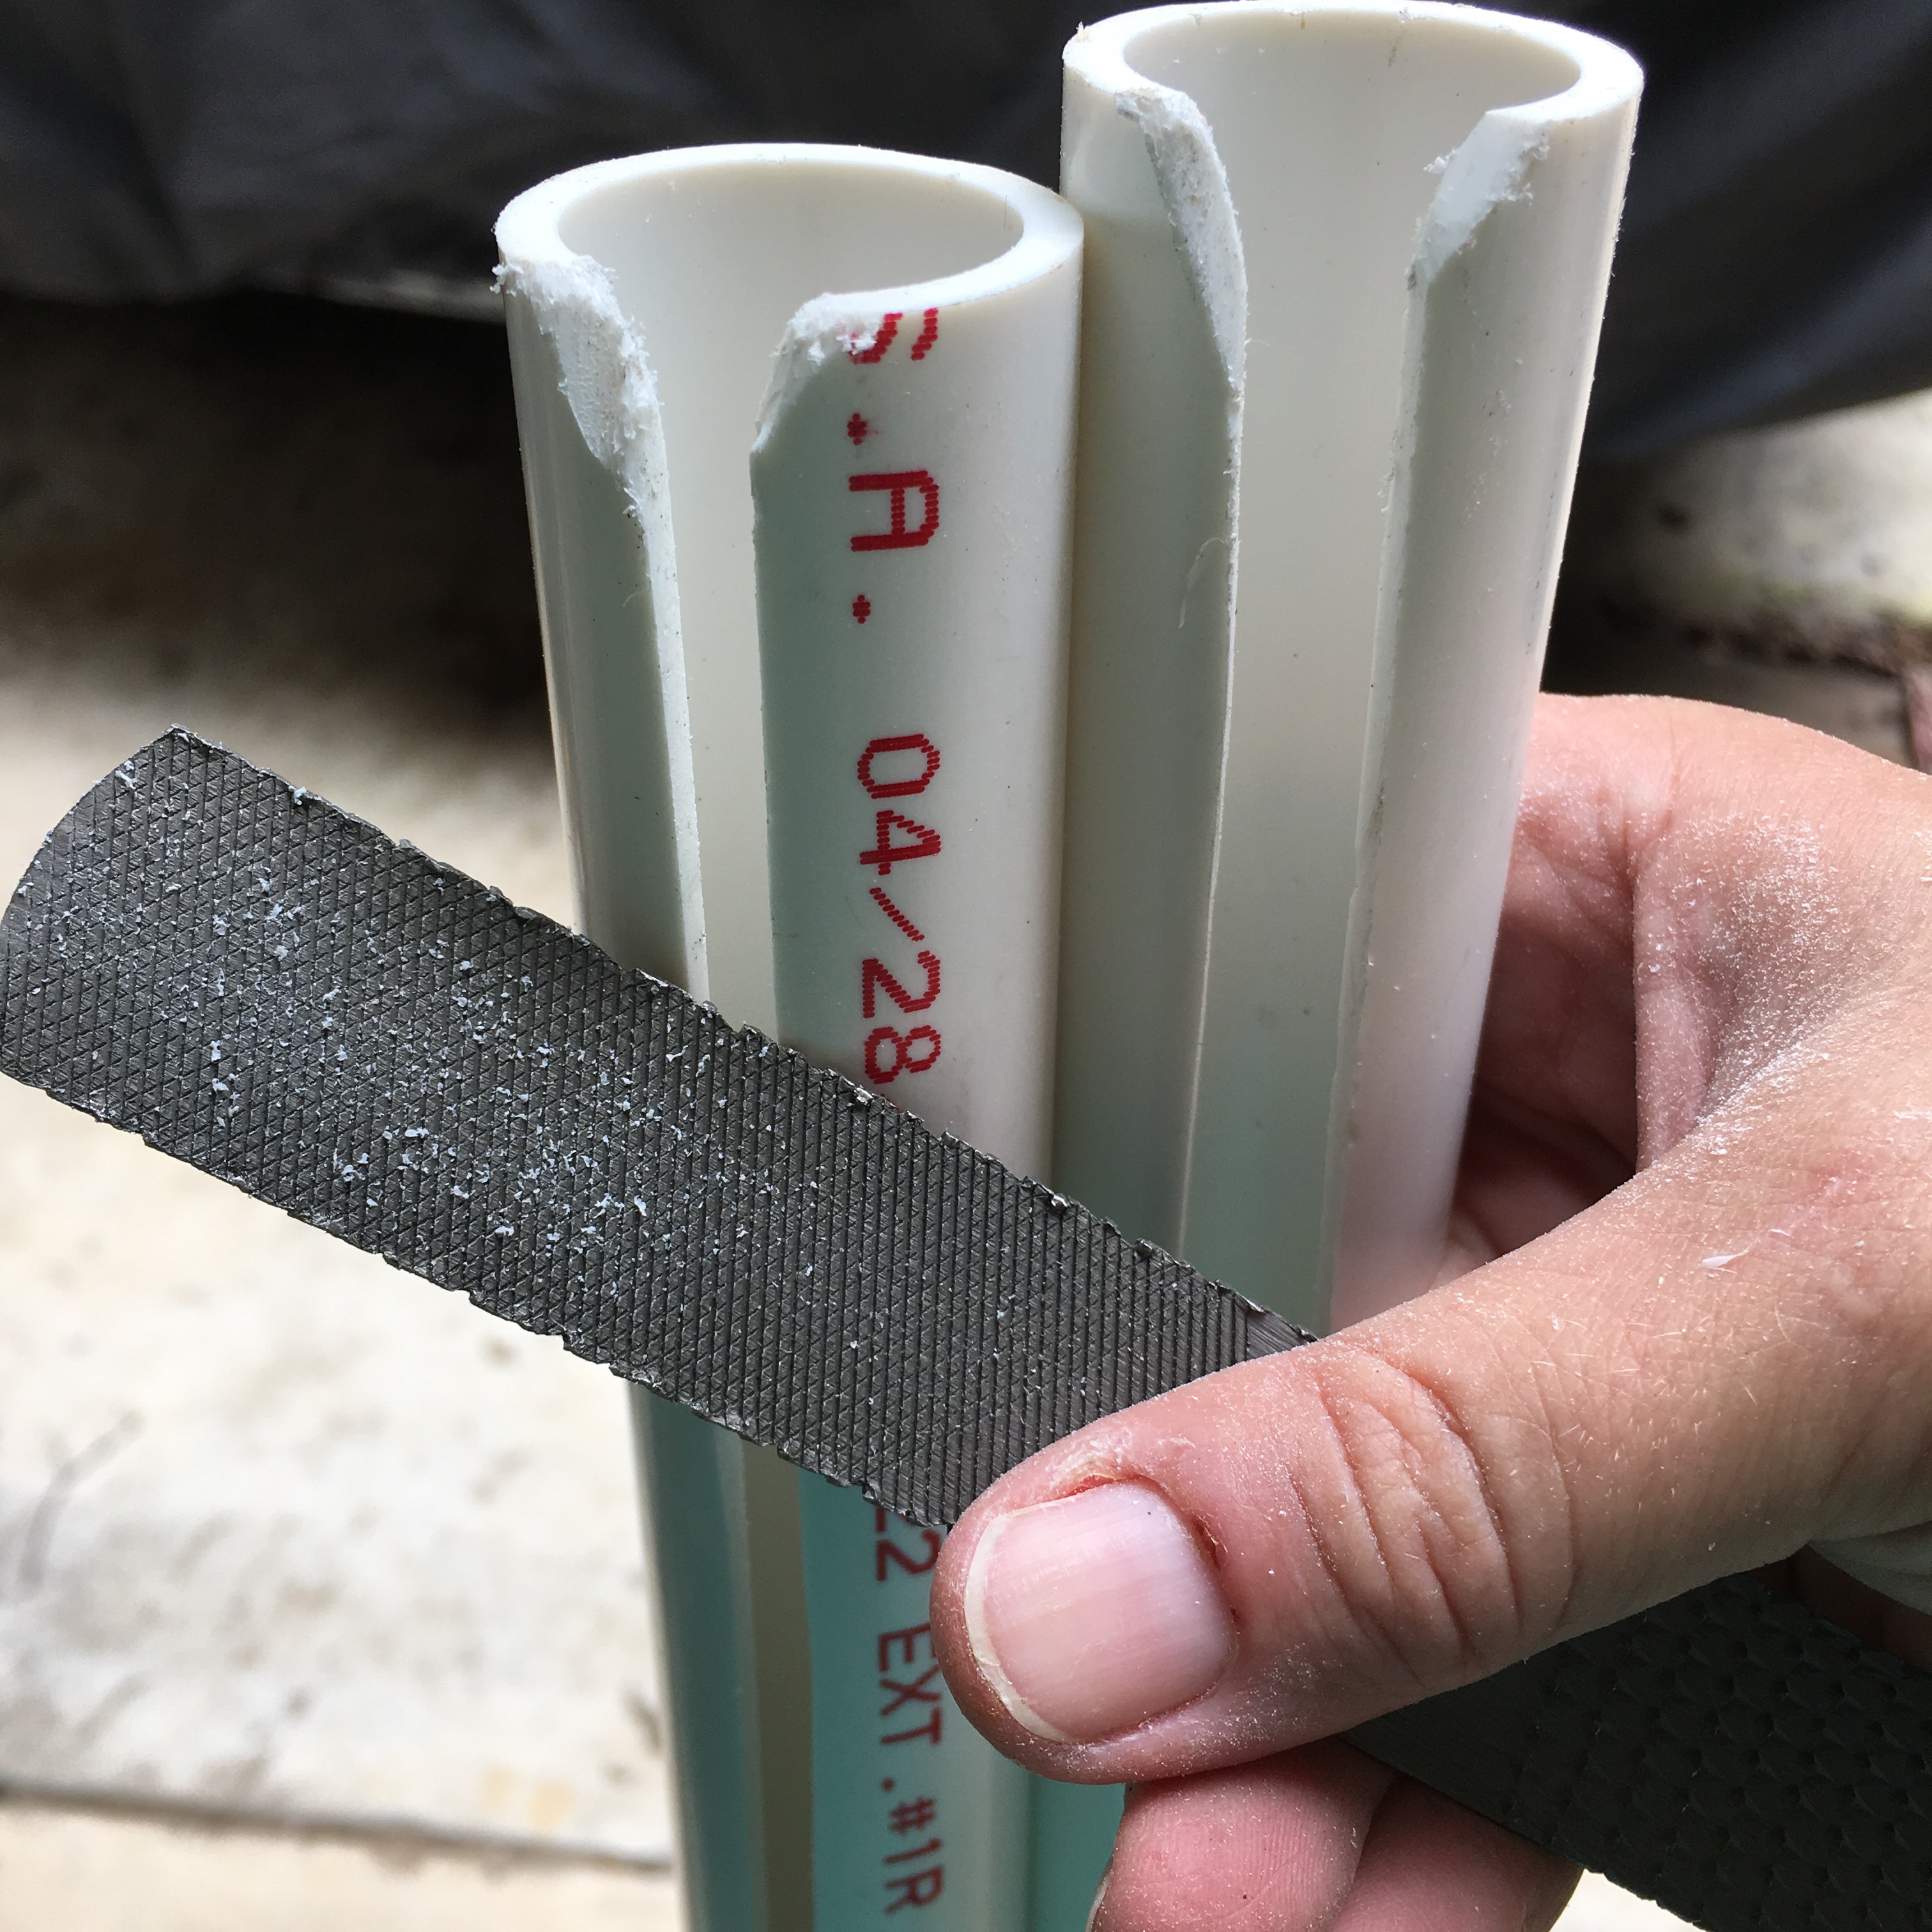
Filed corners for easier use
I used a file to open up the ends of the channels to make getting the canvas in and out easier.
The chicks are having fun jumping up on the roosts, and really like the stick better than the lumber. We’ll see if the preference continues!